Open house was (thankfully) a huge success. We had the majority of our parents come in to see what their students had done. Prospective parents came in to get a preview of what their children would be doing come June. A few students who remembered me from when I was a substitute teacher stopped by as well. I'll digress real quickly and say that, while being a sub was easily one of the hardest things I did as a teacher, it is hugely rewarding to see students of all ages coming into my room and greeting me with a cheerful, "Hi, Miss Abby!"
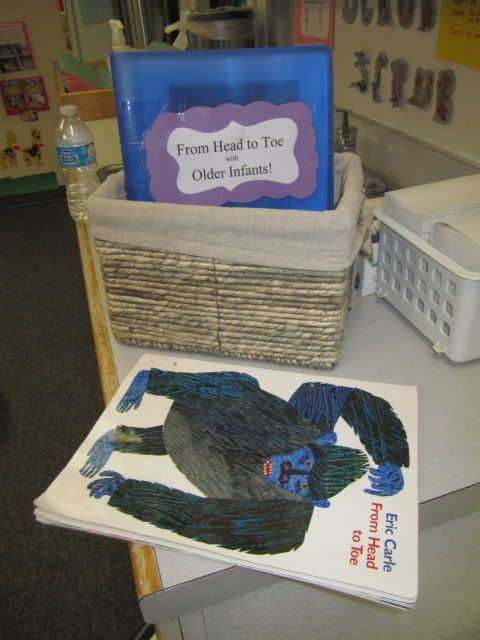
Each classroom had to decorate their classroom based on a theme. We decided on
Eric Carle's From Head to Toe, as the book has been a favorite of our students since Day One. Also, as any teacher working with young children can attest, Eric Carle is a haven of learning.
This became a wonderful excuse to read the book every morning during our informal circle time. Our students loved it, since this age group
thrives on repetition. After the children got into the routine of reading the book every morning after singing the "Good Morning" and Alphabet song, we videotaped us reading the book to the children. Much to our surprise, no kid pushed, grabbed, or cried during the entire story. We then uploaded it to a laptop and had it playing on loop during Open House.
Unfortunately, this was probably the easiest thing we would be doing with our students. My co-teacher and I were tasked with finding projects that were age-appropriate, engaging, and within the theme. We decided to break it down by animal/action. We didn't get every animal, but we came very close.
"I am a penguin and I turn my head. Can you do it?"
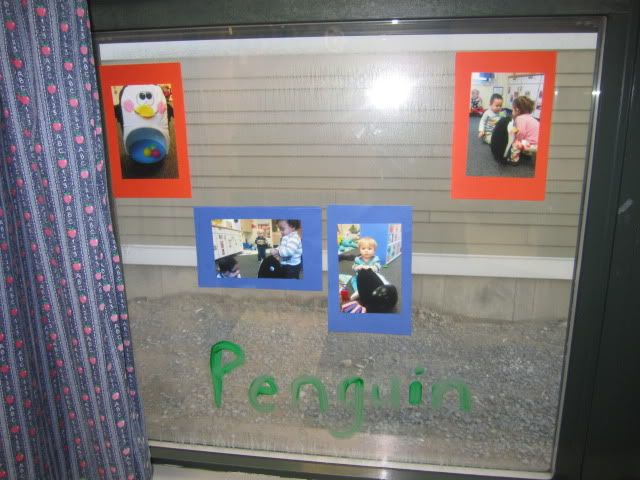

We gave the children a Penguin bop bag to explore/play with. The children got a kick out of pushing the Penguin down, only to have it pop up. A few sat on the penguin in an effort to keep it down. We took pictures of the play and posted them on our window under the title "Penguin Play".
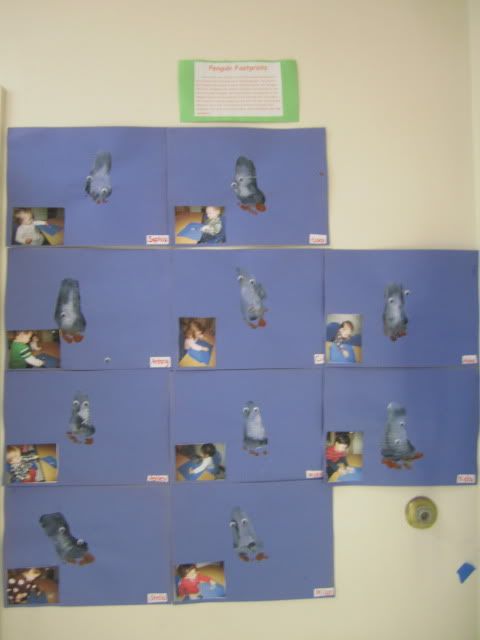
We also decided to create penguins out of footprints. It was definitely a challenge, painting the toes orange, the center white and the outline black, but the children got a kick out of it (especially since we recently did a similar activity, but more on that later). The children were then given sticker googely eyes. The children got to put their eyes on their penguins as if they were stickers. While the painting portion was entirely teacher-lead (which is frowned upon in the
RIE Philosophy), the children were given complete freedom in placing eyes on the penguins. Of course, that meant some penguins had eyes located a stone's throw from bodies, but, hey, that's the child's prerogative.
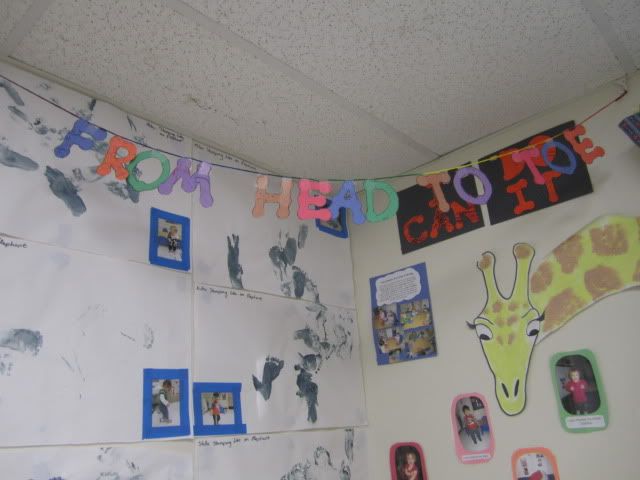
"I am a giraffe and I turn my head. Can you do it?"
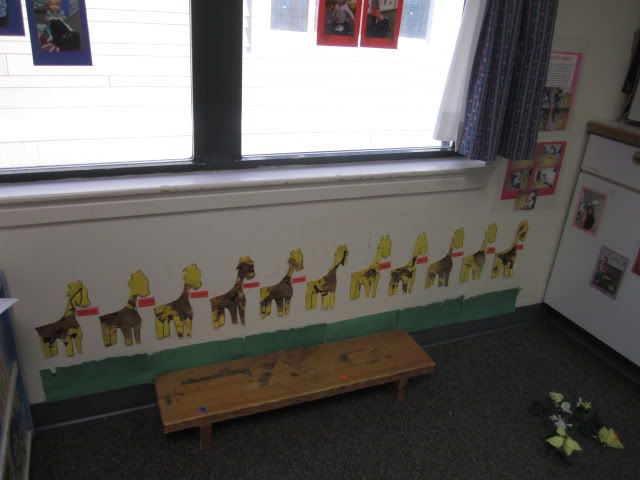
The children were given an outline of a giraffe and brown paint. We let the children do whatever they wanted with the paint. If they wanted to make hand prints, they could make hand prints. If they wanted to finger paint, they could finger paint. If they want to use a paintbrush, they could use a paintbrush. The teachers then cut out the giraffe -- which, I will admit, is also pushing the limits of child-oriented activities, but cut-out giraffes look a lot cuter lined up against the "grass" than yellow rectangles.
"I am an alligator and I wiggle my hips. Can you do it?"
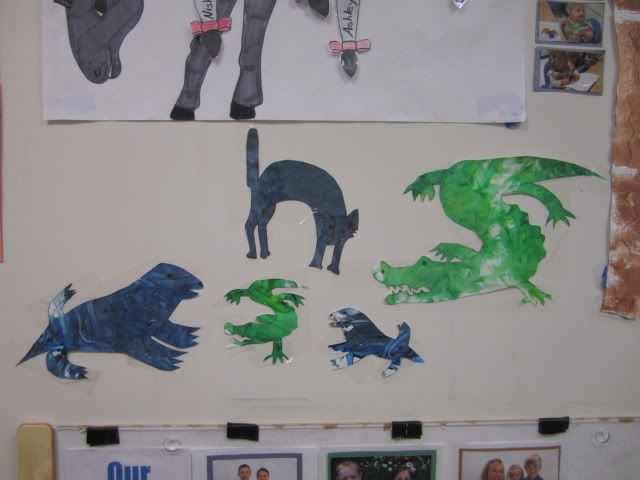
For the alligators, cats, and seals, we gave the children two different colors to finger paint with, since the characters in Eric Carle's books are colored with the same two-toned finger paint texture. For the children's alligator, we gave the children yellow and green paint, like the alligator in the book. For the children's cats and seals, we gave them black and blue paint, like in the book. Once the children were done mixing the colors around with their fingers, I drew the animals on top of the paint and cut them out.
The kicker is that this is almost exactly how Eric Carle makes his creations. Only his are a lot more intricate (and make him a lot more money).
"I am a seal and I clap my hands. Can you do it?"
On top of the finger painted seals, the children dipped them hands in pants and "clapped their hands" against the paper. This project was perfect for the children, as they love smacking the paper with their painted hands after we do a handprint activity.
"I am a donkey and I kick my legs. Can you do it?
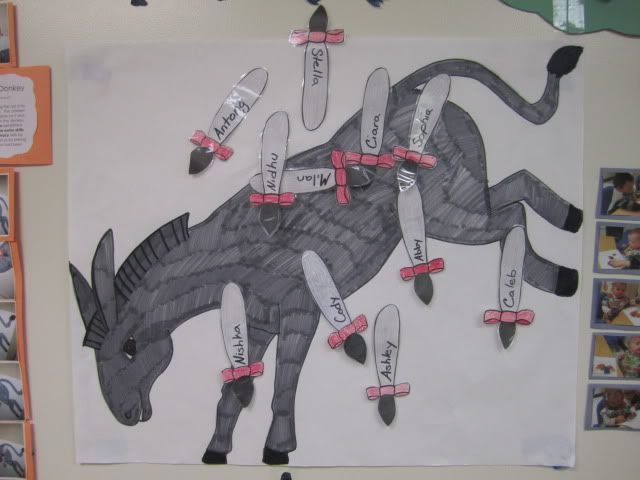
The children got to play Pin the Tail on the Donkey. The rules were simple enough at even our one-year-olds were able to play. The children also gained some pre-literacy skills, since their names were on their tails.
The coolest part was that the children were still interested in the project long after we finished it, which meant we were able to point out everyone's names/tails on multiple occasions. That might seem like a fruitless effort on a 1-year-old, but it really does lay the groundwork for higher learning. Everything is a connection, and that is why I love early childhood education.
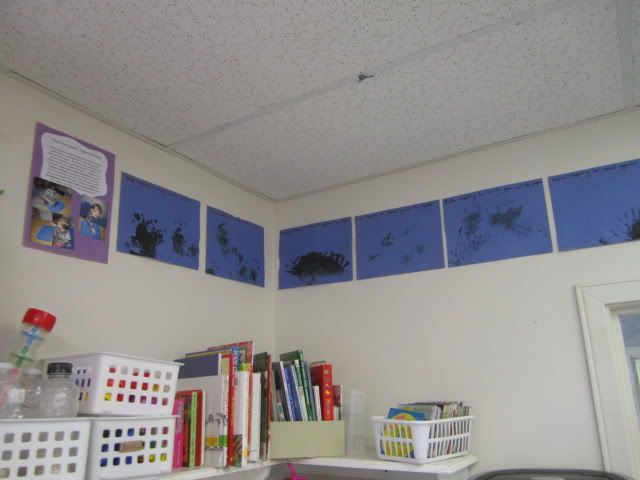
"I am an elephant and I stomp my legs. Can you do it?"
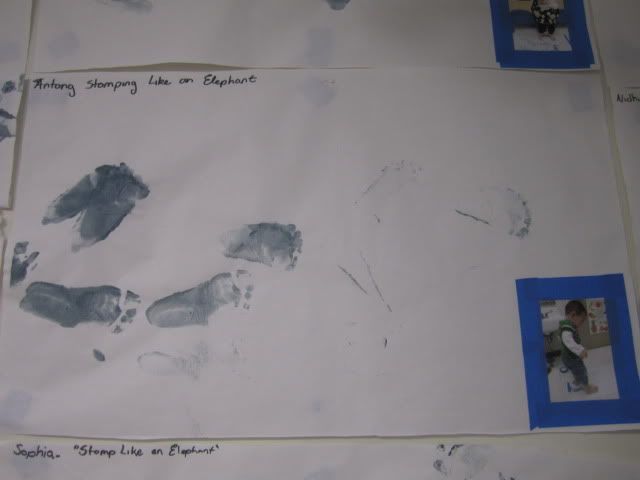
Before the penguin footprints, the children dipped their feet in pant and stomped their feet across a large sheet of paper. The children were
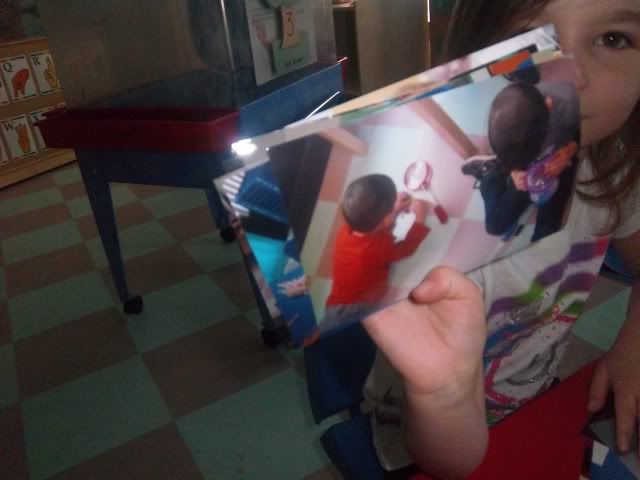
fascinated with their footprints. Every child spent the majority of the project looking at what they were creating. This really showed in the documentation pictures (which is vital, especially for this age group, since these projects are all about the process, and pictures/written blurbs capture the process). We attached a picture of each child doing the project onto a corner of their footprints.
"I am a monkey and I wave my arms. Can you do it?"
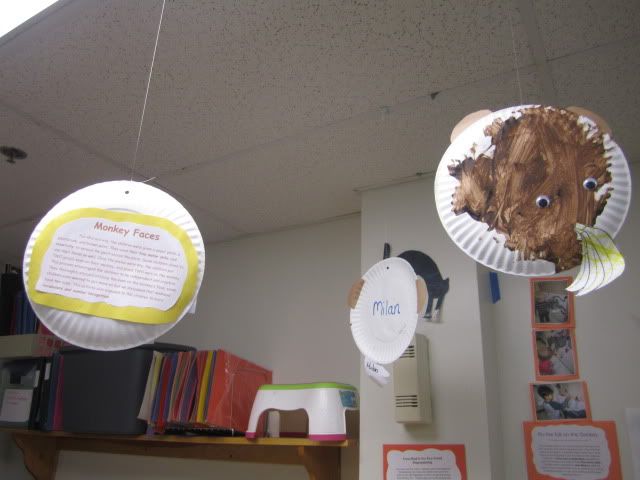
The children painted paper plates, attached sticker googely eyes to the plates, and attached (pre-glued) ears to the edge of the plates. They then colored in pictures of bananas for the monkeys to eat.
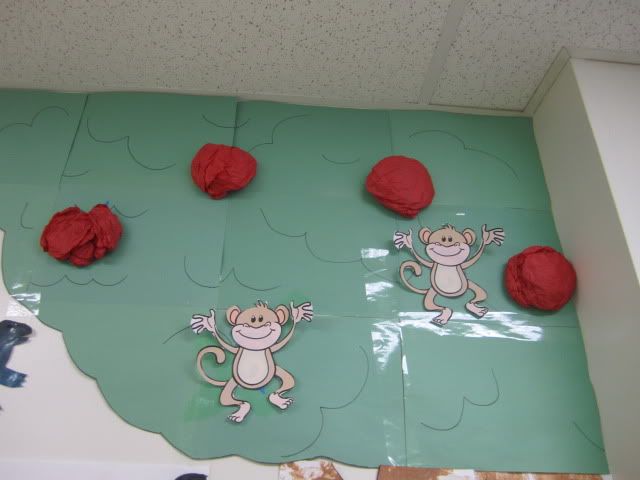
We also added monkeys to our "tree".
The children also explored crayons on pieces of papers with letter outlines. The children gained even more pre-literacy skills, as we announced which letter each child got. We then cut them out, taped them to string, and hung it up in a corner.
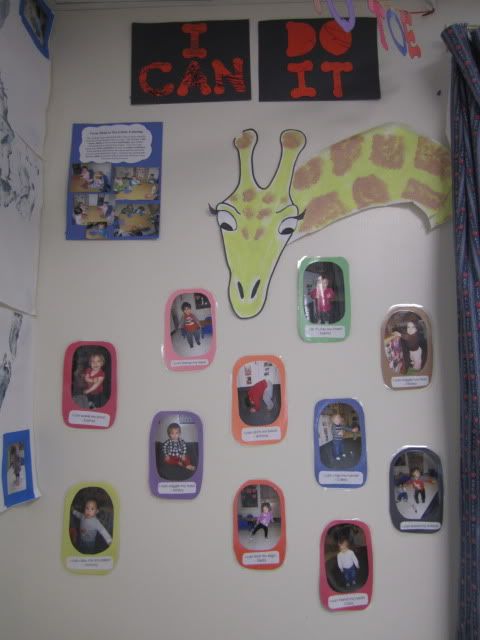
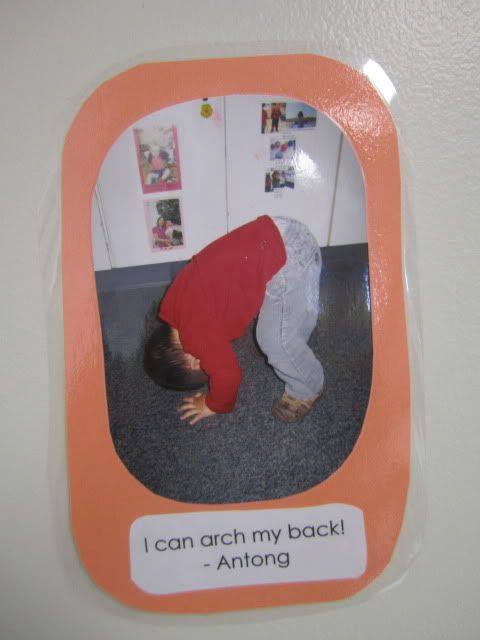
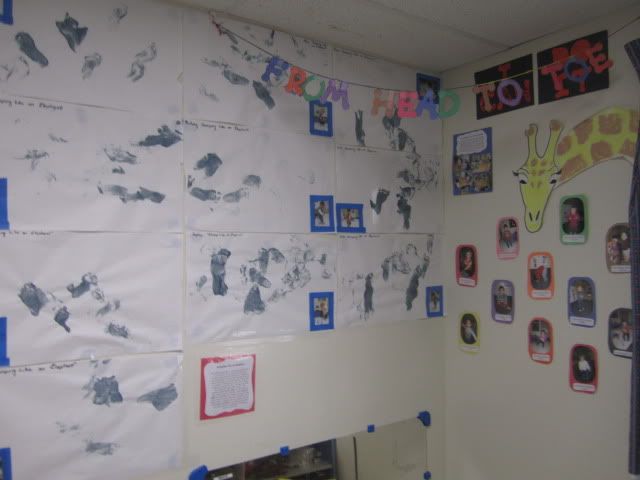
Since the children knew the book by heart, we took pictures of them doing the various actions and put them up under a giraffe bending his neck.
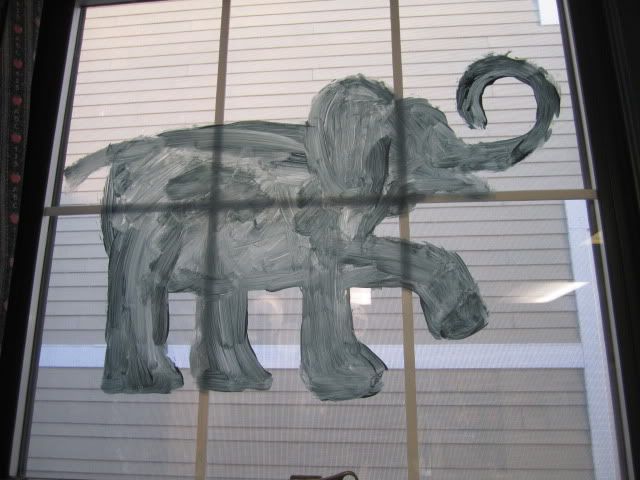
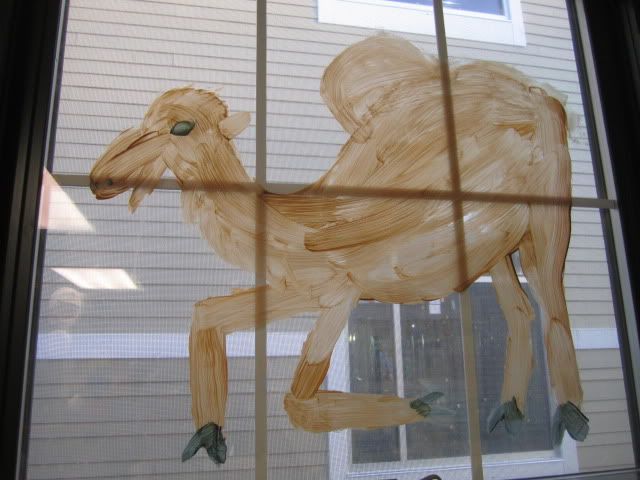
To accompany the giraffe, I painted the elephant stomping his foot and the camel bending his neck on our window. Much like the giraffe and the donkey, the children loved pointing out the animals and then doing the action that each animal was doing. It was wonderful seeing the children remember that the gorilla thumps his chest, the donkey kicks, the camel bends his knee…
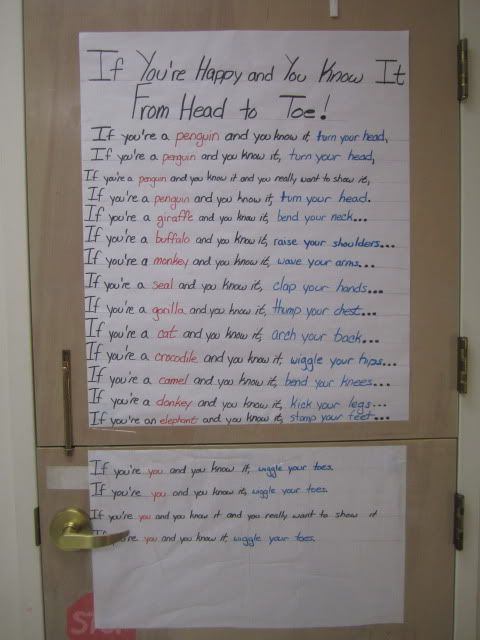
We also changed the lyrics of "If You're Happy and You Know It" to accompany the book. Instead of, "If you're happy and you know it, clap your hands," we sang, "If you're a seal and you know it, clap your hands," "If you're a cat and you know it, arch your back." We wrote the lyrics on large sheets of paper and posted them on the wall.
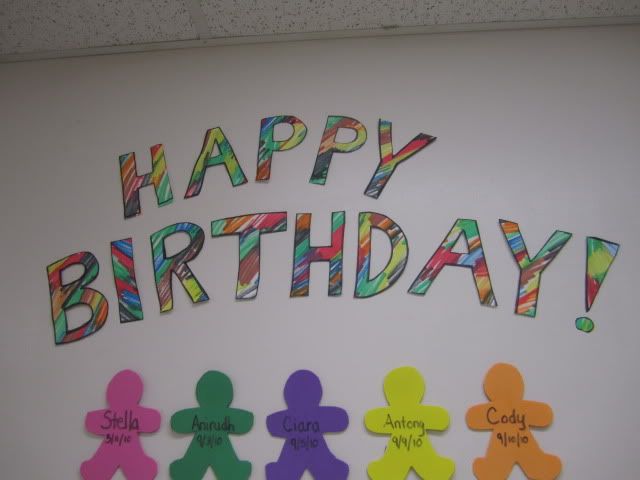
The beginning pages of
From Head to Toe are filled with random brushstrokes of a rainbow of colors. I incorporated that in our Birthday Wall by coloring roughly 10 sheets of paper in the same fashion and cutting out letters that spell out, "Happy Birthday!"
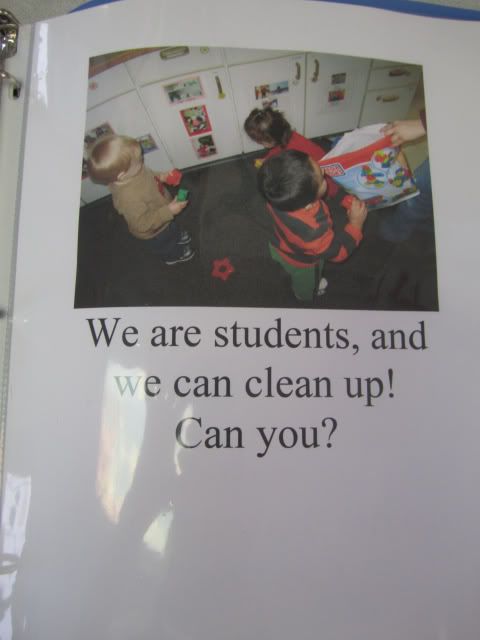
I was feeling a little guilty about such teacher-lead/teacher-manipulated projects like the footprint penguins or cutting out the giraffes. The children didn't have to do a single thing but be themselves for this. I followed the children around with my camera and took pictures of them doing what they do best: playing dress-up, touching their toes, eating their food, etc. We then created our version of
From Head to Toe. Instead of, "I am a seal and I clap my hands!": "I am a Johnny and I play with blocks! Can you do it?"
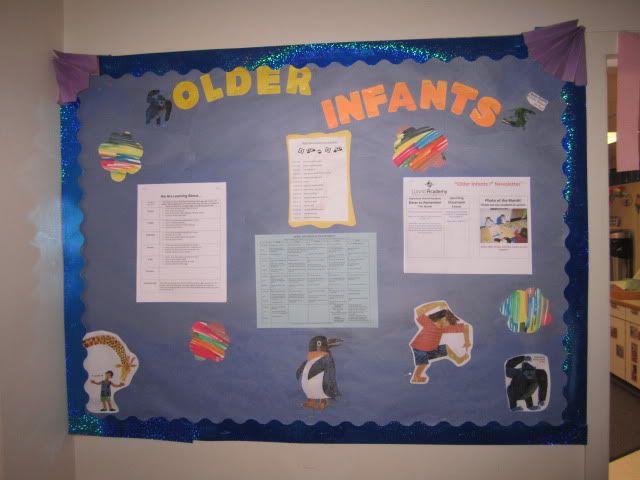
We decorated our bulletin board with various characters from the book. After cutting up the letters for the birthday board, I ended up with a few extra sheets of paper. I decided to cut out a few flowers to fill in the empty space.
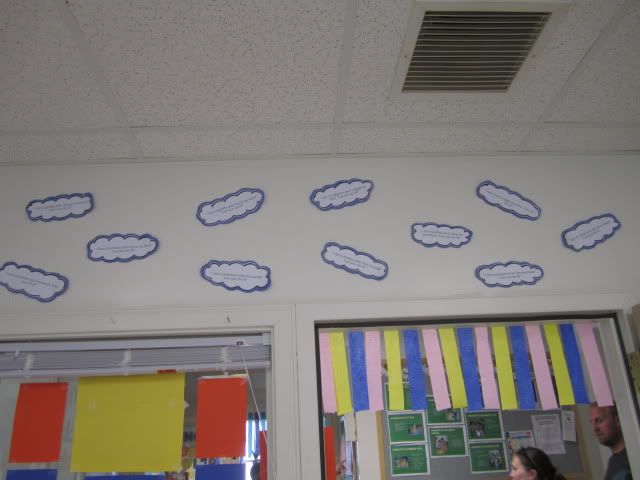

We also put up little clouds with the various sentences from the book on the wall above our classroom.
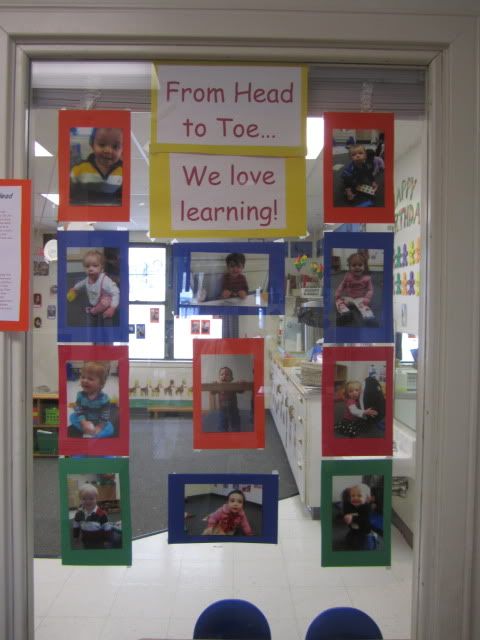
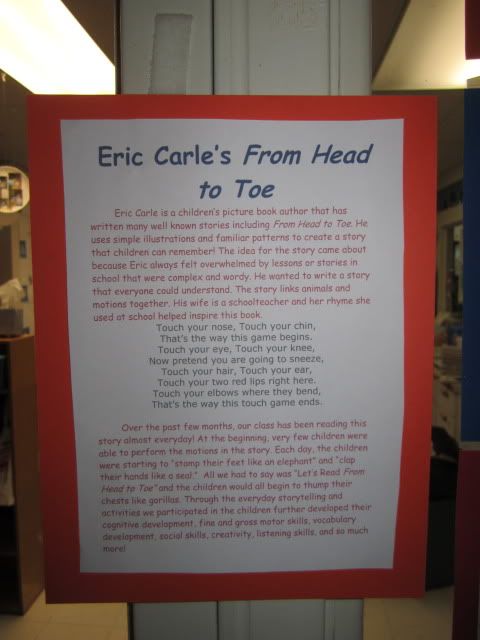
Our room has a "preview" window of sorts. We took pictures of every child and taped it to the window under the title "We Love School From Head to Toe!". On the border of the window, we placed a little blurb about Eric Carle and his book.
I talk a lot about pre-literacy skills, but I should point out that every project for this theme was a exercise in gaining pre-literacy skills. Anything that takes what they read and incorporates it into real-life scenarios gains pre-literacy skills. This is the age where they learn that pictures are a representation of real-life objects, which is the precursor to reading.
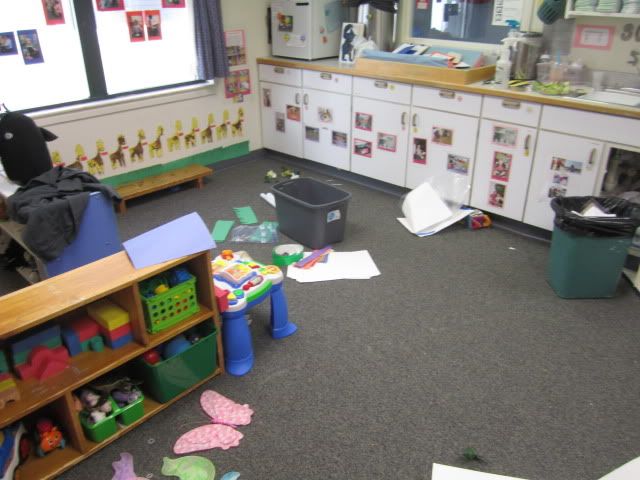
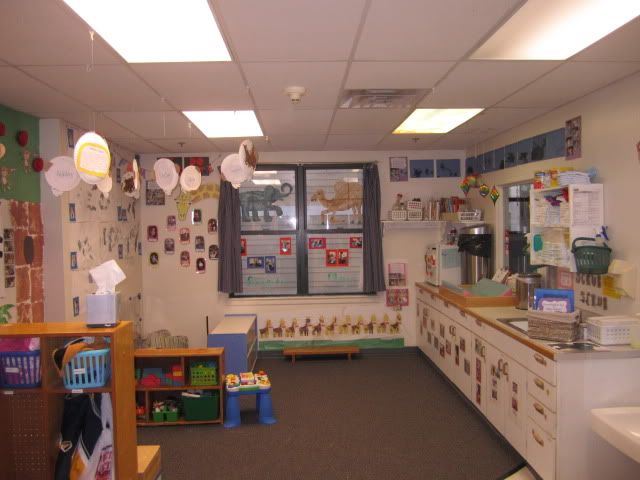
Setting for Open House was a project. My co-teacher and I probably spent at least 3 hours putting everything up, as we weren't allowed to have anything up before Open House. Our room was a mess of paper shreds and tape rolls.
But it was worth it. The parents loved seeing what their children were doing, the other teachers loved seeing what everyone else did, and it was wonderful seeing the excitement on prospective parents' faces as they toured the room.
But I must admit: I'm glad there is only one Open House a year. Sunday afternoon was two months in the making and we're
exhausted.


