Friday, September 28, 2012

Photo Friday: Hang Gliding

So, as I mentioned before, I went hang-gliding on my birthday. It was an absolute blast. I thought I was going to be a lot more nervous about it than I ended up being -- I mean, I had two breakdowns the day I went skydiving -- but I find myself extremely at ease, even when I was suited up to go.

Speaking of, my best friend and I went skydiving as Superman and Batman, so it only seemed right that we did the same for hang-gliding.

For this hang-gliding experience, an ultra light towed us up to about 3500 feet before letting go. This was the only time I was nervous, as the ripples in the air from the ultra light's propeller caused some serious turbulence for the hang-glider.

As you can see, I went tandem, because 1) It takes a lot of time and money to actually be able to fly alone and 2) like hell if I'd trust myself with keep my sorry butt in the air.


The coolest part was that even though we were in the middle of no where (from a Bostonian standpoint, this means anything west of Worcester), I could see Boston as clear as day. It's a lump in this picture, but I could see the Prudential and Hancock and downtown Boston. It honestly felt like I was watching a movie.

We've already decided that next year is white water rafting. As we see it: we've already jumped out of a plane and strapped ourselves to a glorified kite. What's a little river adventure in comparison?

Tuesday, September 25, 2012

Five Things You Should Never Say (If You Want to Become a Model)

Working in the modeling world definitely comes with a full set of frustrations. From Runway Moms to The Ever Shrinking Size of Industry Standard, there's a lot more to it than just looking pretty in a camera. But I decided to make a quick video about one of the more lighthearted frustrations: the silly things "aspiring models" tend to say and why it's best to keep those thoughts to yourself:

Monday, September 24, 2012

Pinterest Fail #1: Marbeled Nail Polish from a Bowl of Water

Ever wonder if those Pinterest beauty hacks actually work?

In the case of this one, the verdict is a strong hell no.

The idea seems simple enough: in a bowl or cup of water, add nail polish of various colors. Brush the skin on your fingertips so you don't get nail polish on your skin. Dip your fingers slowly into the concoction for a wonderful marbled look.

I did everything I was supposed to: got out my nail polish (which you might remember from my Tetris Nails), I filled a cup (a red Solo cup, no less) with cold water.

I even busted out one of my nice paintbrushes so I could apply the Vaseline like an artist.

The result? I don't even have a picture of the monstrosity, as my hands were coated in a disgusting layer of vaseline and nail polish (I also lacked the foresight to only do one hand at a time). I attempted to wipe the vaseline away, only to find my hands coated with a multi-colored oil slick that didn't wash off.

And my nails? Instead of a marbled look, I ended up with weird, streaky, uneven color combo. Not even remotely passable.

Everything came off with enough hand-washing. When the Vaseline was good and scraped off, I was able to get the nail polish off my skin through repeated scrubbings with nail polish remover. I am definitely not doing that again!

Tuesday, September 18, 2012

Try it Out Tuesday: Rainbow French Manicure

Honestly, this happened mostly because I wanted to do my nails for my birthday and I had long run out of white nail polish. I still had all those colors from my Tetris nails, so why not get a little colorful?


French manicures are fairly simple once you get the hang of it. Apply two or so coats of nail polish to the top 1/3 of your nail. Let them dry completely before soaking a Q-tip in nail polish remover and slowly "erasing" the nail polish from the bottom up in a broad C pattern. If you have long nails, stop just short of the whites of your nails. If you have short nails, stop when you are roughly half a centimeter away from the edge of your nail.


Again, give yourself another 10 minutes to let the nail polish remover dry completely from your nails before applying a top coat.


As a sidetone: I decided to knock another thing off my bucket list and went hang gliding for my birthday. It was an absolute blast. Pictures coming soon!

Friday, September 14, 2012

New York, New York

I had the opportunity to go to New York for Labor Day Weekend. Everything about it was a blast, from our road trip from Manchester to NYC and later Hewlett, to our super-condensed site-seeing. I had a Long Island Iced Tea in Long Island and enjoyed some NYC comedy clubs. I ended up knocking a few biggies off my bucket list: primarily, seeing the Statue of Liberty and going to the top of the Empire State Building.


September has definitely been a busy month for me, so I apologize if my posts drop in numbers for a bit. But, at the very least, all these adventures do make for some good picture posts!

Saturday, September 8, 2012

First Autumn Leaf Framing

Last September, my husband came up with the cutest idea: collect leaves that had fallen from the tree and seal them in wax paper, commemorating our first autumn together.


It was sweet, it was sentimental, it made me swoon and remind me why I hysterically repeated, "Yes!" before he could finish his proposal speech.


One thing I wasn't planning on? The utter cheapness of our wax paper. We tried and we tried. Iron for a little bit; iron for a lot. Essentially seer the edges. NOTHING worked. The wax paper kept falling apart. Although dejected, I told my husband how much I adored, at the very least, leaves from our first autumn, and placed the failed wax paper experiment on a shelf in my crafts room.


And then, around the same time I bought Mod Podge for the Save the
Date Flower Pot
, I came up with my own cutest idea:


Why not use the decoupage glue and frame a few of those leaves?


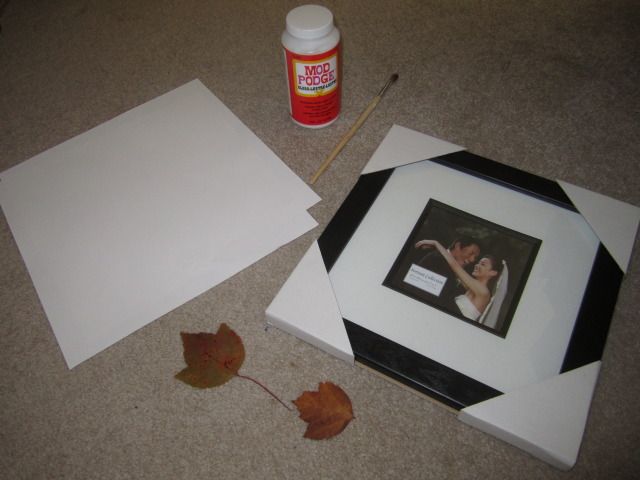
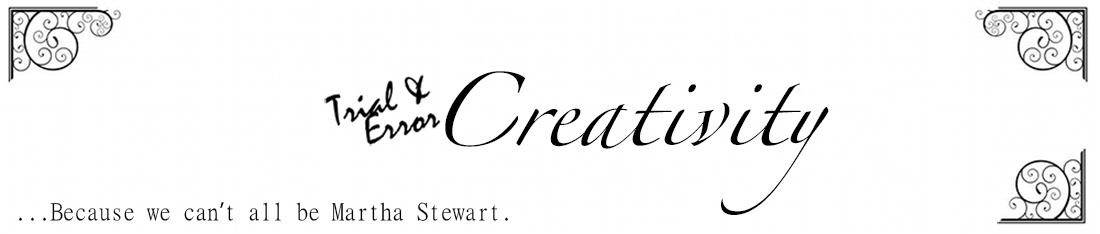
For this, I needed: a 12 x 12 frame with an 8 x 8 matte, white cardstock, Mod Podge, a paintbrush, a sharpie or paint marker, and, of course, the leaves.


First, collect leaves with your new husband-to-be. Press/dry the leaves with wax paper with the "slick" side facing out (or, just buy really, really cheap wax paper). If you are doing this sans failed wax paper, I suggest pressing the leaves. The simplest way is to simply slip them under a large stack of books and leave them alone for a few days. At least, that's the simplest way for pressing flower petals. Let me know if that doesn't work for leaves.


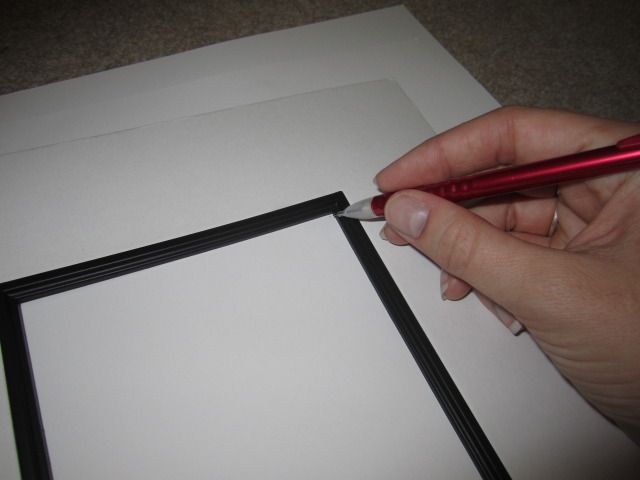
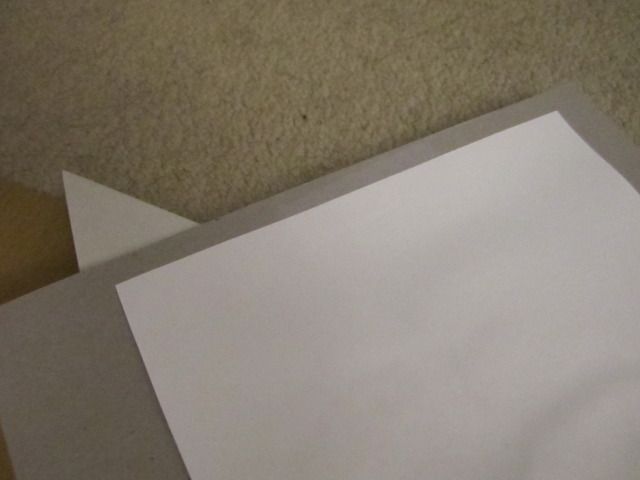
I marked the inside corners of the matte on the cardstock, so I would know where to put the leaves. Just to double check, I would (gently!) place the matte over the leaves after arranging them on the cardstock.


Again, I reiterate: GENTLY! Remember that you are working with dried up leaves. Move them at your own risk.


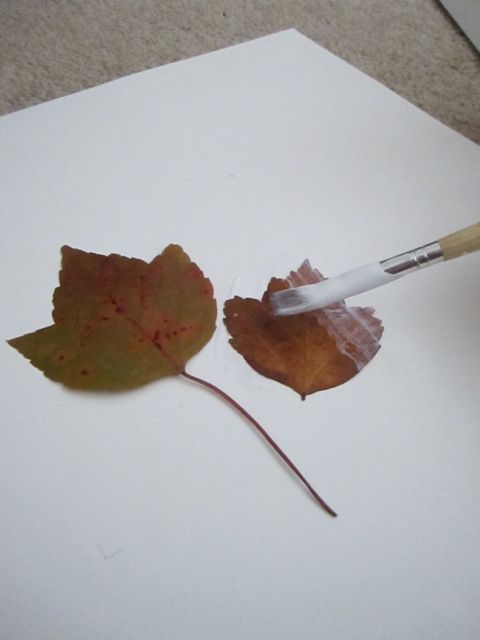
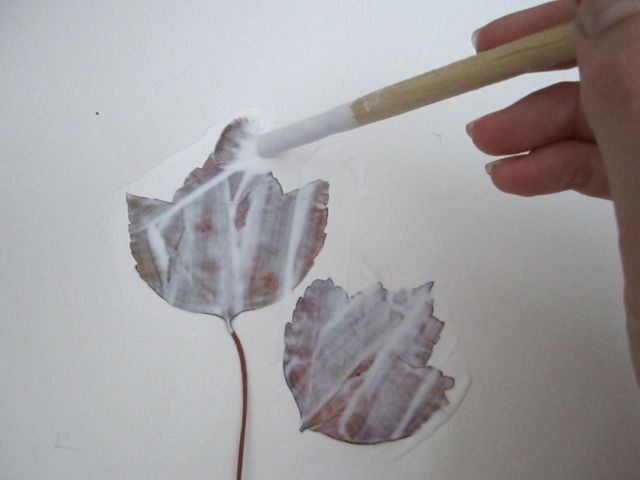
Once everything was in place, I went to town with my Mod Podge. I put a solid layer of the glue on the cardstock, placed the leaves into place, and covered them with two layers of Mod Podge. The leaves were a bit temperamental, so I kept them in place that (gently!) pressing the paintbrush into the leaf until the glue started to dry, keeping the leaf in place.


I know I've talked about this before, but, honestly, where was decoupage glue when I was a Girl Scout? I would get berated for neurotically gluing my crafts, using way too much and smearing a solid layer of Elmer's glue on top of everything just to insure that everything would stay in place.


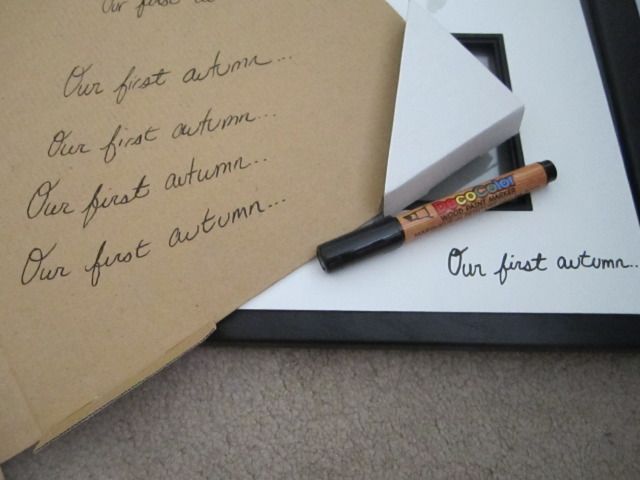
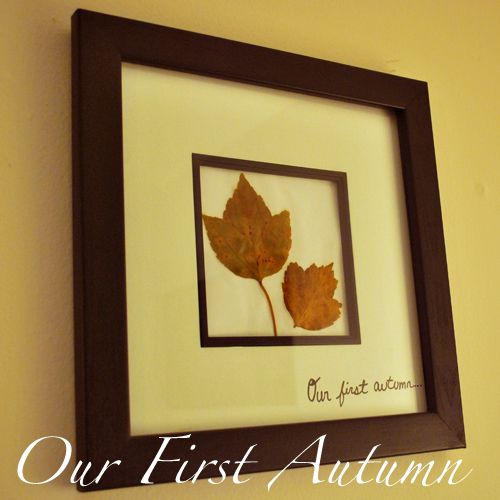
While the glue dried, I wrote "Our First Autumn…" on the matte with my paint marker(but, really, a Sharpie will do great as well) -- but not until I did a few trial runs of the phrase.


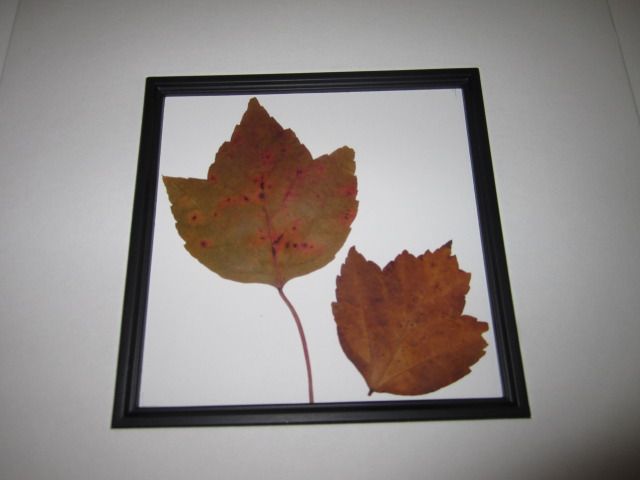
After everything was dried, it was all a matter of taping the cardstock to the back of the matte, and putting all the pieces of the frame together, and finding a place to hang it up.


My husband saw my project and immediately replied, "Another frame craft? Abby, this is an intervention." And, like the mature, educated woman I am, I replied with, "Well, you started it!"

That's what he gets for being sappy!

Wednesday, September 5, 2012

Making Risotto (Really, It's Not That Scary)

I am a huge fan of "Hell's Kitchen". Not only is it one of the few reality show competitions where everyone is judged purely on their actual talent (not on their ability to strategize, backstab, and appeal to the 40-something soccer mom crowd), but it also makes me want to cook. Specifically, cook the common foods in the show.


Quite easily the most common dish on "Hell's Kitchen" involves some sort of risotto. I had never cooked risotto but, judging from how often the contestants mucked it up, it looked quite difficult to do.


But, how does that bit of advice go? Do something every day that scares you? Or at least: do something every day that you're guaranteed to muck up as well?


So, for this particular dish, I used:
Arborio Rice (aka uncooked Risotto rice)
Chicken Broth (for the risotto) -- you are going to need around 4-5 cups of broth for every 1 cup of risotto
Spicey Chicken Sausage
Scallions
Peas


Cooking risotto turned out to be pretty easy…once I got over the overwhelming fear I got over needing two pans to cook rice. I had just figured out how to cook regular rice without burning it -- and now I need two pans to make this complicated contraption?


But it's okay. In a sauce pan, pour in the chicken broth and keep the broth on a low heat. In a flat pan, melt 1 tablespoon of butter with 1 tablespoon of oil. If you'd like, you can take this time to sauté finely-chopped onions.


Now it is time to sauté the risotto. Pour in the risotto (I recommend making no more than 1 cup of risotto your first go-around) and stir. It is recommended to use a wooden spoon so as to not break the rice. I don't own any wooden spoons, but I do own a strainer with a wooden handle! Sauté for roughly 2 minutes, constantly stirring with your wooden spoon/handle (and while we're at it, why not bust out an old ruler to stir…)


Now, slowly add in the broth, one ladle-full at a time. Briskly stir in the broth until it is fully absorbed before adding more broth.


In an homage to the constant risotto-flipping in "Hell's Kitchen", I made sure to get a few pan flips and shakes in myself.


The nice thing about risotto is that you can add essentially anything to it. Just consult the 8 seasons of "Hell's Kitchen" for evidence (Hell, for the most recent finale of "Hell's Kitchen", one contestant created a scallop risotto, combining the two most common dishes into one nightmare of an appetizer). For this particular dish, I cooked up chicken sausage, boiled some peas, and chopped up some scallions.


Continue cooking your risotto, adding ladles of broth for 20-30 minutes. You'll know your risotto is done when:
- The rice takes on a creamy consistency
- The rice has a firm bite to it, but isn't crunchy (much like regular rice)


Mix everything together and serve.


The only drawback to risotto is that it doesn't keep well, so eat up once it's ready. Which, when paired with amazing ingredients like spicy chicken sausage and scallions, that's not a hard thing to do.


And, really, you can add anything to it, the same way you can add anything to rice. Another thing you can do is sprinkle a layer of shredded cheese. Here's another dish I made -- roughly the same as before, only with cheese, hot sauce (Valentina's, of course), and broccoli.
Related Posts Plugin for WordPress, Blogger...

09 10 11 12
Blogging tips