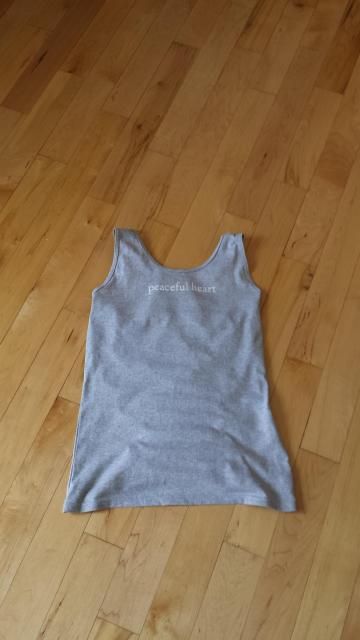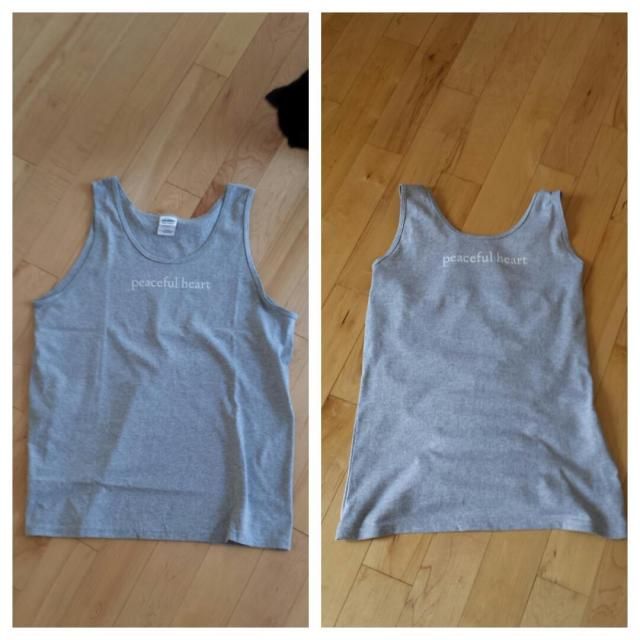
A little while back, Jeca Yoga in Manchester NH sold “Peaceful Heart” tank tops online, where half of the proceeds went to the Manchester Homeless Services Center. The center is a place that I hold near and dear, so it just made sense to order one as well. A few weeks later, the tank top came in the mail and – well – sometimes life needs to come equipped with its own “Price Is Right” whomp whomp sound effect.
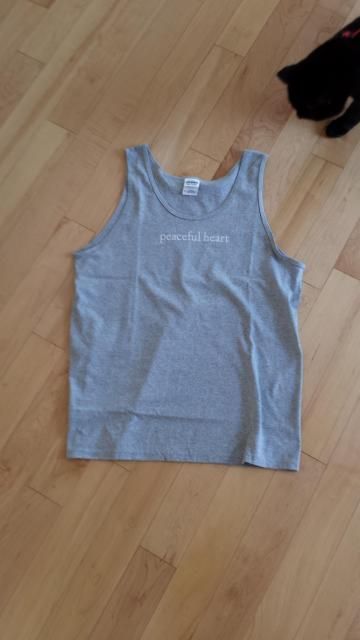
At first, I admitted defeat. I told myself that it didn’t matter, that the emphasis was on a good cause, not a new piece of clothing, that maybe it would work as a baggy pajama shirt…
(Spoiler alert: I didn’t admit defeat for long.)
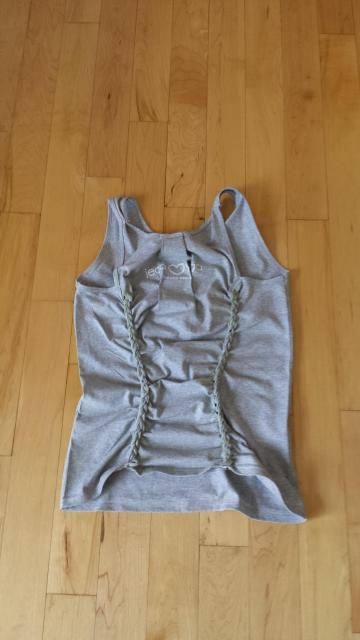
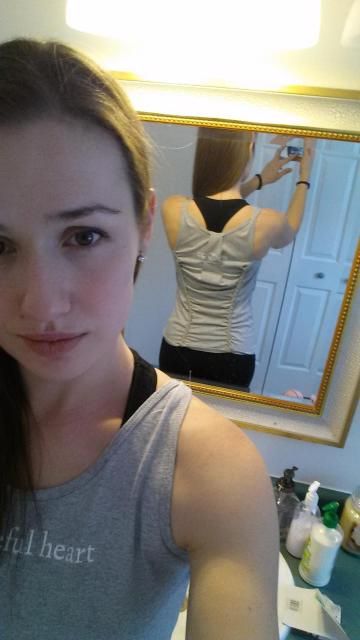
So I decided to set off and figure out how in the world I was going to tailor this tank top to actually fit me. I ended up going at it on three different levels: I pleated, I cut up & braided, and I created side seams. And I ended up with a unique piece that I absolutely love to wear.
Pleating to Make a Smaller Neckline and Straps
The neckline and straps were too wide for me to wear. To shorten the widths, I pleated the tank top at the back center of the neckline and on the top seam of the straps.
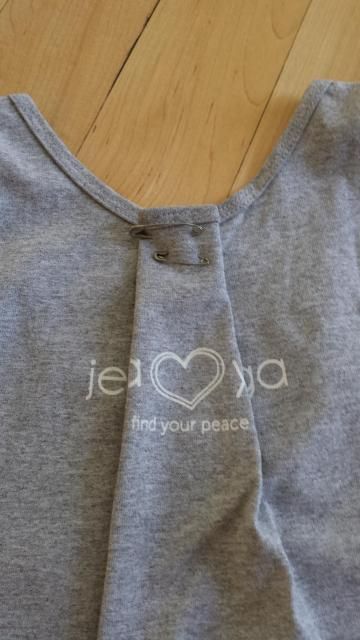
I also accordion-folded the outside edge of each strap over its respective bottom edge, giving the straps a narrow, more pinched look.
T-Shirt Cutting/Braiding to Cinch the Waistline
Adam Saaks has made a name for himself, cutting up shirts and weaving the strips together. Surprisingly, this process is a lot simpler than it looks.
To get an idea of how the braiding would cinch the shirt, I pinned the areas that I would eventually cut along. This will only give you a rough estimate, but it helps you plan out where and how much you want to cut. Although be aware that the braiding can only do so much, and the shirt will start to also cinch upwards as it cinches in, so find the right balance before cutting anything up.
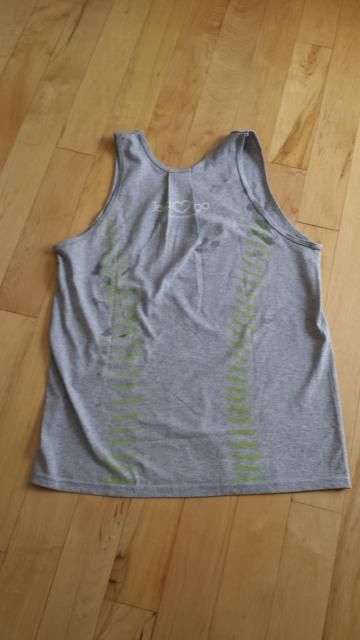
Since I don’t have fabric chalk, I used standard chalkboard chalk soaked in water to make my lines. I marked the lines halfway in, starting at the pins and ending at the fold. I then removed the pins and created the lines’ other halves. Ideally, every line is of equal length and equal distance from each other. I also recommend running the iron over the shirt both before and after you cut. I heard somewhere that it makes the strips of fabric more manageable and I’ve yet to call that bit of advice on its bluff.
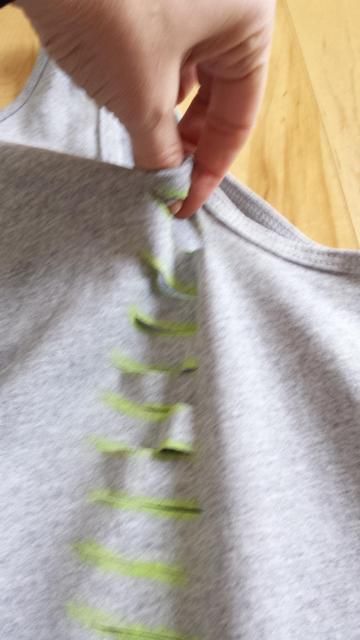
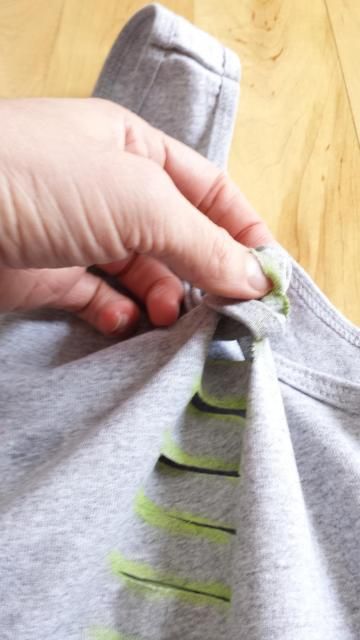
To create the braid: with the t-shirt held taut (I did this on the floor with my feet gently tugging at each side of the shirt. Those with less severe spider-monkey tendencies might want to consider having a friend hold the shirt down), pinch the top strip and turn it once counter-clockwise. Feed the next strip upwards and through the loop you’ve just created. Holding on to the second strip, make sure everything has fed through the loop equally before repeating the process: twist the new piece of fabric once counter-clockwise, feed the next strip up, and make sure everything fed through fine.
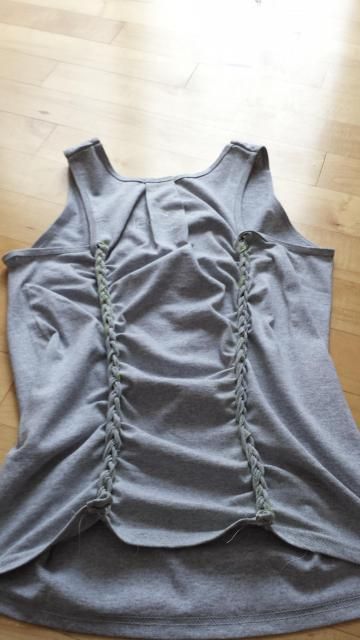
Side Seams To Bring It All Together
The shirt was 90% there, but the torso was still a little off and the armholes were still a little too big. It was time to kill two birds with one stone and create side seams.
Depending on the style, some shirts already come with side seams. That makes things about 100 times easier, as you can usually just sew along the inside edge of the seam that is already in place. This shirt was a single, sans-side-seams unit, so I had to improvise.
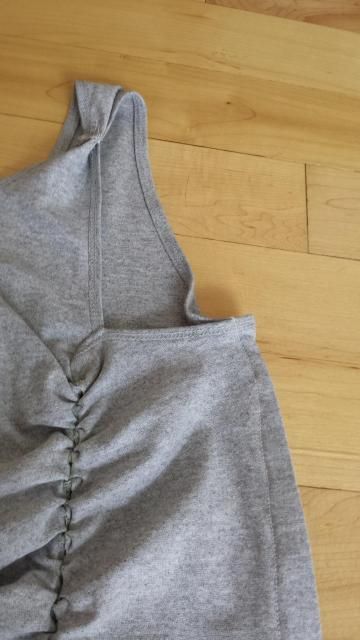
I then turned the shirt right-side-out (again) and ironed the edges of the seams, which gives everything a clean, more crisp look.
