Hey everyone! This is actually one of the very first crafts I ever did specifically for the blog. It somehow fell through the cracks and was never published. So now, over a year and a half later, I post it. Better late than never!
I found the coolest (and easiest)
infinity scarf project and, given the number of old t-shirts my husband has given me for my various sewing projects, I knew I had to make it.

I was going to show you what I gathered for this project, but Salem decided the shirt had a better purpose. But I assure you that, under the cat, there is an extra large t-shirt (100% cotton -- avoid anything that has any stretchy fabric in it), some Rit royal blue dye, and my rotary cutter.
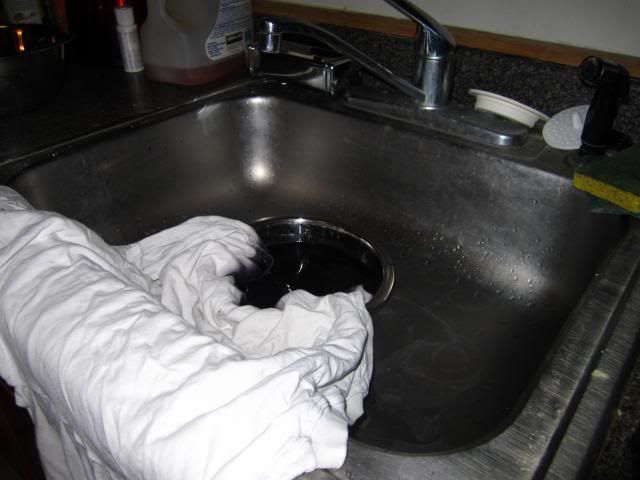
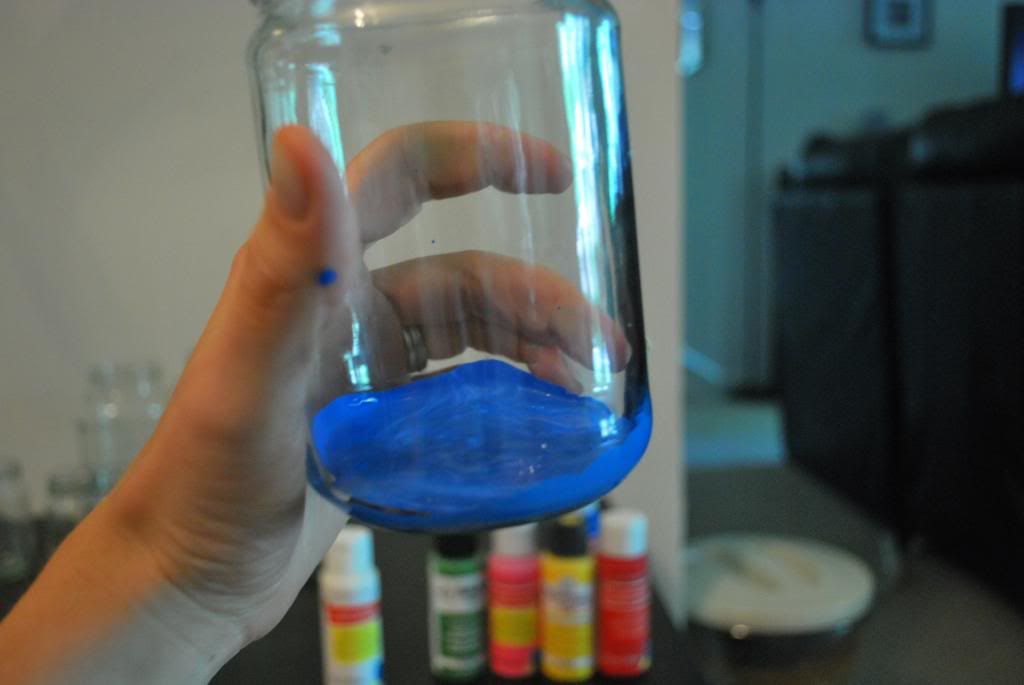
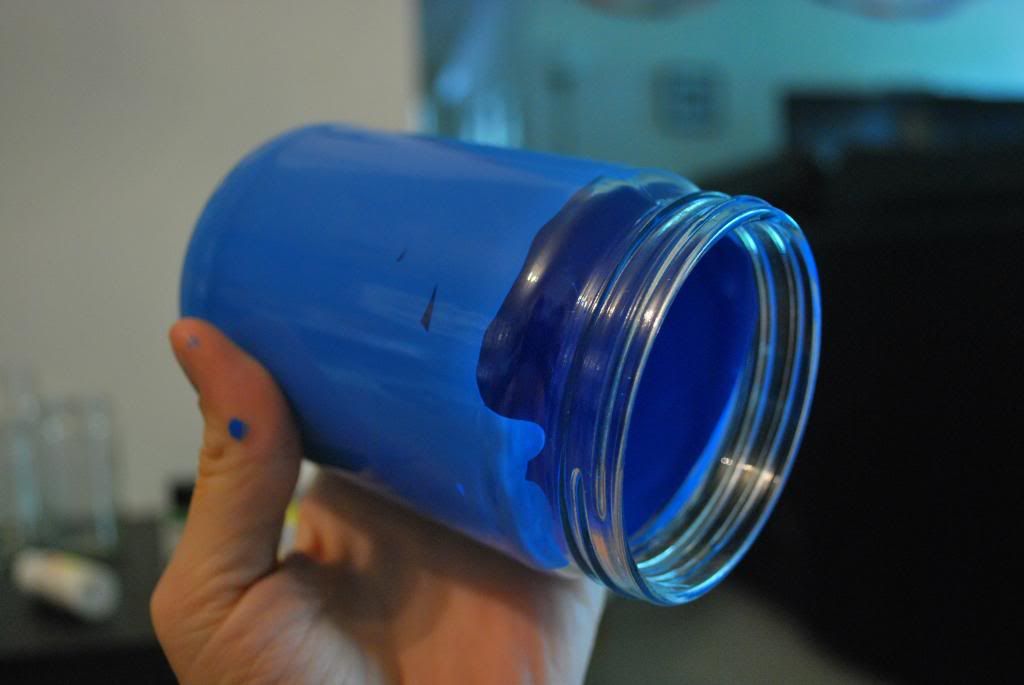
I strapped on my handy-dandy gloves and emptied half of the bottle of Rit into a stainless steel bowl in my sink. Slowly but surely, I added the fabric into the bowl. And by slowly, I do mean slowly: about every 5 or so minutes, I'd feed another portion in.
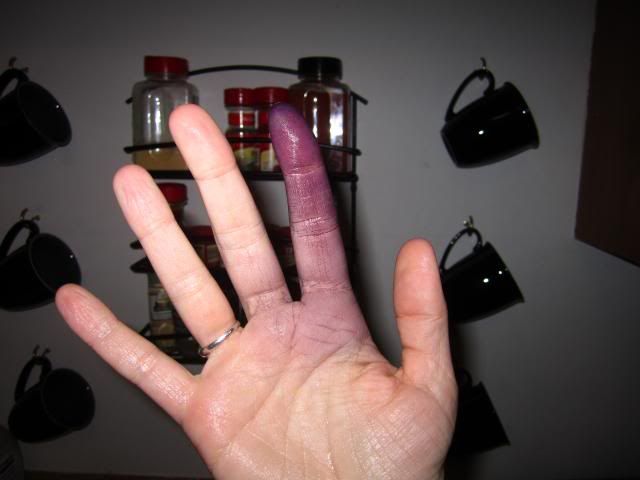
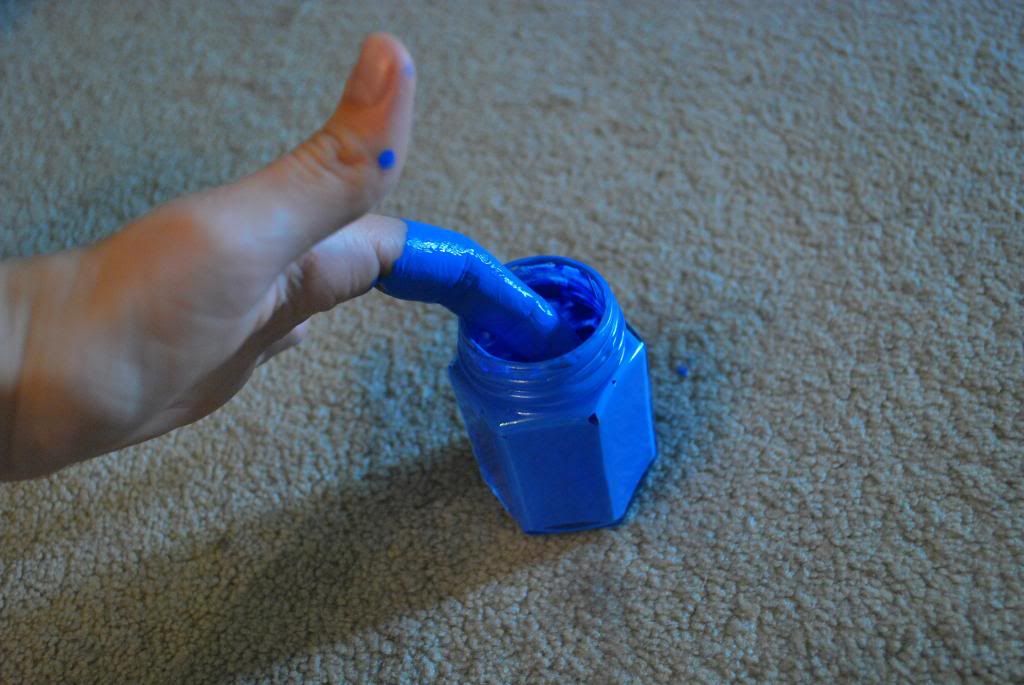
Hey, want to know how to find out that one of your gloves has a crack in one of the fingers? I was scrubbing at my finger so roughly, I swore I'd go blind. Even after repeated washings, I went into work the next day looking like I slammed my index finger into the door.
Good news: I work with children, so I'm constantly washing my hands. By the end of the day, the majority of it was gone.
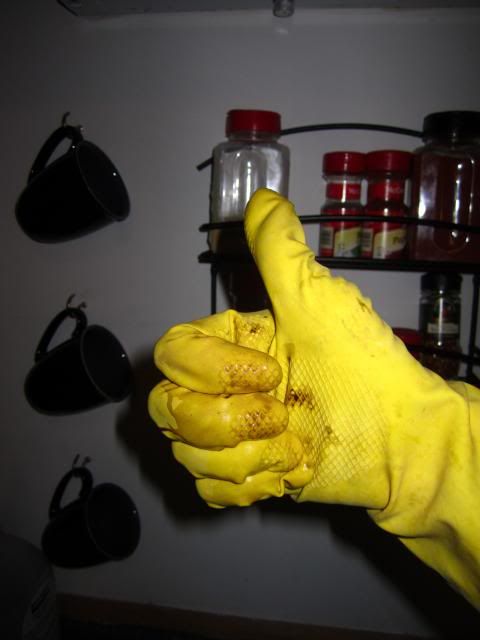
Other good news: I have more than one pair of gloves.
After the entire t-shirt was submerged in the dye, I removed the shirt from the bowl and I rinsed out the dye until the water ran clear. I threw it in the washer just to be sure I got all the dye out.
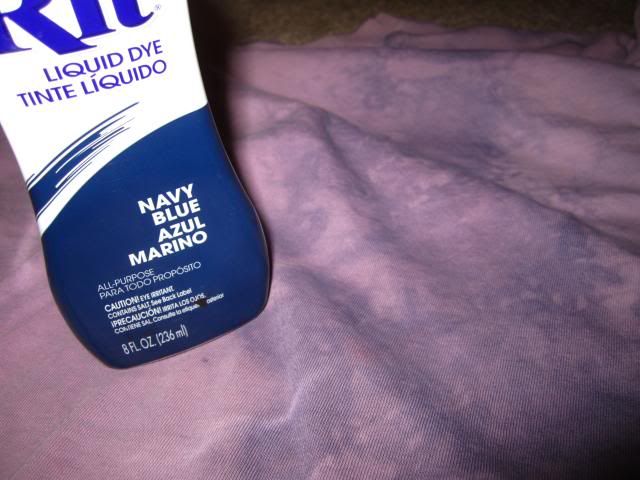
Rit better better thanking their lucky stars that I'm a good-natured individual, because this is
not royal blue.
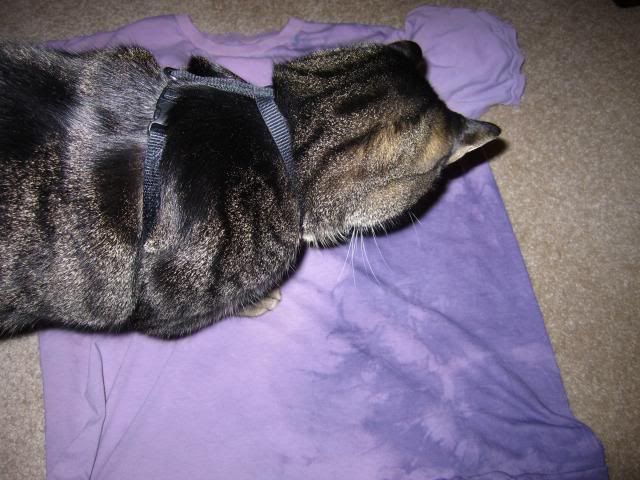
Even Milo agrees.
I didn't get the ombre look so much as I got a tye-dye look. But that's okay, because I also didn't get the royal blue look.
I might be a good-natured person, but I am also Irish. We passive-aggressively hold grudges like overpaid professionals.
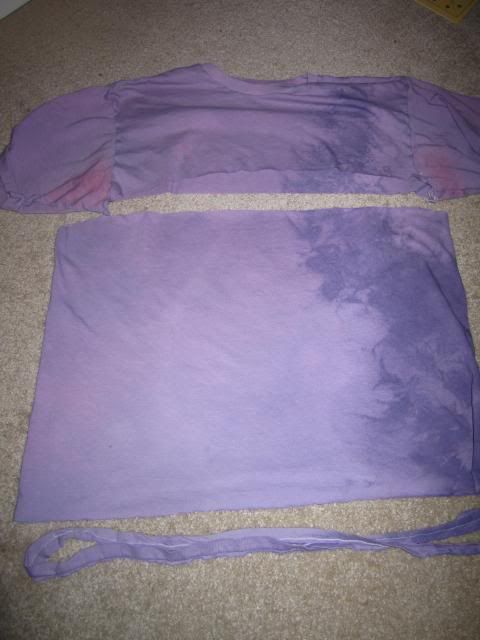
I aligned the t-shirt as best as I could and cut right above the hem and right below the armpits.
And then, I stretched. I channeled any grudge that I had against Rit into pulling and pulling and pulling at the loop.
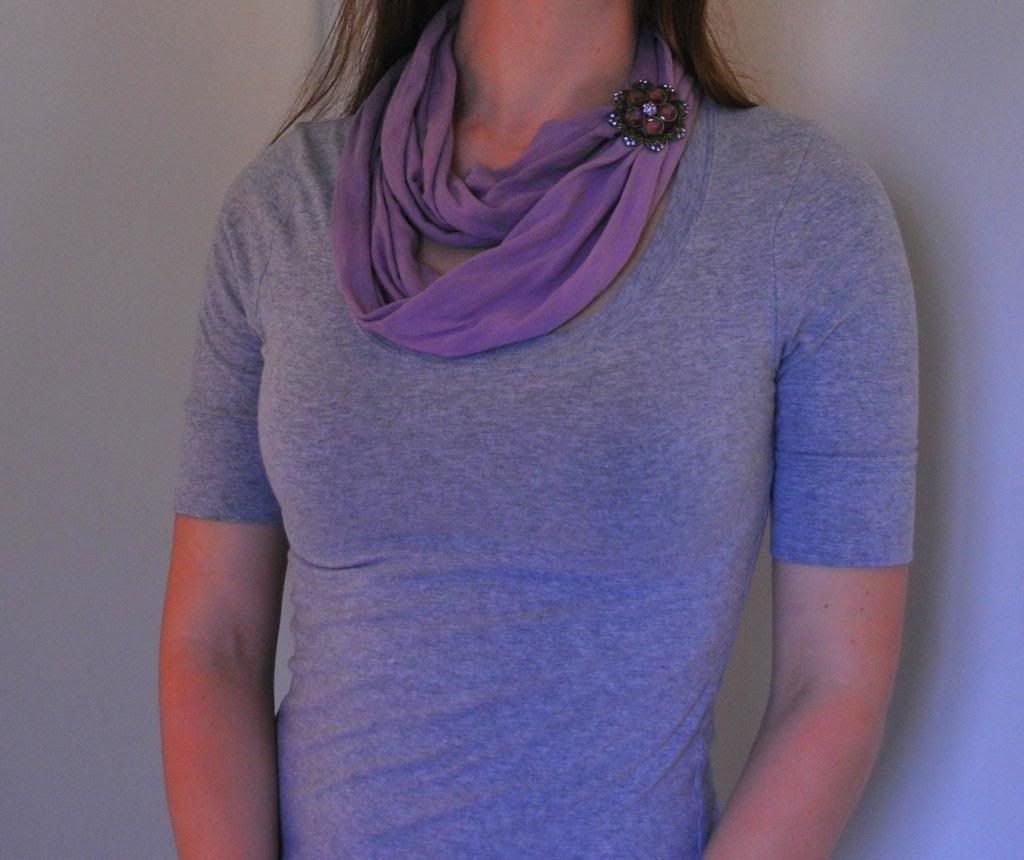
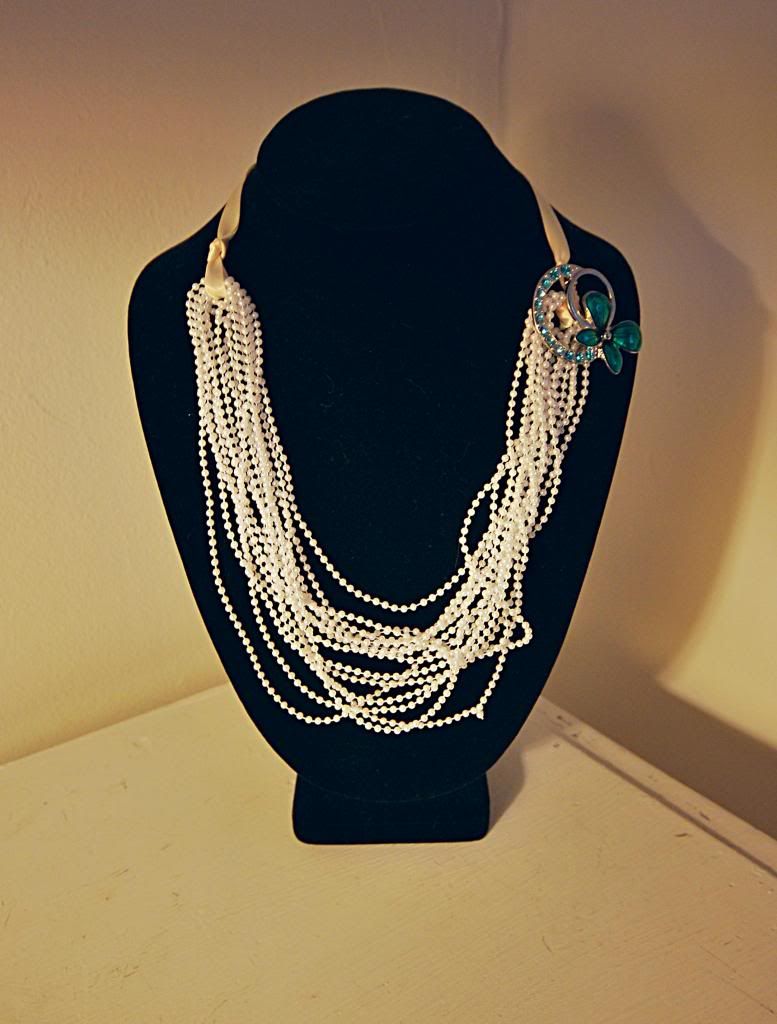
The blog I got this from also has a tutorial on making a flower for the scarf as well. On another day, when I'm not filled with passive-aggressive grudges, I might make it. Until then, this adorable broach I found at an antique shop will have to do.