Showing posts with label DIY and crafts. Show all posts

Tuesday, January 20, 2015

How to Customize an Oversized Tank Top


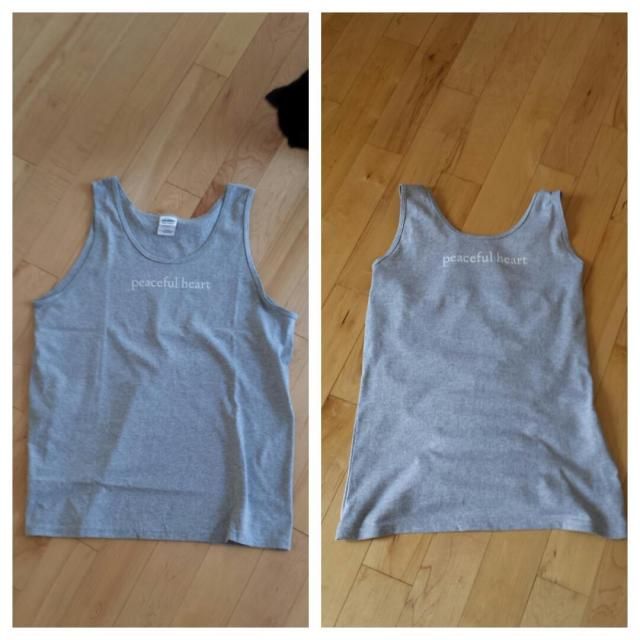
A little while back, Jeca Yoga in Manchester NH sold “Peaceful Heart” tank tops online, where half of the proceeds went to the Manchester Homeless Services Center. The center is a place that I hold near and dear, so it just made sense to order one as well. A few weeks later, the tank top came in the mail and – well – sometimes life needs to come equipped with its own “Price Is Right” whomp whomp sound effect.
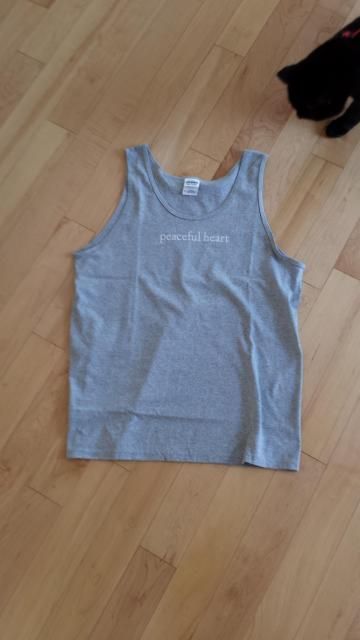

The tank top was far too big for me. I was downright swimming in the midsection and the straps were falling off my shoulders. As someone who prefers all of her yoga clothing fitted, this just wasn’t going to work.


At first, I admitted defeat. I told myself that it didn’t matter, that the emphasis was on a good cause, not a new piece of clothing, that maybe it would work as a baggy pajama shirt…


(Spoiler alert: I didn’t admit defeat for long.)


So I decided to set off and figure out how in the world I was going to tailor this tank top to actually fit me. I ended up going at it on three different levels: I pleated, I cut up & braided, and I created side seams. And I ended up with a unique piece that I absolutely love to wear.


Pleating to Make a Smaller Neckline and Straps

The neckline and straps were too wide for me to wear. To shorten the widths, I pleated the tank top at the back center of the neckline and on the top seam of the straps.
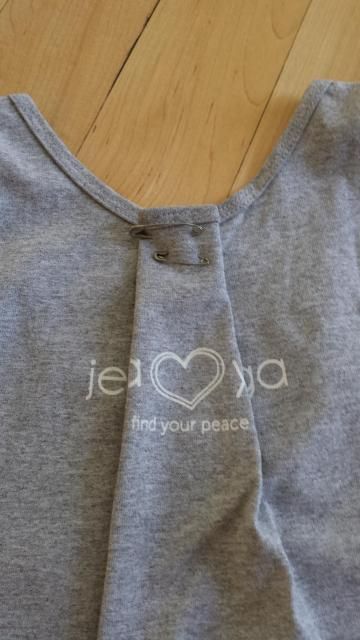

Starting at the back of the neckline, I folded two sides of the collar in towards the middle. I adjusted and readjusted the fabric until the folds were equidistant from the center and pinned everything into place. I then sewed two lines of stitches across the top and ironed the folds into place.


I also accordion-folded the outside edge of each strap over its respective bottom edge, giving the straps a narrow, more pinched look.


T-Shirt Cutting/Braiding to Cinch the Waistline

Adam Saaks has made a name for himself, cutting up shirts and weaving the strips together. Surprisingly, this process is a lot simpler than it looks.


To get an idea of how the braiding would cinch the shirt, I pinned the areas that I would eventually cut along. This will only give you a rough estimate, but it helps you plan out where and how much you want to cut. Although be aware that the braiding can only do so much, and the shirt will start to also cinch upwards as it cinches in, so find the right balance before cutting anything up.
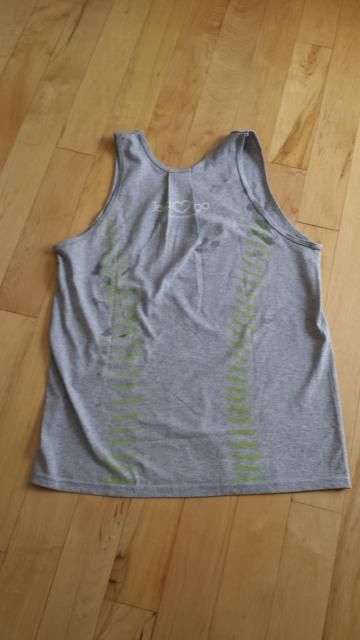


Since I don’t have fabric chalk, I used standard chalkboard chalk soaked in water to make my lines. I marked the lines halfway in, starting at the pins and ending at the fold. I then removed the pins and created the lines’ other halves. Ideally, every line is of equal length and equal distance from each other. I also recommend running the iron over the shirt both before and after you cut. I heard somewhere that it makes the strips of fabric more manageable and I’ve yet to call that bit of advice on its bluff.
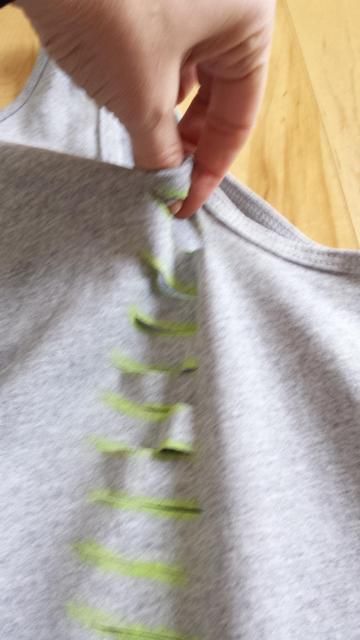
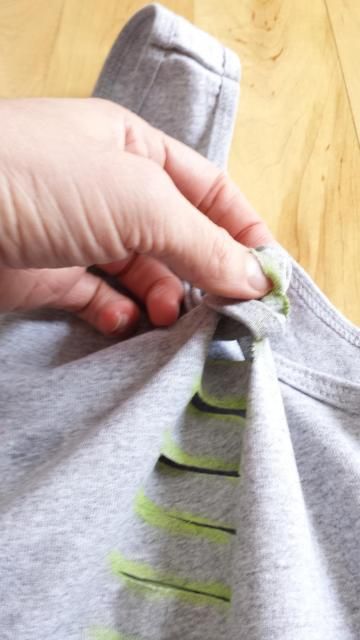


To create the braid: with the t-shirt held taut (I did this on the floor with my feet gently tugging at each side of the shirt. Those with less severe spider-monkey tendencies might want to consider having a friend hold the shirt down), pinch the top strip and turn it once counter-clockwise. Feed the next strip upwards and through the loop you’ve just created. Holding on to the second strip, make sure everything has fed through the loop equally before repeating the process: twist the new piece of fabric once counter-clockwise, feed the next strip up, and make sure everything fed through fine.
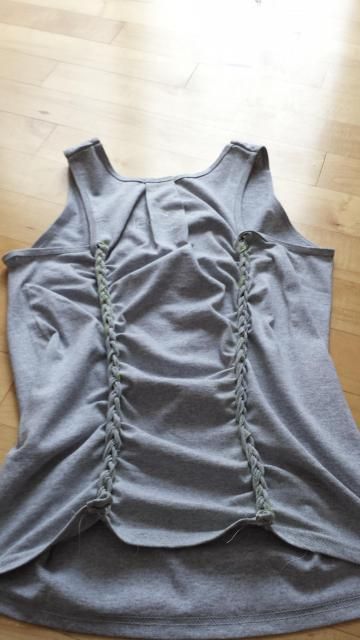

Repeat this until you get to the end. Depending on your aesthetic preferences, you can either knot everything into place at the bottom or tuck the last loop behind the last strip and sew it into place. If what I just said made absolutely no sense, this website gives a wonderful pictorial tutorial (even though the words are in German).


Side Seams To Bring It All Together

The shirt was 90% there, but the torso was still a little off and the armholes were still a little too big. It was time to kill two birds with one stone and create side seams.


Depending on the style, some shirts already come with side seams. That makes things about 100 times easier, as you can usually just sew along the inside edge of the seam that is already in place. This shirt was a single, sans-side-seams unit, so I had to improvise.
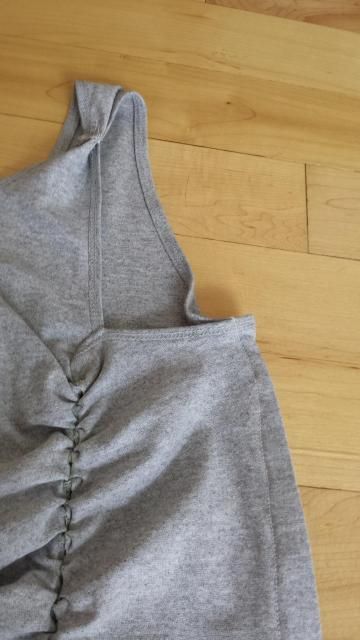

There might be better, easier, more efficient ways of creating a seam, but this way worked for me. I first started by turning the tank top inside out, laying the tank top flat against the ironing board, and ironing everything flat so that I’d have at least a general idea of where the sides were. With it still inside out, I put on the shirt and used baby pins to figure out where I’d want the seams to be. After turning the shirt right-side-out and trying it on to make sure everything fit okay, I turned the shirt inside-out again and carefully sewed in a stitch on each side. With only the baby pins to guide me, I essentially eyeballed where I should sew, but you can also use that (wet chalkboard) chalk to draw the lines in, giving you a clearer path.


I then turned the shirt right-side-out (again) and ironed the edges of the seams, which gives everything a clean, more crisp look.
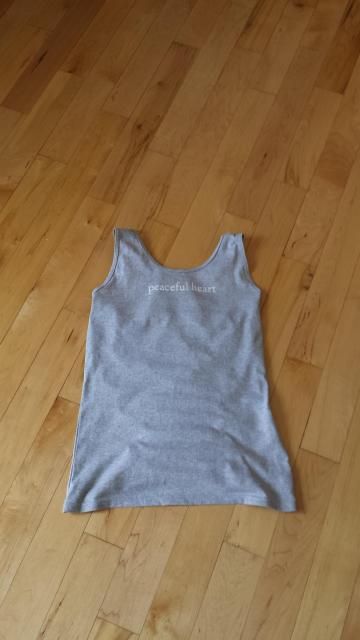
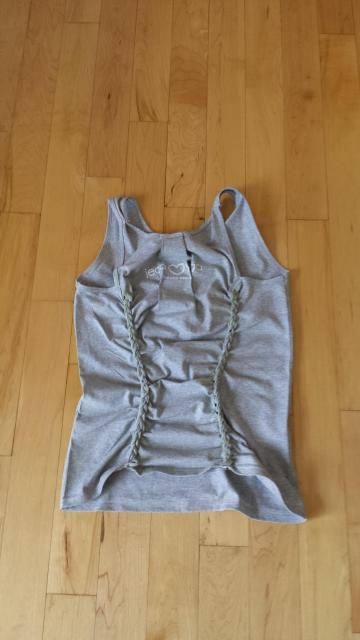
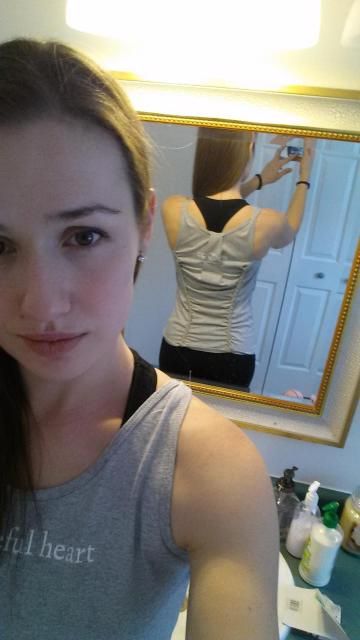
I ended up tweaking the shirt a little more (like adding a few stitches along the fold of the pleat to keep the back from ballooning out) and I am thrilled with the end result. Not only does the tank top finally fit me, but I got to try out that cutting/braiding technique (which was an absolute first for me). Now I know nothing will stop me from buying new clothes in the name of a worthy cause. If they don’t fit, I can just unleash my sewing machine again.

Monday, September 29, 2014

First Autumn as Homeowners Project

A long time ago, I got married. That fall, my husband and I collected leaves and I made a little something to commemorate our first autumn as husband and wife (even though it was technically our fifth autumn together).

Last year, we got our very first house.  That autumn, we didn't collect leaves so much as we raked leaves. But that didn't stop me from snagging a few leaves and repeating the process.

This project is super simple; all you need is a frame,  some high-quality paper, Mod Podge, and a paintbrush. And patience, because the leaves love moving on you. Click here for the original posting and a more detailed how-to on this project.

Friday, June 6, 2014

First House Key's DIY Project

Some businesses will frame the first dollar they made.  Some actresses will frame the title page of the script of their first professional acting job.  And some homeowners will frame their very first house key.


Now, I should point out that this project is hung up in an area very, very far away from any possible entrance.  The last thing you want to do is hang up the key in an area where someone might be able to get their hands on it.


So,  really, finding a place for the project that won't entice burglars is probably the hardest part about this project.  All you need is a frame, some pretty paper or cardstock, a key, and paint.  I decided to hand brush the key, but you can always use the hooked top of a coat hanger and dip the key in.


You can also use a page of a book for the background as well -- or the corner of a newspaper with the date you closed on the house. The possibilities really are endless.


It's hard to believe that, around this time last year, the original owners accepted our offer on what is now our humble abode.  We didn't officially close until the middle of July -- we had to do that whole "cross-country roadtrip" thing -- but the date is still worth noting.  A lot has changed since then, both in and out of the house, which only makes keepsake projects like this all the more important.

Monday, May 26, 2014

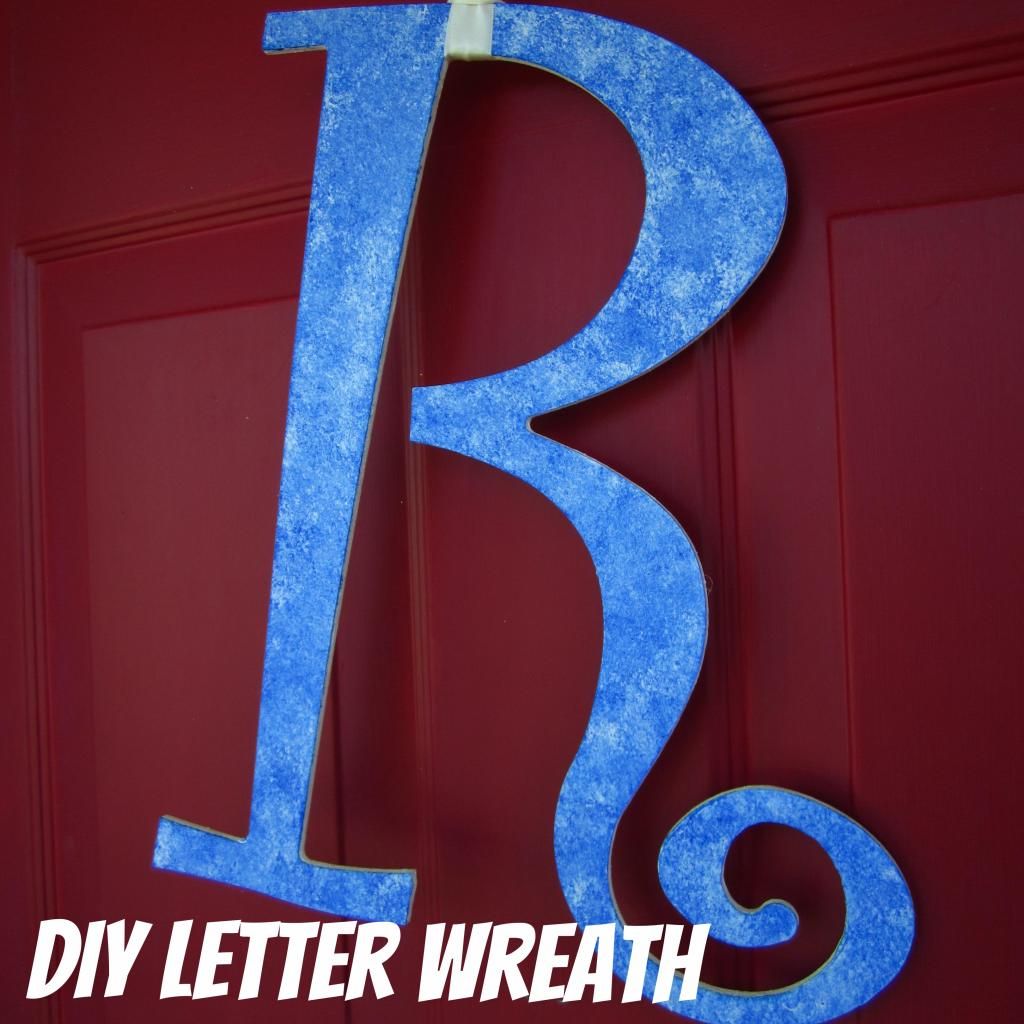
Sponge-Painted Letter Wreath


I hope everyone is having an amazing Memorial Day Weekend. This little project turned out to be a bit red, white, and blue -- just enough to motivate me to finally share it with you guys =)


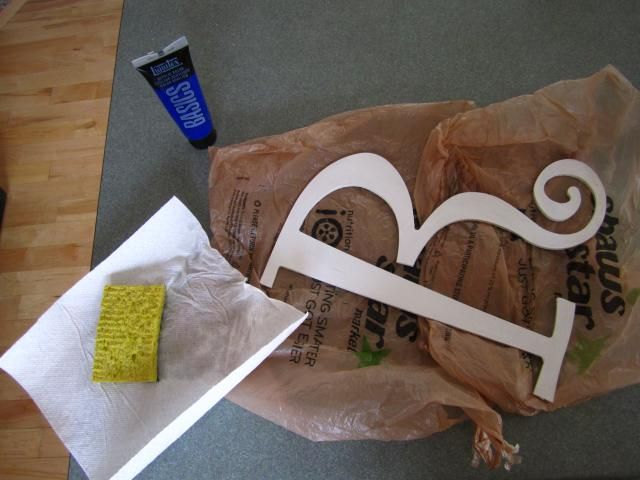
All you need is a sponge, two colors of paint, ribbon, and a wooden letter. Paint the wooden letter -- front and back -- with a few coats of one color (a good rule of thumb is whatever color is lighter, but I can see the reverse working). I went with white for my base, and blue as my "sponge" color.


Squirt out a very tiny amount of paint of the second color onto a paper plate. And then, lightly -- oh, so lightly -- dab a sponge into the paint. You might want to press the sponge into a paper towel or a dry part of the plate to avoid any over-painting.


And then - dab away!


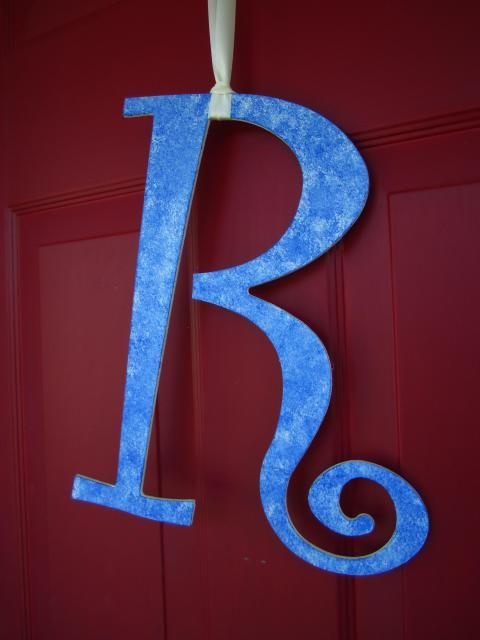
Loop a ribbon through your letter (or, if your letter is sans loop, staple or glue to the back) and you're done! It's a nice change of pace from the standard wreath.

Thursday, March 20, 2014

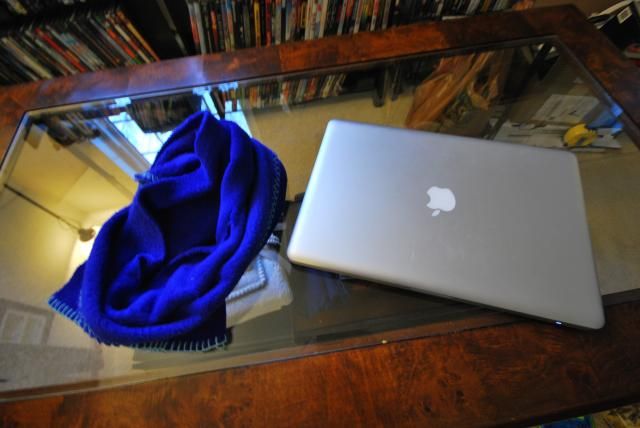
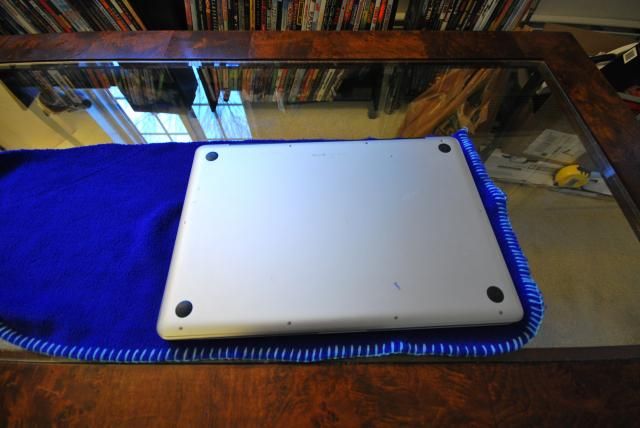
DIY Laptop Case from an Old Blanket


I had leftover fabric from my T-shirt quilt, so I decided to make a quickie laptop bag.


This is so simple it hurts: all you need is fabric that is at least 38" long and 18" wide (or vice versa) and sewing equipment.


Fold the fabric in half so that your laptop could be placed on top of it with about .5" of room to spare on three of the edges. For me, I had to fold my fabric horizontally, as the remaining fabric was a long strip. Trim the fabric .5" from the laptop and sew two of the loose edges up, leaving the top, long part open.


Flip your bag inside out and slip your laptop in. You want enough wiggle room that you could pinch the fabric with the laptop still in, but nothing more.


With the bag still right-side-out, cut a piece of fabric to roughly the same dimensions as one side of the laptop back. With the "right" side of the fabric facing the bad (and the "wrong"/inside side of the fabric facing up), and the inside edge of the fabric against the top of the bag, pin it to the top portion of the bag and sew in place.


This is perfect for when I slip my laptop in the laptop bag I use for travel. I tend to put books and notebooks in the laptop bag as well (gotta be efficient when you're only allowed one bag on board!), so this will protect my laptop from any rough edges or metallic spirals.


Saturday, February 15, 2014

Post Valentine's Day

I hope everyone had an enjoyable Valentine's Day. I'll admit: the majority of my V-Day was spent shoveling out our driveway with my husband after Winter Storm Pax (honestly, who names a winter storm "Pax"? The meteorologists are just mocking us now. Or assuming we don't know rudimentary Latin). But we did get to balance that out with a bit of an Episodes marathon, a drive to Concord via the backroads, and a delicious hibachi dinner. We actually found an ice cream place on our way back that was open even in the middle of winter and celebrated said discovery with, well, ice cream.


I have to confess: I am really not one for chocolates. My husband, on the other hand, is. So I decided to flip things around a little bit and get him something for Valentine's Day.


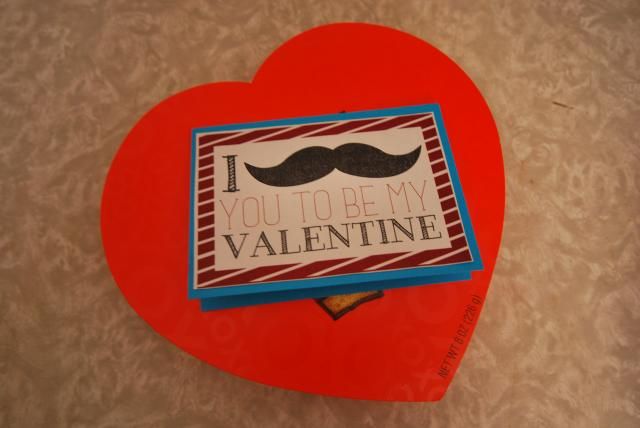
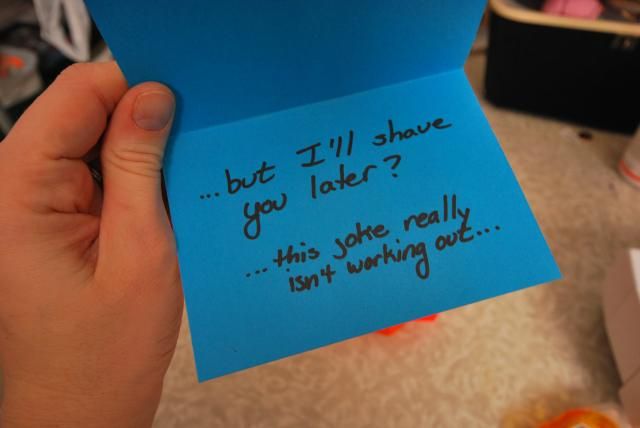
I found this "I Mustache You To Be My Valentine" graphic online, printed it out, and made a card out of it. This is a fairly simple craft, which I talk about in this post. Of course, I had to continue the silliness inside the card as well, continuing the rest of the saying (even though that was obviously not working out).


I know this blog has been quieter than usual, and there is a reason for that, I assure you. But for now, I can only redirect you to my Thought Catalog page. I try to submit to TC at least once every week or so, and they tend to look favorably on my essays. Fingers crossed, I can start breathing again on Monday. But more on that later!

Monday, February 3, 2014

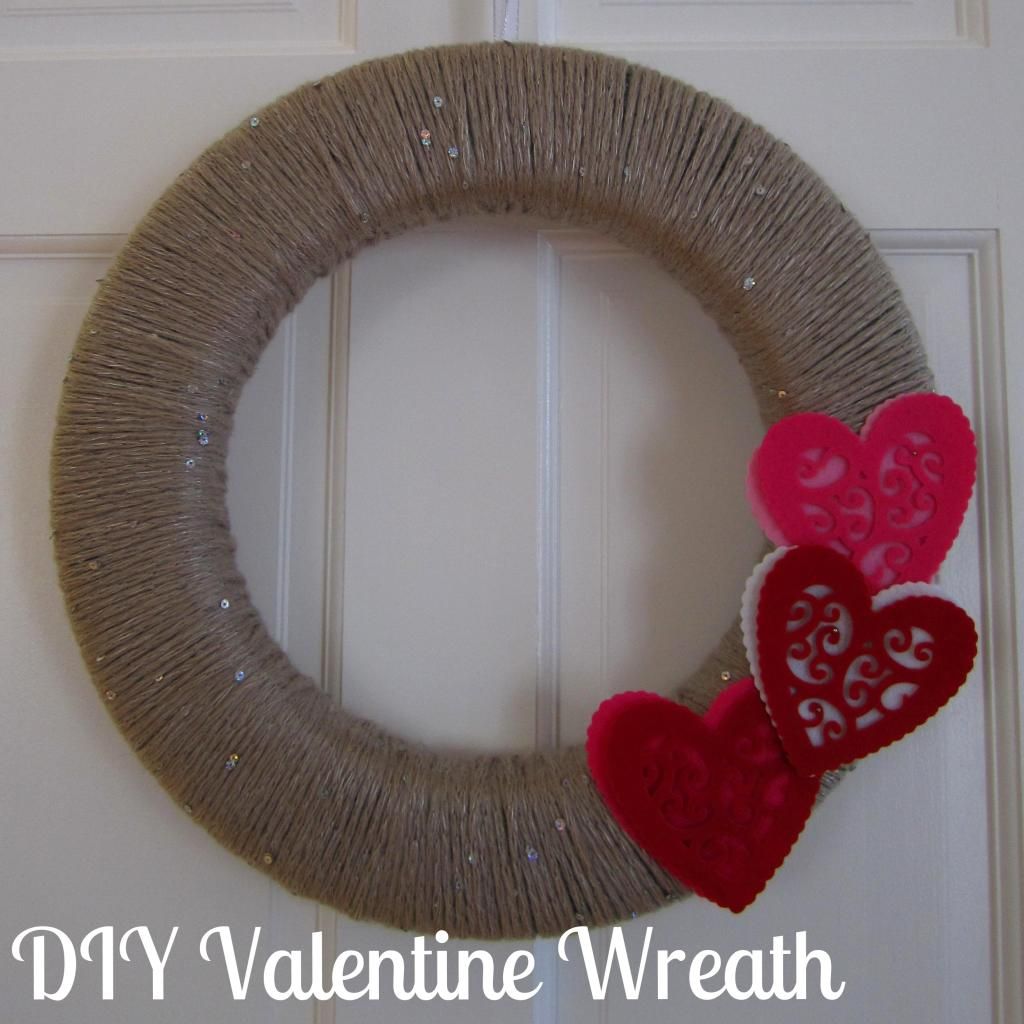
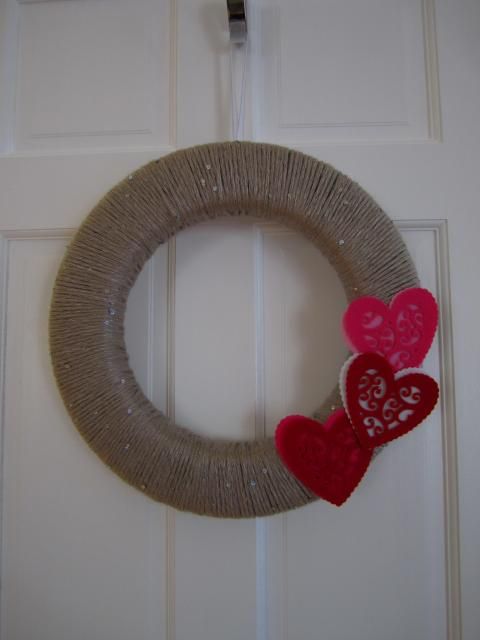
Valentine's Day Wreath


Aka the "My Rustic Valentine" Wreath.


I'm truly of the belief that Valentine's Day is exactly what you make of it. It doesn't have to be a day where you drag your significant other to a crowded restaurant (unless that's what you're into). This is a holiday about love, be it love between you and a romantic partner, love between you and your friends, or just an overall love for life.


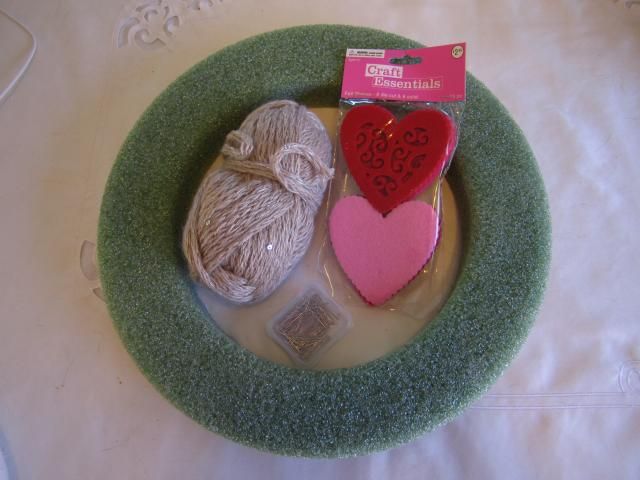
This little wreath replaced my Christmas Ribbon Wreath on the basement door in my kitchen, which, given where our garage is, is used more than our front door. All I needed was:
- a green styrofoam wreath
- light brown, sequined yarn
- felt hearts
- push pins
- ribbon


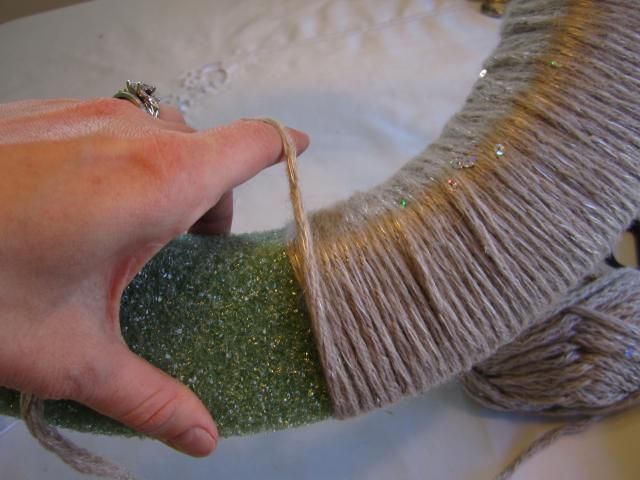
Like with any ribbon/yarn wreath, pin the beginning of the strand to the back of the wreath and start spinning. What I liked about this loosely-spun yarn is that, with the green styrofoam, creates a bit of a rustic look. I started overlapping strands at the inside center of the wreath, just to keep everything in line and provide a little bit of texture.
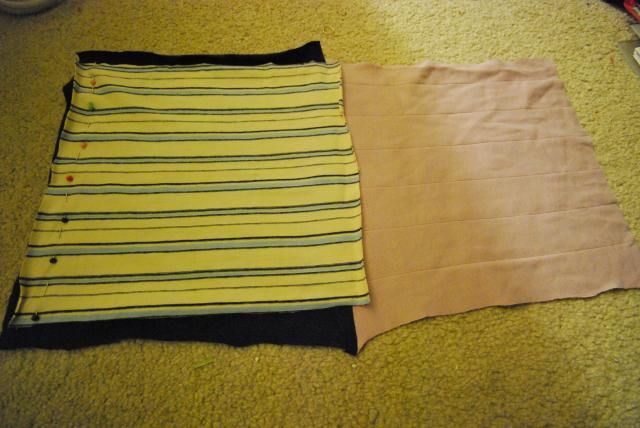

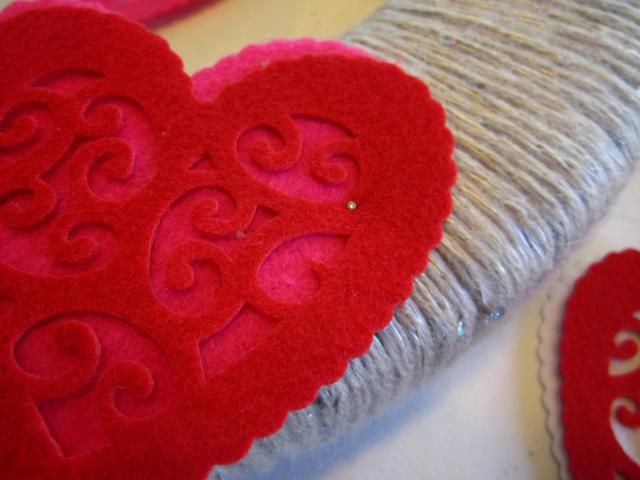
And, like the yarn, attaching the felt hearts is as simple as pushing a pin through them.


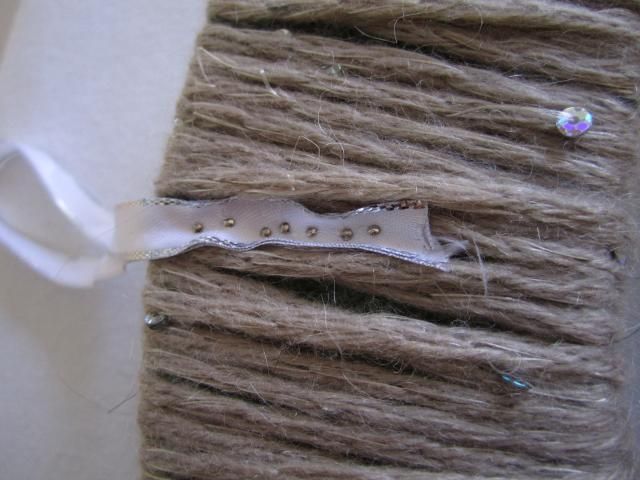
I tend to use a lot of pins for the ribbon, as its going to be holding the entire wreath up and the last thing I want is for the ribbon to come off.


I hope everyone has a happy and safe Valentine's Day. I hope, regardless of your situation or station in life, you can use the day to appreciate all the love you have in your life.

Wednesday, January 22, 2014

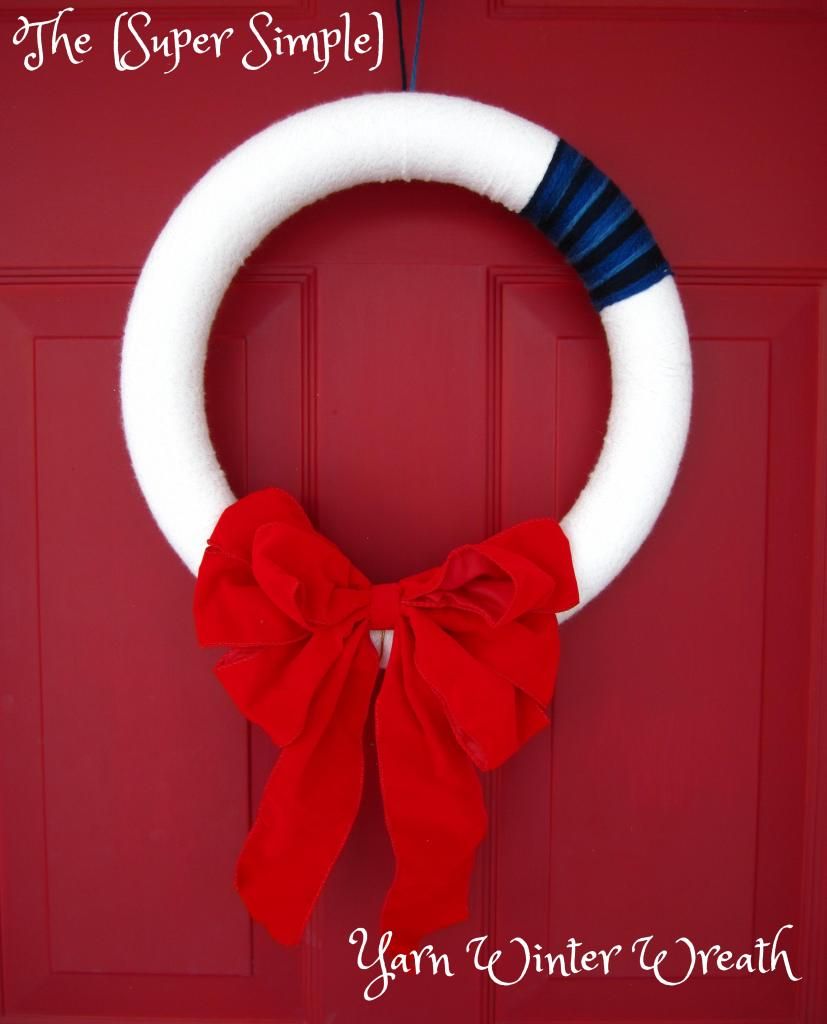
Super Simple Winter Yarn Wreath


Christmas might be over, but winter is still here. And, from the looks of it, it will be here for a long time. While the Christmas tree is gone and the decorations have long been taken down, I can still enjoy some aspects of the festivities.


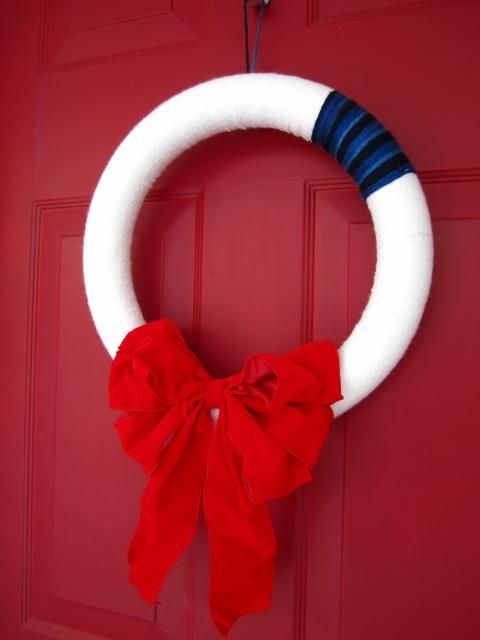
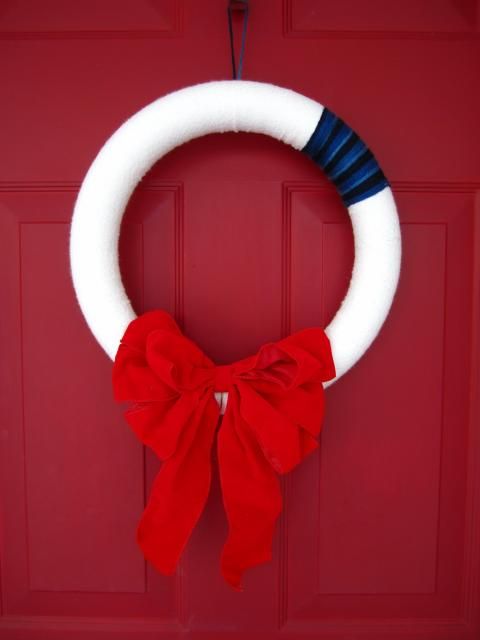
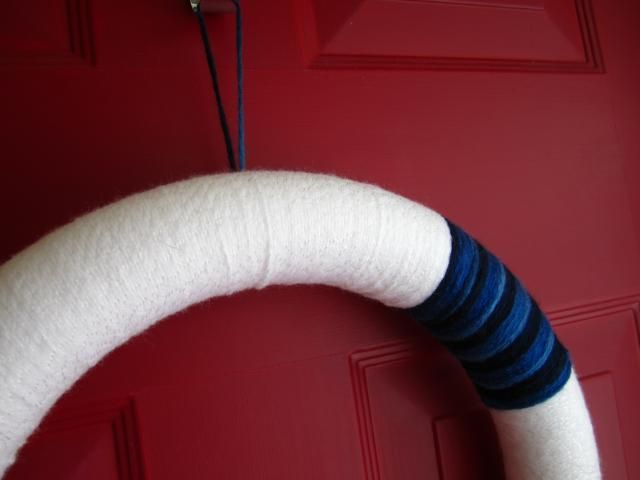
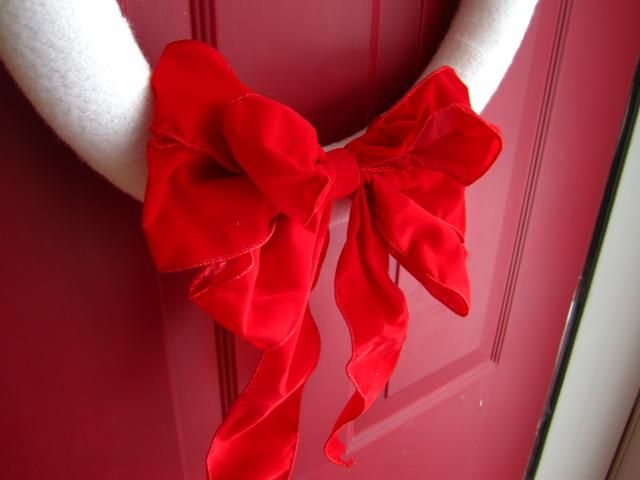
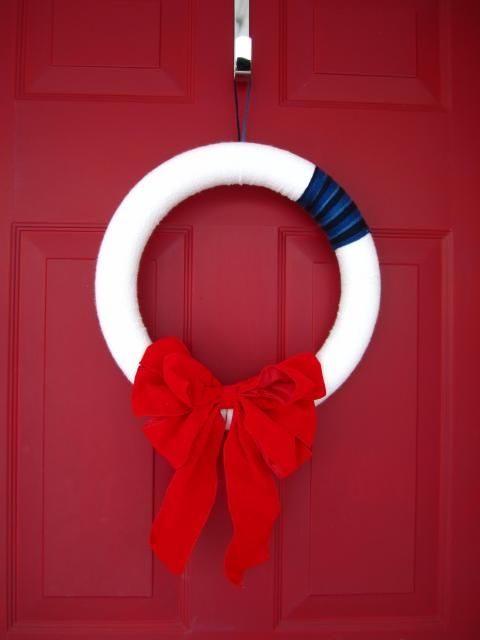
All you need for this is a styrofoam circle, pins, yarn, and a bow. I took full advantage of the winter clearance items and grabbed this bow for maybe 75 cents including the sale.


It's as simple (and as tedious) as pinning one end of the yarn onto the back of the styrofoam and wrapping the yarn around the wreath. This is the perfect product to do while watching TV. Lots and lots of TV. I would systematically push a pin into the most recent strand of yarn, just to keep everything in place (and prevent a catastrophic unraveling).


I love ombre yarn. They make the coolest scarfs and, when you wrap it around a styrofoam tube, it gives an awesome multi-tonal accent. I simply stopped wrapping the white yarn at roughly the 5/6th mark, pushed a pin through the end of the white yarn, and started the process all over again with with blue yarn. You can read all about pins and styrofoam wreaths on my other wreath post.


The bow came with two wire strands, which made fastening it to the wreath super easy. I put a few pins into the wire strands (or, technically speaking, I pushed the pins through the fabric weaving around the wire strands) to keep everything in place.


While no one is naïve enough to say that January can be considered a Winter Wonderland (Whiner Wonderland, definitely; we're all sick of the cold by now), it is still nice to have something to make the rest of the season bright.

Wednesday, January 15, 2014

DIY T-Shirt Quilt


I'm a sentimental person (if that isn't obvious enough yet). I hold onto everything, to the point that it could be considered hoarding. I've learned to channel it into scrapbook/upcycling these items, lest I start renting out storage space to keep everything.


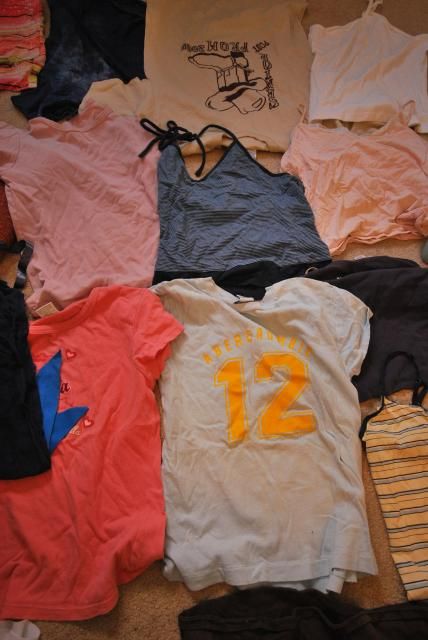
I have an entire bureau at my parents' home filled with clothes that I can't bear to give away. This includes favorite shirts from middle school, outfits that I wore during important times in my life, and purely items that I've had since forever and therefore cannot part with.


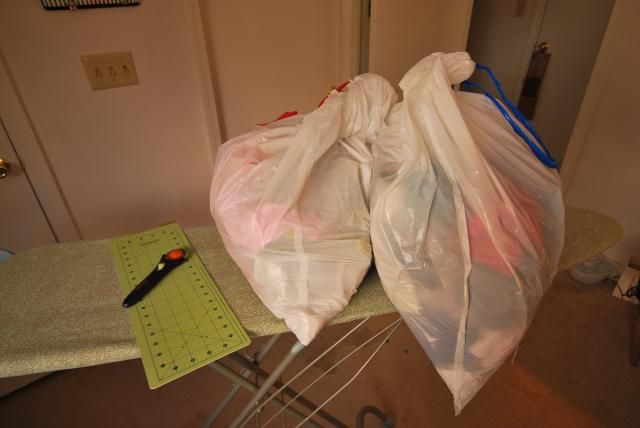
During one of my trips home, I filled up two garbage bags with said clothing and brought them home, determined to make them useful. Some of these items turned into tank tops. The ones that held the most sentimental value were turned into a quilt. (Bear with me; this was done when we still lived in our apartment and the lighting/overall decorum of the place is not the most blog-picture-friendly).


This is an absurdly simple quilt. You need no quilting experience necessary (which is good, since I had none). All you need is some t-shirts and a blanket. And a rotary cutter. And an iron. And sewing equipment.


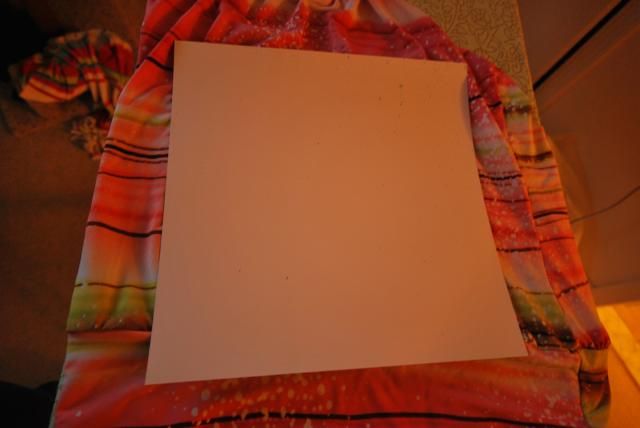
First cut 12 x 12 squares out of your shirts. I used a piece of scrapbooking paper for reference, tracing around it with a damp piece of chalk before cutting.


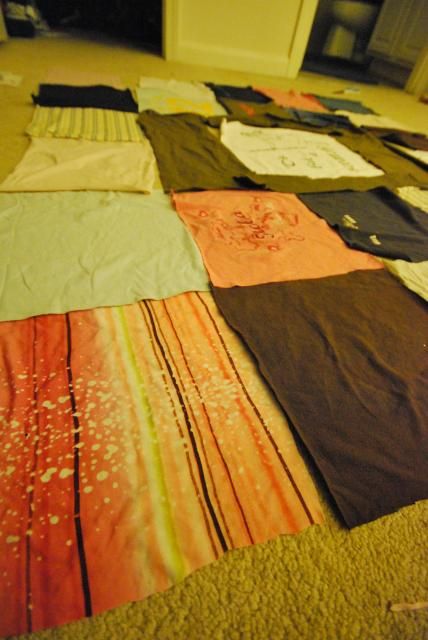
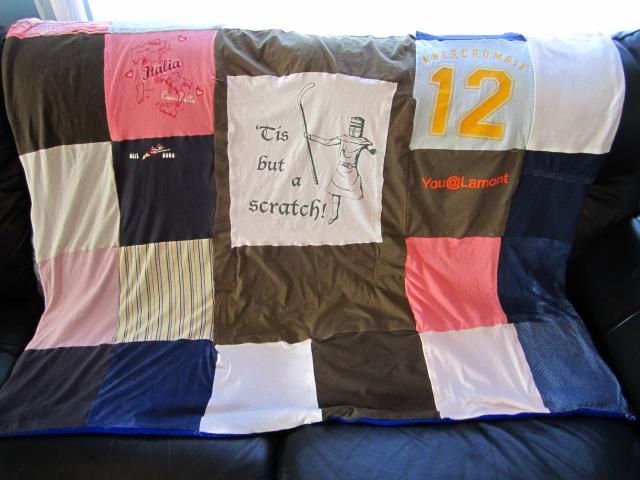
Once everything was cut out, I arranged the fabric on the floor until I got the pattern I desired. My backing blanket is a standard felt throw blanket that you can get at places like Five Below and TJ Maxx for dirt cheap. A 5 x 5 pattern of t-shirt squares will do nicely, although I had to make things difficult and create a semi-intricate center portion.


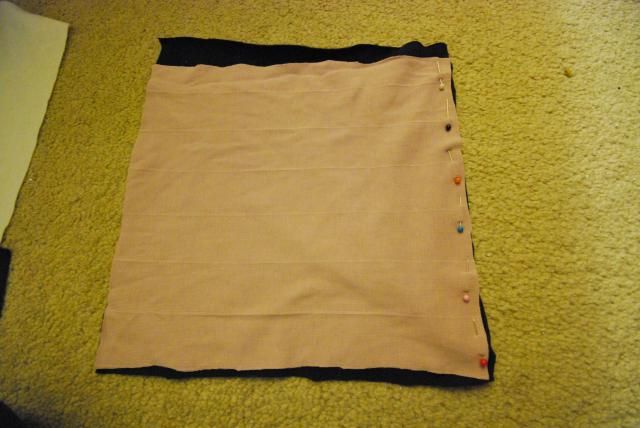
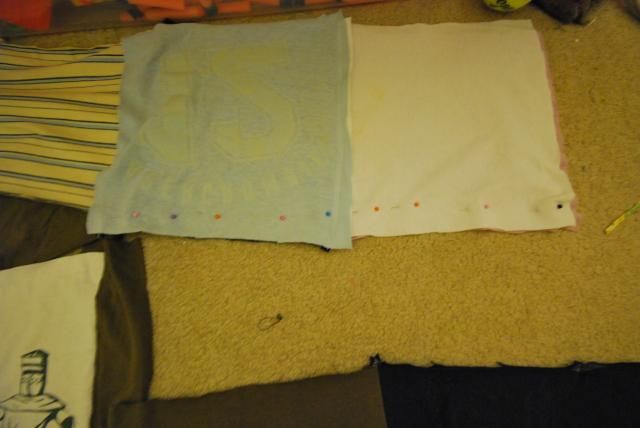
To sew the pieces together, simply place two of the squares together, with the "right" sides facing together (think of a closed book. You want to open said "book" and see the good stuff inside. PITS (Pin it to sh_t) and sew accordingly. It doesn't matter what your seam allowance/how far from the edge you sew, so long as that measurement stays consistent. Iron the seam down when finished.


Return the two pieces to their spot and add on another square. The process stays the same: place the new square right down side onto the newly-emerging quilt. Pin along the edge and sew.


I cannot stress enough the importance of ironing the seams down when you finish a stitch. This will create a straight, crisp line between pieces.


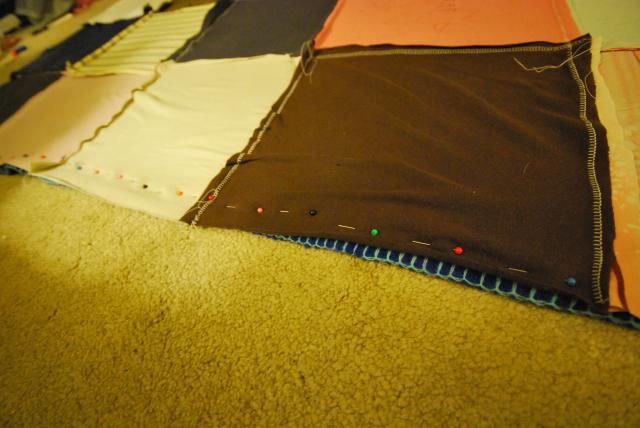
Do this process horizontally until you reach the end. Then, like a typewriter (dear God, please remember typewriters), begin again on the next row. Work your way across, and repeat the process. Sewing the rows together is a lot like sewing the squares together, only now you place an entire row on top of the row below it, the "right" sides facing down. Again, imagine a book. Down be afraid to "open" the book after pinning everything in place to make sure things are looking the way they should look.
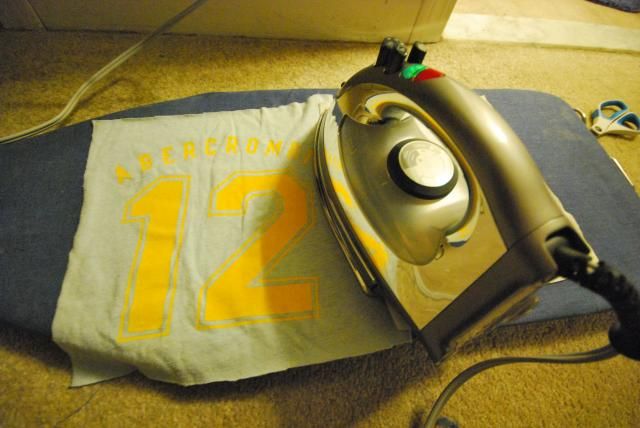

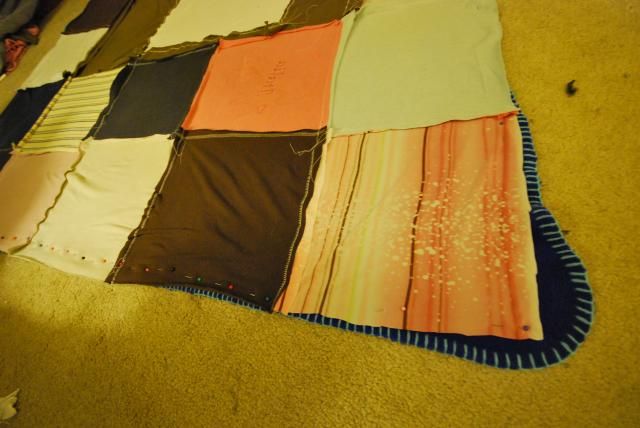
Once everything is sewn in place, lay out your blanket and place the front part of your quilt face down on the blanket. Being careful not to stretch the blanket fabric, pin everything into place -- leaving about 6" of unpinned space in the center part of one of the edges.
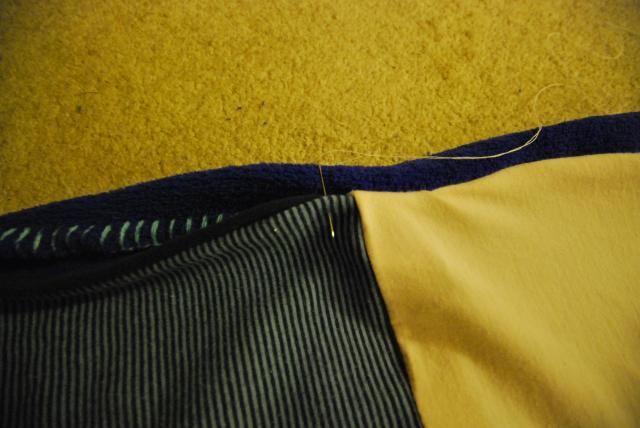

Sew around the blanket, starting at one edge of the 6" gap and ending at the other. Use that gap to turn the blanket right-side-out. You'll have to hand-sew the gap, as no machine as really mastered this next part.


Thread your needle through the underbelly of one side, loop it over to the other, and thread it through the other side's underbelly. You'll be creating figure 8s between the two pieces of fabric. Continue this process until you reach the end of the quilt and tie a small knot.


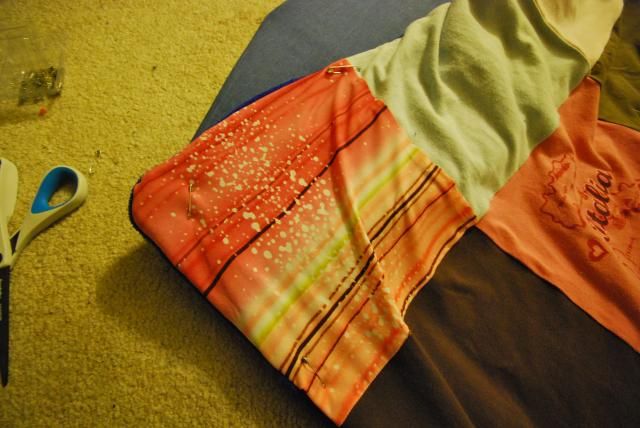
Flatten the quilt and iron out the edges. Starting in one corner and working your way out, pin everything into place with safety pins. Again, avoid stretching blanket fabric, as felt/plush tends to have more give in it than poly/cotton blends.


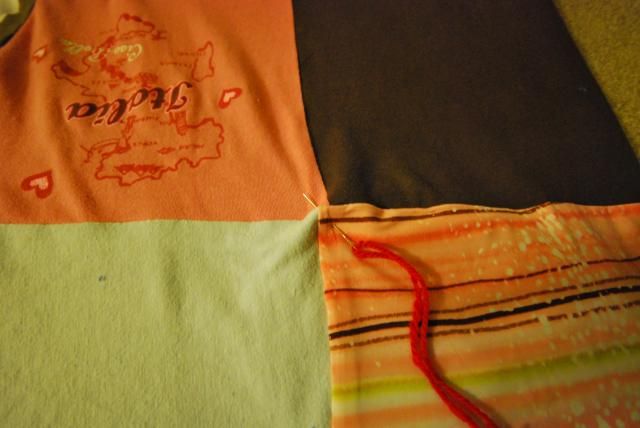
Using that needle and thread (or a darning needle and yarn; both can work in this situation), create little ties in every corner where all four squares meet. This is as simple as threading the needle down and back up, roughly 1/4 of a centimeter from the original spot, and tying a knot. This doesn't need to be too fancy; it's simple there to keep everything in place.


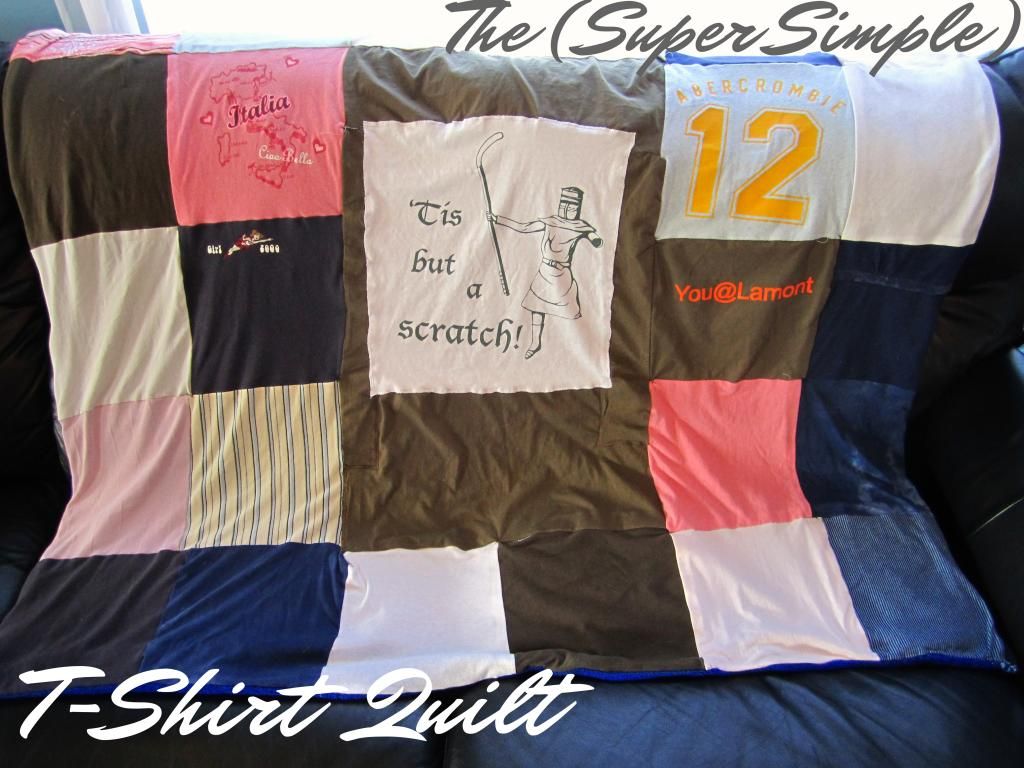
And víola. It took a little finagling to get my Monty Python centerpiece to work, but the work was worth it. Now my t-shirts that were just collecting dust are going to good use.


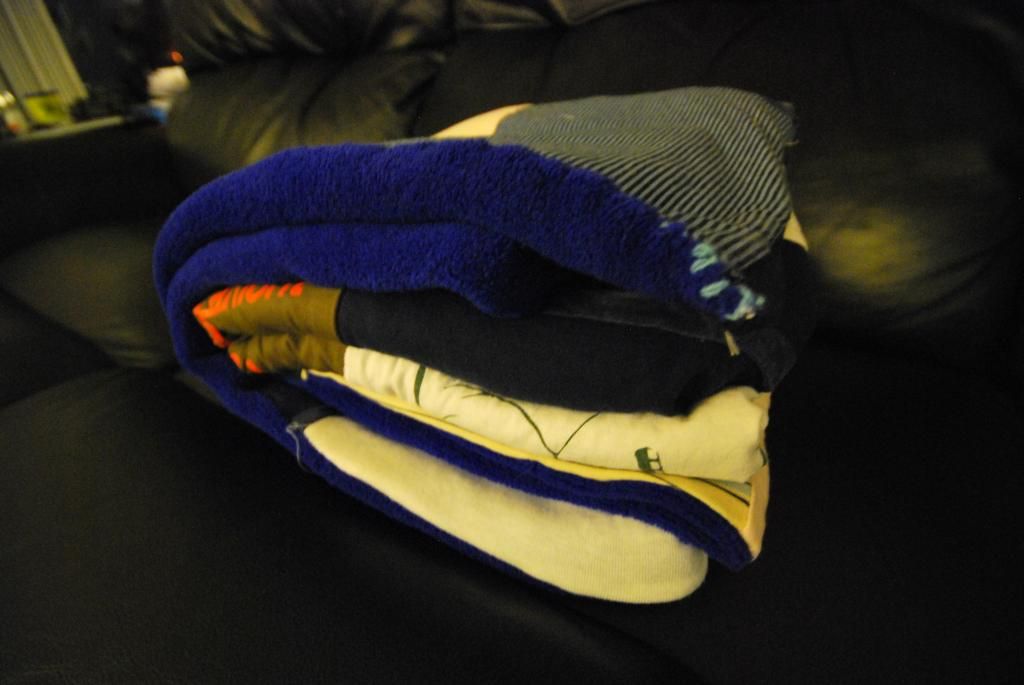
The best part is that the blanket is super soft, so I'm comforted not only by the memories tied by the shirt, but by the wonderful fabric of the blanket.
Related Posts Plugin for WordPress, Blogger...

09 10 11 12
Blogging tips