Showing posts with label food. Show all posts

Thursday, September 4, 2014

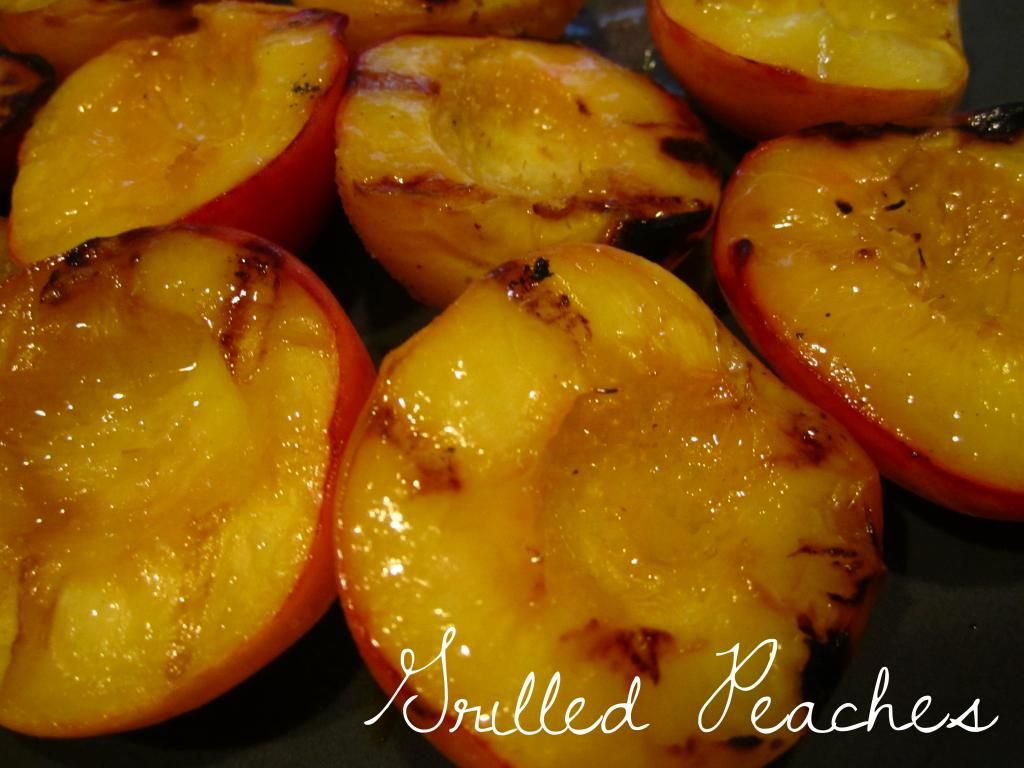
Grilled Peaches

aka "Fun With Peaches, Pt 2"!

This are so delicious and so easy, it's not even funny.


You will need:
Peaches, halved and de-pitted
Canola oil

For optional topping:
1/2 stick of softened butter
1 teaspoon cinnamon
2 tablespoons brown sugar
pinch of salt


First, half and de-pit your peaches. Getting the pit out takes a lot of practice. I've found that the easiest way is to slice them in half, using the natural fold in peaches as my guide, twist the two pieces apart, and using your knife to gently pop out the pit. Sometimes cutting around the pit helps. And sometimes you'll get a nice clean de-pitting. Sometimes you won't.


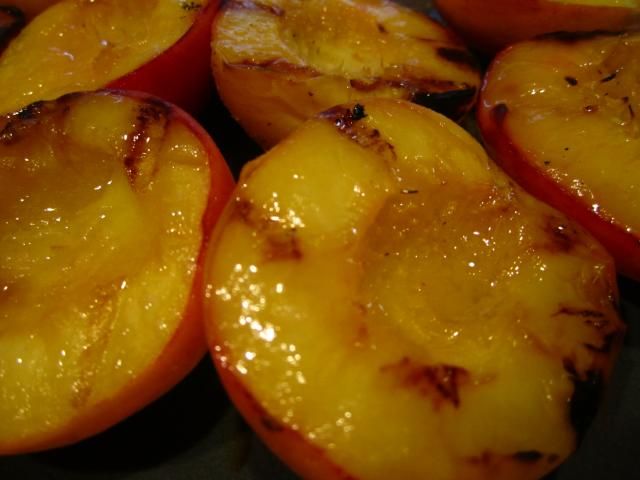
Brush a healthy amount of canola oil on the flat side of the peach half and lay them on the grill. Close the lid and let them cook for 10-15 minutes.


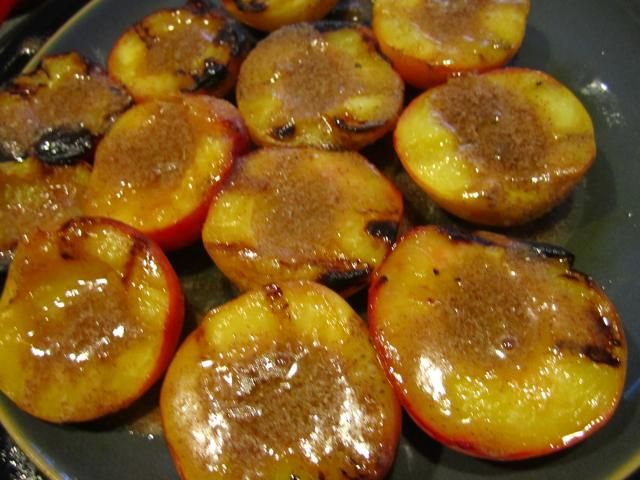
If you'd like a super delicious (but totally unhealthy) topping, mix the butter, sugar, cinnamon, and salt. Scoop a spoonful on the grilled peaches while they're still hot and enjoy!


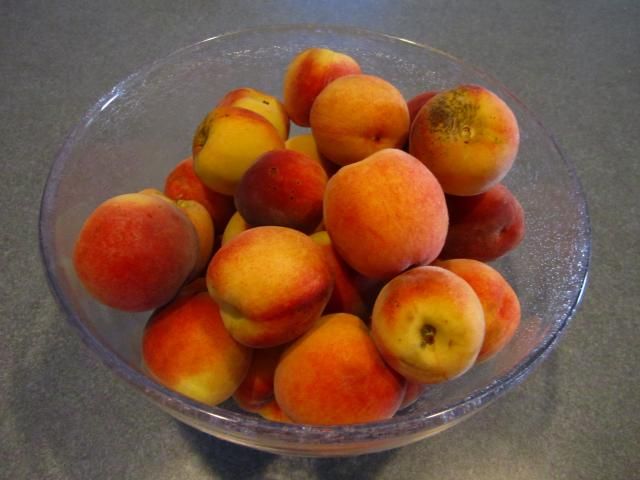
The bowl of peaches is slowly going down. Up next: peach jelly!

Wednesday, August 27, 2014

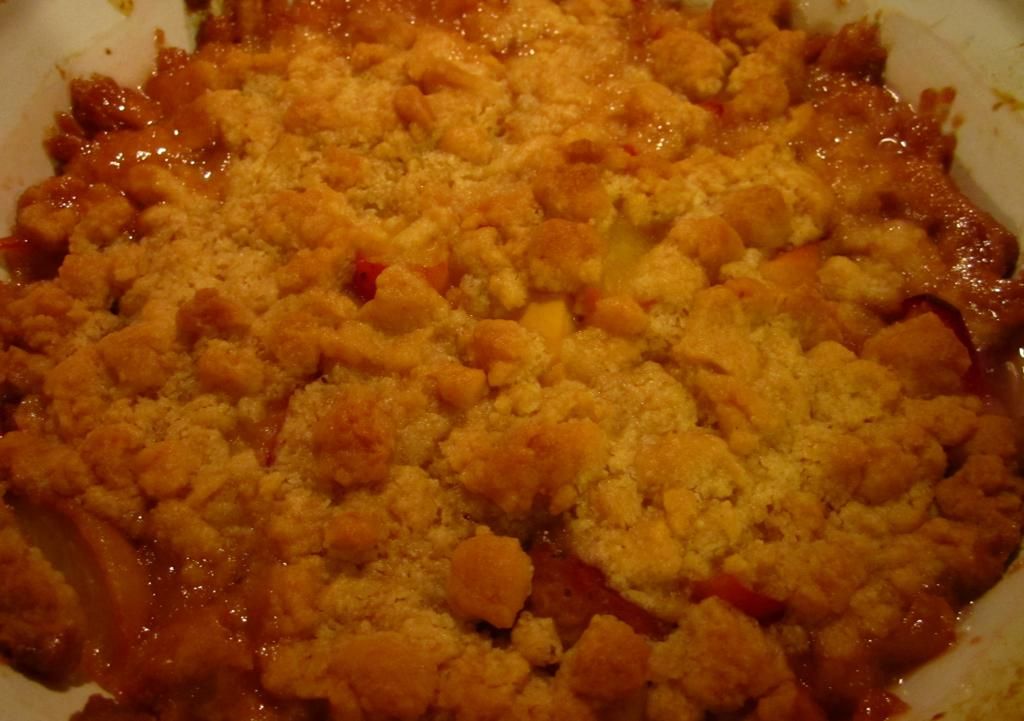
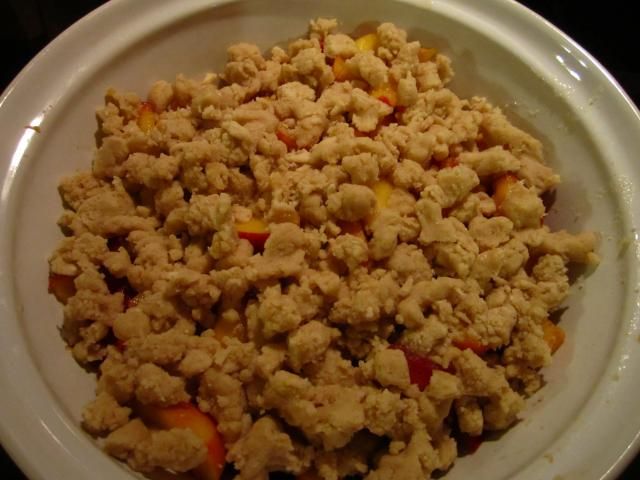
The Super Simple Peach Cobbler


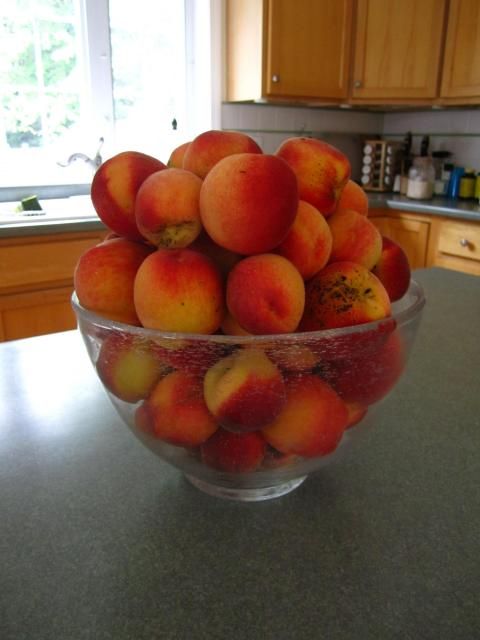
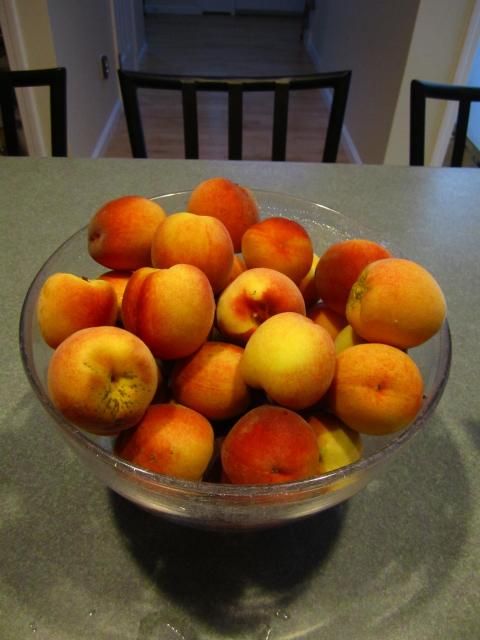
So I have an absolutely adorable peach tree in our yard. Like everything gardening-related, it was planted by the previous owners. And -- judging from how little it is -- I'd say it was planted just before they left. This was the first year it produced fruit. For a little quasi-sapling, it really delivered:


So now I'm swimming in peaches. Only one thing to do: try out a million different peach recipes. First on the list? Peach cobbler!


You will need:
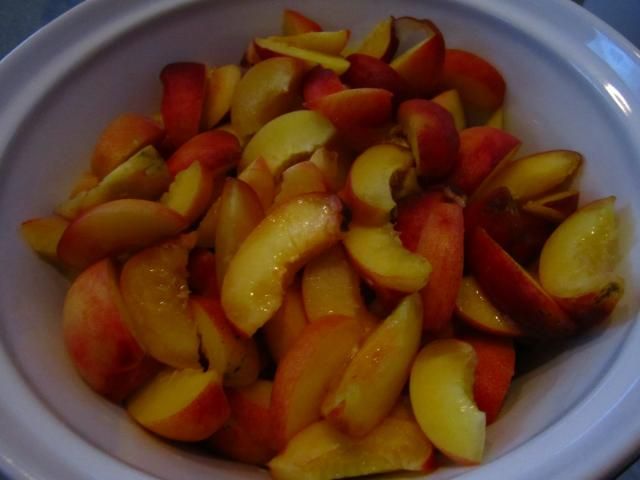
~6 cups of peaches, cut into wedges
3/4 cup of sugar or sugar substitute
1 tablespoon lemon juice
4 teaspoons cornstarch
1/2 teaspoon salt
For the topping: 6 tablespoons softened butter (better to leave the butter out to soften -- beware using the microwave to soften it!)
1/4 cup brown sugar
1 cup all-purpose flour
1/2 teaspoon salt


Preheat the oven to 365. In a big bowl, combine the peaches, sugar, lemon juice, cornstarch, and salt. Gently mix together until the peach wedges have an even coating. Transfer the mixture to a porcelain baking dish -- an 8" square dish or a round dish with a 8" diameter is best.


In another bowl, combine butter and brown sugar. Mix the two until the butter and brown sugar are fully combined and has the consistency of thick pancake batter. Gently mix in flour and salt. The mixture should start to crumble; if it doesn't break apart piece with your hands.


Sprinkle topping over the peaches and bake at 375 for 30 minutes. Place a loose cover on top of the dish and return it to the oven for an additional 20. Let it cool for 30-60 minutes and serve with a gigantic scoop of ice cream.


As fun as that project was, I still have a ton of peaches left. Good thing the internet is full of recipes for me to try and adapt from!

Friday, July 25, 2014

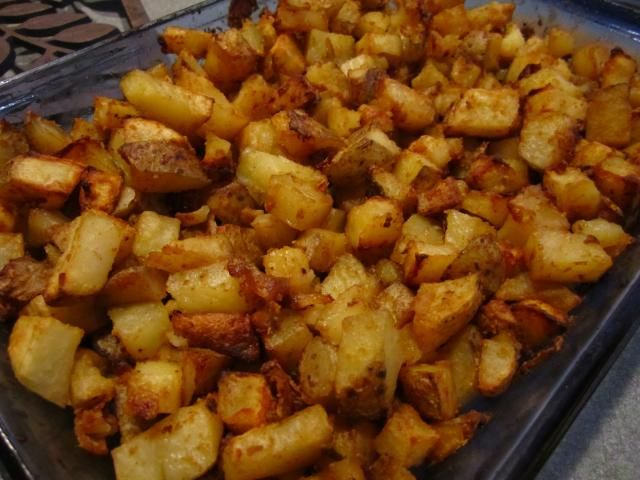
Super Easy Garlic Parmesan Potatoes


This has been an instant classic at my house, and now I'm finally sharing it with you guys.


You will need:
2-4 Russet Potatoes (the exact number with depend on casserole size and your own preference
3 Tablespoons Olive Oil
1 Tablespoon Garlic Salt
2 Tablespoons Paprika
4 Tablespoons Parmesan
Salt & Pepper
Optional: Garlic Cloves


1. Preheat the oven to 425 and give your glass casserole dish a healthy spray of Pam or Crisco. Dice up the potatoes place them in said casserole dish.

2. Mix in the olive oil until the potatoes have a good coating about them. Mix in the remaining spices, adding or subtracting how much you want of each spice depending on your own taste preferences. If you'd like, you can also mince garlic or add whole garlic cloves to this meal.

3. Cook for 20 minute intervals. After each interval, take the dish out and flip the potatoes around. Continue this for an hour or until the potatoes are gold and crispy.

4. Take them out and sprinkle with additional Parmesan. For an added bonus, sprinkle in crumbled bacon.


The measurements of the spices really will depend on your temperament. I love spice, so I double up on the garlic salt and paprika. I also get down and dirty while making this dish, using my (recently and thoroughly washed) hands to mix in the spices and olive oil.


And remember to take the dish fully out of the oven before you mix the potatoes. I have a lovely burn scar on my left forearm that can tell you that it's a bad idea to mix while still in the oven, even if you have oven mitts on.

Thursday, July 3, 2014

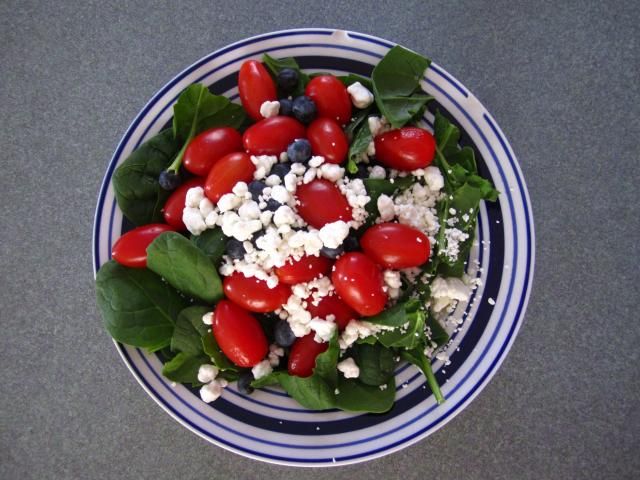
Red, White, and Blue (and Green) Salad


I hope everyone has a wonderful Fourth of July, whatever the plans may be. If you're having a barbecue, may I suggest getting a little campy and making a red, white, and blue salad?


The ingredients are simple: Romaine lettuce and spinach, topped with cherry tomatoes, feta (or goat) cheese, and blueberries. It's quick, it's easy, and it's delicious.


I'm currently unwinding from my DC/NYC trip (pictures to come soon), but I'm excited for the fireworks, my friend's barbecue, and a weekend with not one, but two UFC events. Some call it an unhealthy obsession. I call it America at its finest =)

Tuesday, June 17, 2014

One of the Healthiest Breakfasts You Can Ever Have


I've noticed that, the older I get, the more I care about what I'm eating. I spend less and less money on prepackaged food and more money on, well, salads. I've recognized that my body isn't the crazy-food-eating machine that it used to be and have been making a more conscious effort about nutrition.


We've all heard the talk about cinnamon being a super-spice. It appears it can do everything from raise the dead to finish your manuscript. But I rarely have anything with cinnamon in it, and, when I do, the "cinnamon" is probably just "naturally flavored" sugar.


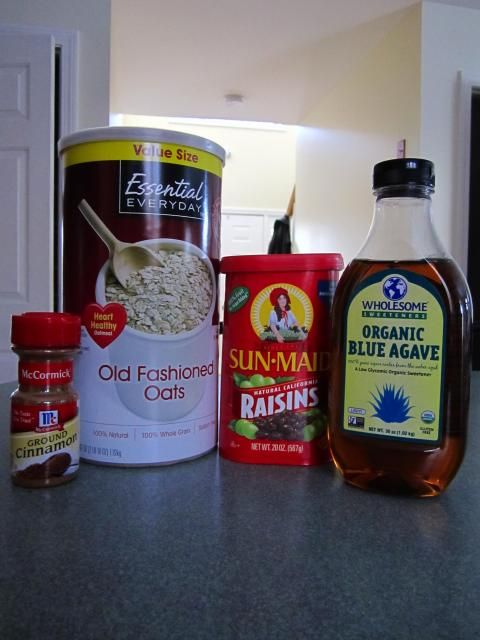
So I've started going down the old fashioned route. Did I say "route"? I meant oats. A couple mornings a week, I bust out my electric tea kettle and have some old fashioned oats with raisins, cinnamon, and agave sweetener. Gone are the days of instant packets backed to the brim with refined sugar (that I would sweeten even *further* with cream and brown sugar. Honestly, how was my mouth not a walking cavity machine when I was a kid?).


The key here is that you need all three ingredients with old fashioned oats: raisins and cinnamon and agave sweetener. Miss any of the three and the oats taste exactly like ... well, plain oats. But, together, they make a pretty awesome meal.


And it's as simple as pouring a bit of boiling water into a bowl of dry oats, raisins, and cinnamon, stirring the contents, and then adding in agave. I've also started adding a spoonful of chia seeds for a tiny kick (and extra hippy-dippy healthiness).


Of course, that's not to say I don't ever make stacks of pancakes and dive Scrooge McDuck-style into the syrup, but it's good to have a healthy option or two.

Saturday, April 12, 2014

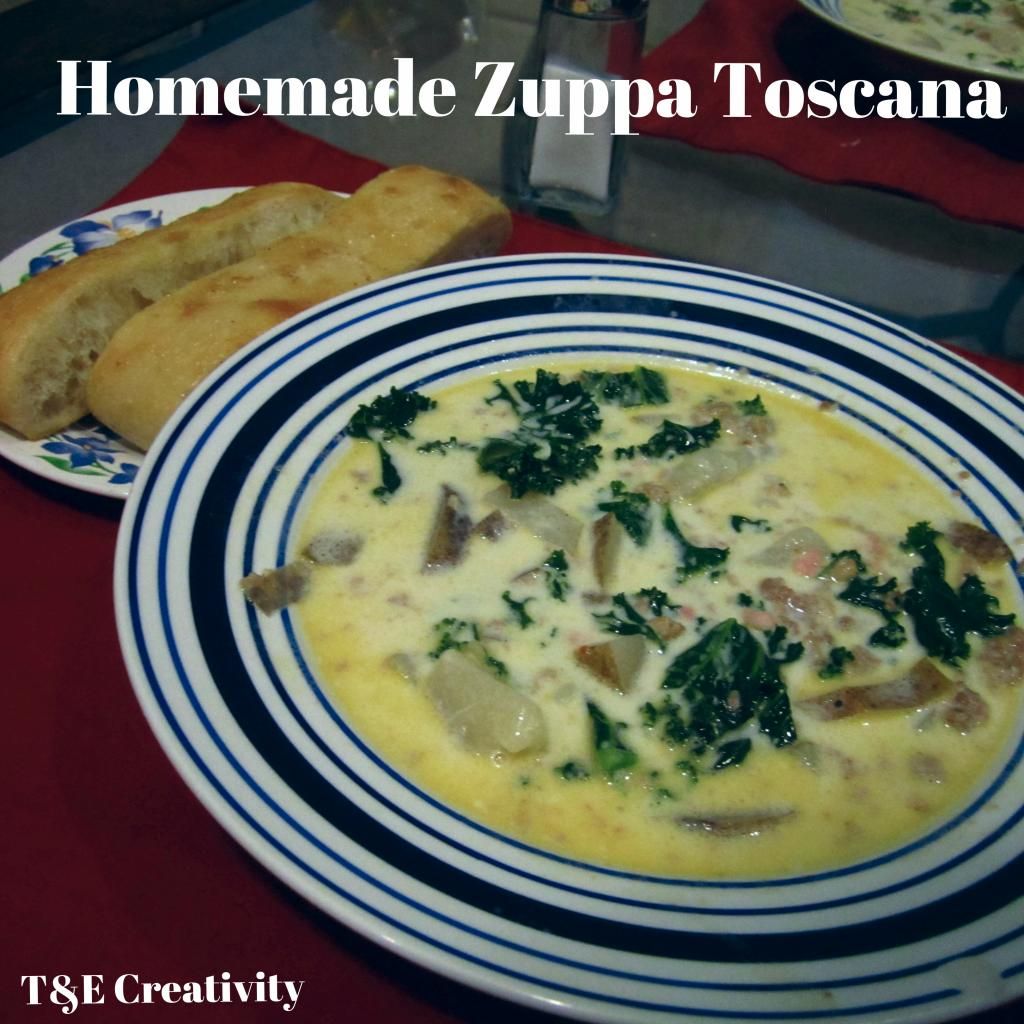
Olive Garden at Home: Homemade Zuppa Toscana & Garlic Bread


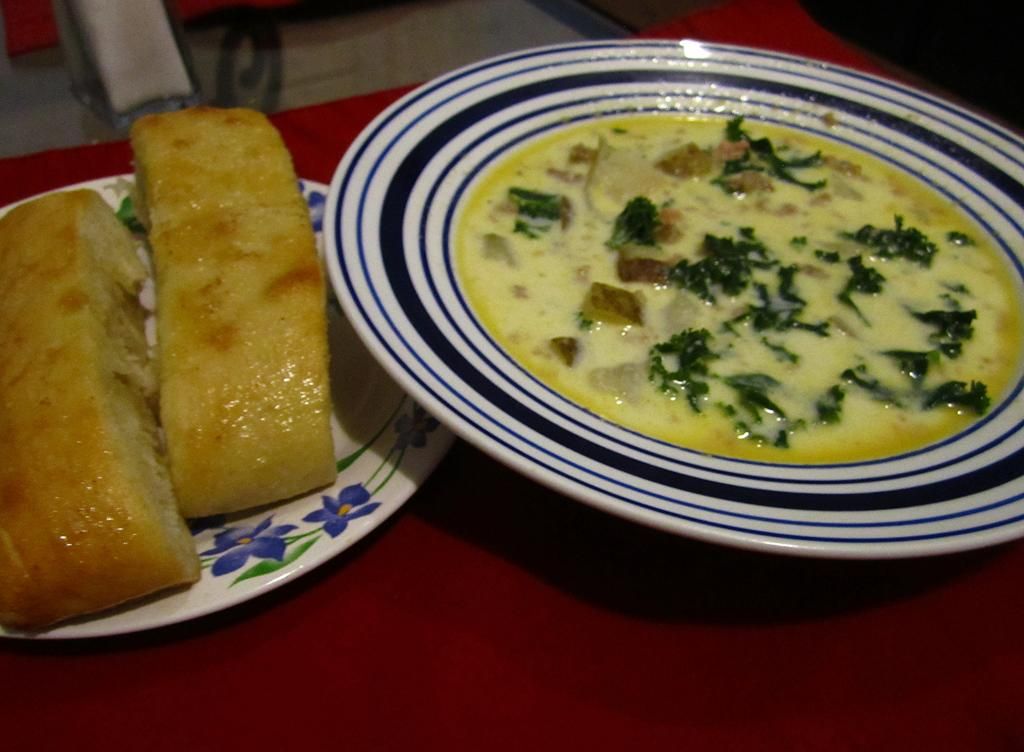
The Olive Garden has a special place in my heart, the heart of my husband, and the heart of my in-laws. Going to the Olive Garden means tomfoolery and cheese chicken and enough laughs to last a year. The food itself is a huge guilty pleasure of mine: yes, it's about as authentically Italian as Taco Bell is authentically Mexican, but damn is it good (sidenote: I also love Taco Bell). But unfortunately, Olive Garden, much like Taco Bell, isn't exactly good for you. Like, not by a longshot is it even remotely good for you. Thankfully, I found a few zuppa toscana recipes and, after a little bit of tweaking on my end (read: tweaking, not twerking), I'm in love:


FOR THE SOUP You will need:
16 ounces chicken broth
1 1/3 cups water
1 pound sausage (I'm partial to Jimmy Dean's Hot Breakfast Sausage, but, really, go with your preference)
3-5 medium-sized russet potatoes
1/4 cup bacon bits
5 garlic cloves, minced
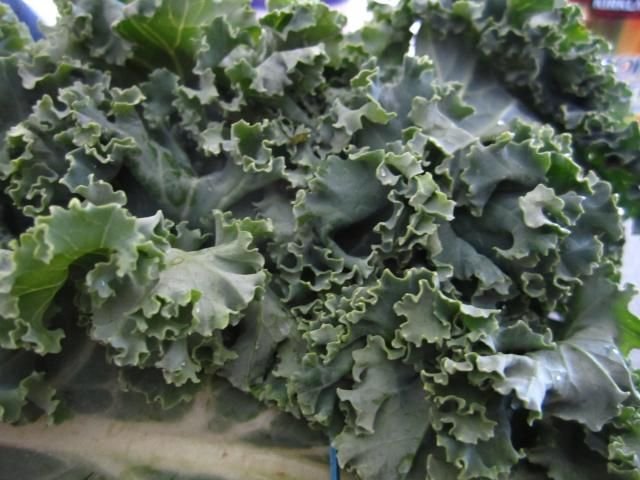
2-3 cups kale, chopped
1 cup heavy whipping cream
Salt and pepper as needed


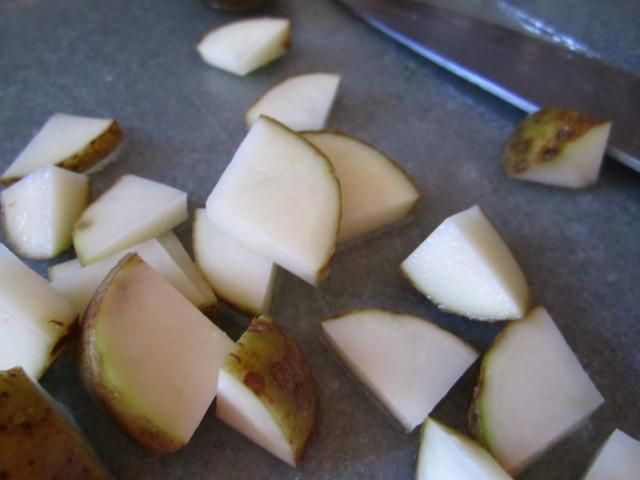
Fully cook the sausage. While it's sizzling in its pan, cut the potatoes into quarter slices. You want to keep these slices fairly thin. The easiest way to get these shapes is to make two perpendicular cuts lengthwise down the potato before slicing it up.


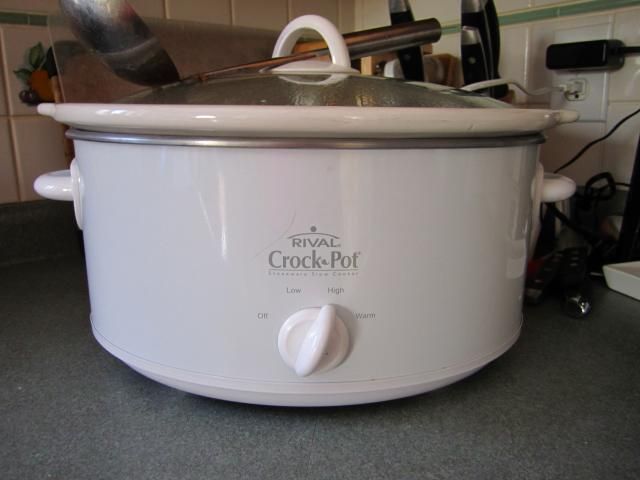
In the crockpot, mix in: chicken broth, water, sausage, potatoes, bacon bits, and garlic. Set the crockpot to "high" for 4 hours (or "low" for 8 if you want to prepare this before you leave for the day).


After four hours, add the kale and return the lid for 5-8 minutes. If you prefer a slight crunch to your kale (or if you are using a less-crunchy green), set the slow cooker to low when adding the kale. Mix in the whipping cream and enjoy! Sprinkle a little Parmesan cheese for that extra kick.


--


FOR THE BREAD You will need:
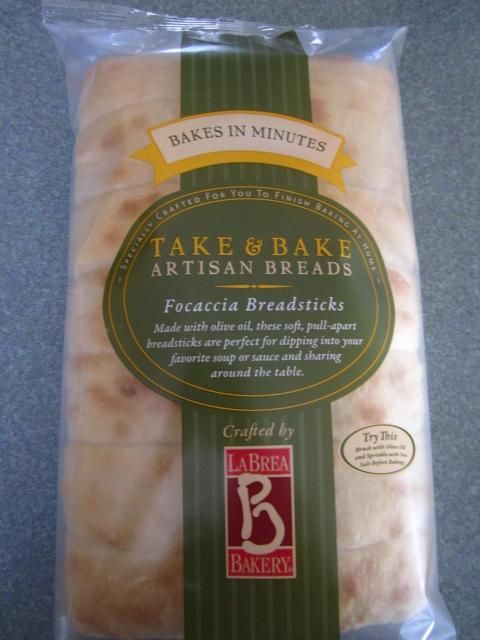
1 Package of Focaccia Breadsticks (Or, if you're so up to it, make it yourself. But don't look to me for that recipe! My Betty Crocker abilities only go so far)
Butter
Powdered Garlic
Salt


This bread is incredible. It's nothing too special: you should be able to find it at the bakery section of any grocery store. Ten minutes in the oven and you have delicious break-apart bread.


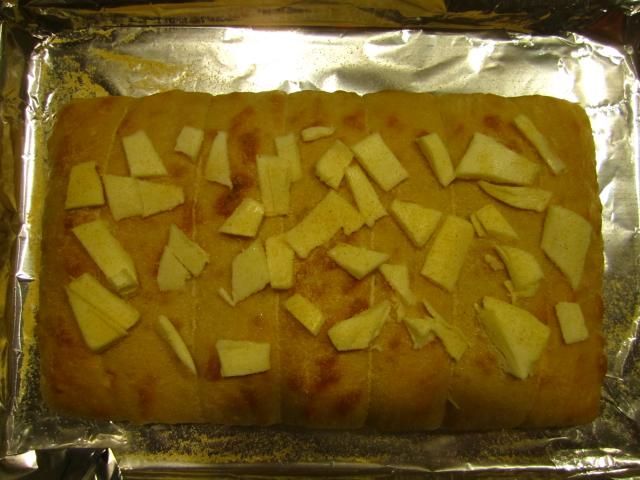
This is so simple, it almost hurts: slice lots of thin butter pieces, cut said slices up, place it on the bread, and sprinkle as much (or as little) garlic and salt as you'd like. My husband and I have an unhealthy (literally unhealthy; be still my arteries...) obsession with garlic butter, so our bread got a nice dusting of garlic and salt. Place them in the oven for however long the bread package requires.


Add in a simple house salad and you've got your Soup, Salad, & Breadsticks meal right here. And you don't have to risk running into us smacking each other over the head with breadsticks and refusing to say, "when," when they grate Parmesan cheese on our meal.

Wednesday, February 26, 2014

Pinterest WIN: Pizza Roll-Ups


It always seems like the Pinterest wins are food-related. Maybe people just like tricking the public more with crafts than with cooking?


This cooking project is super quick and creates calzone-like pizza roll-ups. My husband was unsure about the process; he saw me grab the dinner rolls and cocked an eyebrow, but his faith in me is unrelenting and I'm sure he's thankful I went along with this project anyway.


All you need is:
Crescent dinner rolls
Pepperoni
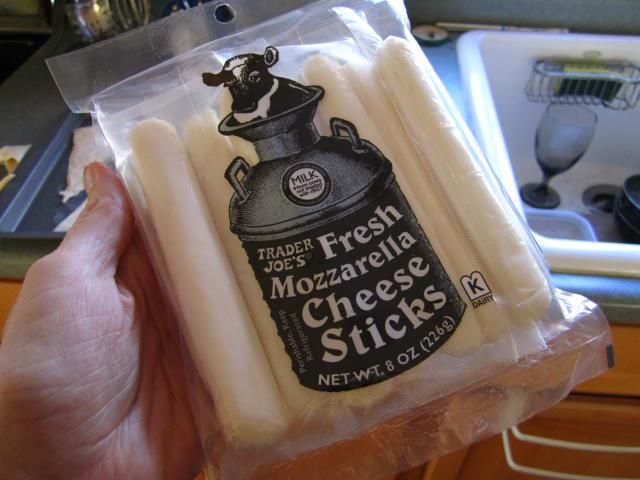
Mozzarella Sticks -- I'm sure regular string cheese can work here as well, but Trader Joe's makes an incredible Mozzarella stick that is too delicious even on its own.


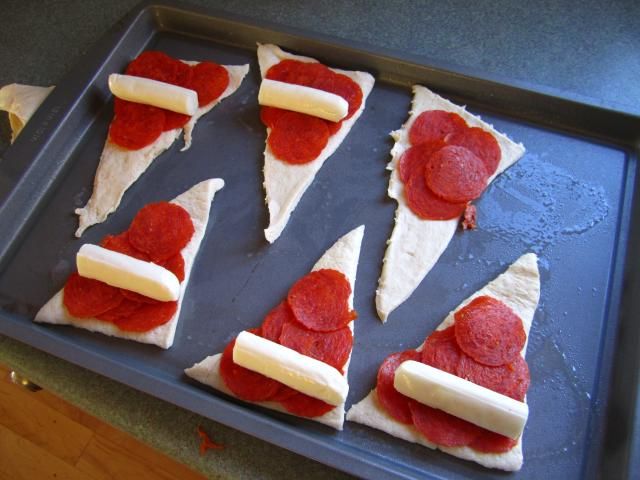
Unroll the individual dough pieces onto a greased sheet. Place 4-6 pieces of pepperoni and half a mozzarella stick on top of the triangle.


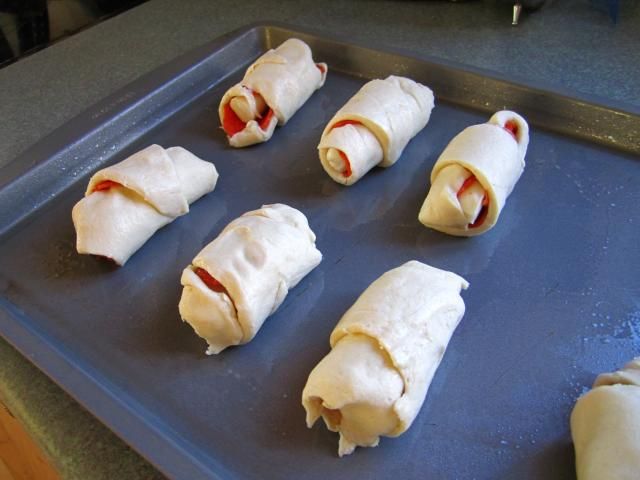
Roll the dough up from the broad side in. Make sure the mozzarella stick is encased in that first rolling (one way to ensure that is to put the mozzarella half on the end of the dough like in the first picture).


And then: simply follow the baking directions for the dinner rolls as usual, let them cool, and serve them with marinara sauce.


This is perfect for any type of sporting event, any casual hangout, or just a time when you feel like having a different variety of pizza. For an added kick, drizzle a bit of hot sauce on top.

Tuesday, December 17, 2013

Try it Tuesday: Grow Your Own Green Onions


As I desperately try to put together a Christmas post before, gee, Christmas, I figured I would post my latest endeavor: growing my own green onions. The beauty of this bit of gardening is that all you need is a package of scallions.


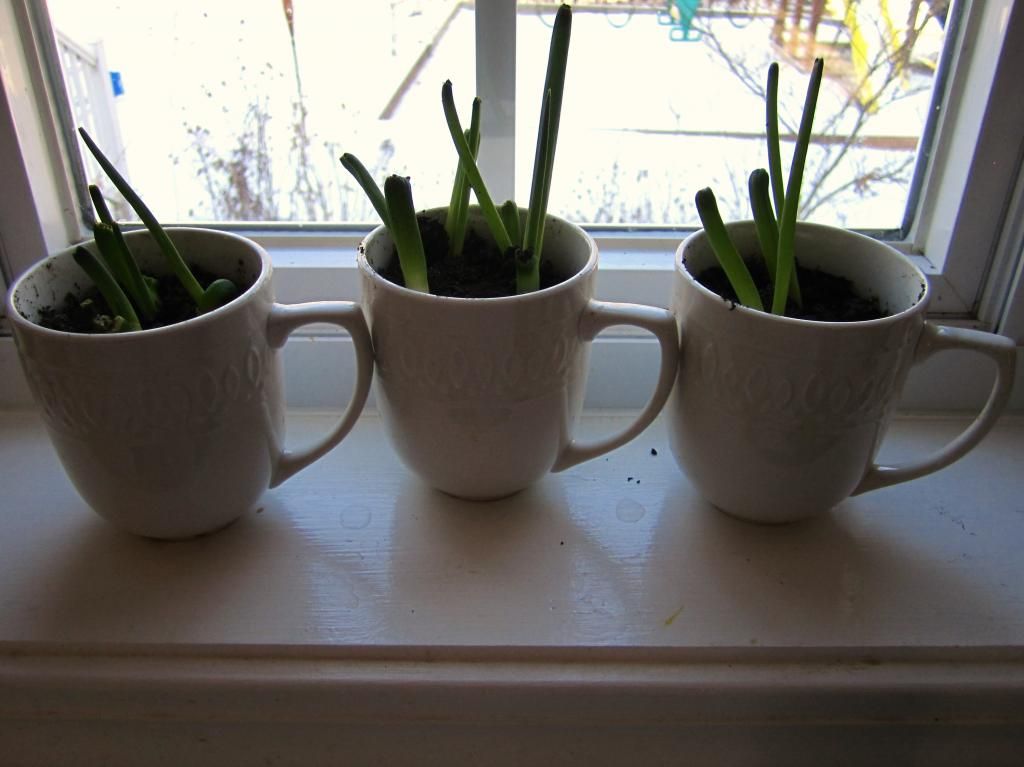
Technically, all you need are the bulbs at the very end. You know, the part that we throw out anyway? Instead of throwing it out, place it about half an inch deep in soil and water regularly. You'll be amazed at how quickly they'll grow.


And when you're ready to use them? You can simply trim at the base with a pair of scissors, or pull the whole bulb out, cut to the end, and start again. I decided to plant them in a set of white coffee cups that I had purchased for a failed experiment (but more on that later). I love how the cups make everything feel a little homier, way more than a standard pot or gardening tray would.

Wednesday, December 11, 2013

Pico de Gallo (aka the Simplest Dish You Can Make)


I don't know what it is about Mexican/Latin American food, but I cannot get enough of it. I can get eventually get sick of Italian food, Irish food, good ol' American cuisine ... but I could probably live on a steady rotation of tacos, milanesas, guacamole, and so on. It would be a very short life, but, man, what a way to go.


One of my favorite snacks is tortilla chips with pico de gallo. It's pretty hard to find premade pico de gallo that isn't stuffed to the gills with preservatives, so I've started making my own.


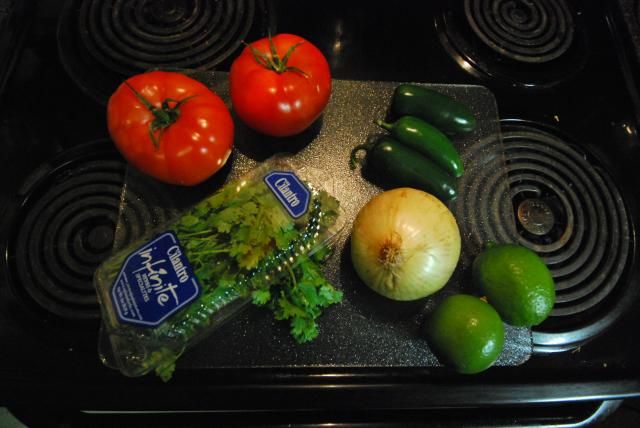
All you need is:
- two tomatoes
- one to two limes (depending on taste preferences)
- three jalapeño peppers
- 1/3 to 1/2 of an onion (again, depending on taste preferences)
- cilantro


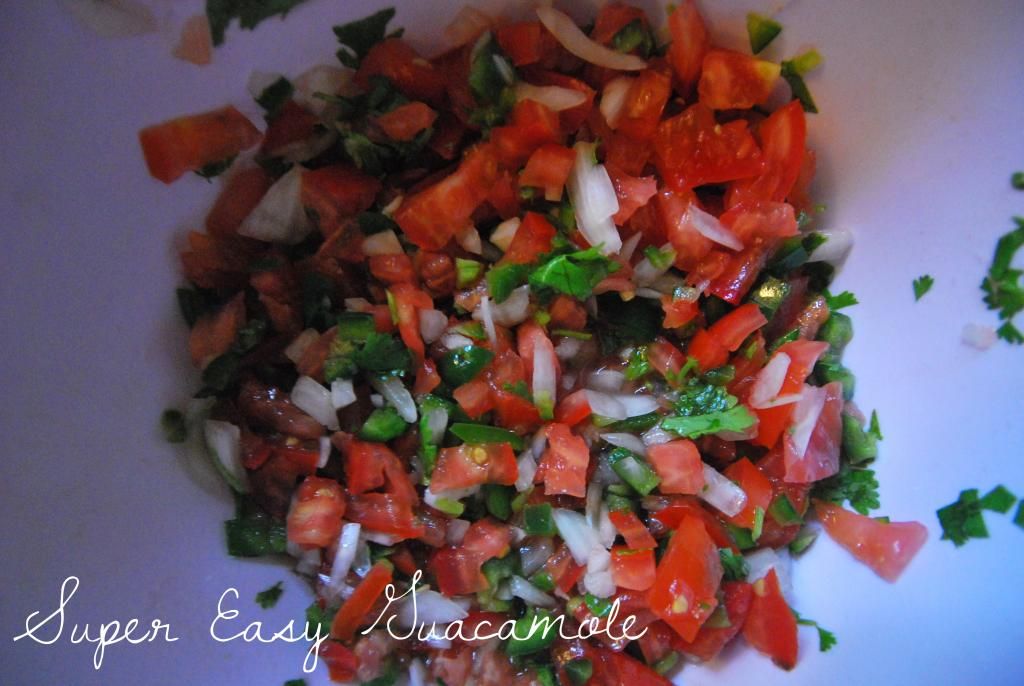
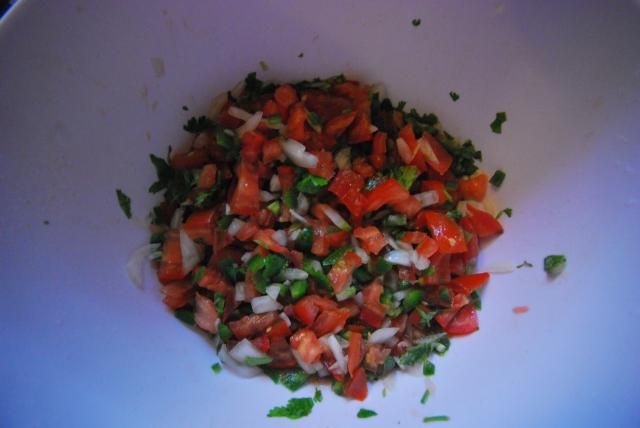
Chop up the tomatoes, jalapeños, onion, and cilantro as finely as you can. Try your best to save the tomato juice. I prefer the tomato juice to "liquify" the pico de gallo way more than water or vinegar. Start by mixing the tomatoes and peppers into a bowl, adding in the onion and cilantro until you have a mix that best suits you (some like it primarily tomato, some like it to be mostly tomatoes and peppers, some like an even mix. I'm an even mix person myself, but everyone is different). Cut the lime (or limes) in half and squeeze the lime juice in.


Mix everything up, cover the bowl with saran wrap, and let it settle in the fridge for at least 2 or 3 hours.


And now enjoy! I personally like creating guacamole at the same time and alternative between guacamole and pico de gallo.

Thursday, November 21, 2013

Super-Easy Guacamole

I have an obsession with avocados. And, much like bananas, I get some weird kick out of being able to purchase them in New England, no matter what time of year. Welcome to the modern age.


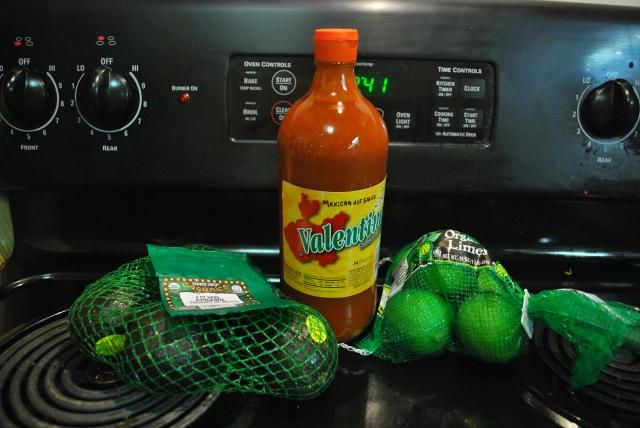
This right here is quite possibly the easiest guacamole recipe ever. You'll need:
avocados
limes
hot sauce


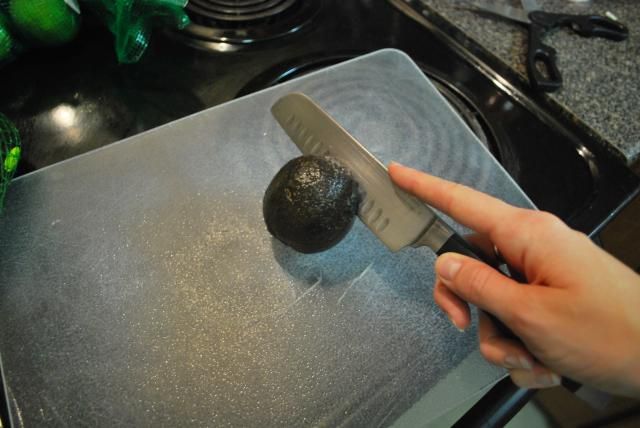
Peel and pit about 2 or 3 ripe (or even slightly over-ripe) avocados. Peeling avocados is as simple as cutting them in half (and by "cutting them in half" I mean "sticking the knife in until you hit the pit and working your way around the pit), and either using your thumb to peel of the peel, or scooping it out with a spoon. Pitting them is as simple as sticking the knife into the pit and twisting it out.


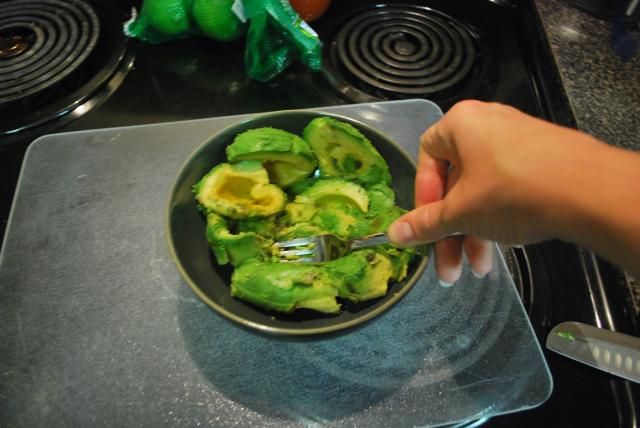
Place them into a bowl and mush them up with a fork. When the consistency is that of a paste, add lime juice and hot sauce until you get your desired taste. I added a whole lime's worth of juice as well as a good two or three tablespoons of hot sauce, I also like my guacamole incredibly tangy and sharp.


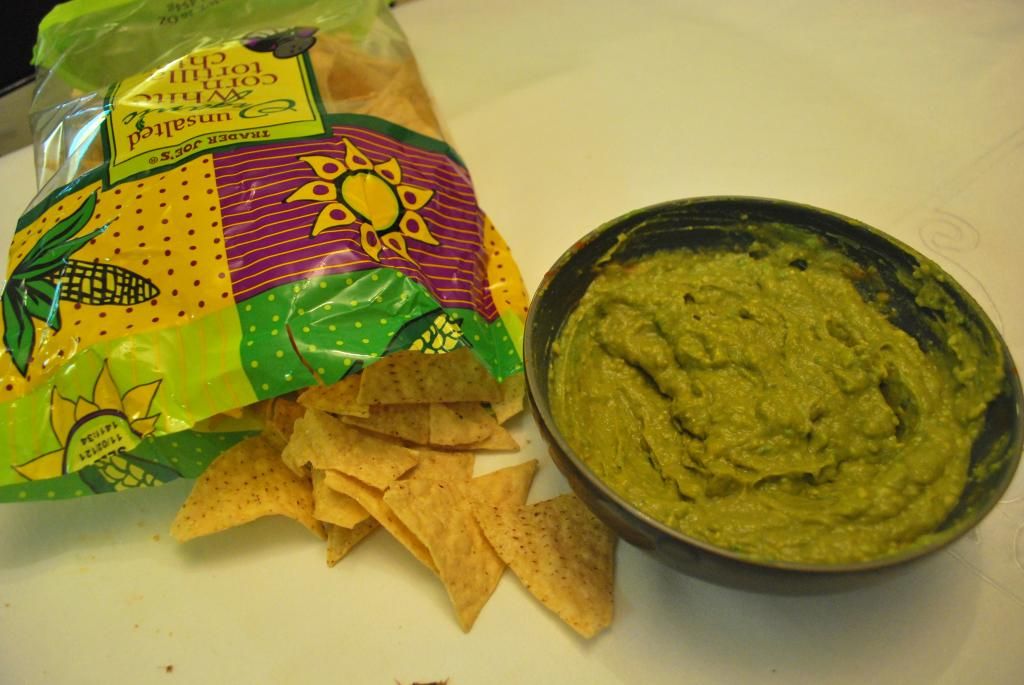
And there you have it. Guacamole sans artificial coloring isn't much to look at, but it's delicious (and good for you, too!) When you're ready, you can try adding chopped up onions, jalapeños, cilantro, and/or tomatoes. You can even add a little Greek yogurt for a creamier taste.

Sunday, October 27, 2013

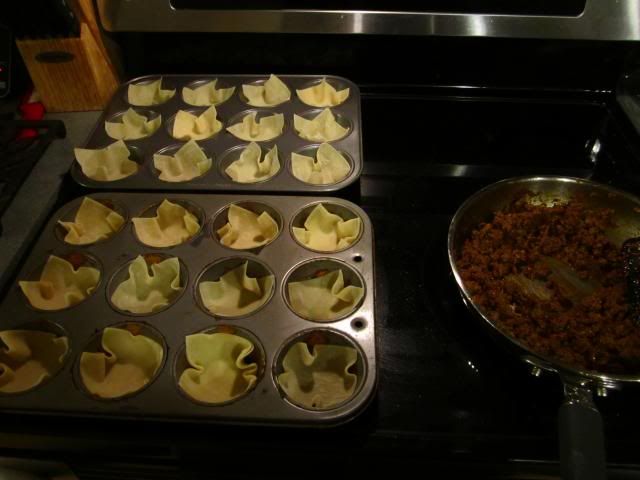
Pinterest WIN!: Mini Tacos with Wonton Wrappers


Oh, it's nice to finally find a far-fetched Pinterest idea that actually WORKS.


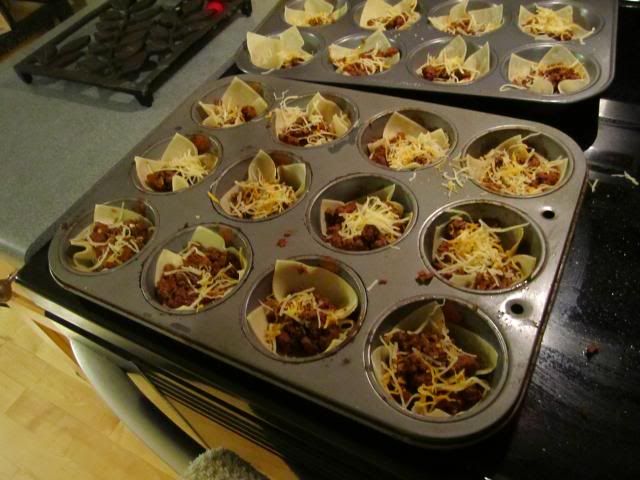
It doesn't make any sense: put Wonton wrappers in cupcake tins and make mini tacos? What?


But -- lo and behold! -- it works!


What you'll need:
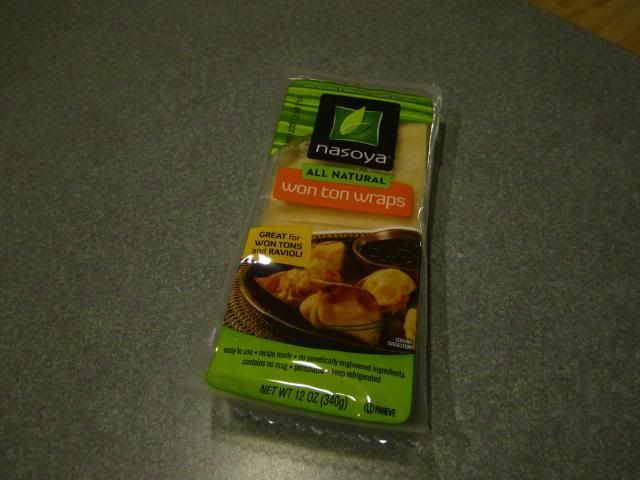
Wonton wrappers (which, if the grocery store carries them, will be in the refrigerated section, usually alongside tofu)
Cupcake tins
1 lb of beef
Taco seasoning
Cheese
Any other taco seasons you love

Prep time: 30 minutes \\ Makes 24 mini tacos


Preheat the oven to 425*F. Thoroughly cook your beef as you would for any taco meal. Drain the grease at regular intervals (aside from the fact that the grease is horrible for you and doesn't really add anything to the taste, you don't want greasy beef going into the wrappers). Add seasoning until the beef is how you like it.

While the beef is cooking, place one wonton wrapper into each cupcake tin. If you like a "soft taco" texture, I recommend putting two wonton wrappers in the cupcake tins.


Place about one spoonful of beef into each tin. If distributed correctly, you'll fill all 24 wonton wrappers about halfway up. Sprinkle with cheese and cook for 8 minutes (or until the edges are brown).


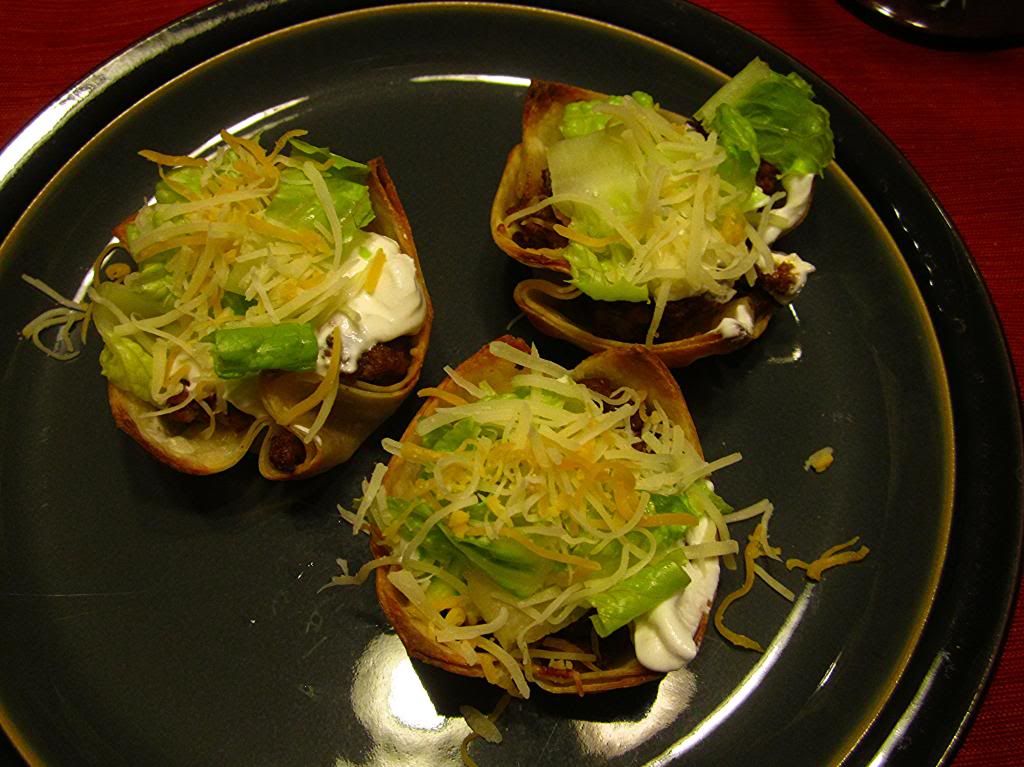
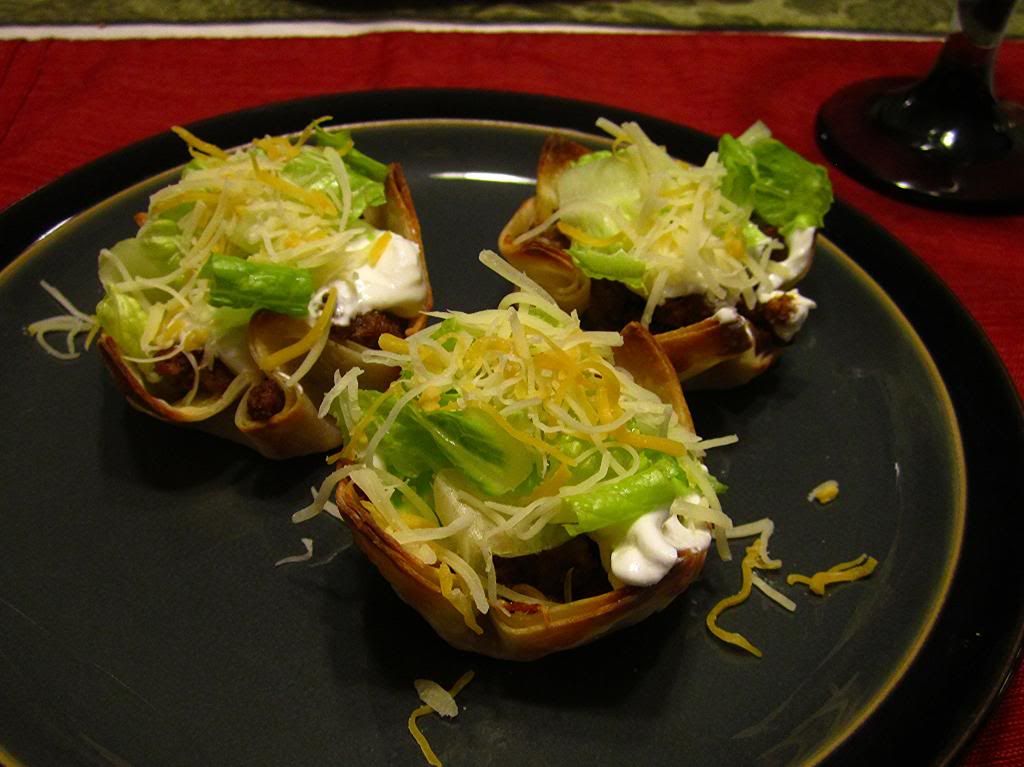
And then, top with whatever you like putting on your tacos. Sour cream, lettuce, tomatoes, cilantro, guacamole. More cheese. These are absolutely incredible. This is one Pinterest experiment that I'm more than happy actually works.

Sunday, September 29, 2013

Homemade Bacon Potato Chips


I don't know if these are healthier for you than standard potato chips, but there are definitely fewer chemicals, and some nutritionists even believe that bacon grease is healthier for you than standard vegetable oil. Regardless, these are delicious and I'm okay with shaving a few years off my life in order to enjoy them.


They are simple enough to make: first, save up your bacon grease. If you're like me and tend to make brunches every Sunday, then just empty your pan into a jar (which you should be doing anyway because grease and oil is horrible for your sink!). The only thing to keep in mind is that the jar should always be left open. Putting a lid on it will cause the bacon grease to rot. Keeping it nice and aerated will make it last at least a couple months. You'll need roughly half a standard jar's worth of bacon grease (so maybe two or three pounds of bacon's worth).


Next, clean and peel the potatoes. Cut them into extraordinarily thin slices (as thin as you can make them -- the thinner they are, the more crisp they will be. And, likewise, the thicker they are, the more likely they'll be chewy. Still yummy, but a completely different eating experience) and soak them in a bowl of salt water for roughly an hour.


And then, you cook! Empty the half-jar of grease, turn up the heart to roughly 7 and wait until all of the grease has changed back into it's beautiful hot bacony goodness. Place a dozen or so (depending on how big your pan is) slices into the pan and let them cook. They'll need roughly 3 or 4 minutes on each side, or until the edges are crisp and the center is tan.


A metal strainer is perfect for cooking with large amount of oil, but a slotted spoon can work in a pinch. I recommend scooping out the next batch of potato slices and letting them dry a little bit before putting them in the grease, as water + hot grease = spiddle. Which = potentially burning yourself.


Anything with the words "bacon" and "potato chips" is bound to be delicious...and horrifically bad for you. But, hey, you only live once!

Tuesday, May 14, 2013

Try it Tuesday: Graham Cracker Crumbs and Greek Yogurt


I've made the switch over to Greek yogurt recently. It has twice protein and half the sodium and carbohydrates. The switch was pretty easy, with the exception of the texture. The texture is a lot smoother, a lot more thick-n-creamy. And it's a shock to the system if you've had regular yogurt your entire life. So I have been looking for ways to spice up my yogurt.


There's the usual additions: granola, fruit, etc, but, given that I really was having an issue with texture, I needed to pull out all the stops.


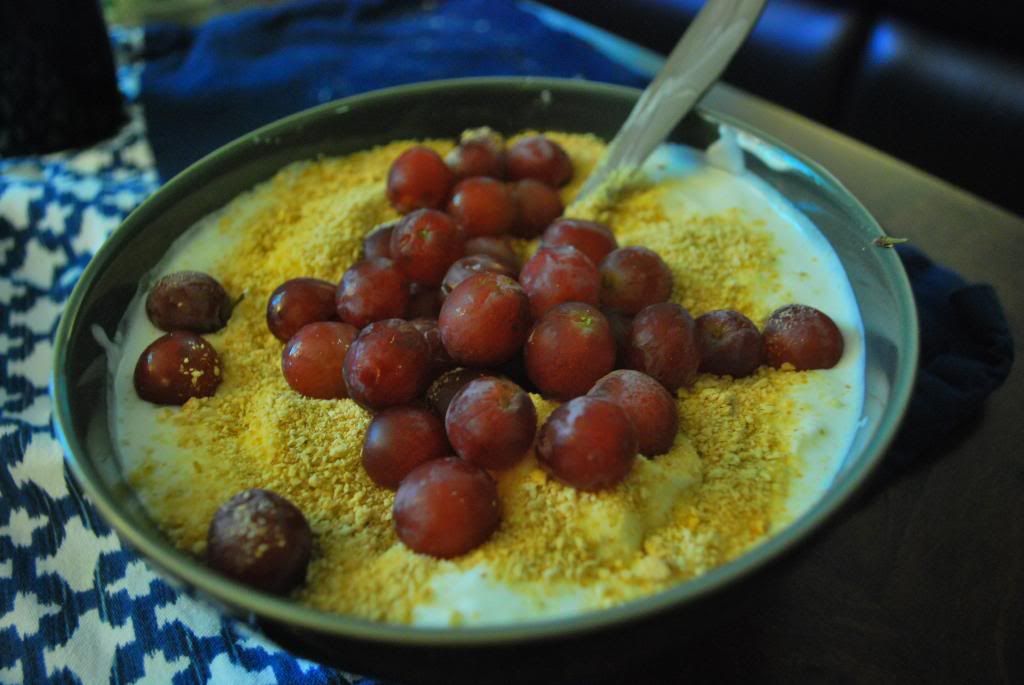
I had some leftover graham cracker crumbs from my giant Reese's peanut butter cup, so I decided to sprinkle some graham cracker crumbs over my vanilla greek yogurt to combat the texture. I added some grapes, both for taste and to balance out the healthy/unhealthy ratio.


I fully recognize that adding graham cracker crumbs to Greek yogurt is like spooning sugar on Kashi Go-Lean granola, but the taste is amazing. And it really does help you acclimate to greek yogurt, if you're texture sensitive like myself.


The best part is, since it has twice as much protein, I am full sooner and for longer. Which is needed, since I've been craving Wendy's spicy chicken nuggets for about a week now!

Tuesday, April 23, 2013

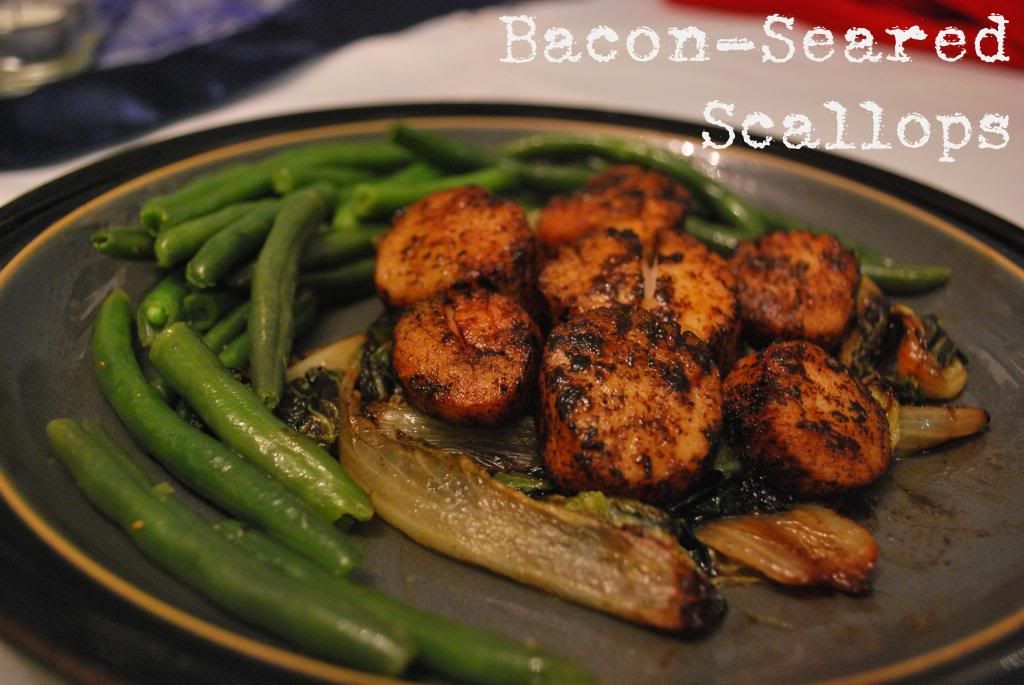
Bacon-Seared Scallops

[Blogger Note: Last week was easily the hardest, most trying weeks in the history of Boston. I usually schedule my posts in advance so that my blog is still active even when I am busy. But last week, in the face of tragedy and mourning and a lifetime of emotions, I decided to delay all future posts indefinitely. Now that we are in a place where the healing process can truly begin, I feel it's now okay to move forward and return to our regularly scheduled blog posts.

So to all who sent their love and support to Boston: thank you. You don't realize how much even the tiniest tribute or mention can be until you are in that position. And to every police officer and emergency responder who pulled a 24-hour shift during Friday's harrowing lockdown: thank you, thank you, a thousand times thank you. It's a proud time to be in law enforcement, and it's a proud time to be a Bostonian.
]


In Part two of my "Cooking like Ramsey", I tackle the dreaded pan-seared scallops.


Scallops are right up there with risotto on Hell's Kitchen, and, like risotto, it gets sent back more often than not. Overcooked, undercooked, burned, unseasoned…it's frightening to say the least.


But it really shouldn't be.
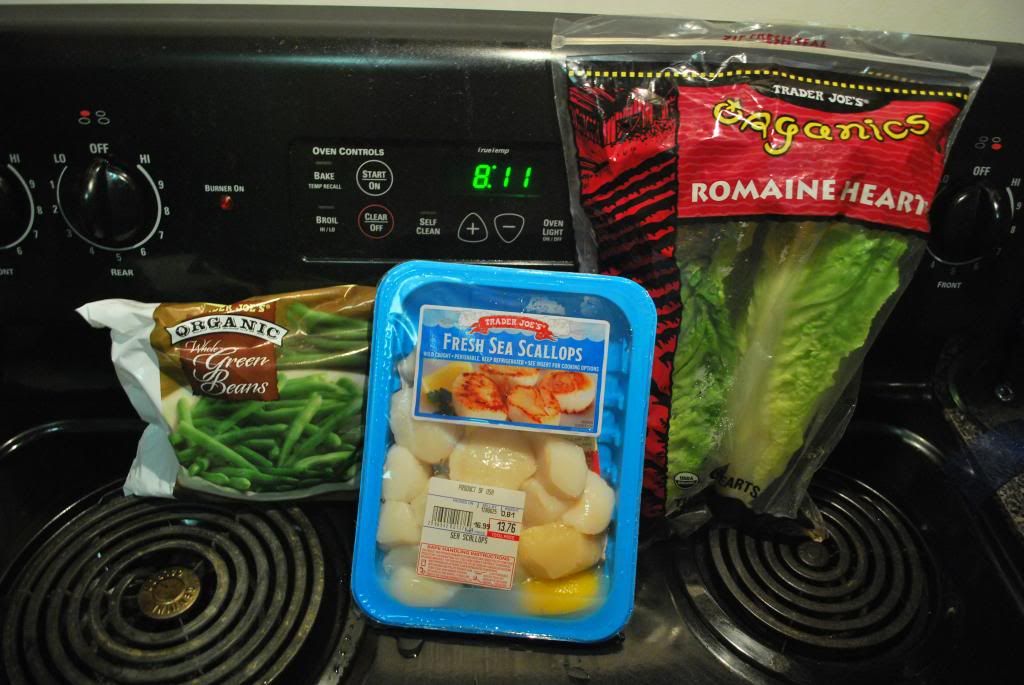

For this, you will need:
- Large scallops (they need to be at least silver-dollar sized or larger. Small pan-seared scallops is doable, but it's frustrating and have different cooking times)
- Romaine lettuce (at least a whole head)
- Green beans
Not pictured: olive oil, salt, and pepper
And bacon grease! Lots and lots of bacon grease!


My husband and I save our bacon grease, since it's wonderful to cook in (ever fried mini potato wedges in bacon grease? I could kick a puppy to eat that all I want and never gain a pound). It seems counter-productive to my gluten-reduce, crazy-healthy lifestyle, but really -- if you are going to fry something, what is better for your body? Chemical-ridden, super-processed Crisco or the grease from uncured bacon? If you don't save your bacon grease, you can get the right amount of bacon grease after cooking up a pound or two of bacon. So, make an amazing brunch, and save the bacon grease for dinner.
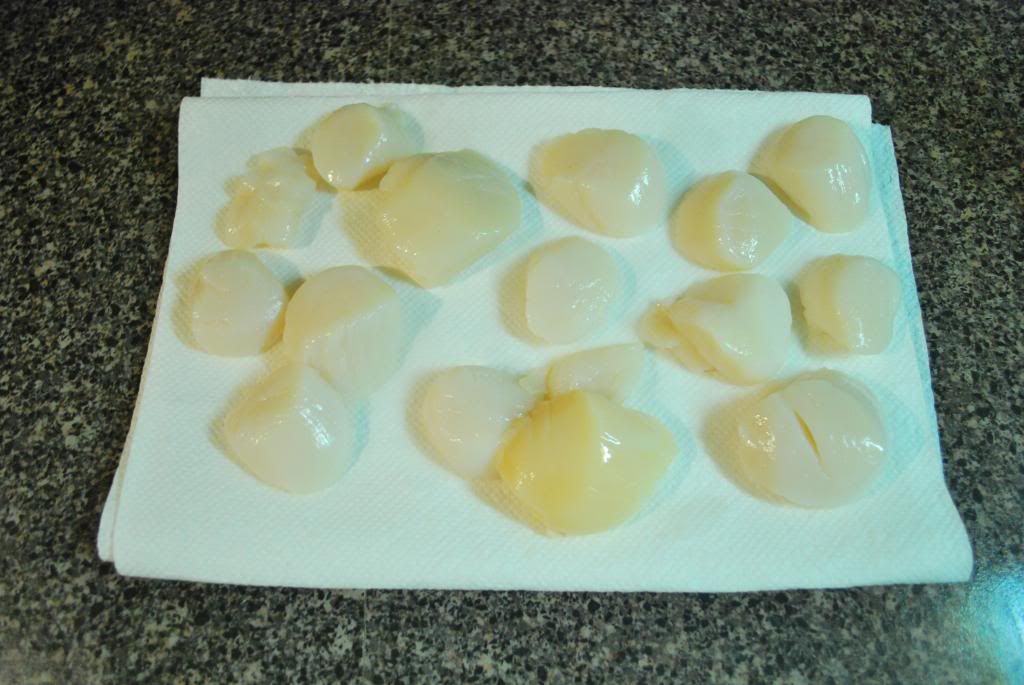

First off: dry off your scallops. You don't want to steam these (plus: water + grease = eyes burnt out by splatter). Lay them out on a few paper towels and pat them dry with a second set of paper towels. Before you cook them, pat them down a second time and sprinkle them with salt.


Secondly: prep everything. Scallops will need your complete attention, so get everything ready. Set up your steamer, wash your lettuce leaves. The last thing you want to do is have your attention diverted.
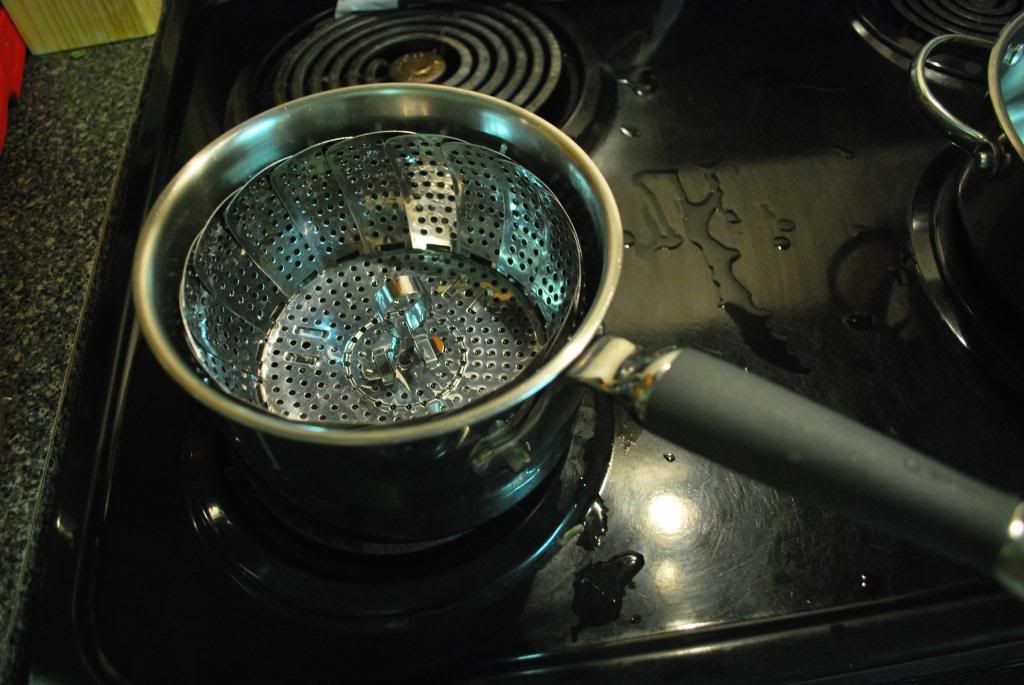

Steaming vegetables is supremely easy. Place 1/2" of water and a steamer in a sauce pan. When the steamer is set, open the sides until it brushes against the sides of the saucepan. Once the water is boiling, place in the vegetables, put the lid on the sauce pan, and let the vegetables cook for about 8 minutes.
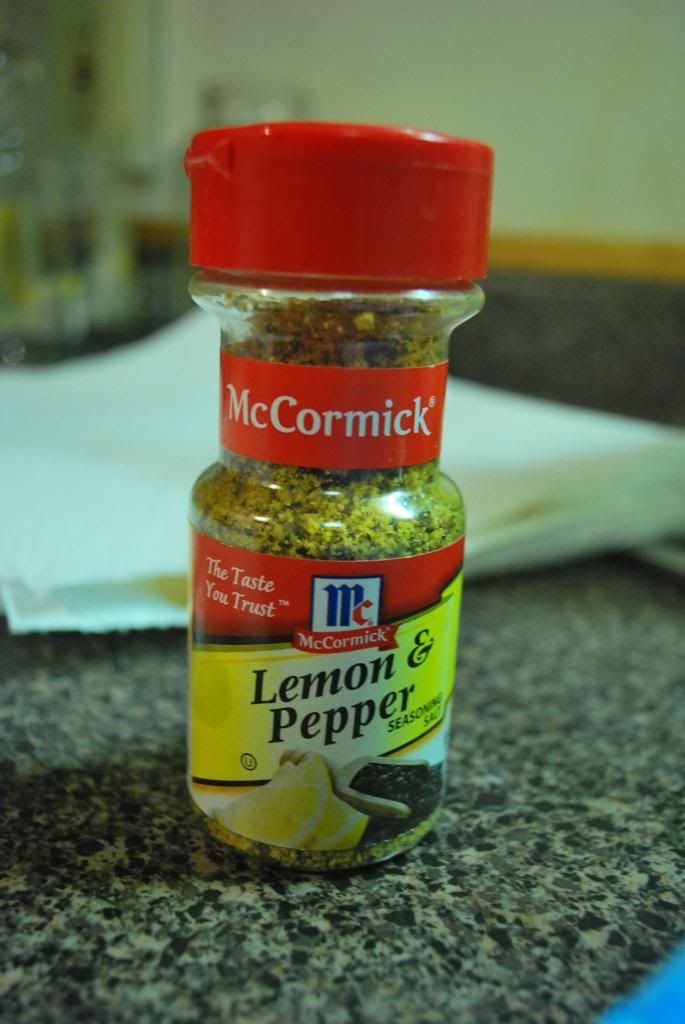

In a mixing bowl, add 2 tablespoons of oil with salt and pepper. I also added lemon pepper, which I absolutely love. I put it on my chicken, I put it on my salads. Absolutely love it.
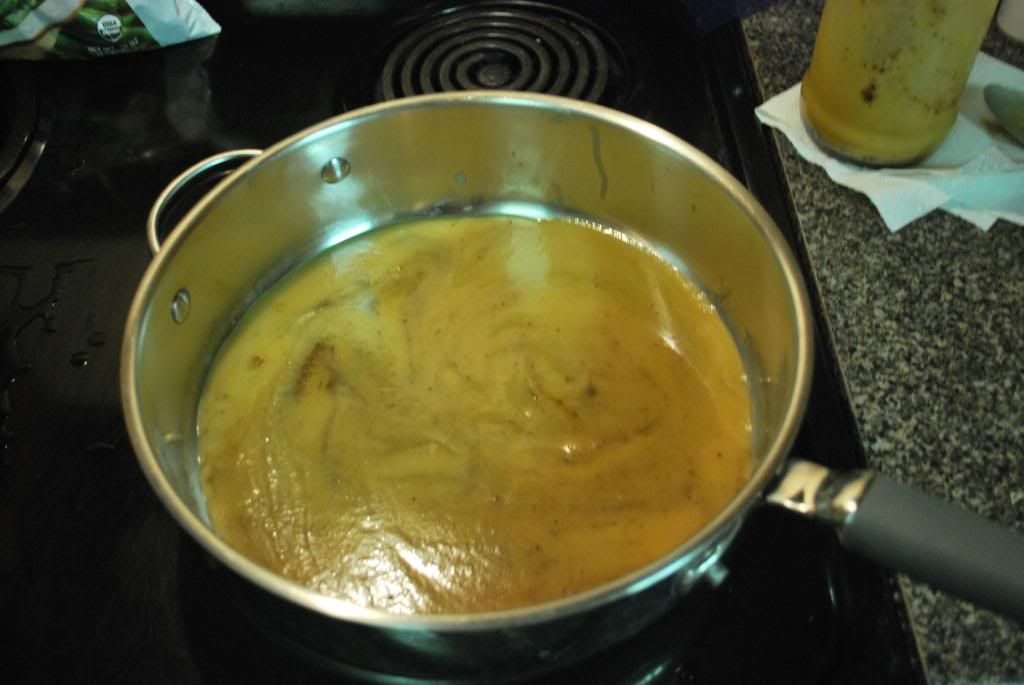

Add the bacon grease to a large pan. Cold bacon grease looks like ass, there's no way around it. But it heats up fast and the smell is wonderful.
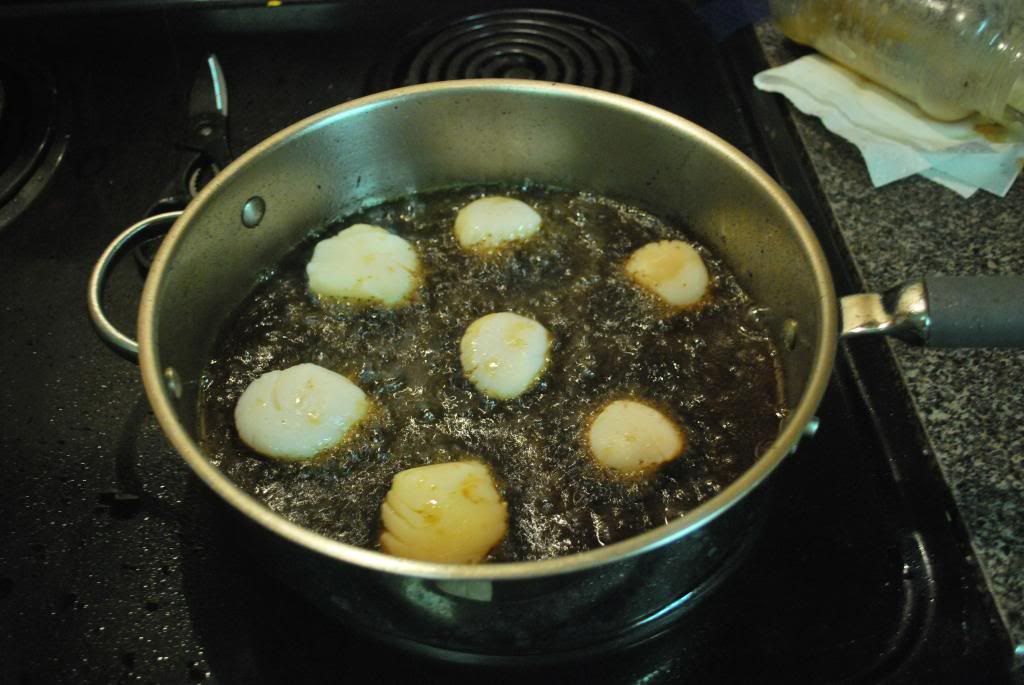

Wait until the bacon grease is so hot that smoke is coming out of the pan. Using tongs, place no more than 8 scallops into the pan. Now as Chris Crocker advised about Britney Spears, leave those scallops alone (thank you, 2008 internet reference). The edges need to caramelize and they won't if you move them around! Give them a solid 2 minutes before checking on them. If the edges look nice and brown, flip them over and cook them for an additional 2.
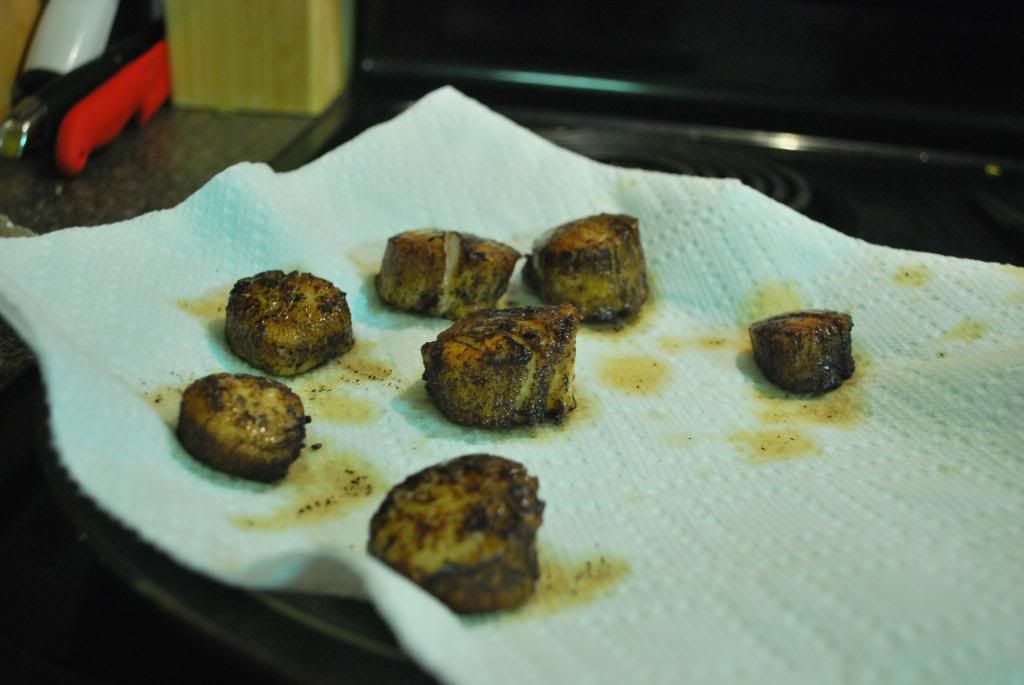

Once the scallops are cooked, remove them from the pan and add the lettuce to the grease. This time, never leave the lettuce alone. Stir vigorously for roughly 5 minutes. The lettuce will look completely wilted. When the lettuce is down, set it onto paper towels and pat off the excess grease (spoiler alert: there's a lot).
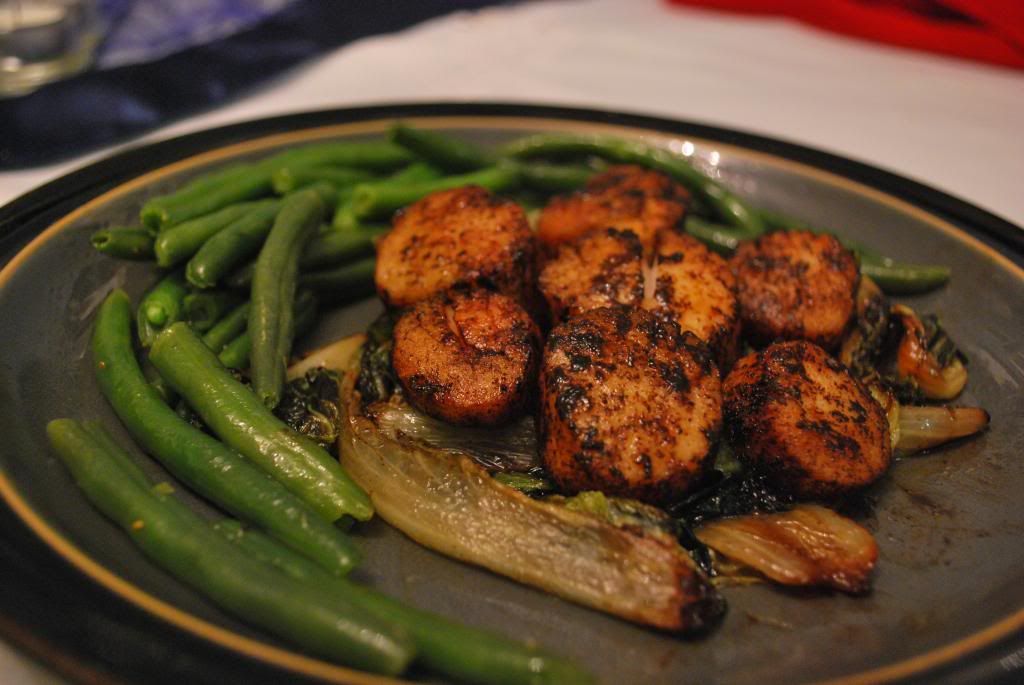

The results are delicious. While it's not as low in calorie as, say, a salad, it's absolutely delicious. Call me, Ramsey.
Related Posts Plugin for WordPress, Blogger...
09 10 11 12
Blogging tips