Showing posts with label jewelry. Show all posts

Thursday, July 11, 2013

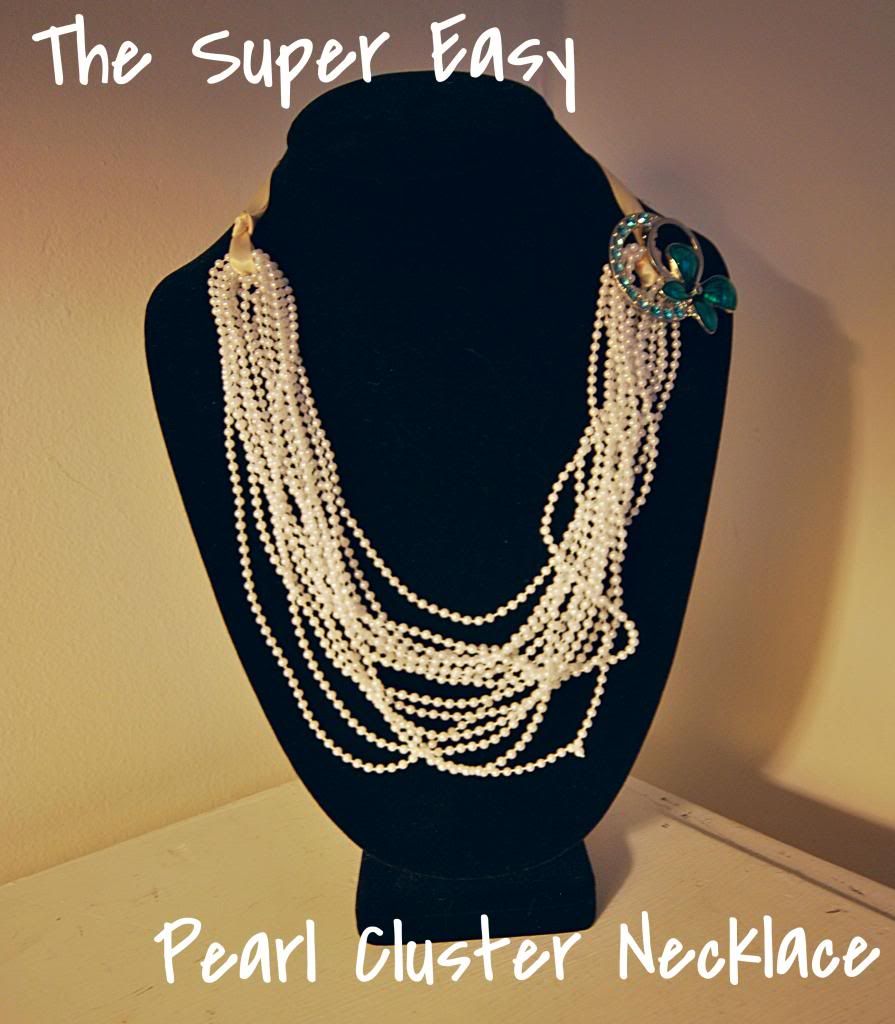
Simple DIY Pearl Cluster Necklace

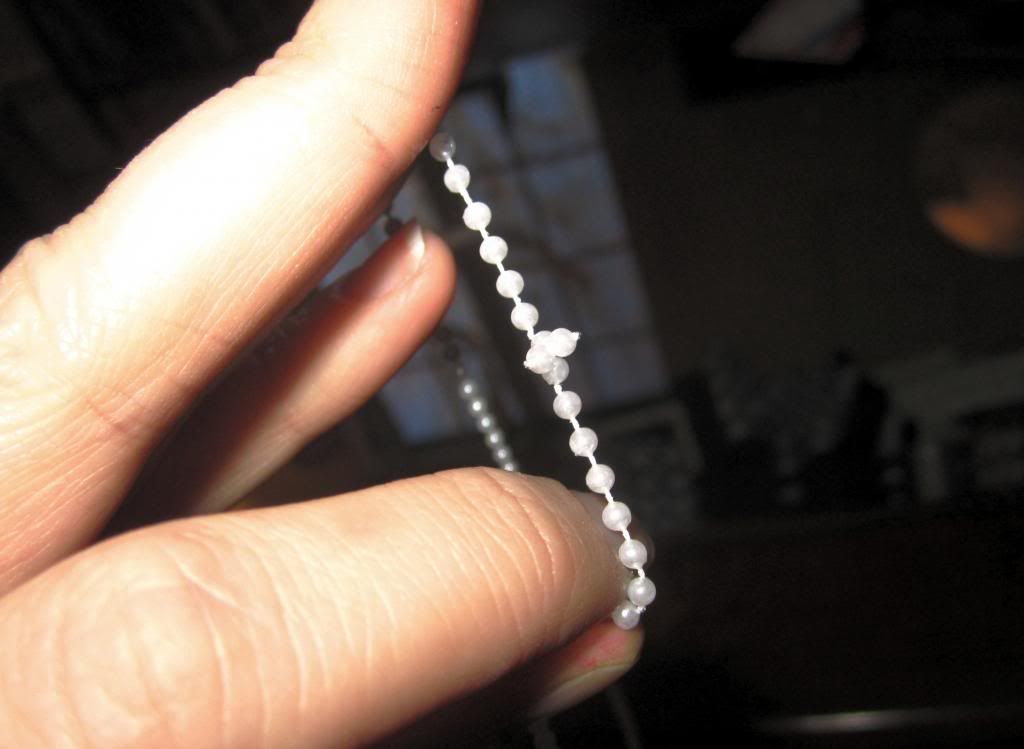
A bought a container of plastic fake pearls on whim to make the pearl hair comb. The project required very little of the pearl strands, leaving me with almost an entire box of them. So, going off the idea from this blog, I decided to make a cluster necklace with them.


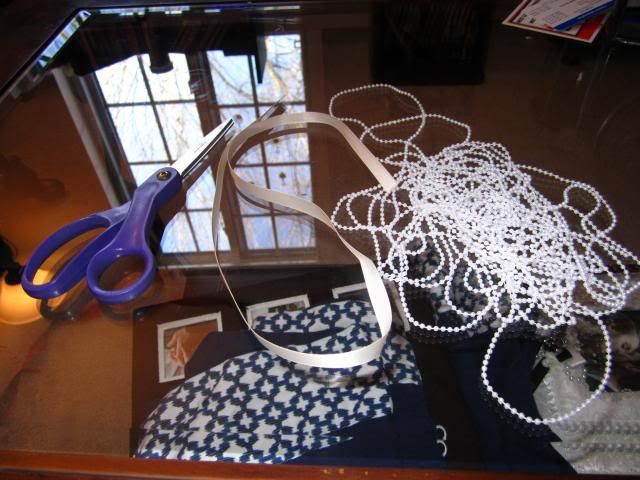
For this, I needed:
the plastic pearl strand,
ribbon, and
scissors.


Later, I would need a toggle/barrette and jump rings (as well as my sewing machine).


I first connected the two ends of the plastic pearl strand, creating one gigantic loop of fake pearls.


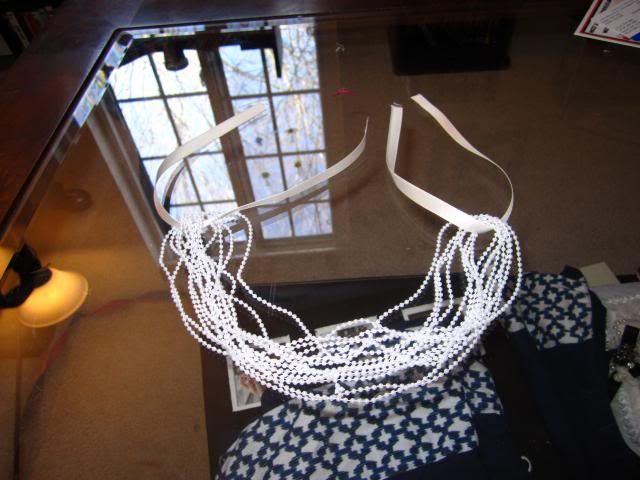
I folded the loop in half and half again until the loop was about 10 inches in length. I then fed 6" or so of ribbon through each end of the loop.


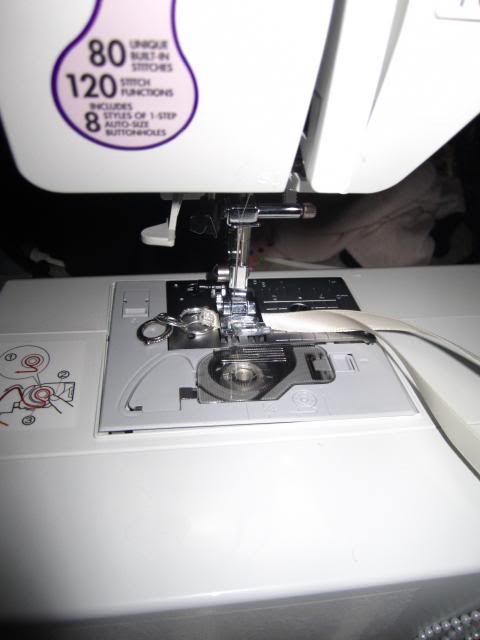
I first thought of forgoing any clasps and just tying the ribbon behind my neck. Unfortunately, this ribbon did not like the idea. After naturally untying three or four times, I decided to sew jump rings into place. I strung a large jump ring through one side of the ribbon, sewed the ends of the ribbon together, slid the jump ring up to the seam, and sewed the ribbon on the opposite side of the jump ring, keeping the jump ring in place. Using pliers, I opened a small jump ring and used the small jump ring to attach the toggle and barrette to their respect large jump rings.


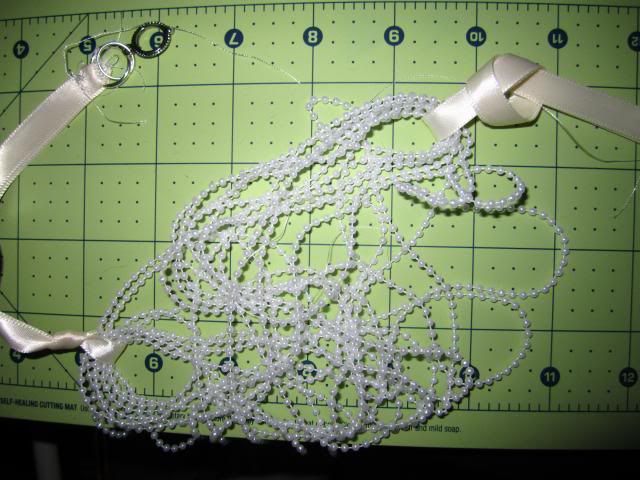
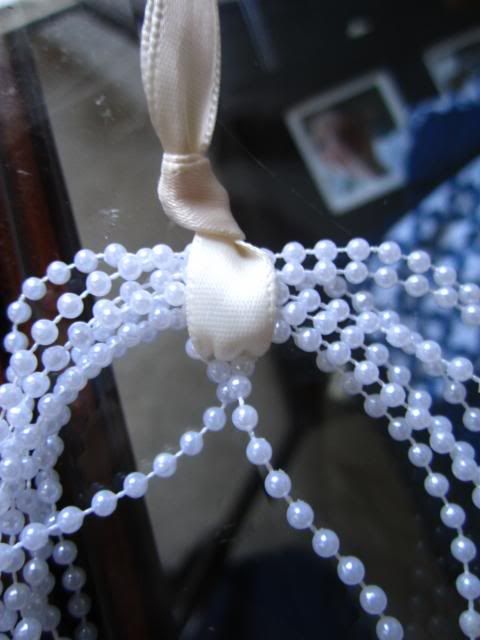
For a cleaner look, I decided to knot the ribbon at its base. The knot was a simple, standard loop, although I did take care to keep the ribbon from folding or twisting in the knot.


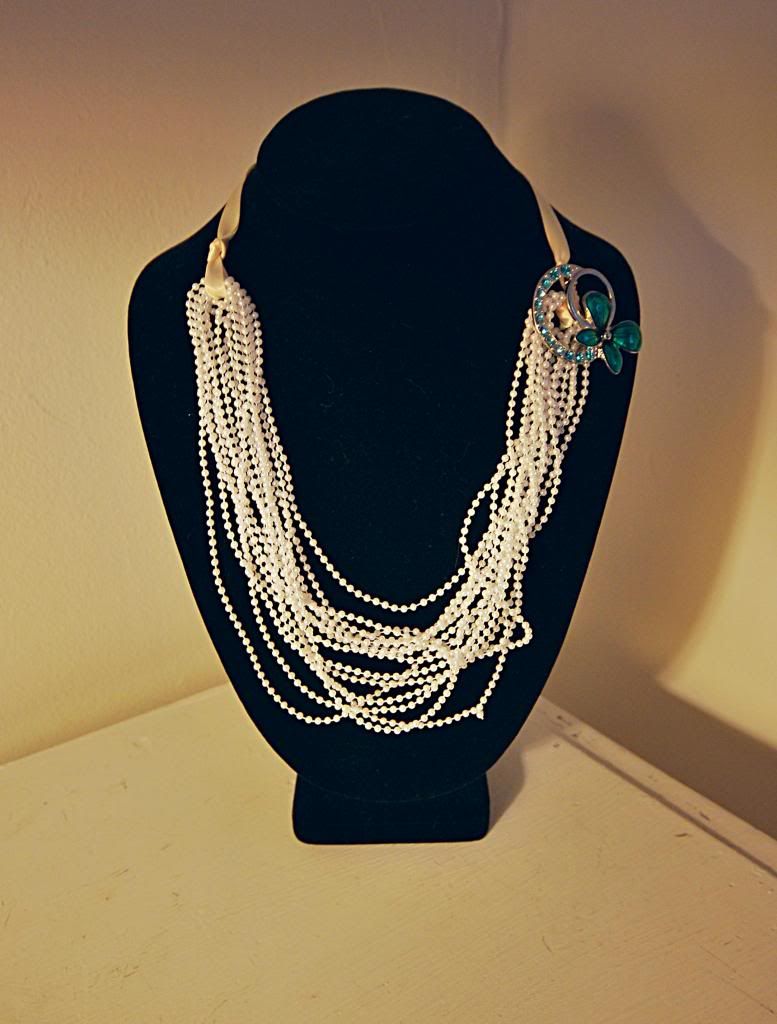
To balance that out, I decided to twist a few strands from opposite sides of the loop together, creating a measured chaotic look.


Like the blog that inspired this craft, I decided to accent it with a cheap broach I found on eBay. I definitely can't wait to pair this with a strapless dress for a night on the town.

Sunday, April 14, 2013

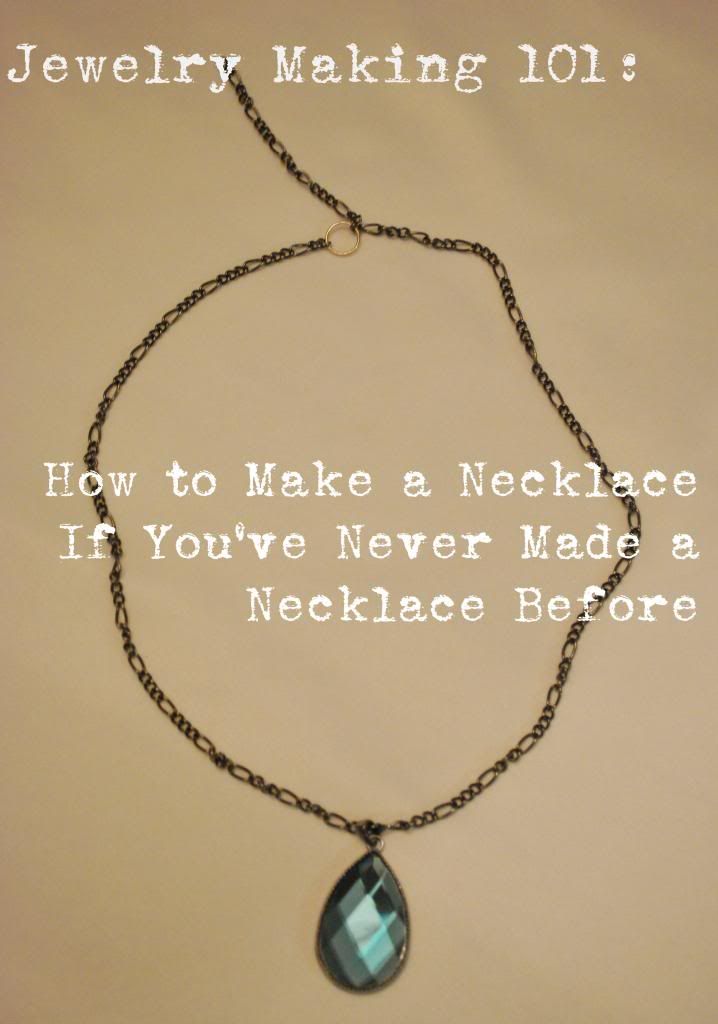
How to Make a Necklace if You've Never Made a Necklace Before

This project is for the absolute beginner.


I remember dabbling with jewelry, way, way back in the day. I didn't know what I was doing and ended up buying split rings when I wanted jump rings. The hardest part is that most blogs and craft websites show tutorials for complex projects -- but they never teach you the basics.


And I must admit: I almost never talk about the basics during any of my jewelry posts.


So, here we go: the basics.


First things first: unless you're already skilled at what you're doing, buy jump rings for all your connecting needs. They are easy to open, easy to close and, to be frank, an essential for jewelry making. Almost everything -- from pendants, clasps, charms -- is attached to the necklace chain by jump rings.


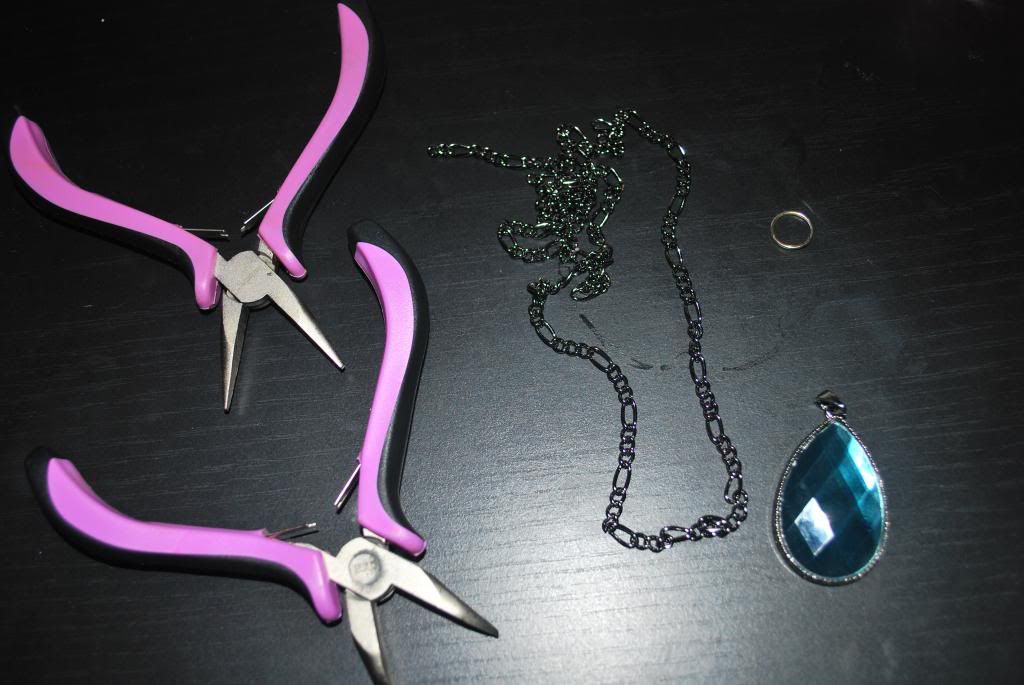
Next thing: Buy pliers. Buy two sets of pliers. I like having one bent-nose as well as one needle-nose. Does it make a difference for projects of this level? Not really. You can buy two of the same if you want (or scrounge around for two random ones in a toolbox somewhere). I just like having some variety in case a project calls for one and not the other.


For this project, you will also need a chain, a pendant, and the above mentions pliers and one (count it: one) jump ring. Like I said: very, very simple. Go long (literally) for this project and get a 24" chain. This necklace will have no clasps, which means it needs to slip over your head easily. If you have a very long (30"+ chain), you can bring it down to size by breaking one of the links with wire cutters at the 6" mark.


The first (real) step is the simplest: slide the pendant onto the chain.


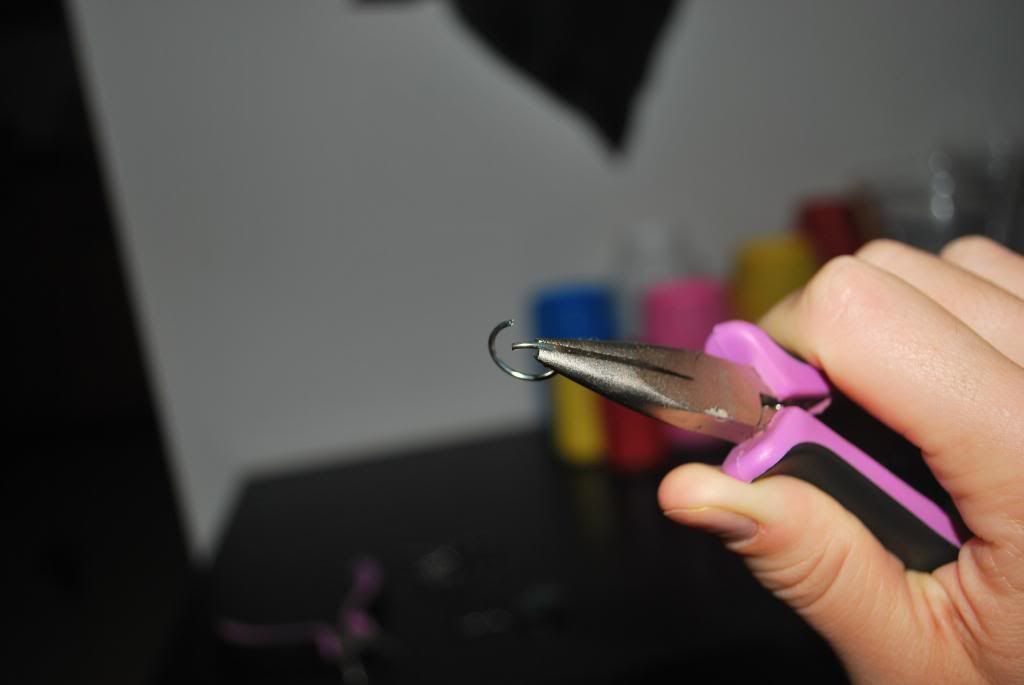
Now, we need to connect the two pieces of the chain, which we will do with our jump ring. Opening a jump ring is very easy. With a set of pliers in each hand, clamp onto opposite sides of the jump ring, with the "opening" of the ring facing up. Twist one hand clockwise and the other counter-clockwise. It'll look like someone hacked a half a spiral off.


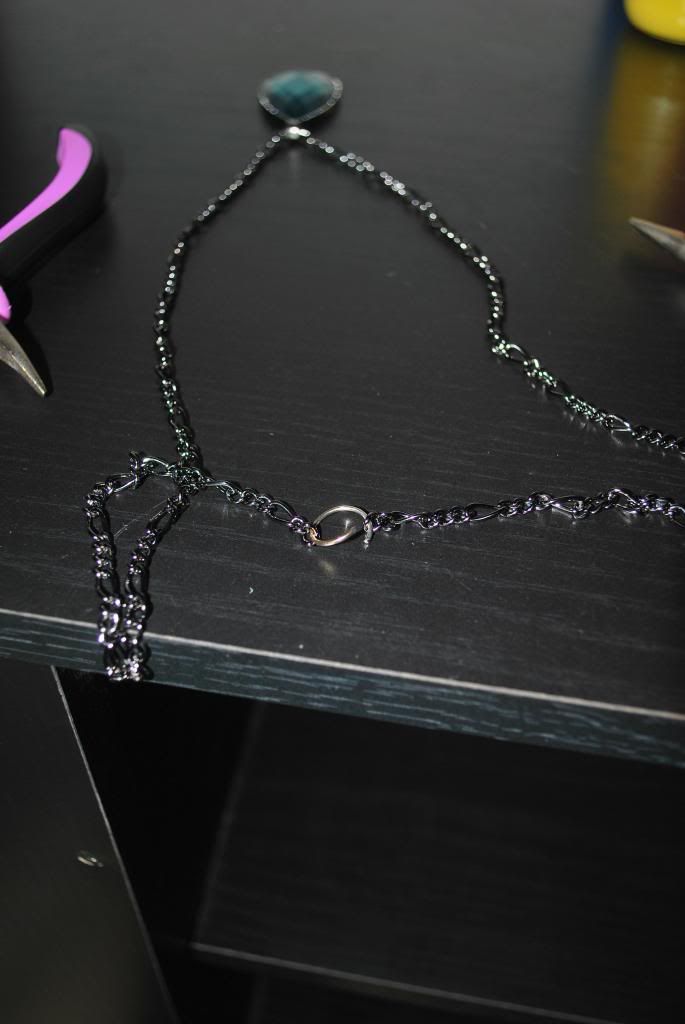
The next step is almost as easy as the first one: loop each side of the jump ring through each of the last respective link's holes.


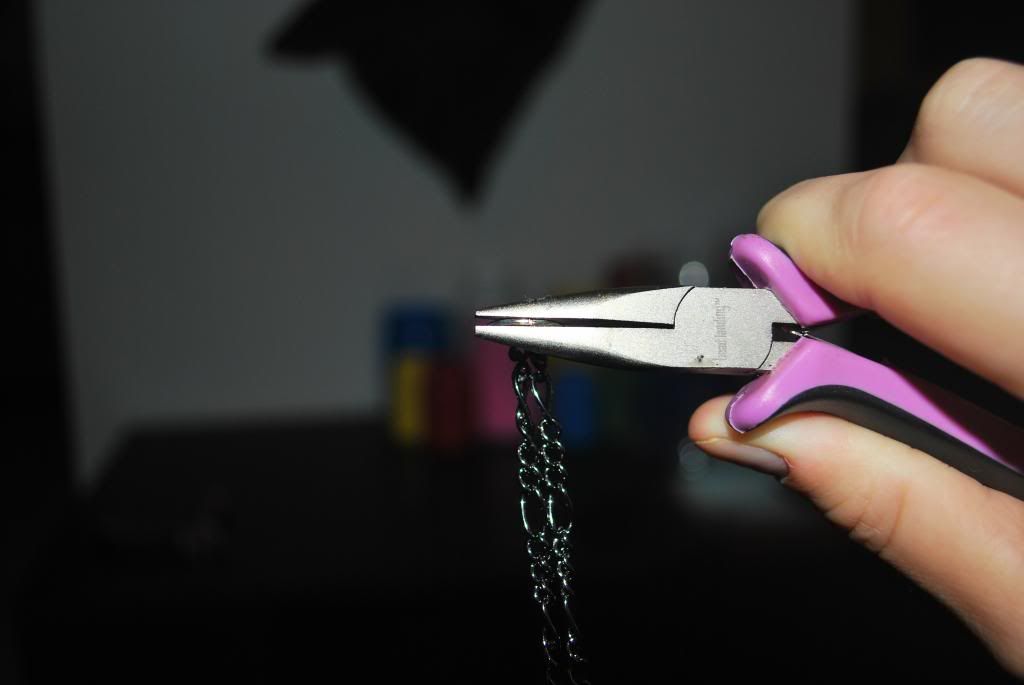
Closing the jump ring is just as simple as opening it: with a set of pliers in each hand, twist in the direction opposite of how you opened it. You can also cheat and just squish the jump ring with one of the pliers, but you're likely to get an uneven closing.


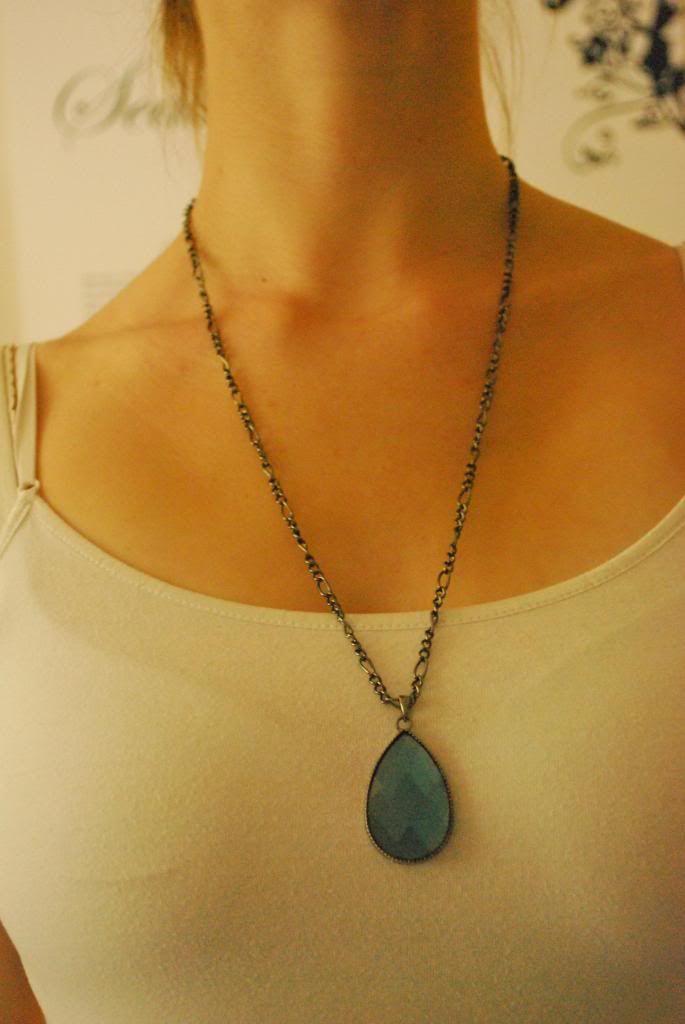
Now you have a beautiful, hand-made necklace. You've learned the basics, so now it's time to challenge yourself. Create a necklace with a clasp (instead of connecting the two ends of the chain with a jump ring, use smaller jump rings to connect the end of the clasps to each end of the chain). Or try a few of the creations I have made on this site (under the tag of "jewelry").

Tuesday, April 2, 2013

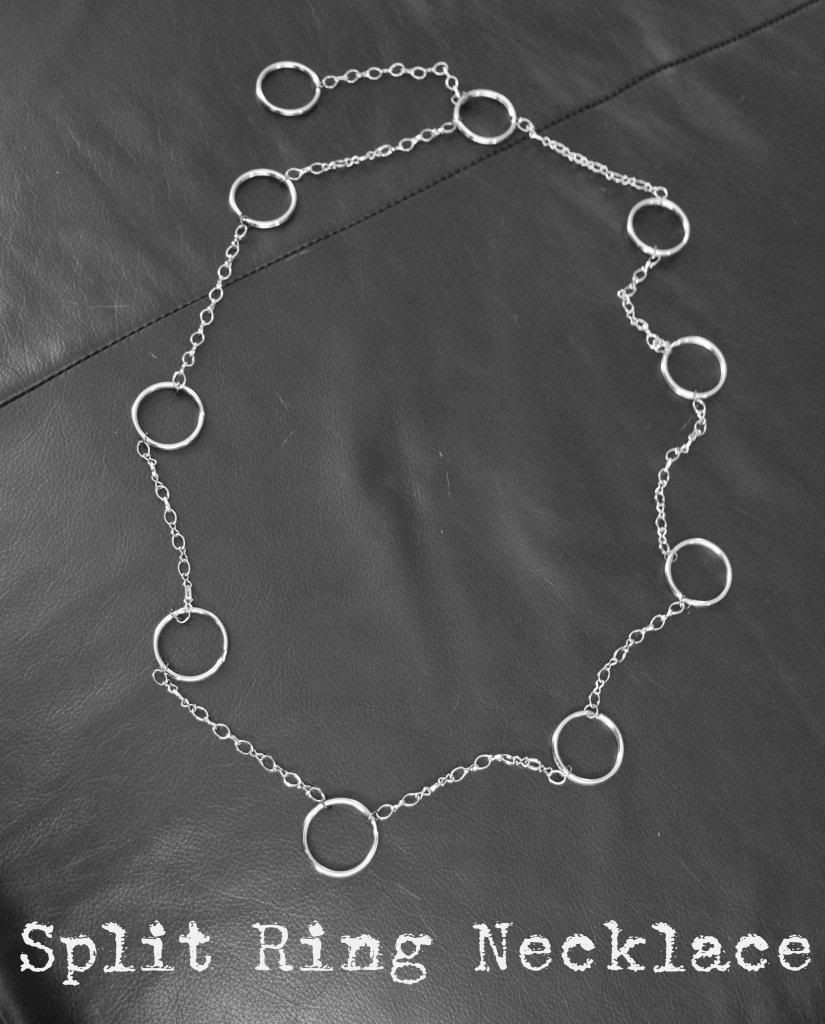
Split Ring Necklace


Once upon a time, when I didn't know what I was doing, i purchased split rings, not understanding they're a pain in the butt to make jewelry with. This time around, I actually purchased split rings on purpose. Very, very, very big split rings.


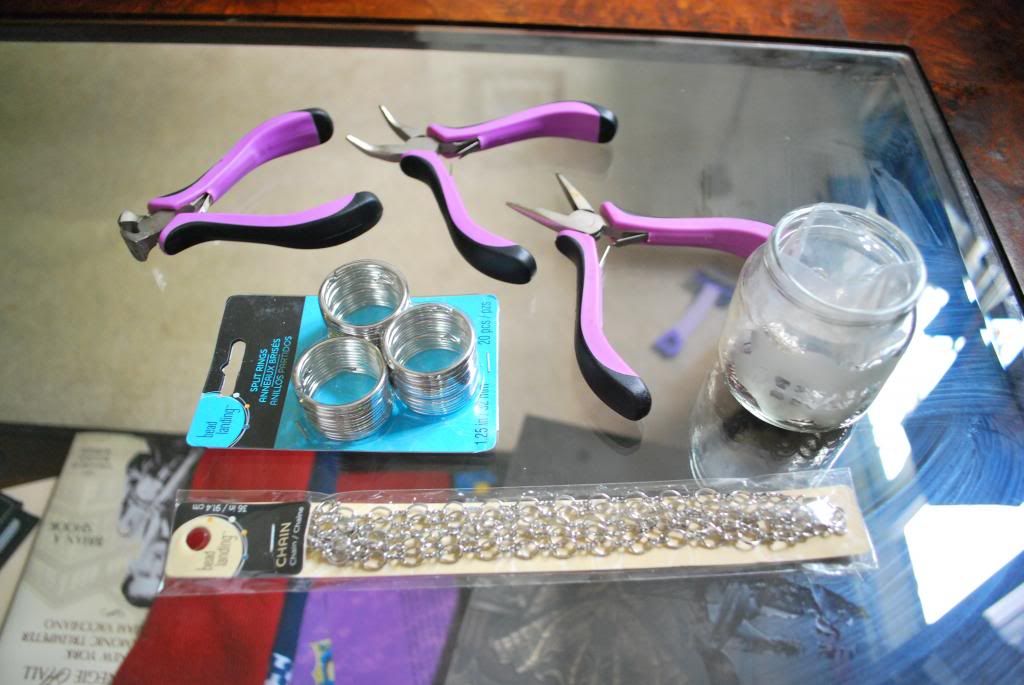
For this necklace, I got: the giant split rings, chain, jump rings, pliers, and wire cutters.


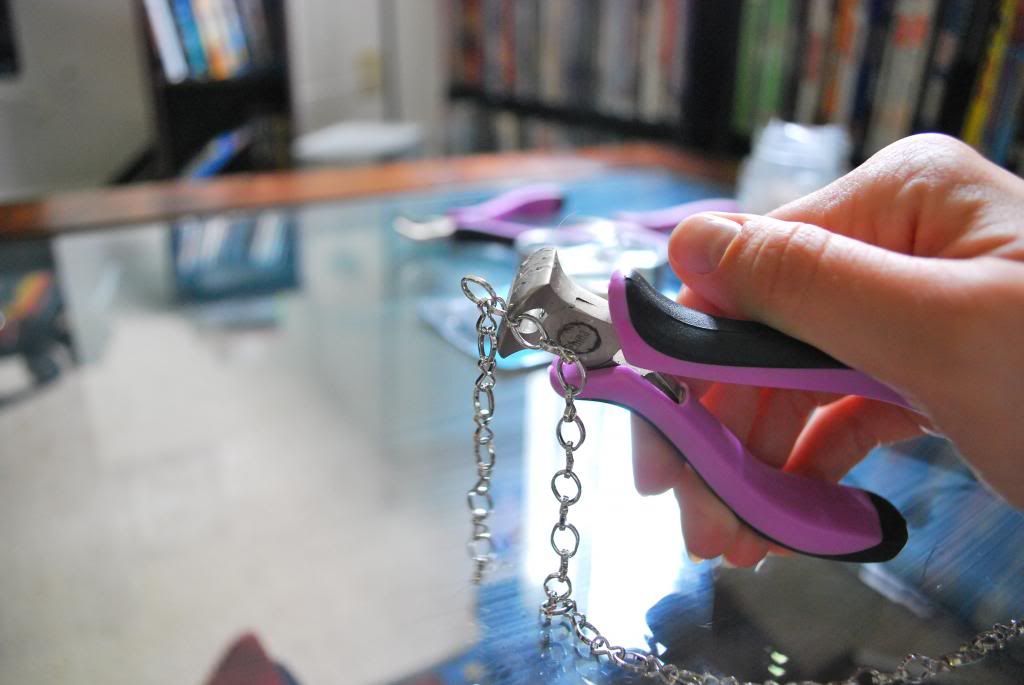
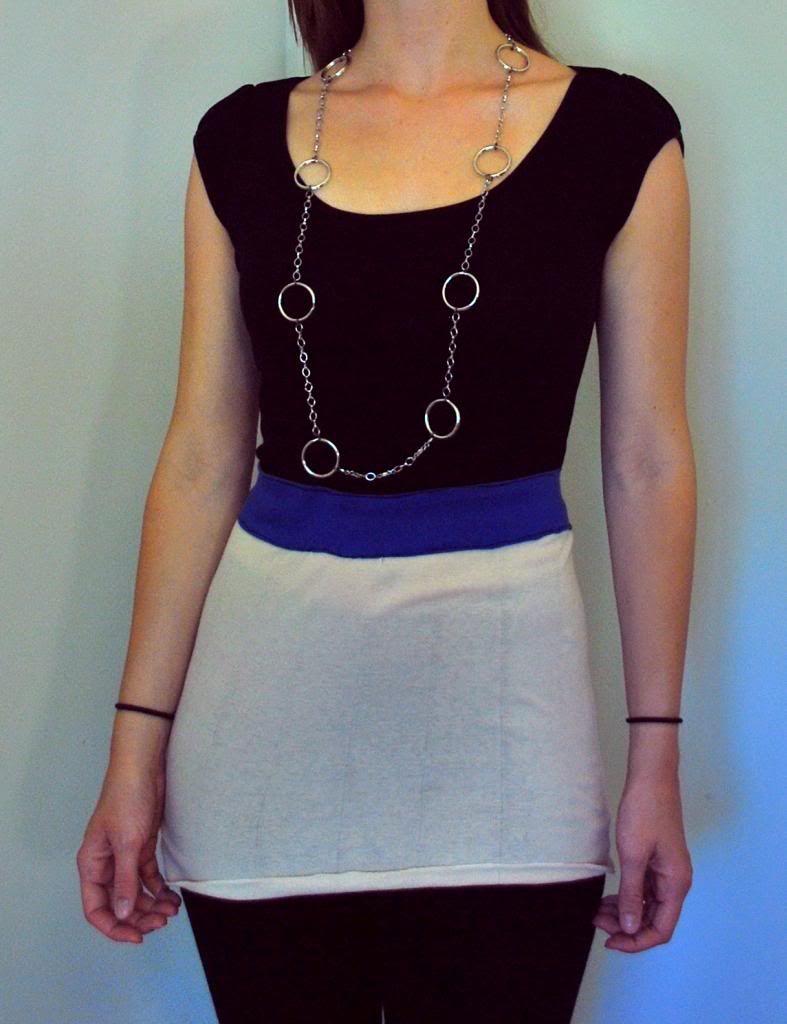
Using my wire cutters, I cut out a loop every 6 or 8 links. I alternated between 6 links and 8. I wanted the space between the large rings to be a little uneven.


I then attached the edges of the chain fragments to large split rings, using jump rings to connect them, until every fragment was connected on both ends, making a nice, even circle.


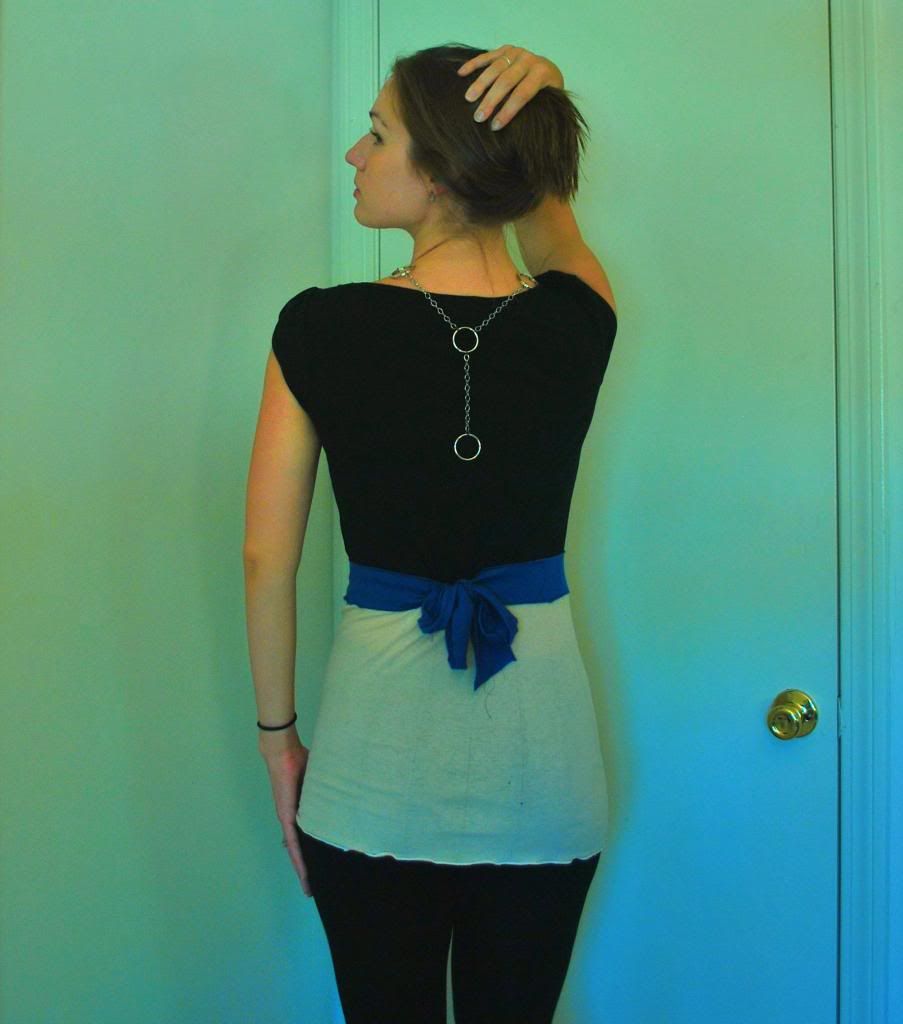
I decided to connect the circle a split ring earlier, giving a nice back chain to accent it.


This is definitely a fun girls-night-out type of necklace. Pair it with my Frankenstein shirt and I'm ready for business.

Monday, March 11, 2013

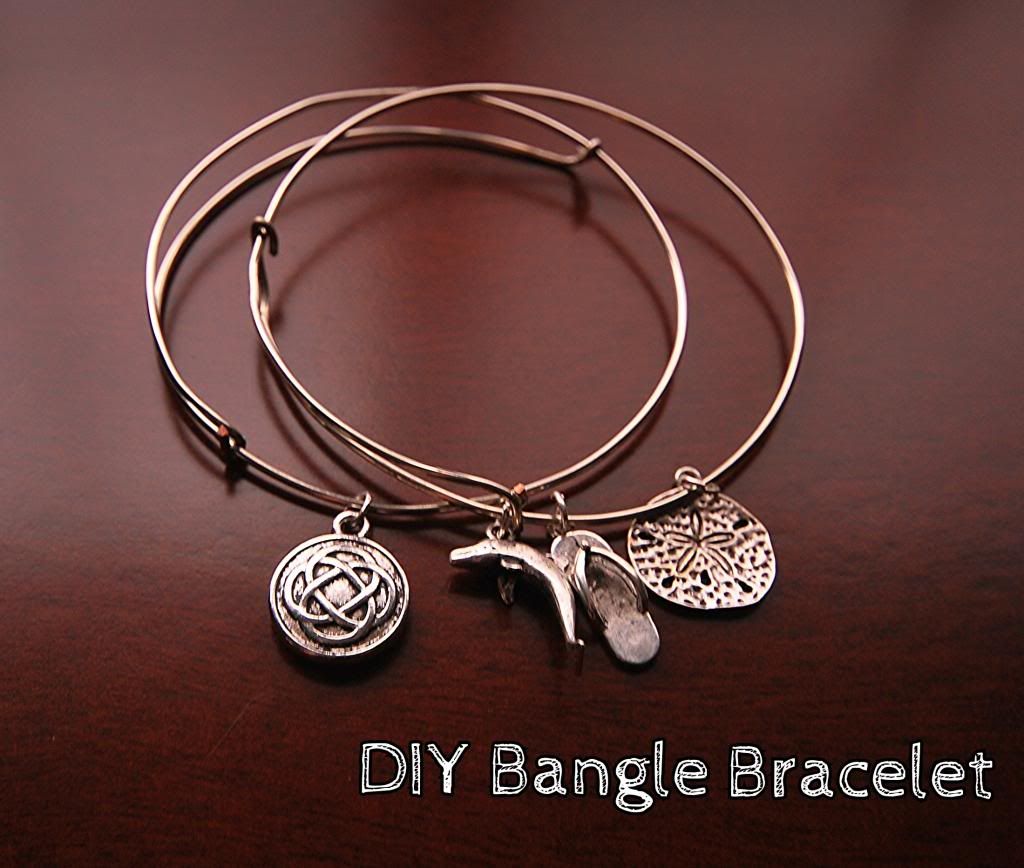
DIY Alex n Ani Bracelets: Make Similar Bangles For 1/8th The Price


First there were the Livestrong bracelets, then Pandora -- now the biggest craze is the Alex & Ani bracelets. I think these are the most adorable bracelets. However, these bracelets can easily run you up to over $50 a pop (with the average bracelet still costing at least $25+). And these bracelets, much like charms on a charm bracelet, are meant to be collected, I could easily go broke trying to buy them all. So, I made a trip over to Michael's and made my own (low-end) version.


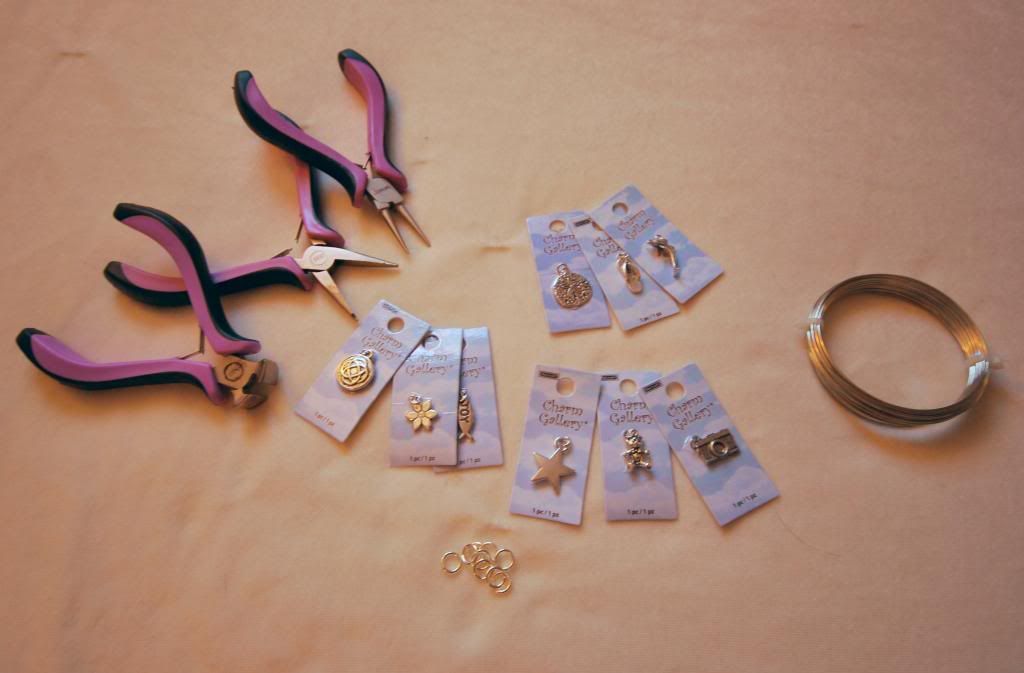
All I needed was:
- Beading wire (I suggest getting stainless steel, as aluminum is too flimsy)
- Charms
- Pliers (flat-nosed and needle-nosed, are preferred)
- Wire cutters


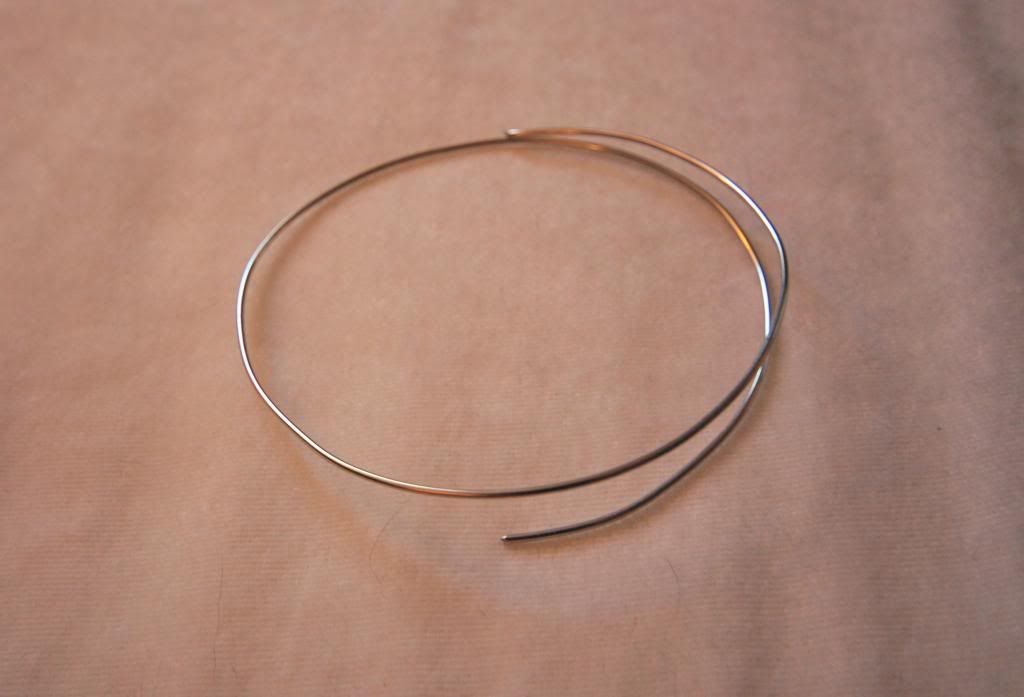
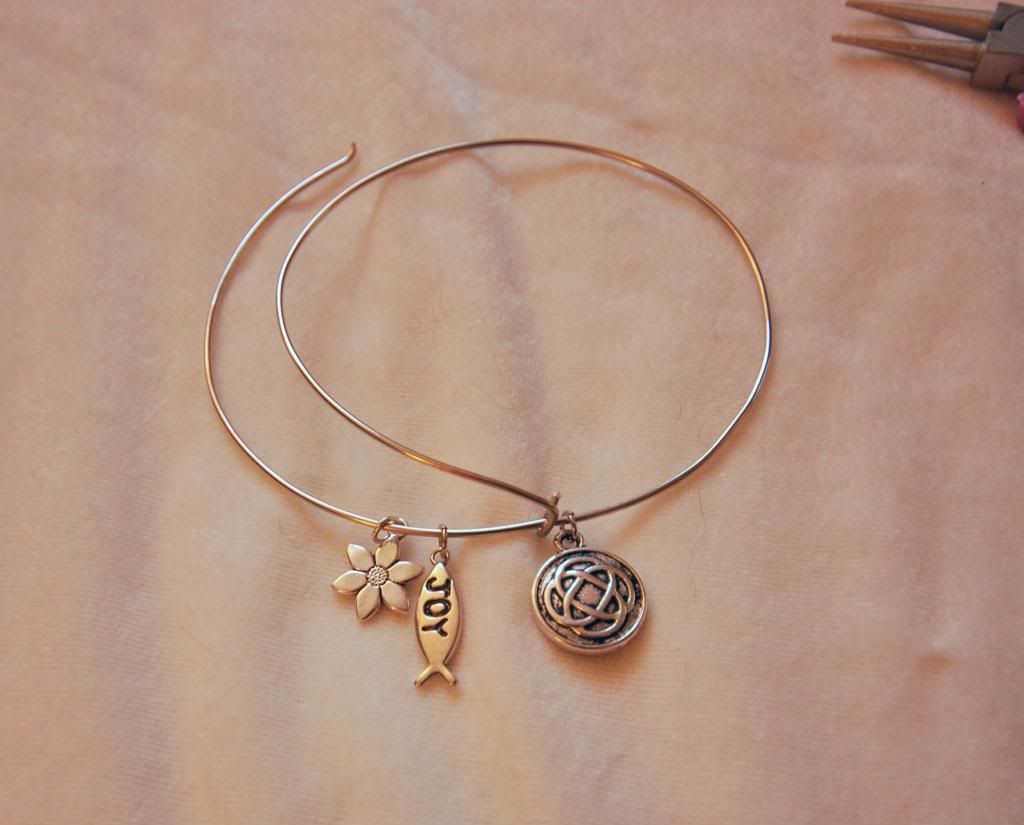
I first cut roughly 1 1/2 the circumference of the wire -- or roughly twice the circumference of my wrist.


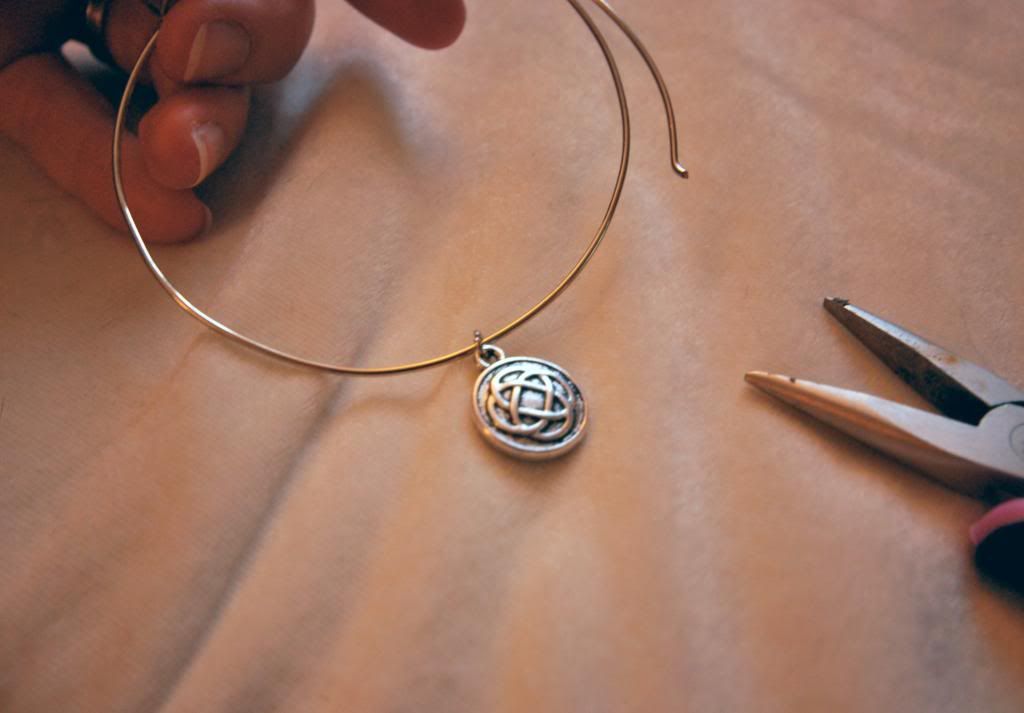
I added a charm onto the bracelet and slid it to roughly the center part of the bracelet.


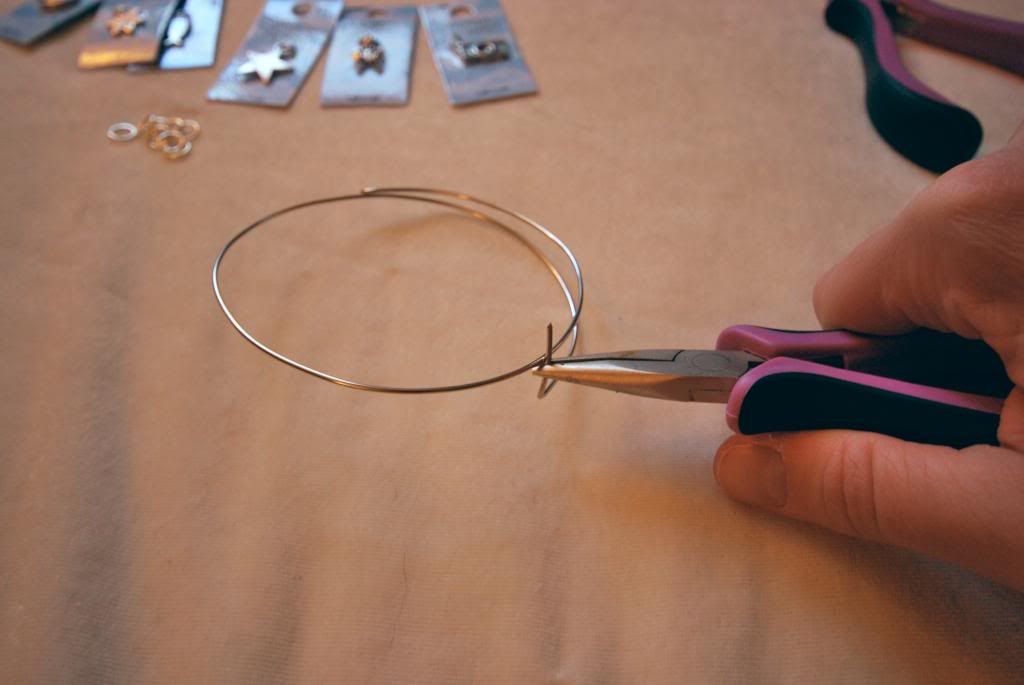
I bent the lower end of the wire up (so that the bent portion is touching the top wire).


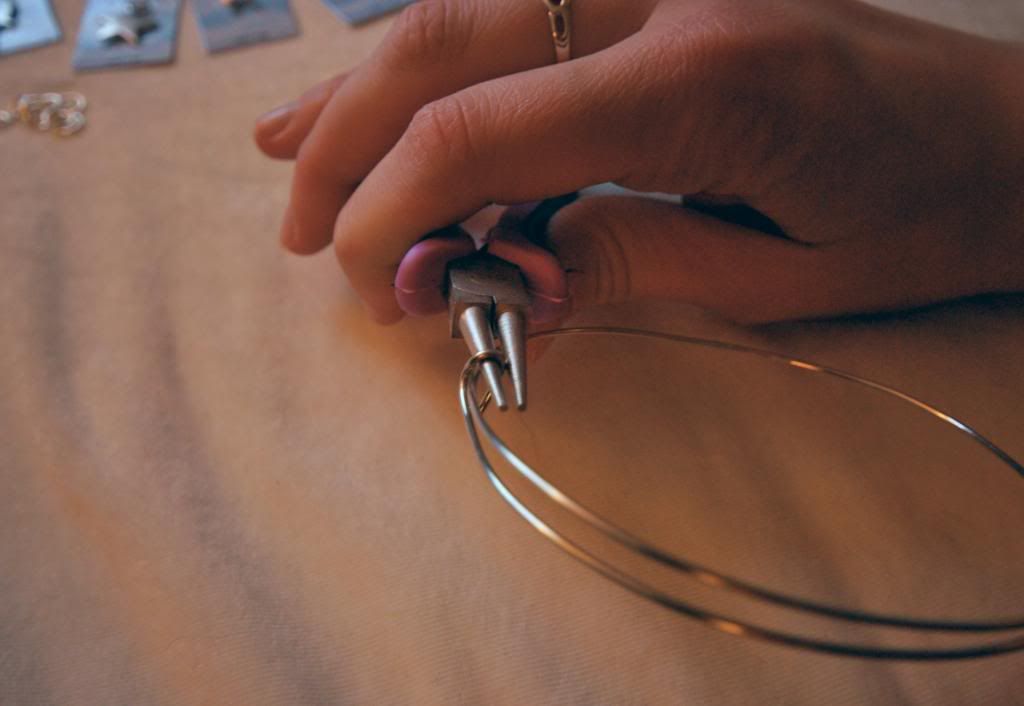
After measuring the wire around said wrist, I used my needle-nosed pliers and curved the bent portion around the top wire.


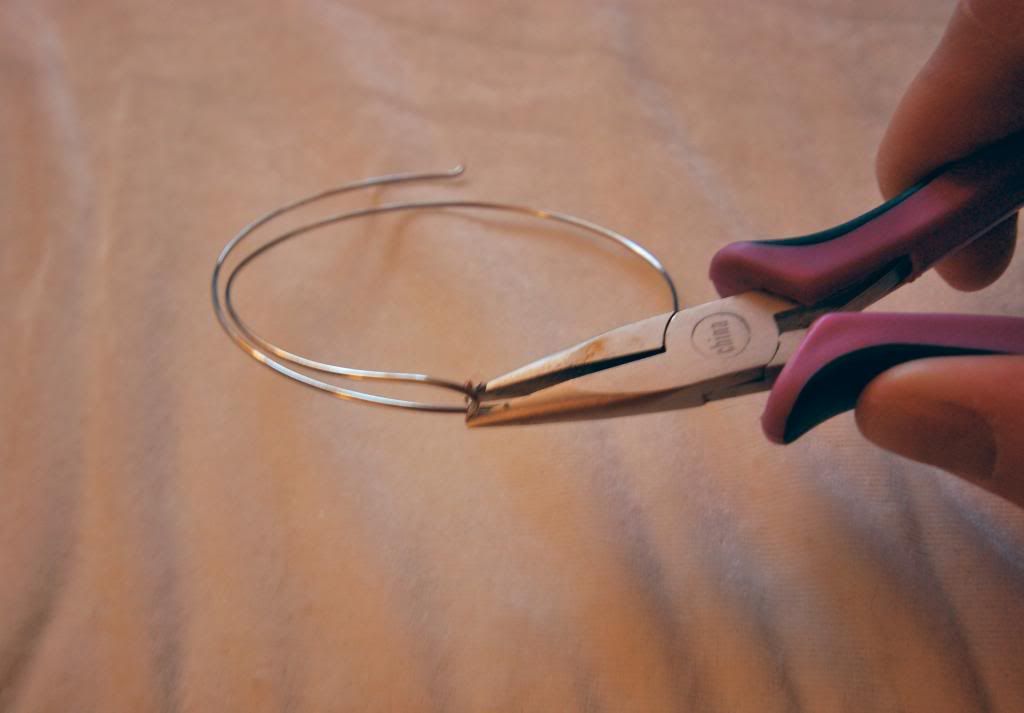
Then, while holding everything in place, I used the flat-nosed pliers to squeeze the bend until the wire cannot move through it.


I then slid on whatever remaining charms for the bracelet.


I fed the free wire 1/3 of the way around the bracelet and repeated the process, only now on the bottom portion of the wire. After squeezing everything into place, I cut off the remaining wire and smoothed any rough bends.


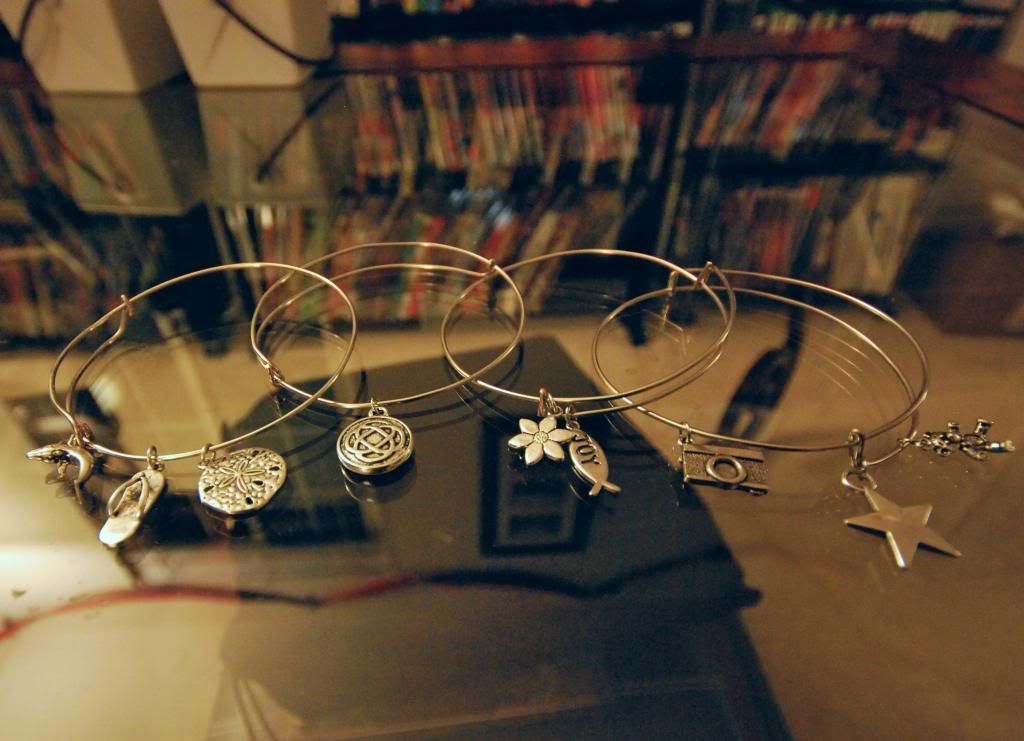
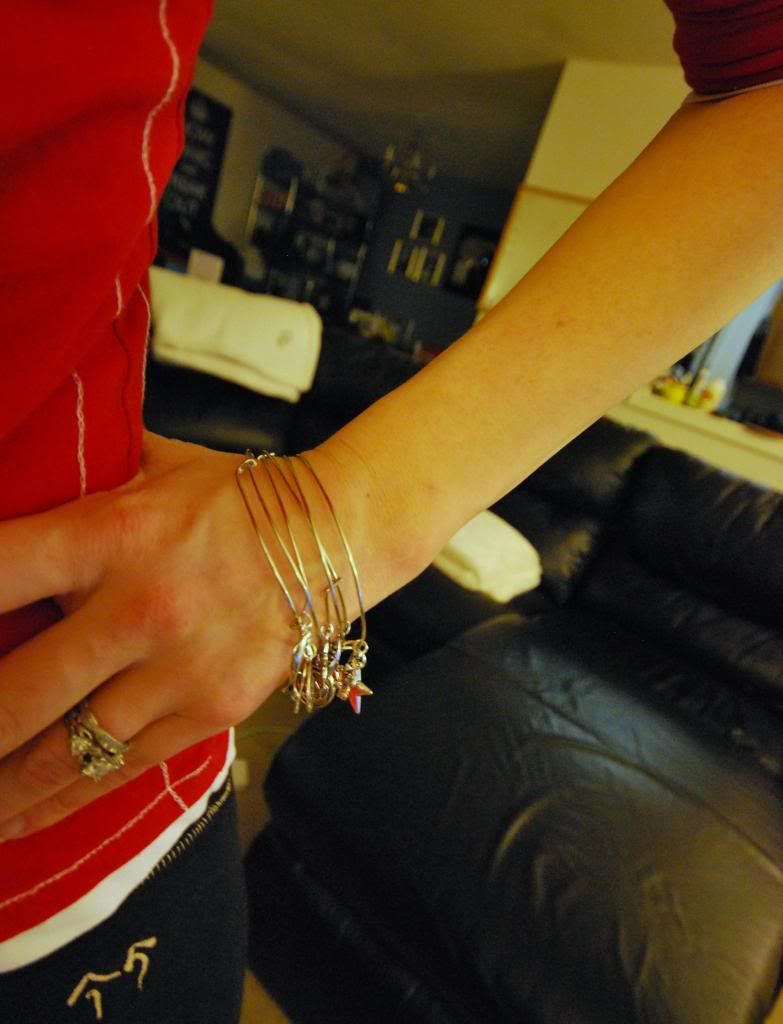
I ended up making 4 bracelets with what I got: one is a Celtic spiral bracelet, another is a summertime bracelet, another is a religious bracelet, while one is just a mash-up of charms that caught my eye.


I spent a grand total of $16 for this project, including taxes. The cost for these four bracelets was less than the cost of just one Alex & Ani bracelet. They're definitely not as nice (and are lacking the signature "Made in America with love" et al), but, eh, details.

Saturday, March 9, 2013

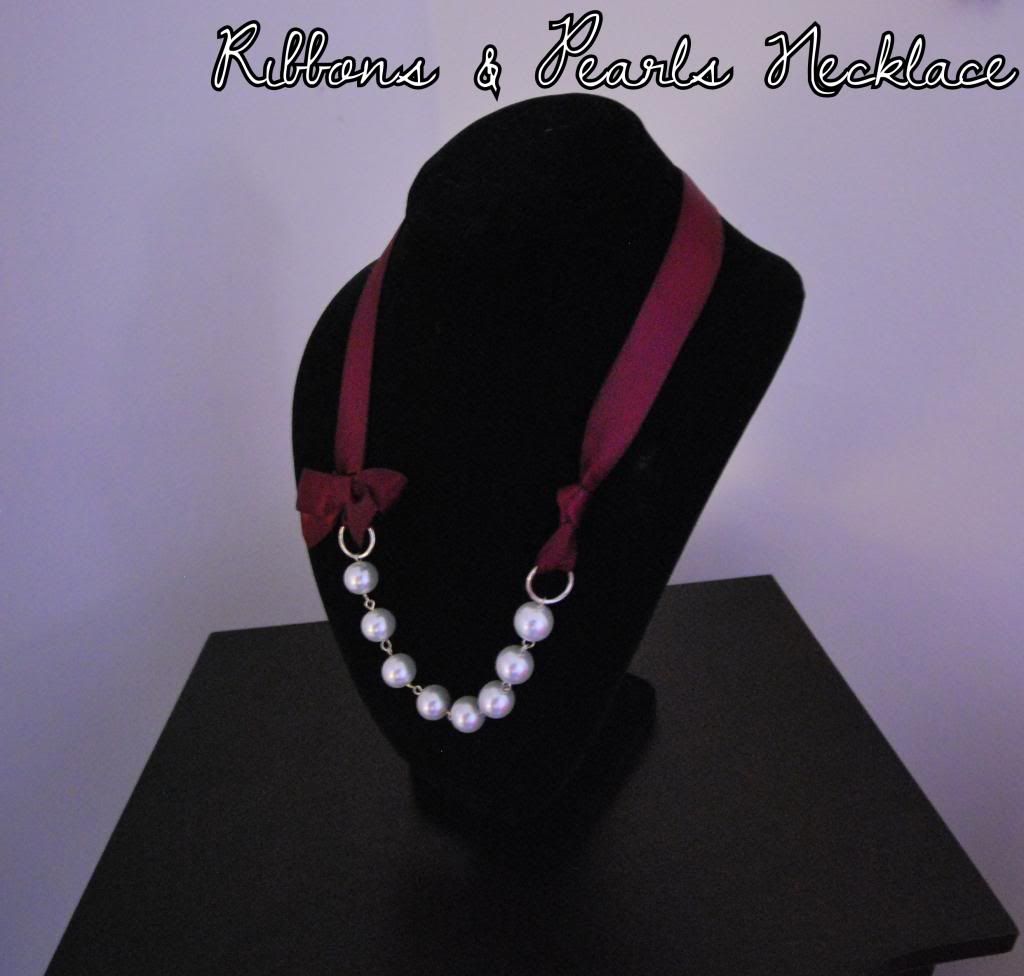
Ribbons and Pearls Necklace

Just after making the tile necklace, a friend of mine showed me a picture of a necklace with one simple request: figure it out.


Like many things of Pinterest, my friend found it in the crafts section, only to find out that the picture did not link to any tutorial. I spent a little while breaking down what I would need and went to work making two of these necklaces (one for me, one for my friend's daughter).
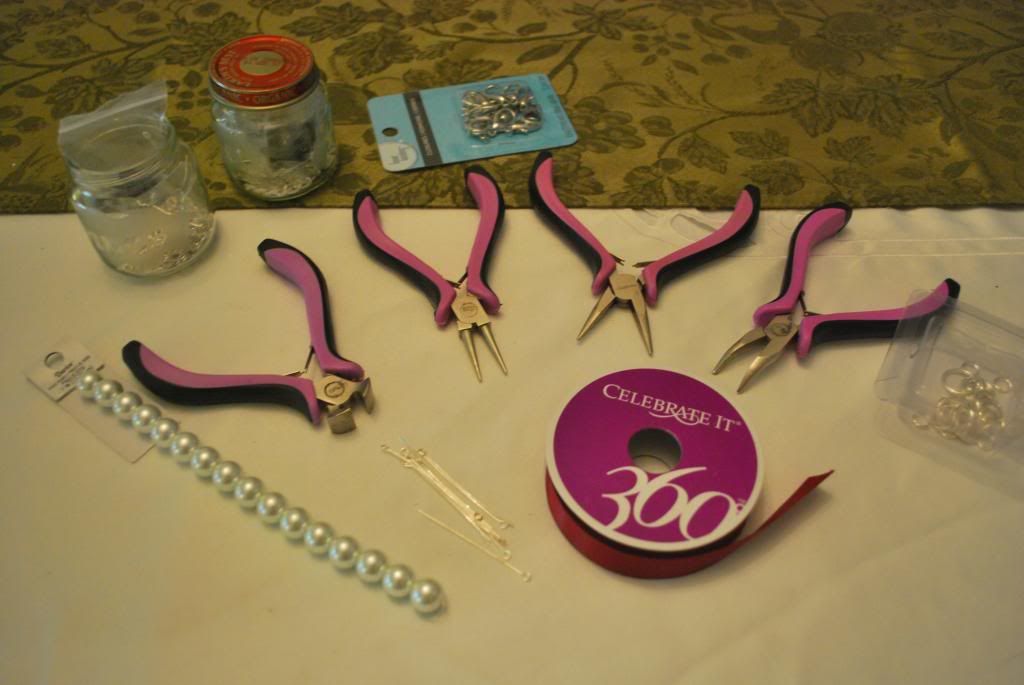

For this, you will need:
- needle nosed pliers, two sets of flat-nosed pliers (or flat-nosed and bent-nosed, if you're me), and wire cutters
- fake pearl beads
- eyelet wires
- jump rings
- ribbon clasps
- ribbon
- lobster clasps
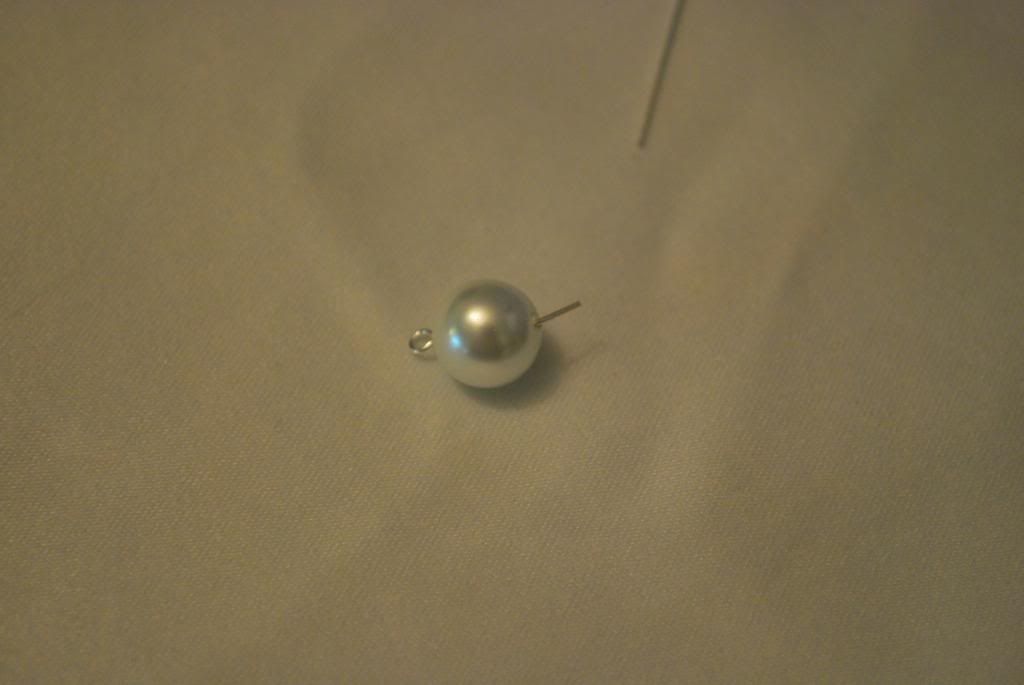

Since this is my second eyelet tutorial, I'll try not to repeat myself too much: Thread the eyelet through the bead, bend the wire 45*, and cut the wire roughly a centimeter from the bead.
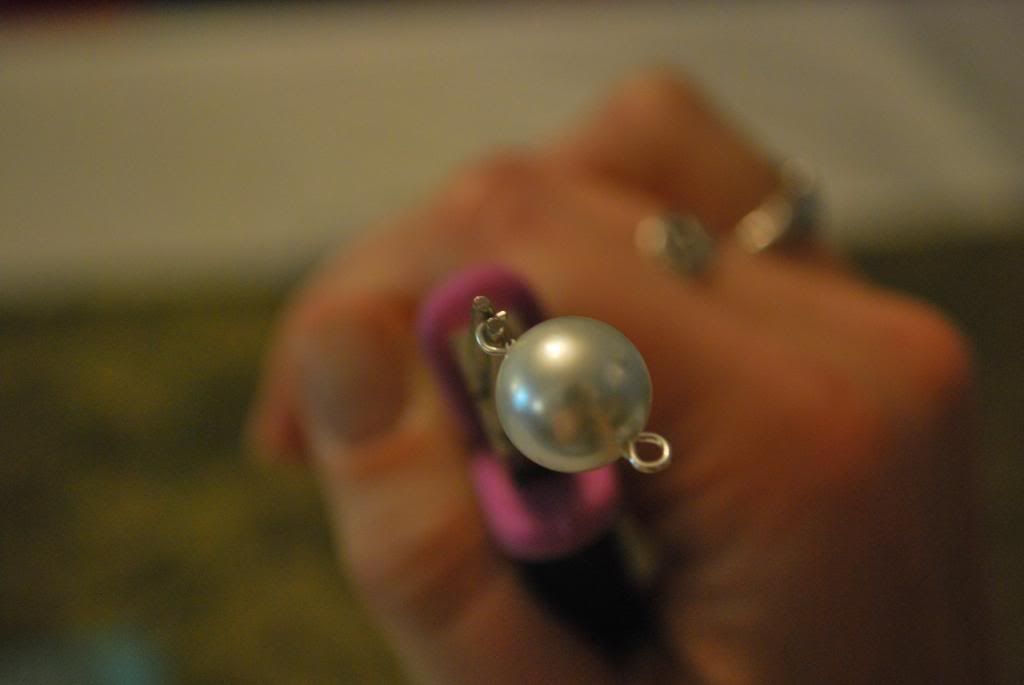

Using your needle-nosed pliers, twist the wire in the direction opposite of the bend. Once you have a second pearl ready, link the wire with the loop of the first pearl before closing it completely, like with the tile necklace.
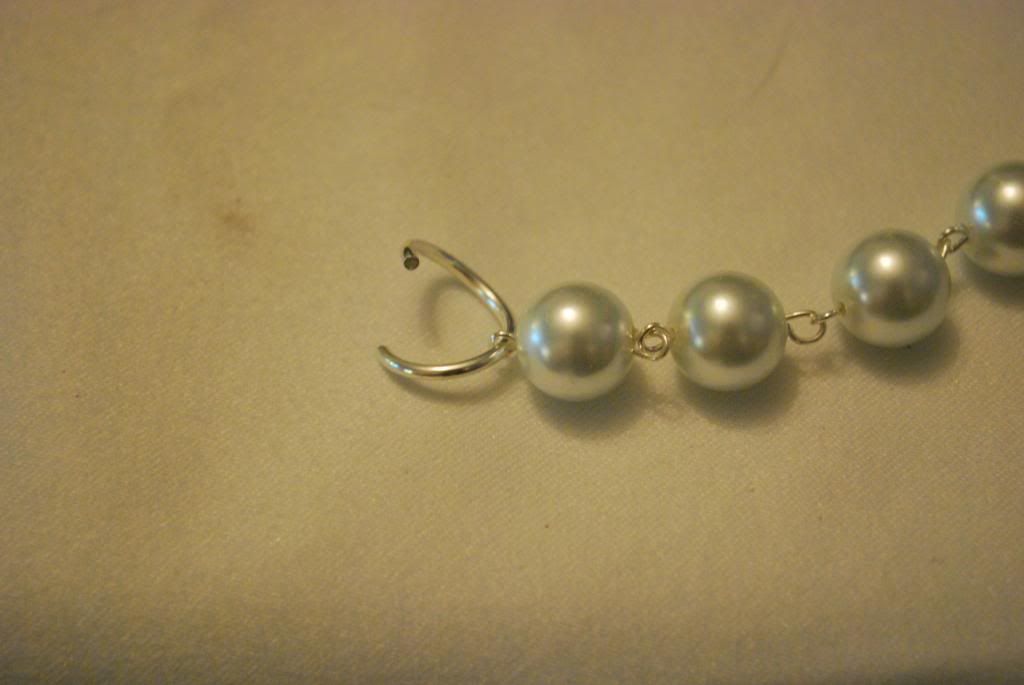

Once you have attached 4 to 8 beads (depending on your aesthetic preferences/whether or not you're making a kid's necklace), open two jump rings and attach one to each end.
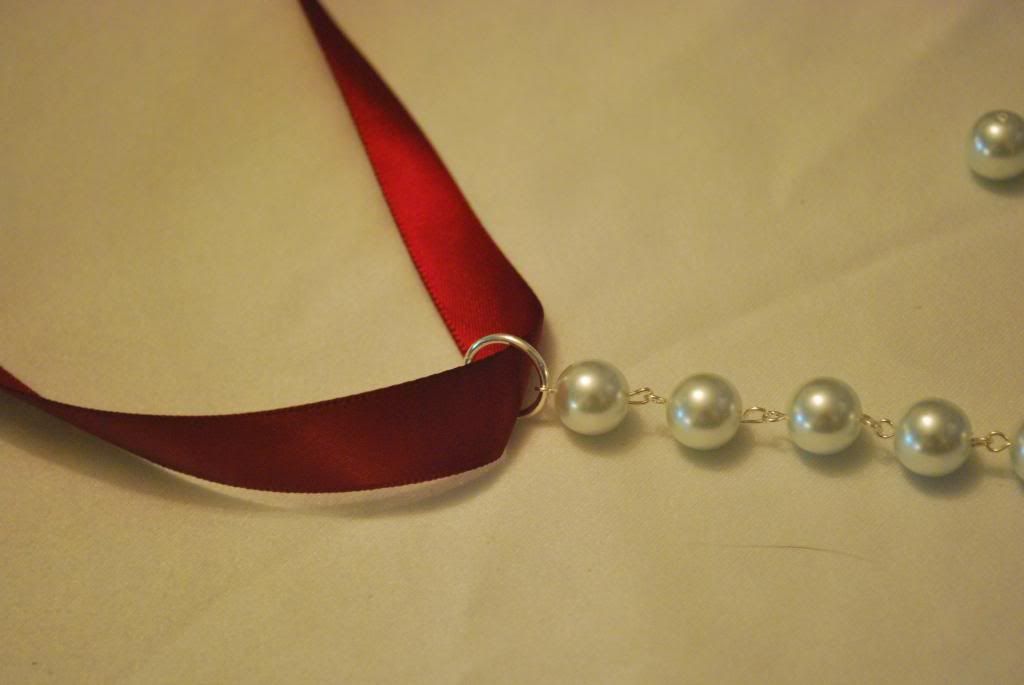

Close the jump rings and thread ribbon through each jump ring's hole. Give yourself at least 10" of folded ribbon. You can always trim the ribbon; you can't make ribbon reappear.
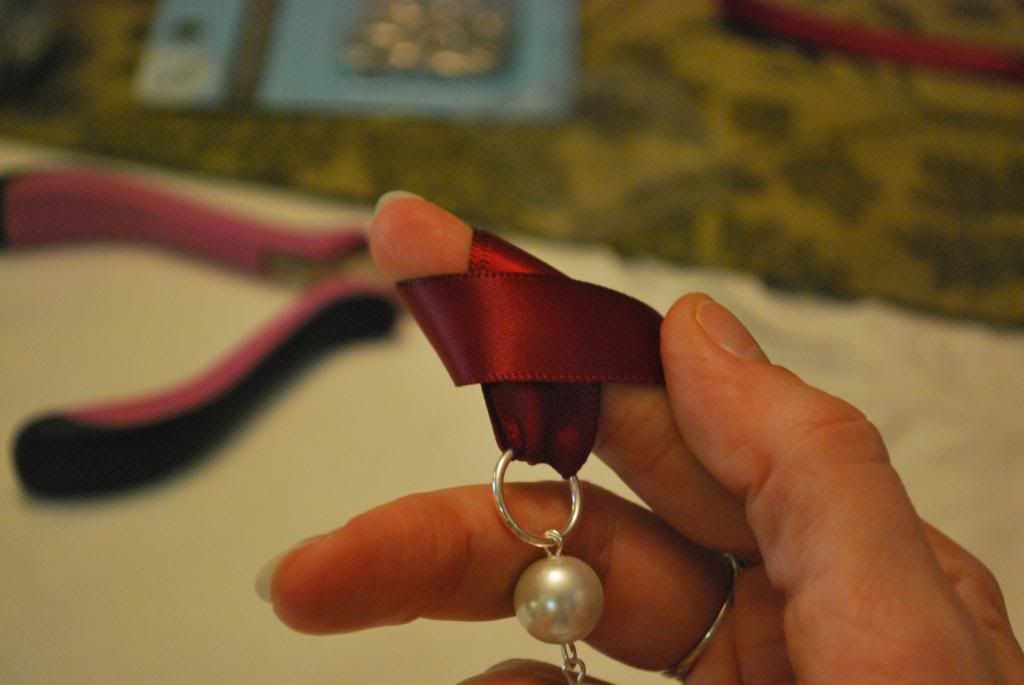

Knot the ribbon on one side. The best way to get a neat knot is to wrap the folded ribbon around your finger, keeping the ribbon flat. Gently remove your finger and feed the ribbon through the hole you created.
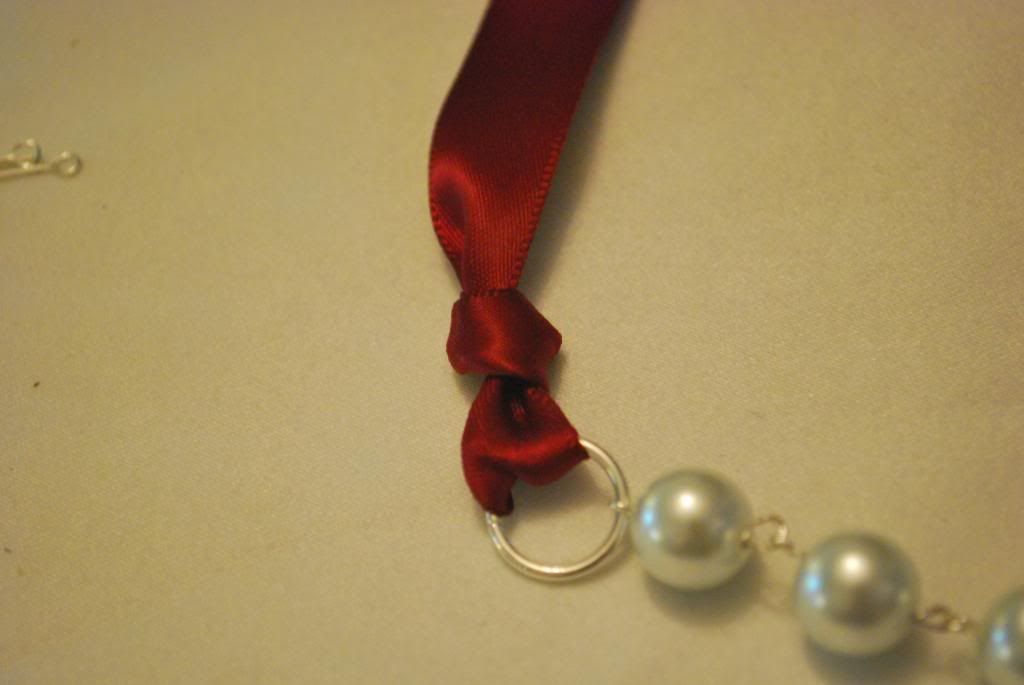

Try to keep the knot as close to the jump ring as possible.
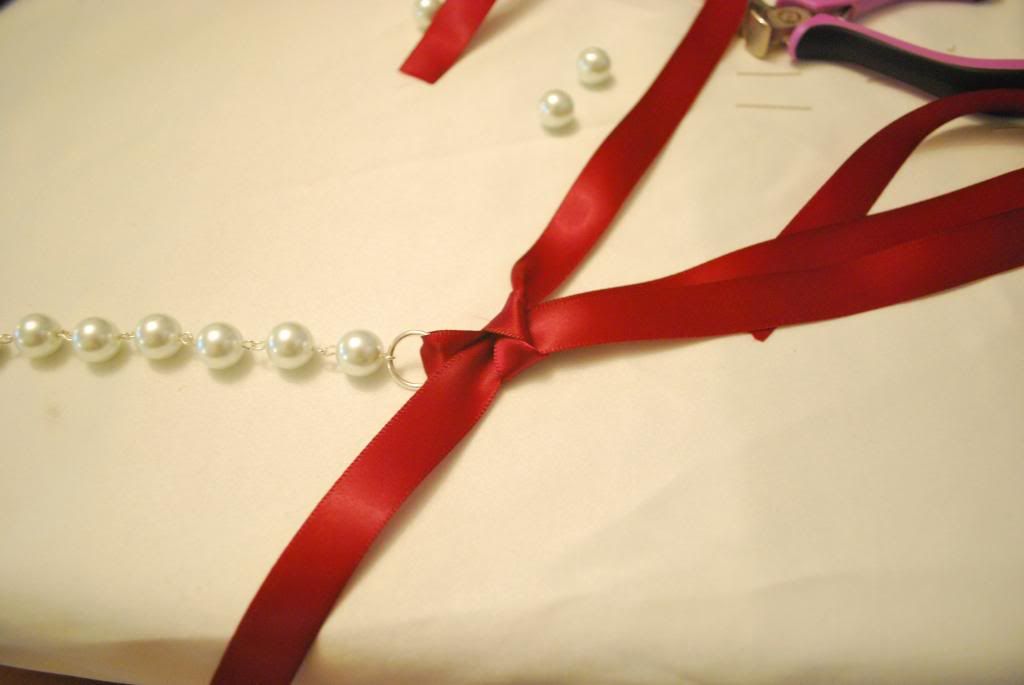

Create a bow on the other side. Cut roughly 6" of ribbon (however, always err on the side of longer) and tie a simple knot around the folded ribbon, so that the short ribbon is perpendicular with the folded ribbon.
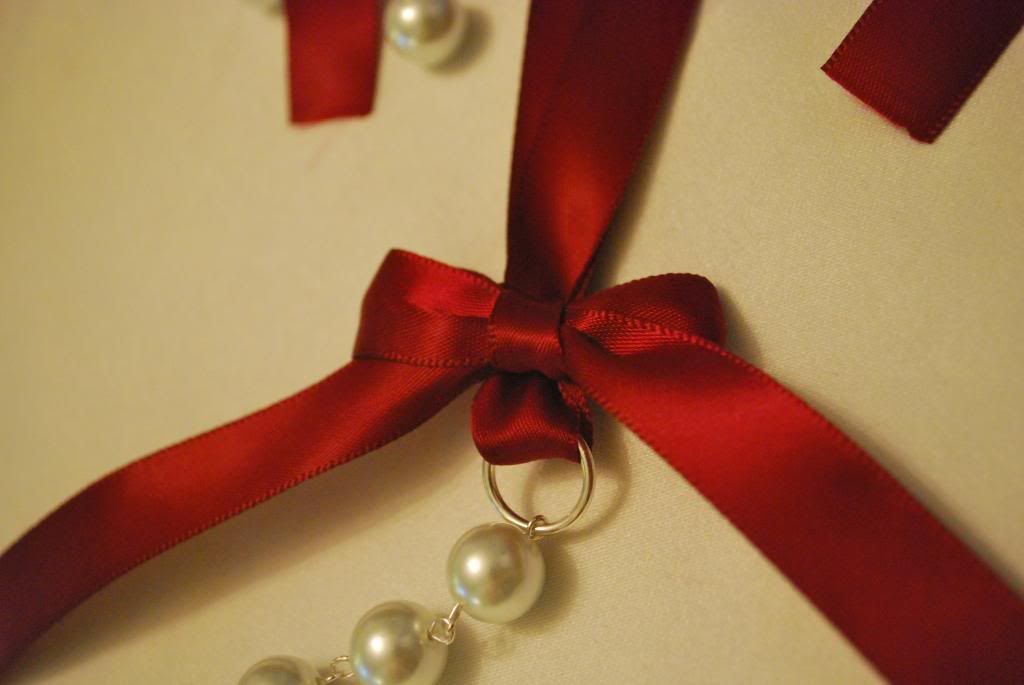

Tying the bow will take a little finagling. Some find that doing "bunny ears" instead of "around the mountain and through the cave" makes a neater bow. Find what works best for you and trim the excess. Sew a quick stitch or two along the seams of the center portion of the bowl to keep it in place.
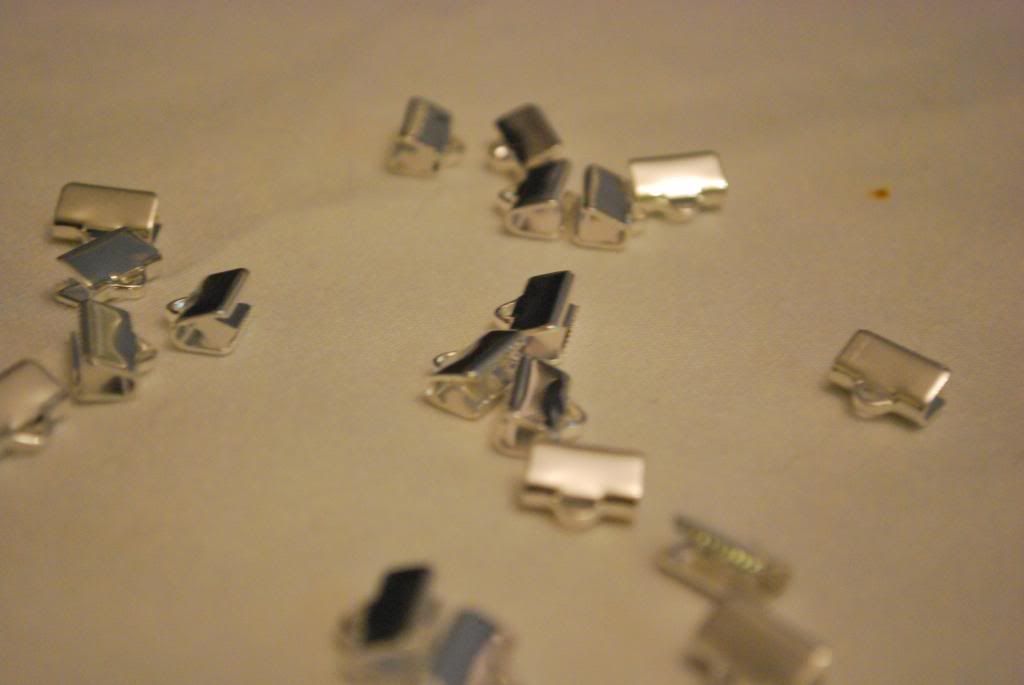

And now, the ribbon clasps: I ended up having to order these online, because I could not find them anywhere. Word to the wise: measure your ribbon with a ruler before ordering the ribbons. I eyeballed the length and ended up with slightly smaller ribbon clasps.
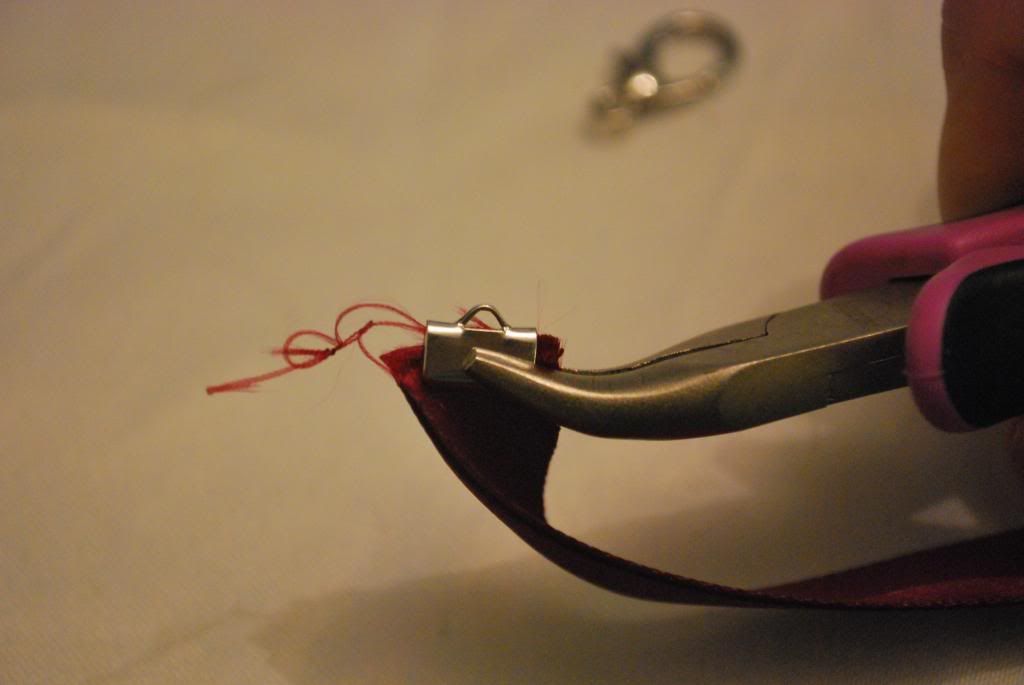

Trim the folded ribbon and line it up with the ribbon clasps. Squeeze it shut using pliers. Squeeze at different areas of the clasp. Give the clasp a gentle tug to make sure it stays on.
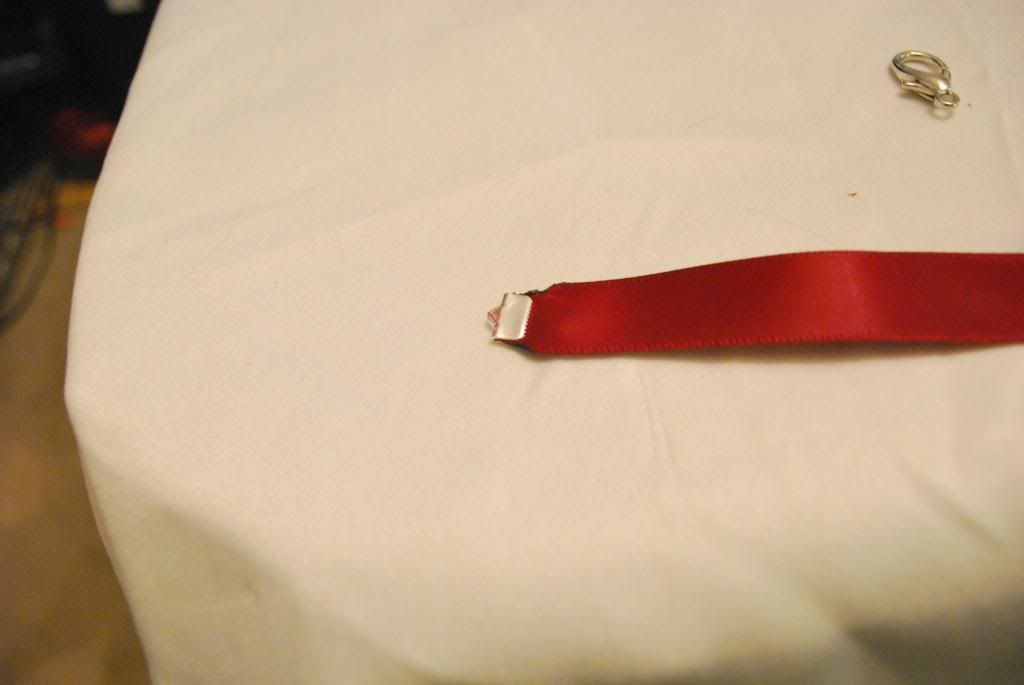

Now, if you're me and bought clasps that were too small, you can use a grill lighter (or any lighter/fire) to solder the ribbon. I suggest doing this as well to the edges of the bow to prevent any fraying.


Just be careful to only singe the ribbon. Actually lighting it on fire will result in more ribbon than you anticipated getting soldered.
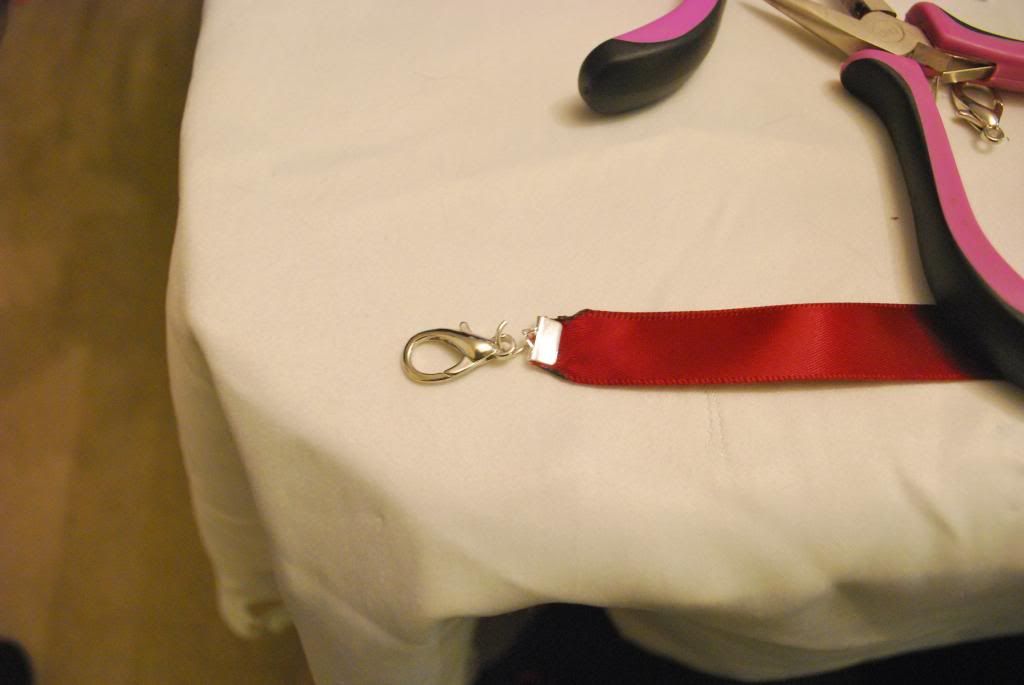

Open a jump ring and attach a clasp on one end, and the loop on the other.
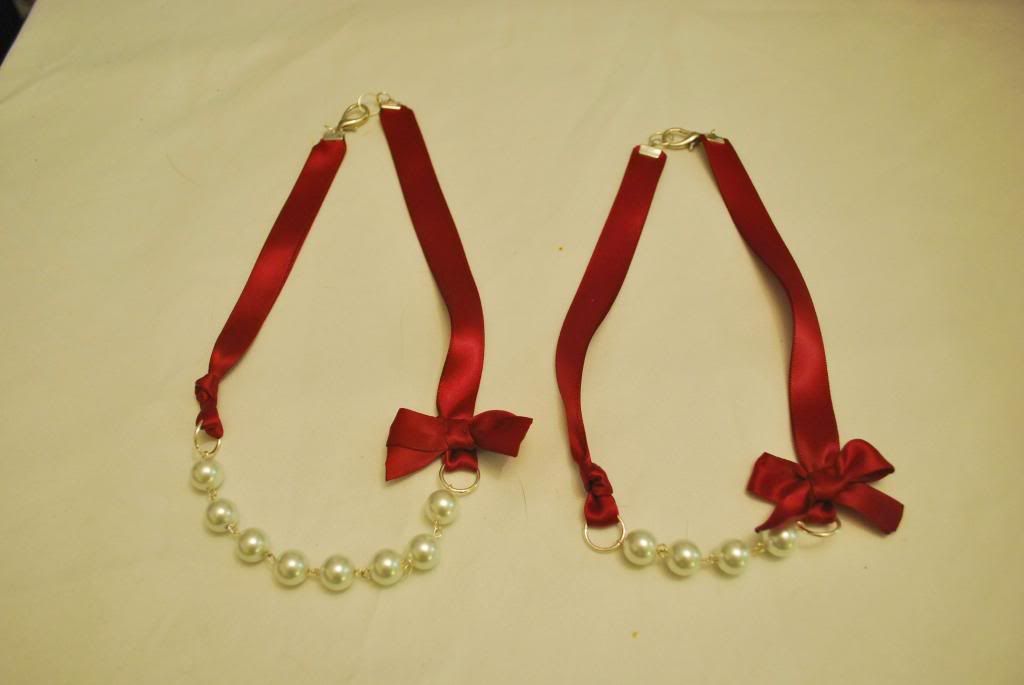

And there we go! I made my giant one first, figuring out the kinks, and then proceeded to make my friend's daughter's necklace.
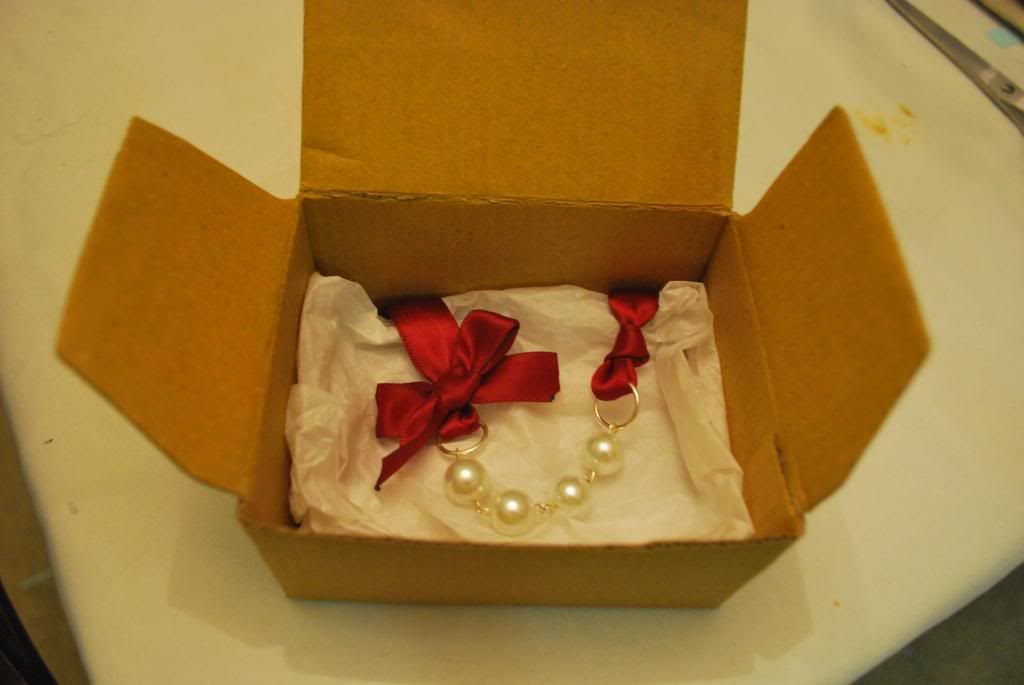

It was just luck that I had a small box hanging around from a recent order. I packed it with tissue paper, tucked the back portions into the underbelly, and wrapped it up. Perfect little accessory, and just in time for her second birthday to boot!
Sunday, October 21, 2012

Eyelet Tile Necklace


Much like sewing, I've been obsessed with jewelry making. I'm constantly trying to find new challenges, so much that I'll go to a store, see an intricate necklace, and go, "Y'know what? Try to make that instead." I was comfortable with jump rings, clasps, chains and pendants -- but was I ready for eyelets?


Eyelets turned out to be not as scary as they appear. The only drawback was that I didn't have the right pliers, making it more difficult than it needed to be.


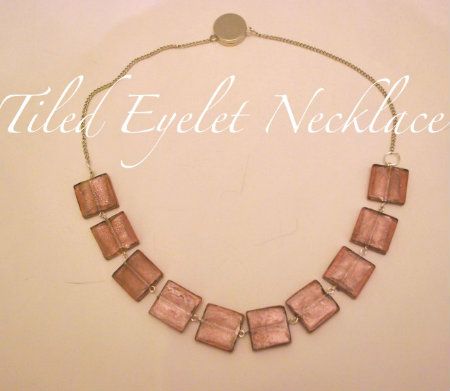
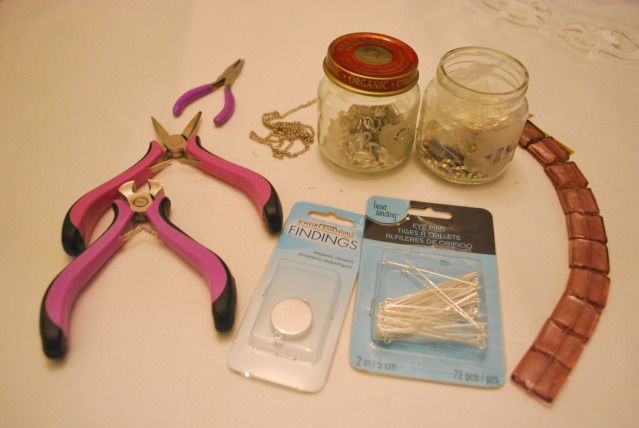
For this necklace, I got out: chain, jump rings, tile beads, magnetic clasp, pliers of all shapes and sizes (the wrong shapes and sizes), wire cutters, and eyelets.


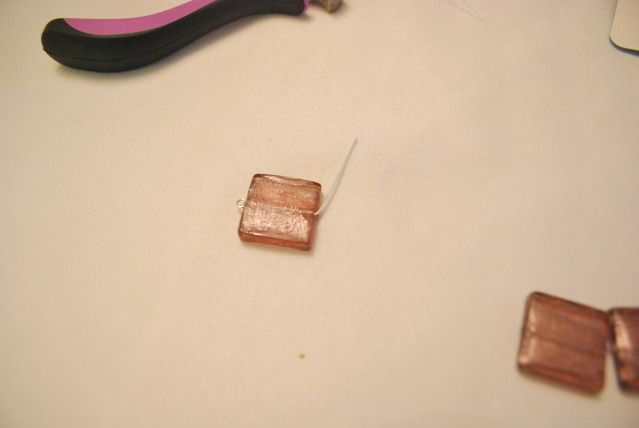
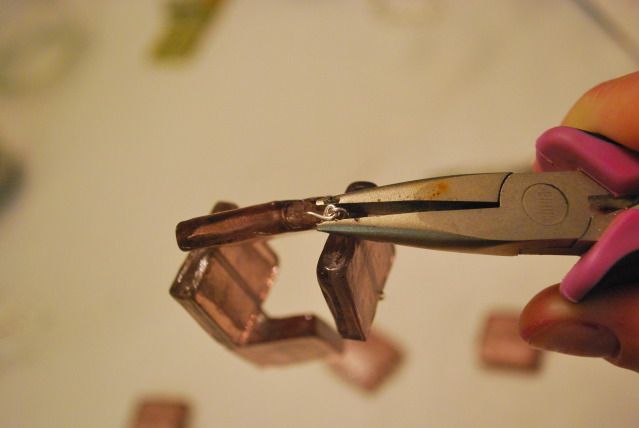
First, slide a bead onto the eyelet. Once the bead is firmly in place, bend the other end of the eyelet 45 degrees.


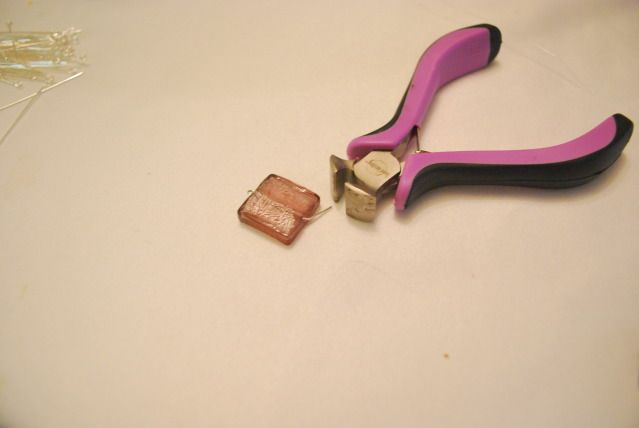
Using wire cutters, trim the flat end until it is roughly 1/2 a centimeter from the bead. Err on the side of length, however. You can always trim more; you can never add back wire.


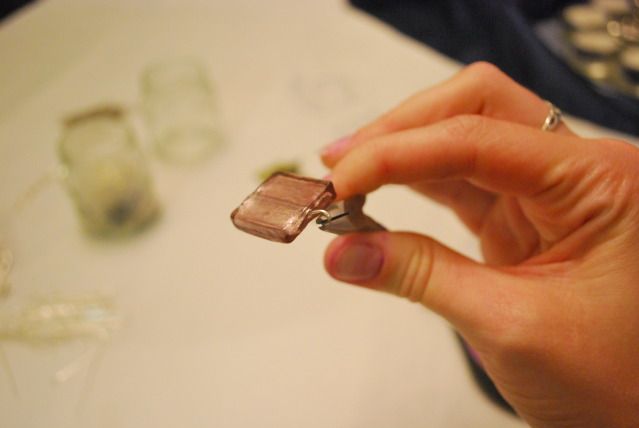
For these, you truly need needle-nosed pliers. Round-nosed pliers will work in a pinch, but they're frustrating and -- no matter how hard you try -- you'll end up with a weird pointy shape instead of a nice circle. However, if you have needle-nosed pliers, it gets a lot easier: pinch the wire at its end and roll it in the direction opposite of the fold. Tada!


Now, it's a matter of lather, rinse, repeat. The only difference is that now, before you make your loop complete, link it with one of the eyelet loops of the previous bead. You can close them by using your needle-nosed pliers to bend the last bit or, in my case, use your round-nosed pliers to squish it shut.


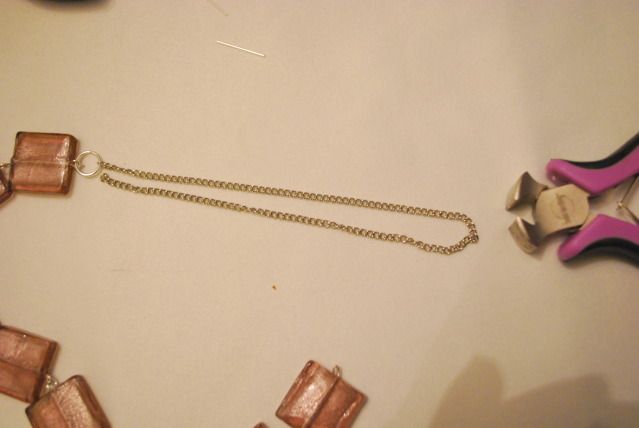
Using two sets of pliers, open two large jump rings. The easiest way is to grasp the jump ring at opposite ends of its opening. Have your right hand twist in a clockwise fashion, while your left hand twists in a counter-clockwise, leaving you with a semi-spiral. Link one at each end of the bead sequence. Likewise, link a length of chain to each of the jump rings as well before closing them (which is as simple as reversing the hand direction with your pliers).


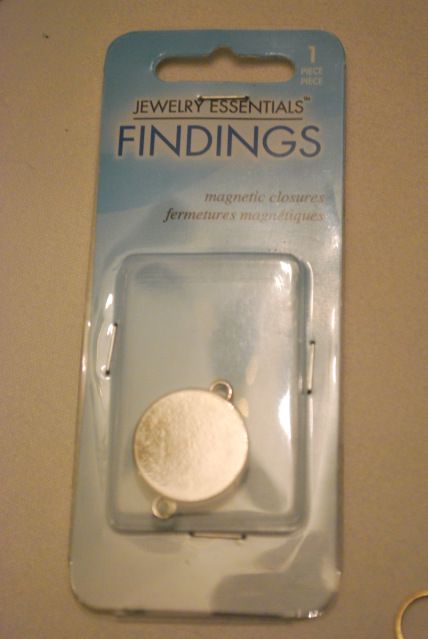
Magnet clasps are my new favorite thing. They're simple, they're easy, they stay on -- honestly, why do I ever bother breaking my thumbnails over the standard spring clasps?


Measure out how long you want your necklace and clip accordingly.


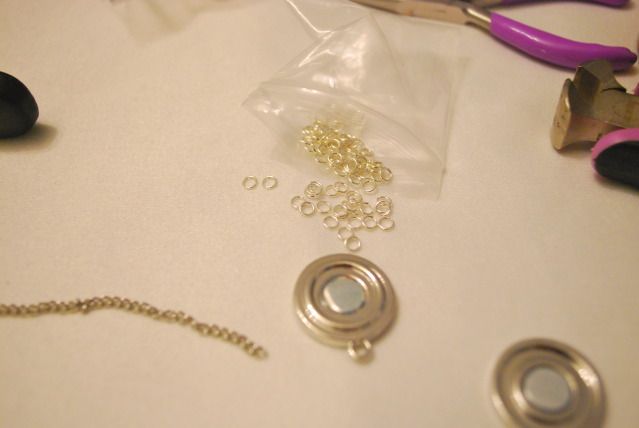
Using much smaller jump rings, connect one side of the clasp with each end of chain.


The look is somewhat Wilma Flinstone-ish, but I love it. Statement necklaces are incredible, especially against a solid-colored dress (or usually-drab office wear).
Related Posts Plugin for WordPress, Blogger...

09 10 11 12
Blogging tips