Sunday, October 28, 2012

The Five Stages of Taylor Swift

Try as I might, I can't hate Taylor Swift music for too long. Sure the lyrics are insipid, the melodies are overused, and the "my ex is so mean!" message behind every.single.song is enough to make me want to shove a screwdriver in my ear, but I end up dancing along to her music soon enough. And I decided to make a quick video documenting the typical evolution of her music with me.


And, like I said on my YouTube page: This video is not for commercial gain and the song "We Are Never Ever Getting Back Together" is used purely for commentary and parody purposes, as part of the Fair Use Act, 17 U.S.C. § 107. "We Are Never Ever Getting Back Together" is copyright 2012, Big Machine Records. I do not claim any copyright ownership of the song, or of Taylor Swift -- because that would be weird.


(Can you see why I decided against law school during my, "What will I do with my BA in English?" quandary?)


Also, spot the scene that I did while still recovering from my wisdom tooth removal. And I wonder why I ended up getting dry socket.

Friday, October 26, 2012

Photo Friday: Mount Monadnock

I decided to spend one of my precious few free weekends hiking up one of New Hampshire's beautiful mountains. While the trail wasn't exactly what I expected -- within 20 minutes I was scaling solid slabs of rock like I was practicing my rock-climbing skills -- it was a wonderful time, and I could quickly see why Mt Monadnock is one of the country's most climbed mountains. Due to a setting sun and sore knees, we only made it 3/4 of the way up, but the views were incredible. Besides, now I have a hiking goal: next spring, I'm hitting the summit of Mount Monadnock.

Although I better pace myself. One of the highlights of the hike was witnessing a helicopter rescue. While the woman wasn't severely injured, it's still enough to make you pause and remember that, at the end of the day, you're dealing with a pretty relentless mountain.


Sunday, October 21, 2012

Eyelet Tile Necklace


Much like sewing, I've been obsessed with jewelry making. I'm constantly trying to find new challenges, so much that I'll go to a store, see an intricate necklace, and go, "Y'know what? Try to make that instead." I was comfortable with jump rings, clasps, chains and pendants -- but was I ready for eyelets?


Eyelets turned out to be not as scary as they appear. The only drawback was that I didn't have the right pliers, making it more difficult than it needed to be.


For this necklace, I got out: chain, jump rings, tile beads, magnetic clasp, pliers of all shapes and sizes (the wrong shapes and sizes), wire cutters, and eyelets.


First, slide a bead onto the eyelet. Once the bead is firmly in place, bend the other end of the eyelet 45 degrees.


Using wire cutters, trim the flat end until it is roughly 1/2 a centimeter from the bead. Err on the side of length, however. You can always trim more; you can never add back wire.


For these, you truly need needle-nosed pliers. Round-nosed pliers will work in a pinch, but they're frustrating and -- no matter how hard you try -- you'll end up with a weird pointy shape instead of a nice circle. However, if you have needle-nosed pliers, it gets a lot easier: pinch the wire at its end and roll it in the direction opposite of the fold. Tada!


Now, it's a matter of lather, rinse, repeat. The only difference is that now, before you make your loop complete, link it with one of the eyelet loops of the previous bead. You can close them by using your needle-nosed pliers to bend the last bit or, in my case, use your round-nosed pliers to squish it shut.


Using two sets of pliers, open two large jump rings. The easiest way is to grasp the jump ring at opposite ends of its opening. Have your right hand twist in a clockwise fashion, while your left hand twists in a counter-clockwise, leaving you with a semi-spiral. Link one at each end of the bead sequence. Likewise, link a length of chain to each of the jump rings as well before closing them (which is as simple as reversing the hand direction with your pliers).


Magnet clasps are my new favorite thing. They're simple, they're easy, they stay on -- honestly, why do I ever bother breaking my thumbnails over the standard spring clasps?


Measure out how long you want your necklace and clip accordingly.


Using much smaller jump rings, connect one side of the clasp with each end of chain.


The look is somewhat Wilma Flinstone-ish, but I love it. Statement necklaces are incredible, especially against a solid-colored dress (or usually-drab office wear).

Thursday, October 18, 2012

Pinterest Fail #2: Melted Spoon Rose

This should have worked. My friend was able to do it with no problems whatsoever.

Maybe I didn't cut the spoons short enough. Maybe I thought about it too much. Maybe my glue gun is a POS. Who knows.

It started out innocently enough: I had my spoons, my pliers, my hot glue gun, and a candle. Everything I needed to made a melted spoon rose.

I even cut up the spoons like I was supposed to: 2 really short sports, 5 medium length, 10 longer-length.

The fun part was the melting. I'm not even going to lie. I let my pyromaniac side run free during this portion, holding the spoons over the flame until I thought the spoons were softened.

Maybe this is where things went awry. Because instead of just fusing them together, I let the handles actually light on fire, as evidence by the charred portion of the fused spoons.

I did what the website told me and placed them all together. I noticed very quickly that nothing seems to be coming together like it did in the website. Before the glue was completely cooled, I disassembled everything, cut the handles shorter, and tried again.

(read: played with fire again).

Now I felt like I had everything in order, almost identical to the website. What went wrong?

Y'know what? I'm going to blame it on the glitter. I tried to Edward Cullen my rose and, like the actual Edward Cullen, it just looked weird and unappealing. And I wasted a lot of glitter because I thought the glitter had a sprinkle filter.

But, the more I think about it, the less I'm horrified by it. Yes, it looks like what an inept middle schooler would bring home from art class in a bad sitcom, but I love it anyway. It's got a bit of a Little Shop of Horrors feel to it. And, as long as it doesn't start crying out, "Feed me, Seymore!", I think I'm good.

Sunday, October 14, 2012

Fall Decorations

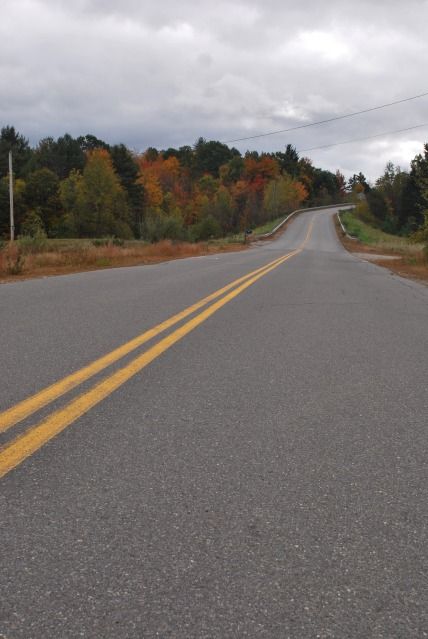
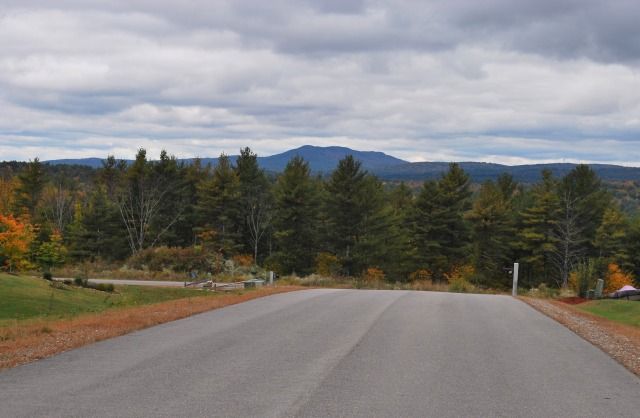
Before I moved up to New Hampshire, the idea of decorating for fall never crossed my mind. Now that I'm up here, I can understand why everyone I work with is nuts about decorating for the season. The foliage in even the busiest cities like Nashua, Manchester, or Concord is so vibrant that you can't help but want to have that in your home as well. So I decided this year I'd break the bank a little and make my apartment a little more fall friendly.


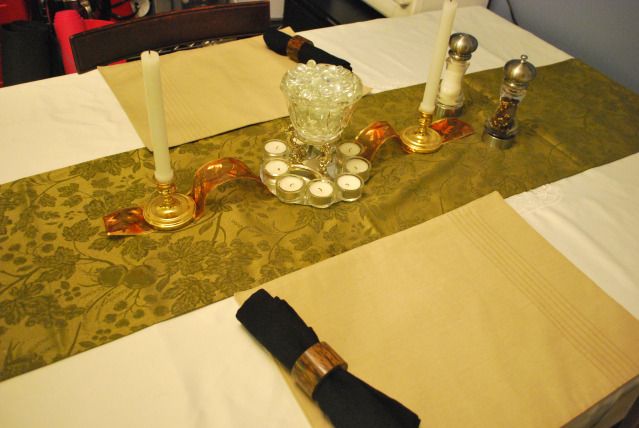
The first thing I tackled was our dining room. All I need was some fall-related table mats with complementary napkins. I got the table runner from Marshal's, which is honestly a godsend when it comes to cheap but pretty decorations. I found these wonderful fake-wood table rings at Target on clearance, which really put the whole look together.


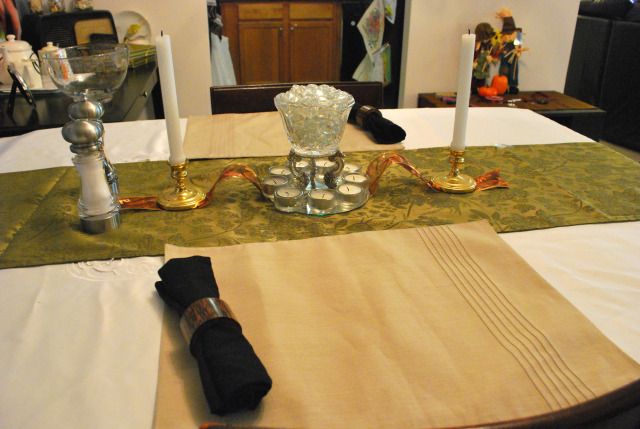
I finished it off by threading a fall-themed ribbon under my candlesticks and centerpiece (which was originally an antique candy dish given as a gift from my Ababa-in-law, but more on that later). This idea, I must admit, was stolen from my sister-in-law, who has been expertly decorating the Thanksgiving and Christmas dinner tables for a few seasons now.


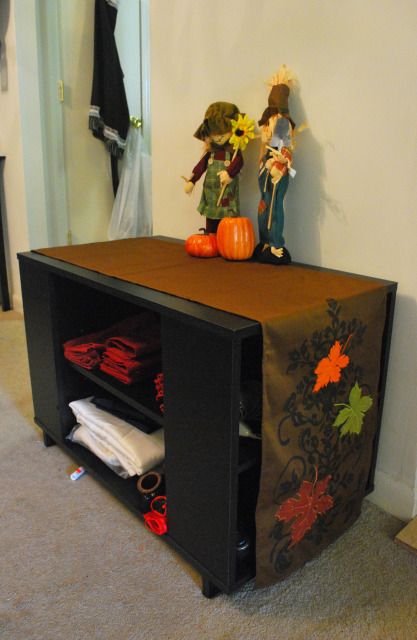
To backtrack a little: this was originally a TV stand, a gift from one of our groomsmen. But when my brother-in-law moved to Vegas, we got his TV (and subsequently his TV stand), leaving this TV stand somewhat invalid. As a result, the former TV stand became a bit of a dining room cabinet, storing placentas, tablecloths, napkins… I purchased a table runner at Michael's meant for a 10" wide table and draped it over the TV stand.


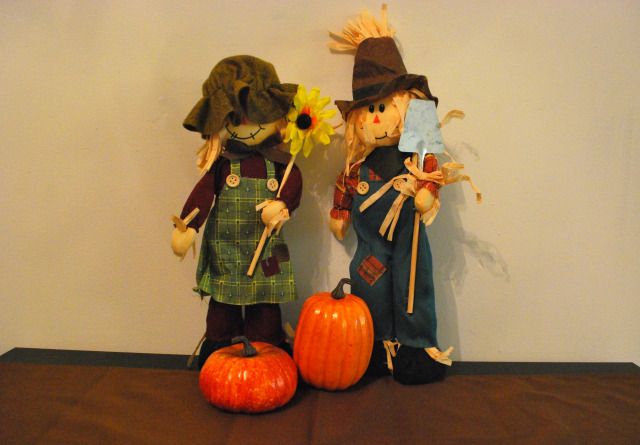
On top of the TV stand, I put two little scarecrow people, found in Target's bargain bin area, and added a few gourds I got at Jo Anne Fabrics.


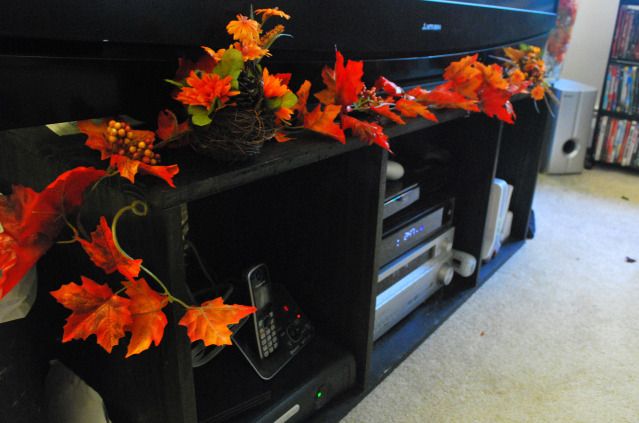
Speaking of TV stands, I garnished the newer TV with a garland of leaves, accented with a fall-themed knick-knick at each corner (to serve mostly as an actor for the garland, but it also provides a little variety on the TV stand).


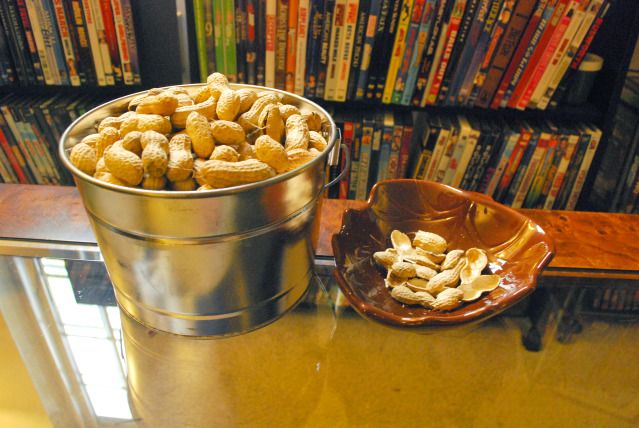
Since I'm a notorious snacker, I figured I'd take a page out of Texas Roadhouse and put a tin bucket of peanuts on the coffee table. I placed a leaf-shaped candy dish for the side for the shells.


The subwoofer in the corner of my living room totally needed sprucing up! I decided to raid Michael's fake flower section and great a fall-themed flower arrangement for one of my vases (side story: my husband bought that vase for flowers he bought me, unaware it was a floor vase. Me, being uneducated in the floral world, originally didn't get that a tall vase is usually meant for the floor). I lined the vase with another garland of leaves and added two bags worth of white/clear marbles to keep the vase steady. To the right of it is a little glass leaf candle holder, from Marshal's.


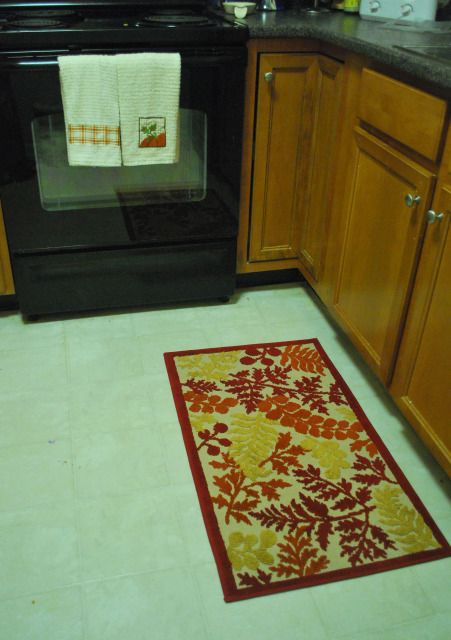
The kitchen got a little accessorizing, too, with a fall leaves mat (from Target) and a few pumpkin/harvest towels (from Marshal's).


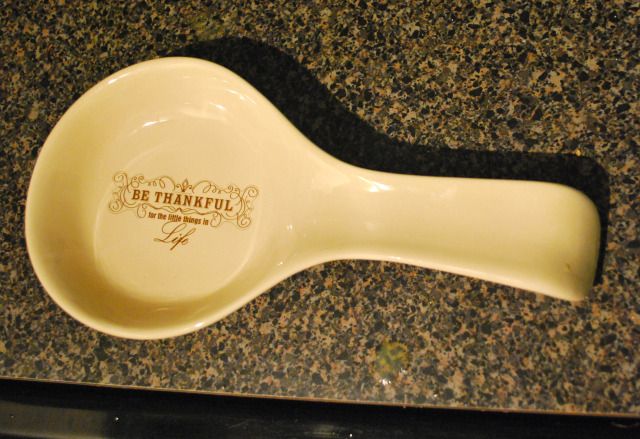
I also found this gem at Michael's. I don't know why I'm such a sucker for spoon rests, especially since I'm tempted to use a paper towel to rest my cooking utensils on, lest I get the rest messy!


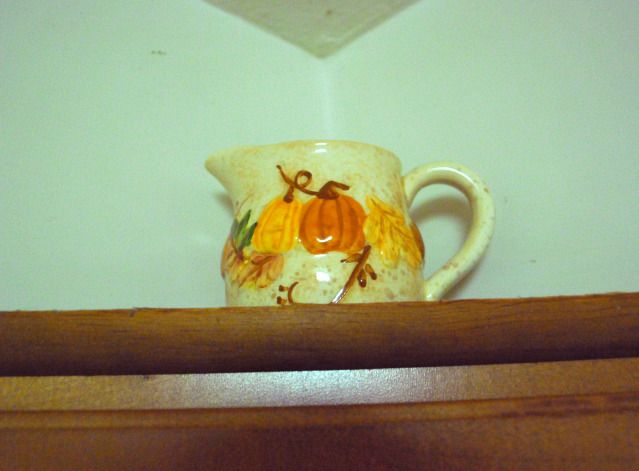
I found this adorable little creamer at Marshal's, and decided that the little corner of my cabinets needed some sprucing up too…


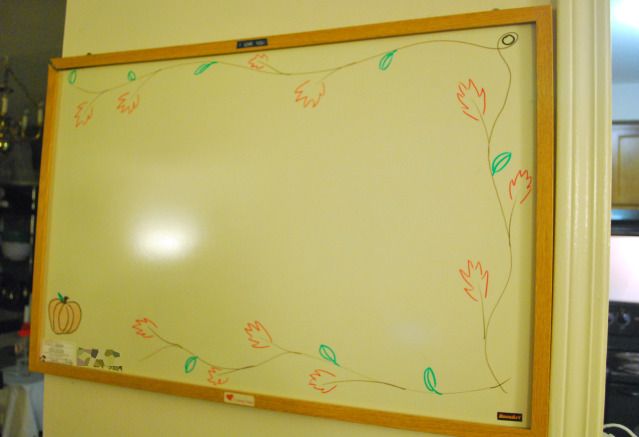
I live off of my white board. From to-do lists to notes for my husband, I use it every single day. So why not doodle around the edges and incorporate the fall theme in as well?


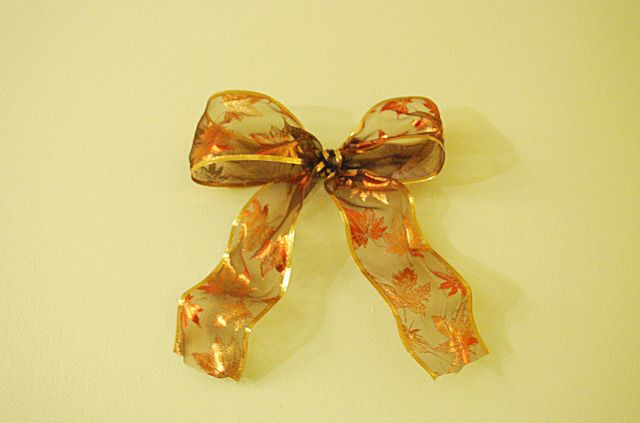
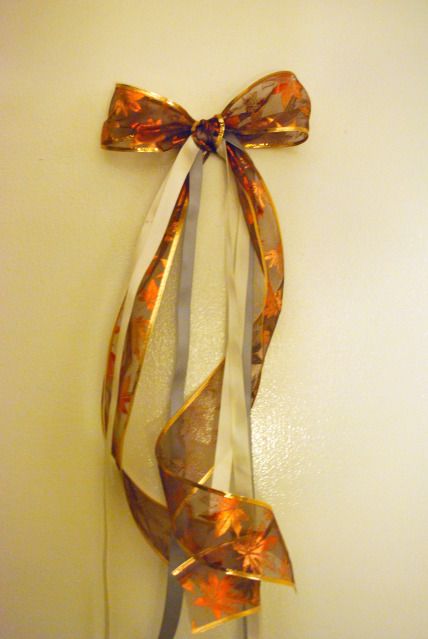
I decided to adorn the doors of the crafts room and bedroom with some bows made out of extra ribbon from the living room table. The key to making bows with ribbons is doing the "bunny ears" with the ribbon (as opposed to "around the through the cave", as my parents so explained it). I snaked a few pieces of ribbon through the center and finagled a thumbtack through the lower layers of ribbon and attached it to the door.
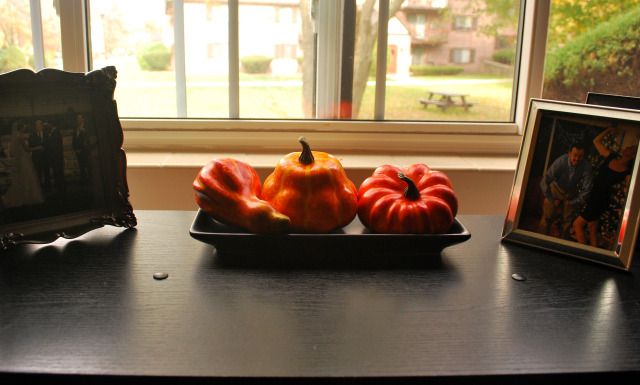

I gave my script candles a rest for the season and placed the remaining gourds I got from Jo Anne Fabrics on the tray. To the left of the gourds is a picture from my wedding. To the right, an outtake from the 2009 Christmas picture.


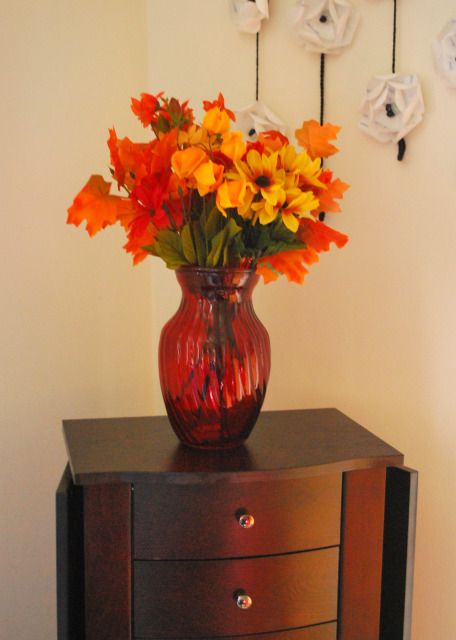
I decided to decorate the top of my 
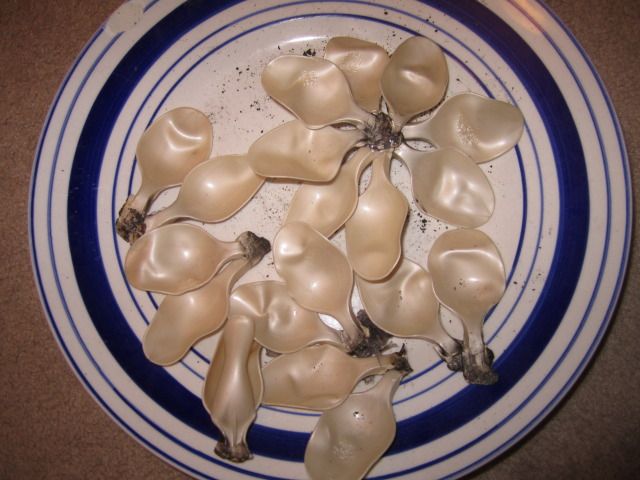
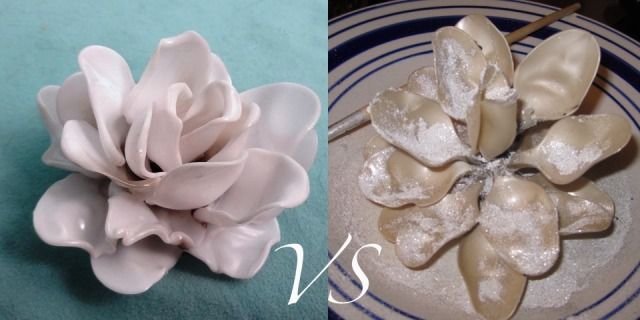
jewelry bureau with a vase of some more fake flowers, this time from the dollar store (honestly, this "bouquet" cost me maybe $6. Stupidly cheap, especially compared to the $40+ I spend on the bigger "bouquet" in the living room). And in the background lurks my infamous RSVP roses.


The best part about fall decorations is that they're good for a solid 3 months, right into and past Thanksgiving. Which gives me plenty of time to get ready for Christmas decorations =)

This also marks my 100th entry in this blog. Hard to believe that something I started on whim would've gone this far! Here's to the next 100 entries!

Friday, October 12, 2012

Photo Friday: The Sticks of New Hampshire

On the topic of not being able to sit around doing nothing, I spent the afternoon after getting my wisdom tooth pulled on a bit of a road trip. My husband and I have been casually looking at houses for our future house hunt, which will (hopefully, God and finances willing) start next March. Given the type of house we want and the towns we've been looking at, we might be fulfilling the stereotype of city people moving out to the country to raise a family. So I decided that, since I had 4 hours before taking my first Vicodin (read: no more driving), I'd go up to a few of the towns we had been considering.


While it might be a shift, going from Boston (home of 600,000+) to Nashua (80,000+) to, say, Auburn (5,000), it's safe to say that I might love it out in the country.


Related Posts Plugin for WordPress, Blogger...

09 10 11 12
Blogging tips