Even though
I made a kitty superhero cape with an old pair of pajama bottoms, I still had a whole trash bag's worth of old clothing. Again, thanks to Pinterest, I stumbled across
this amazing idea and found a great use for at least half of the trash bag's clothing.
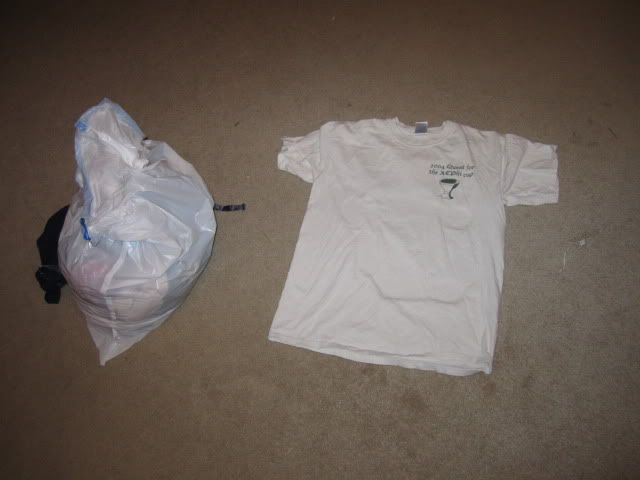
For this I grabbed: an extra large t-shirt, scissors, and shirts. Lots and lots of shirts. Socks, if you have them. My husband gave me a bag of socks that had holes in the heels. Since my shag rug would have no real rhyme or reason when it came to color, I used my husbands black and white socks to add some sort of continuity.
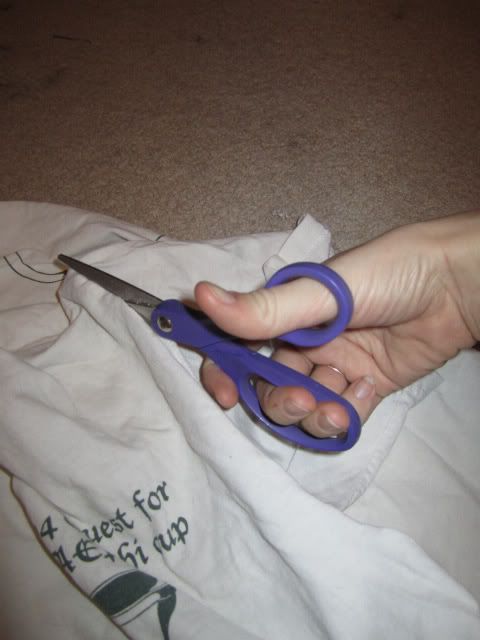
To create the base, I cut a rectangle out of the front of the shirt. I kept it as close to the edge of the shirt as possible while still staying within the borders of the hem, sleeves, and collar. If you want your shag carpet smaller, or a different shape, cut accordingly. In fact, now that I think of it: if you want to make a circular shag carpet: do it! Cut out a circle and rock on!
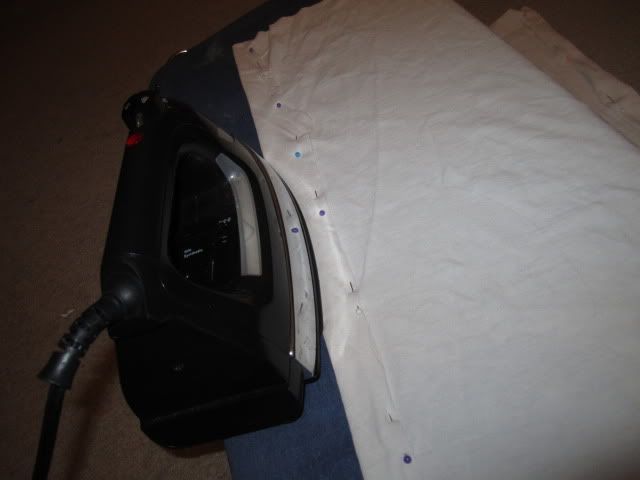
I then pinned and ironed two sides of the base, sewed the hem, then lathered, rinsed, and repeated with the last two sides. I'm sure there's a better way to handle hemming corners, but the easiest for me is to just fold the last two sides in, pin, iron, and sew.
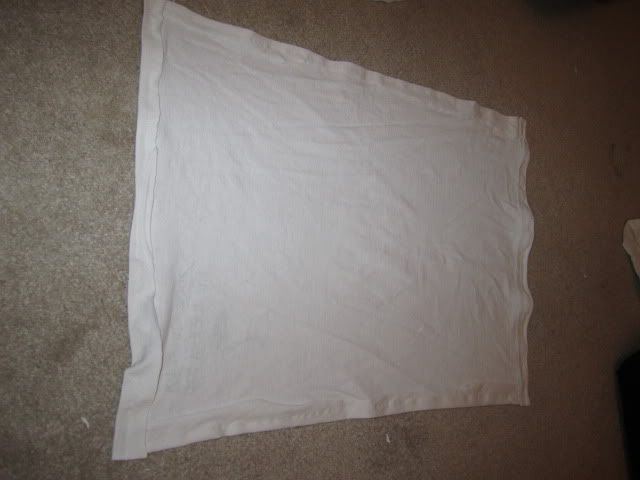
My base.
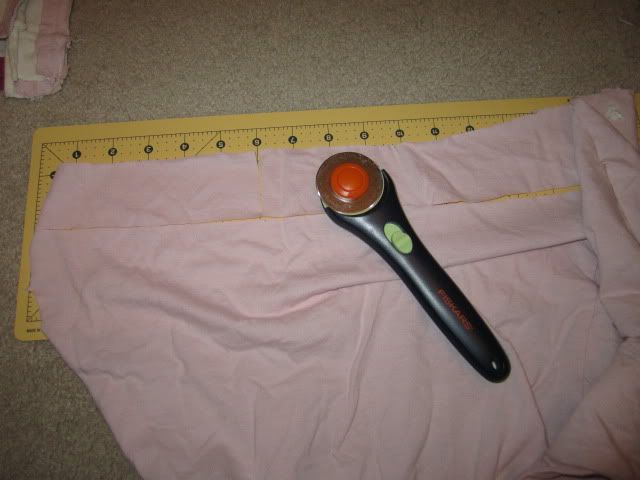
For the "shag" portion, find as many old t-shirts, pants, socks, scrap materials, etc, as possible. Cut the fabric into roughly 1 1/2-2" x 6" strips. The website I got this from suggests a rotary cutter for this operation and now it is my turn to suggest it. You can get a cutter/board set for $20 at Michael's and it really is worth it, especially if you plan on doing other fabric projects in your future. Everything became infinitely quicker -- and easier, as I found myself stripping the t-shirts of every usable swatch.
But please remember that a rotary cutter is
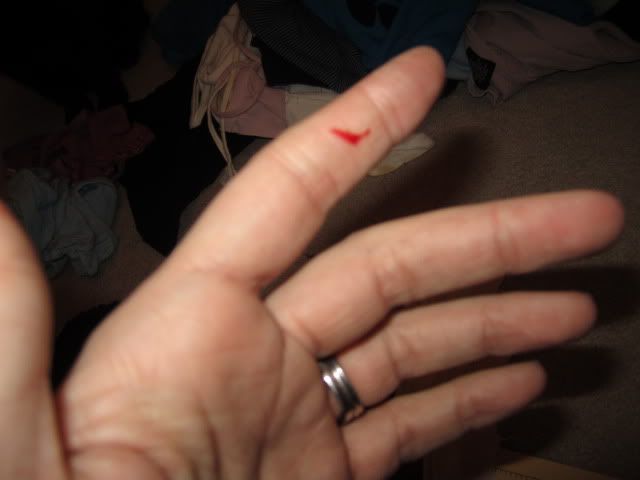
sharp. If you are moving fabric around, I suggest putting the safety up. Otherwise you'll find yourself knicking your fingers.
Also, if you find yourself knicking your fingers, don't take a picture of it. Just go and wash your bloody hand.
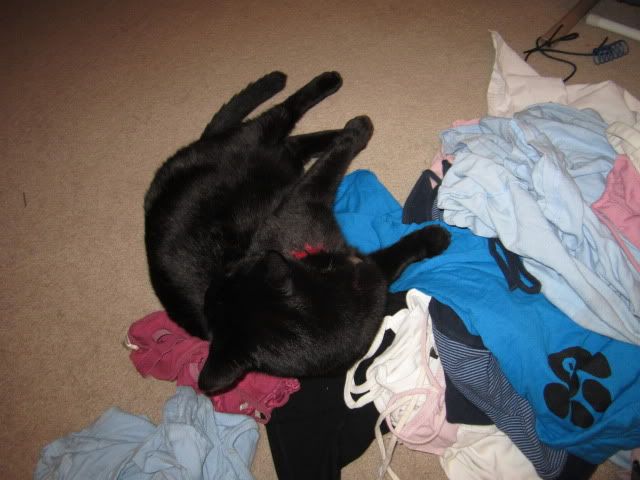
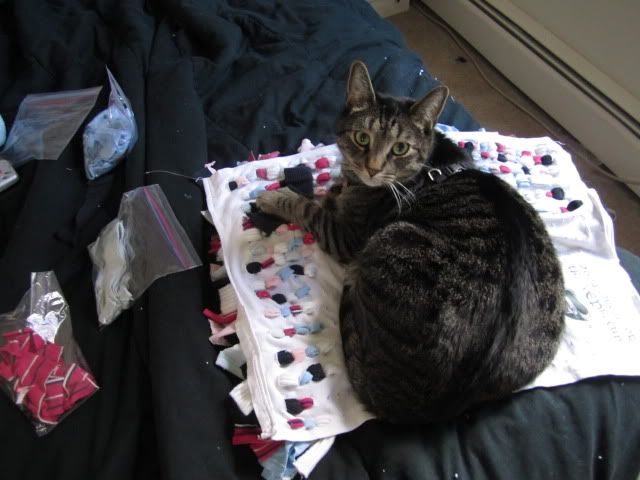
Salem decided my pile of old shirts was a good sleeping spot.
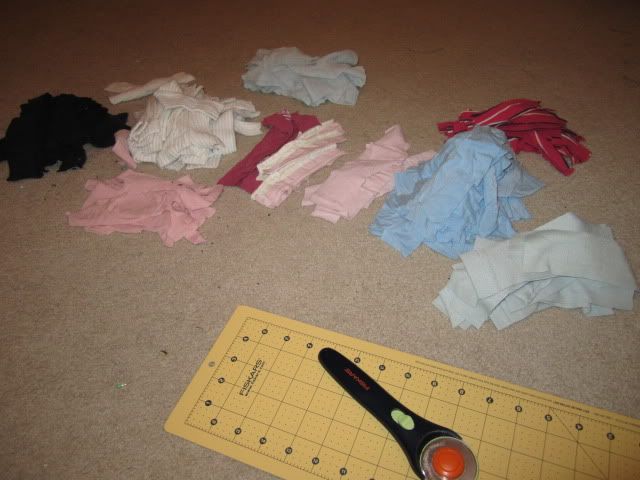
My pile before I decided to do some shagging (wacka, wacka). Please note that this pile is not nearly enough for a full shag carpet.
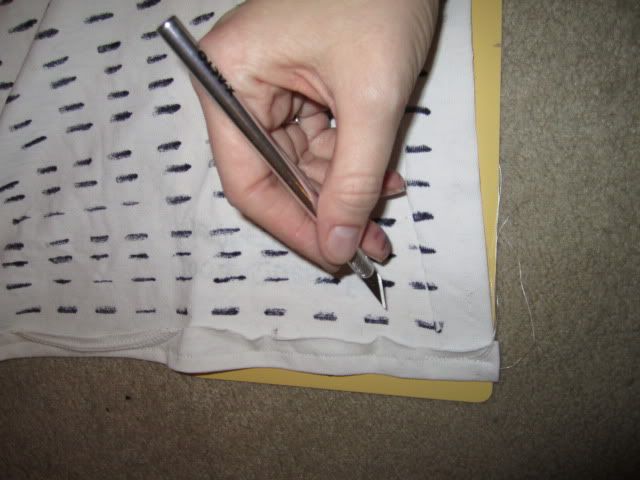
From about 1" from the edge, mark 1-centimeter or so slits about 3/4" apart. I used a ruler and washable marker, but you can also use chalk or even just eyeball it. Afterwards, you can either use scissors or an exacto knife to poke the holes. The exacto knife makes things much easier.
Do not worry about making the holes the full centimeter wide. In fact, I suggest
against it. The holes will naturally get wider as you shag.
I'm just getting dirtier and dirtier with this blog post.
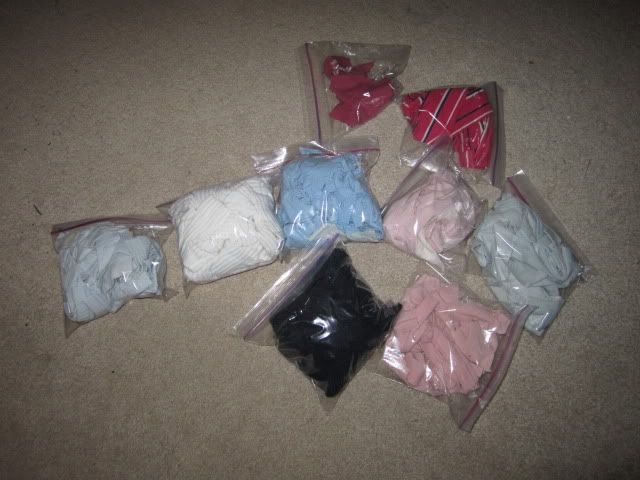
After you are done, I suggest throwing it in the wash to get rid of the marker/chalk. I also suggest taking your strips and assorting them by color into ziplock baggies. It makes things a lot more organized and cleaner and easier to move the project to various rooms in the house. Which will be needed, because the next portion is extremely time consuming, so the chances of doing it in many rooms (heh) is very great.
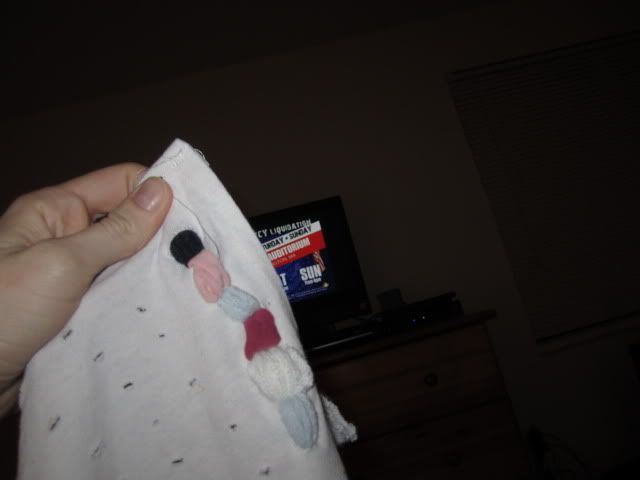
The website suggests threading a strip down the first hole and up the second. For my shag carpet, I placed the strip on top of the portion of the base that would face the floor. I then thread the one end of the strip halfway through the first hole. I would grab the other end and thread the rest of it through the second hole. If done correctly, you'll see a nice little loop in the back of your base. Above is a picture of the first few shag threads. Also pictured is my bedroom's television set, as this part of the project is extremely long. So, bust out some DVDs, find a good show on TV, and go at it.
Remember that all strips -- with the exception of the edge pieces -- with share their holes* with two other strips. That means, for the second strip, thread it halfway through the second hole and the other end through the third hole.
How my project looked after watching three DVRed Craig Ferguson shows in a row. I called it a night by then.
Don't be afraid to cut up strips as you go along. And remember that the possibilities are endless: if you want to do a pattern, do a pattern. If you want to a certain color scheme, do a color scheme. I lucked out in that most of my old clothing is pastel-colored, so I got the nice contrast of the white socks and pastel shirts with the black socks and the one rogue dark-colored shirt.
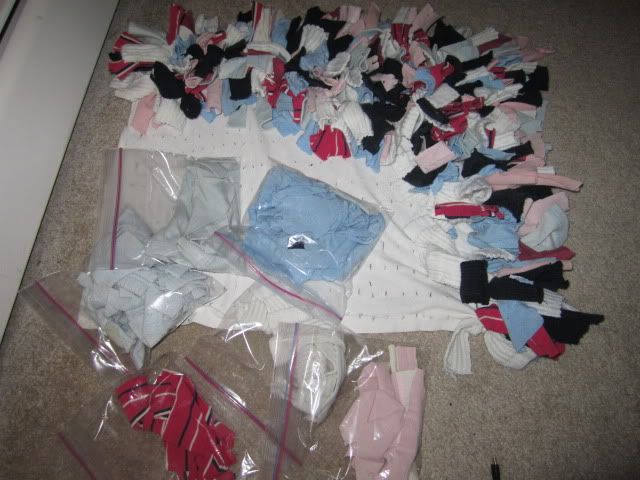
I came home on my lunch break to work on it some more, and came across this.
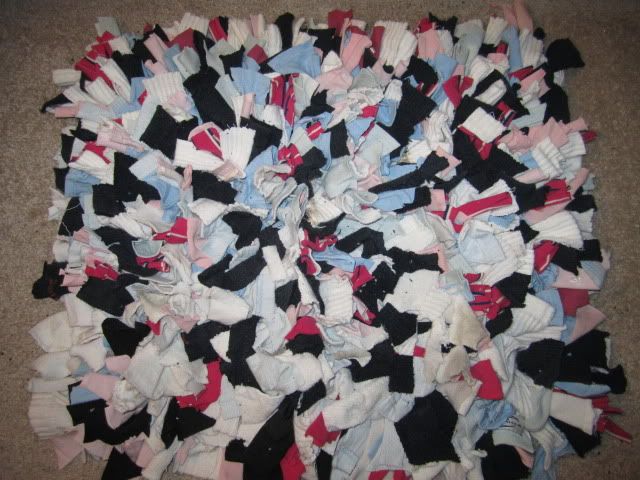
After dicing up 5 pairs of socks, 8 t-shirts, and finally catching up on all my Late, Late Show episodes, this is the final result.
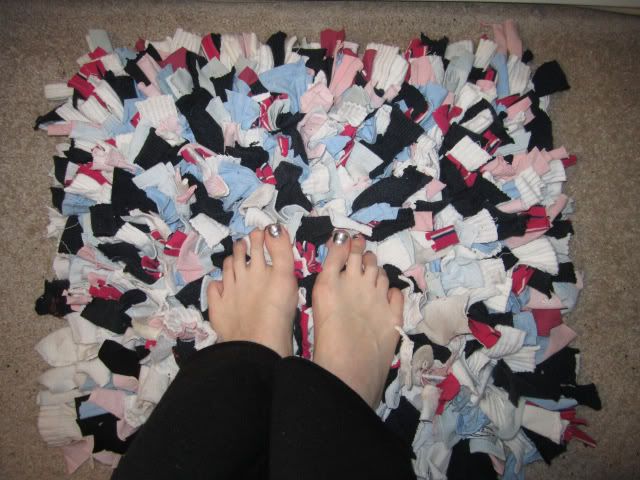
Since the website I got this from starts off her post with wiggling her toes in her new carpet, I decided to wait until I finished before I did the same. And it was definitely worth the wait. I now have my shag rug right by my bedside, so I have something comfortable to rest my feet on as I desperately try to wake up in the morning.
*Heh, share their holes.

Hello sir, How are you today?
ReplyDeleteIt is very effective material with information of trialanderrorcreativity.blogspot.com worldwide.It is a awesome web page for of all us.We are getting different kinds of opportunity by this web page.Really I like this web page. It is well designed and effective also it is very useful. I really encounter so outstanding after learning your material AS I like to talk about We realize that when you're looking for immediate offers while purchasing on the internet in Modern Australia you're worried about the protection of your dealings. At Kids rug, your personal and bank greeting card information are absolutely protected and secure behind our SSL technological innovation. We'll never complete your information on to anyone else, we guarantee. You are also welcome to use our Client Service Number 1300 625 582 and place your order over the phone.
Thank you very much for your fantastic Article.
Toner dolumu uzmanlık, ekipman ve kaliteli malzeme gerektiren hassas bir konudur, ucuz toner dolumu yapmaya çalışan firmaların başarısız olarak sürekli müşteri kaybetmelerinin en önemli nedeni kalitesiz üretim yapmalarıdır.
ReplyDeleteToner dolumu nasıl yapılır konusundan önce genel olarak toner dolum merkezi adı altındaki firmaların yaptıkları ve başarısız oldukları, toner dolumu nasıl yapılmaz konusunu inceleyelim.
Aşağıdaki video firmamızda nasıl yapıldığını anlatmaktadır.
Örnek olarak ülkemizde en çok satılan toner kartuşu olan hp 85a toner kartuşundan bahsedelim hp 85a toner kartuşu olarak çok bilinmese dahi hp laserjet p1102, hp laserjet p1102w, hp laserjet m1212nf, hp laserjet m1132, hp laserjet m1217nfw yazıcılar hep bu toner kartuşunu kullanmaktadır.
Bu yazıcılardan hp p1102 ve hp p1102w mono lazer yazıcılar arasında olmakla beraber, hp m1212nf, hp m1132 ve hp1217nfw çok fonksiyonlu yazıcılar arasındadır.
Piyasadaki dolum yapan firmalar bu yazıcıların kullandığı hp 85a toner kartuşunun üzerindeki tıpayı sökerek üniversal toner tozu adında satılan ve mürekkep kartuşlarında kullanılan likit mürekkebin toz hali olan toner tozunu hazne içine doldururlar.
Toner dolumu dedikleri bu işlemin sonunda tıpayı yerine takarak müşteriye teslim ederler. Çakmak doldurmaktan farksız olarak yapılan bu işlem genel olarak müşterinin karşılaşacağı sorunların ilk adımıdır.
Kartuş içinde bulunan ve içindeki orjinal toz bitimine dek çalışıp yıpranmış parçalar, doldurulan toner kartuşu yazıcıya takıldıktan itibaren sorun çıkarmaya başlar, aşınmış olan bölgelerden dökülen toner tozu ilk olarak a4 fotokopi kağıdı üzerinde lekeler, çizgiler ve karaltılar oluşturmaya başlar.
Baskı kalitesinin bozulması ardından a4 fotokopi kağıdı üzerinden taşan tozlar yazıcının içini kirletmeye başlarlar, yazıcı içinde bulunan fanlar yardımıyla her köşeye ulaşan tozlar, ana kartın kısa devre yaparak yanmasına kadar pek çok soruna neden olurlar.
Ayrıca drum denilen görüntü tamburu üzerindeki kaplamanın incelmesinden dolayı baskı silikleşir, ancak gereksiz olarak dökülen tozlar sonucu kartuş içindeki toz çok hızlı biter, böylece hem toz için verilen paranın büyük bölümü kalitesiz kopya olarak geri dönerken,kartuş basması gereken kopyanın yarısını bile basmadan boşalır.
Toner dolumu nasıl yapılır konusunu birazdan izleyeceğiniz video ile net olarak görebilirsiniz, yapılan işleme yenileme veya yeniden üretim adı verilmektedir, böyle yapılan işlem sonucu hp 85a toner kartuşu orjinalden farksız baskı yaparken tam dolum yapılmasından dolayı çıktı sayısı orjinal toner kartuşundan fazla olmaktadır.
toner dolumu