Showing posts with label glass etching. Show all posts

Sunday, December 16, 2012

Etched Wine Glasses


So I mentioned in passing about the wedding present I made for my brother- and sister-in-law's wedding. And what was that present, you ask?
Wine glasses!

But not just any wine glasses: etched wine glasses.


I am nuts about glass etching, from multiple picture frames, to the coasters, to the baby jars. I also love anything monogramed, so I figured a nice minor present (to accompany the actual present -- I'm not nearly arrogant enough to think something I make would be good enough to be a stand alone present) would be wine glasses with their new set of initials etched onto the side.


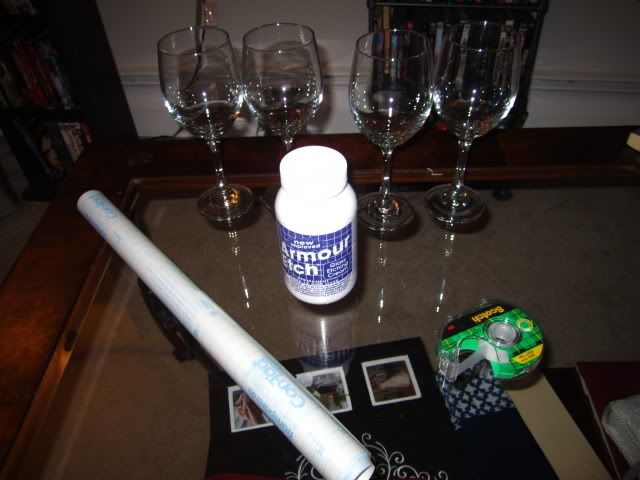
Like my other etching projects, I whipped out my:
contact paper,
cutting board,
Scotch tape,
exacto knife, and
etching cream.

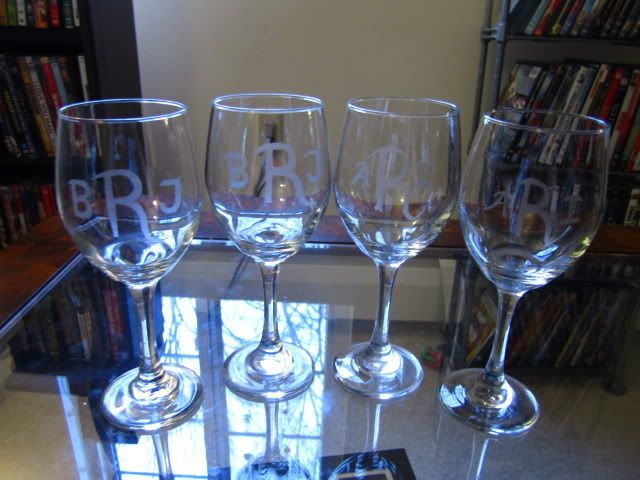
I also purchased 4 wine glasses: two to practice on; two to make as the gift.


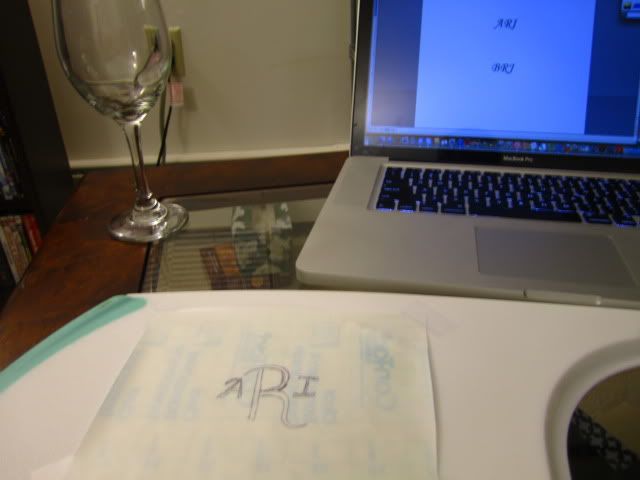
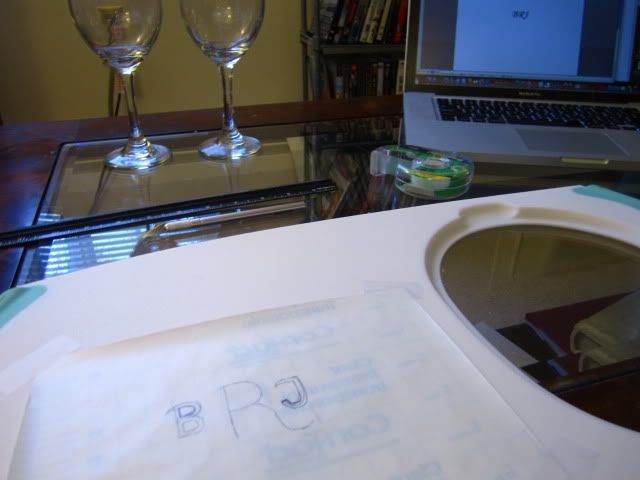
First, the practice glasses. After cutting up a small rectangle of contact paper and taping it contact-paper-side up onto the cutting board, I sketched out (since, as we've already established, am not too keen on stencils) my first initial. Even though I hate stencils, I still needed some guidance. So I opened up Word and found a found I loved and used that as my inspiration.


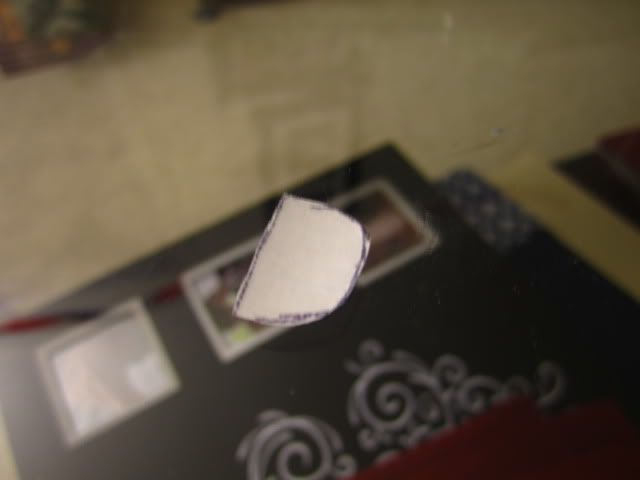
The cutting portion was the most stressful. The weaving was fairly ornate, especially compared to the other designs I've cut from contact paper. On top of it, I had to save the center portions of the letters A (my first initial) and R (my second initial) -- which meant I couldn't mess up on cutting out the triangle that makes the center portion of A and the half-oval that makes the letter R.


Thank God my husband's name starts with the letter I.


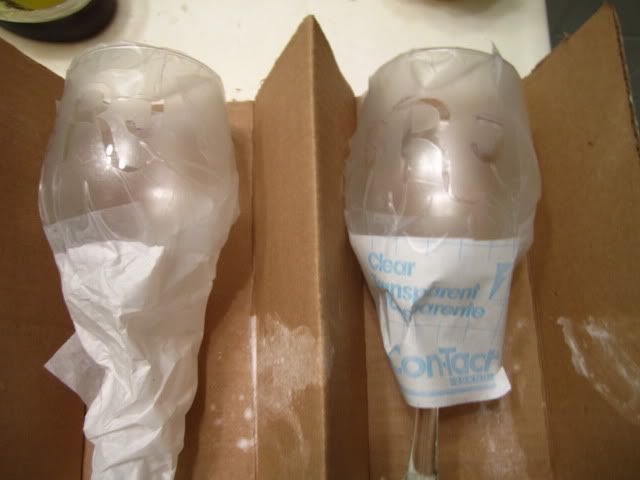
Pasting the contact paper on was also stressful. Everything needed to be centered and straight. And I had to put the triangle/half-oval back in place (without those, I'd just have etched blocks that resemble letters). I found that the easiest way to get contact paper onto wine glasses is to start in the middle and work my way out. That meant I pressed down on the "R" portion of the contact paper and smoothed outwards, pressing down the contact paper so that no bubbles or ripples formed. And, once I got this done, I got to do it all over again with the second practice wine glass.


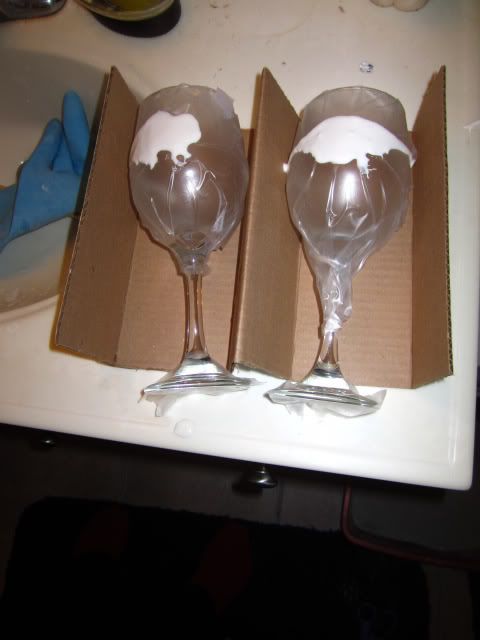
After the most stress-inducing part was done, I covered the rest of the wine glasses in contact paper. With all that work, the last thing I wanted to do was ruin the glasses by having the etching cream slide onto the back of the glass. On top of that, I sealed the border between the two pieces of contact paper with tape. I covered the base with contact paper as well, just to be safe.


I saved the partition that the wine glasses came with to hold the glasses in place while I slathered on the etching cream. By the time I finished the second glass, the cream from the first glass was already sliding downward, so I'm very happy I protected the entire glass.


I let those puppies stay in the bathroom for a good 30 minutes. Then an additional 5 minutes just to be sure. Afterward, I thoroughly cleaned off all the etching cream, peeled off the contact paper and tape, and ran the wine glasses through the dishwasher.


Now that I knew what I was doing, I felt secure making the wedding present now. I also knew how big I should make the letters and how far apart I should space them.


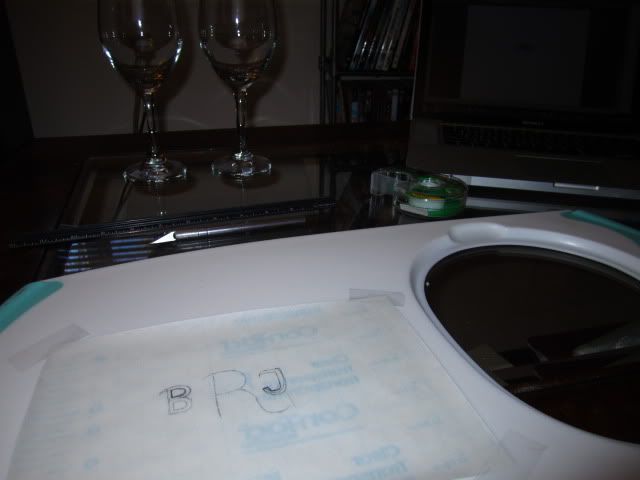
So, again, I typed out their initials in Word and sketched them out on contact paper.


Now, joy upon joys, my sister-in-law-in-law's first initial is B. That meant saving two half-ovals on top of the half-oval in R. Again: joy upon joys.


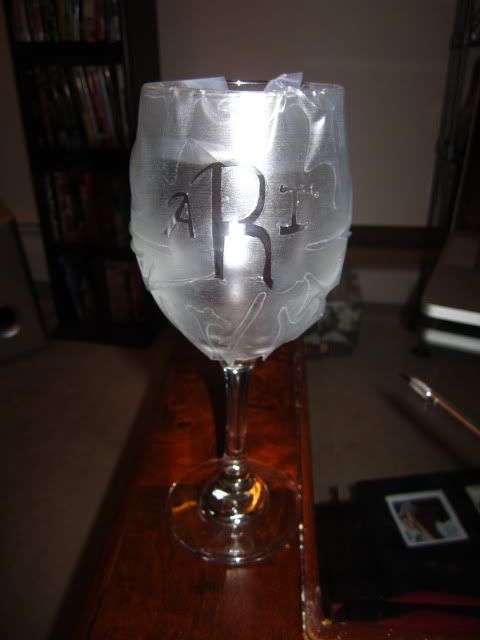
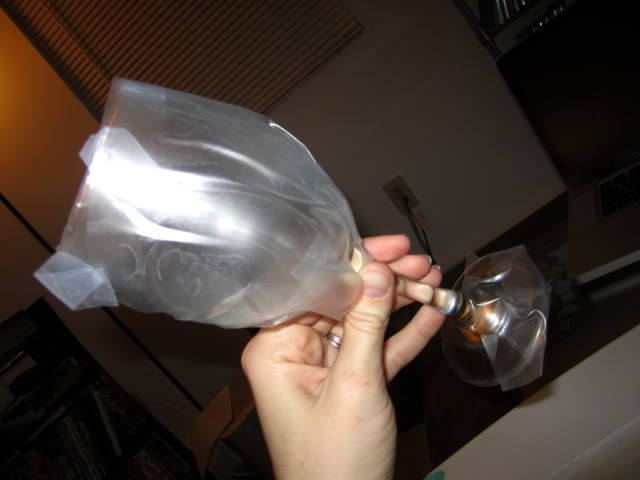
Somehow, I didn't mess up the cutting portion and was ready to etch. As an extra-precautionary measure, I wrapped tissue paper and contact wrapper around the stem.


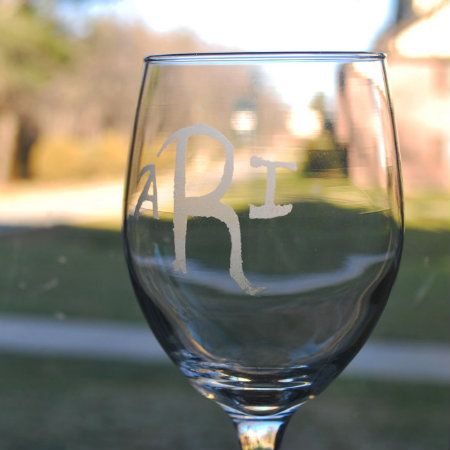
I'm psyched with how they turned out. I was expecting the practice glasses to fail horribly, the actual glasses to fail almost as horribly, and me to admit defeat. I had been wanting to do a project like this since I got my etching cream, but felt too inept to do it.

And somehow I pulled it off. I think.


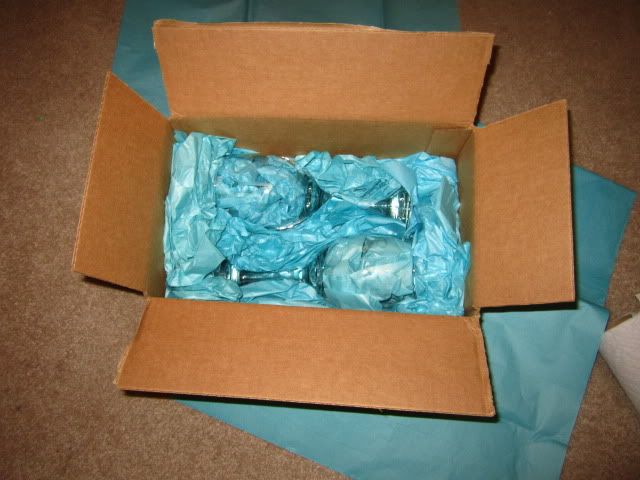
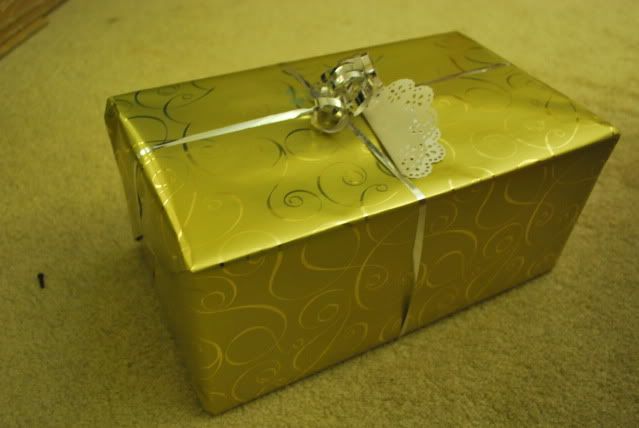
And since my sister-in-law loves Tiffany & Co, guess what color tissue paper I got.


By some beautiful miracle, this made it to Florida in one piece. It helped that I had it in my carry-on luggage and treated the luggage like it could detonate at any moment. One bit of information I very much kept to myself going through TSA.

Sunday, May 13, 2012

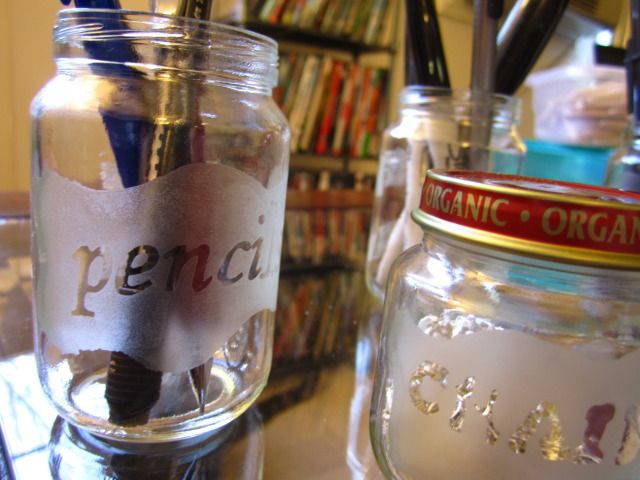
Glass Etched Baby Jar Organizers

This is what happens when you get a surplus of baby food jars and you're itching to do some etching.

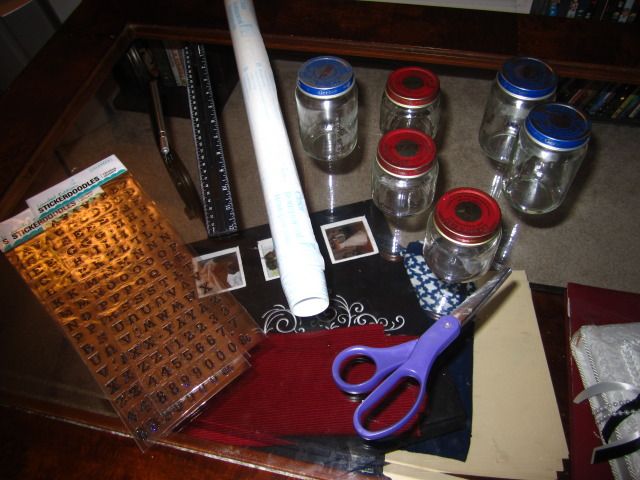
For this project, I got: baby food jars, contact paper, exacto knife, and (border-free) letter stickers.

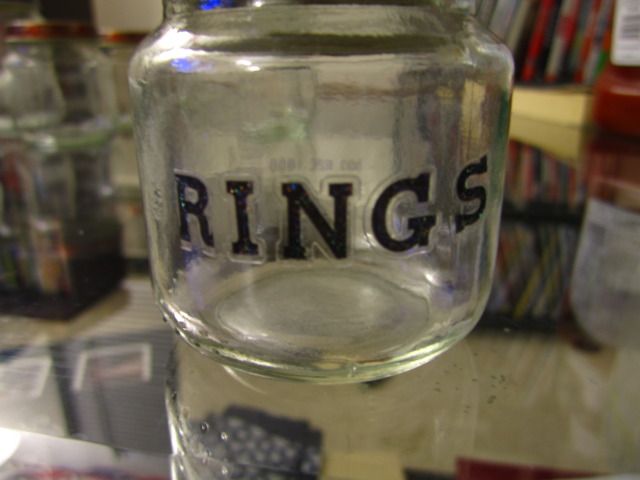
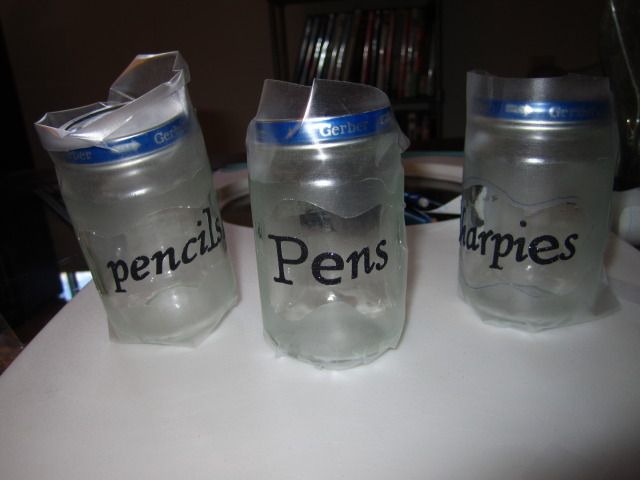
First, I spelled out the various things each jar would be for with the stickers. The only drawback to this was that I didn't have the foresight to check the stickers for borders. This meant I spent an hour cutting around the clear borders. And even then, I would have to settle for blocky letters. Eh, live and learn (and check stickers for clear borders).

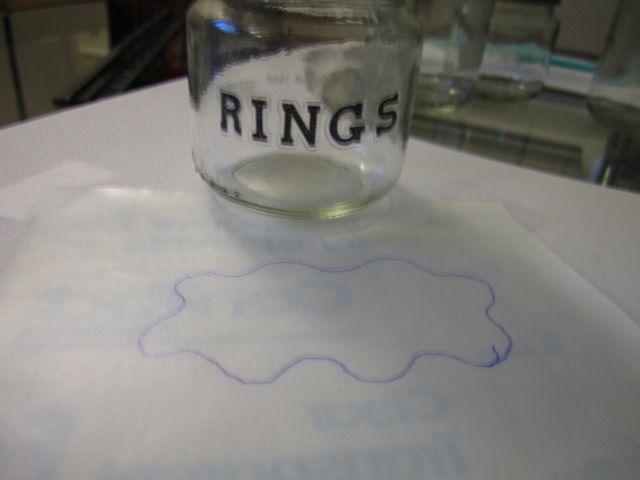
Much like my coasters, I taped a 6" x 6" piece of contact paper onto my cutting board. Then, for lack of better phrasing, I drew a splotch on contact paper. I kept the jars nearby so I'd know how big to make my splotch.

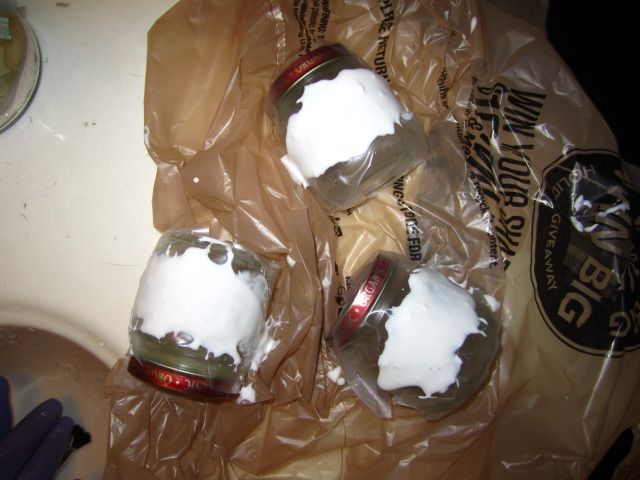
And then -- I etched! I used a plastic bag to keep the jars still as I slabbed on the etching creme.

While the etching cream was etching, I worked on the second set. Thankfully, with these jars, I found stickers that had no clear boundaries.


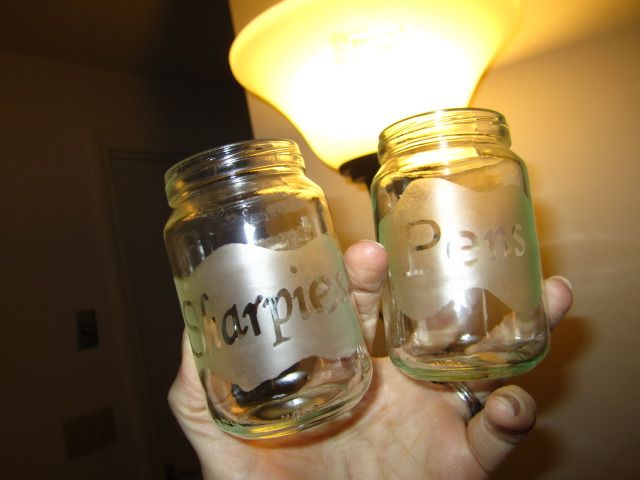
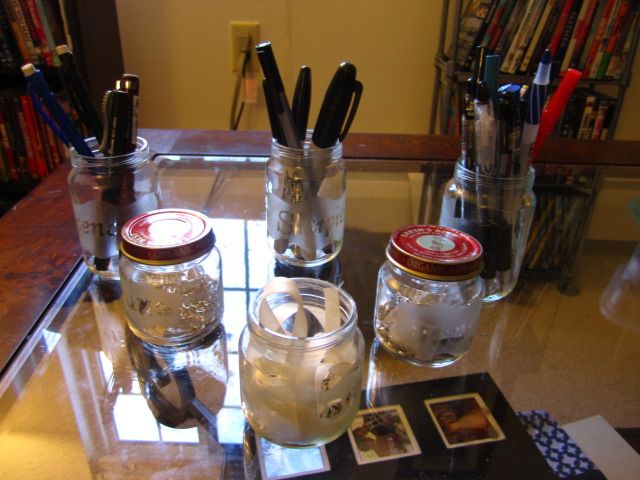
I'm in love with these jars. They're compact, they keep everything organized, and they were a lovely excuse to pull out my etching cream again. Now -- what else can I etch?

Monday, March 26, 2012

Glass Etched Frame, Part 2

Now that I was feeling a little more comfortable with glass etching, I decided to up the ante and try something a little more intricate.

Enter: minute hummingbird stencil.

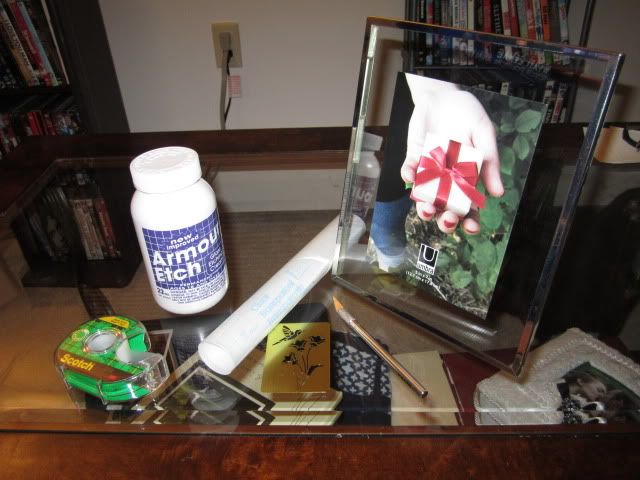
I gathered out my: exacto knife, etching cream, contact paper, tape, and said tiny hummingbird stencil.

Since there is some serious overlap between this project and the first frame, I won't repeat myself too much.

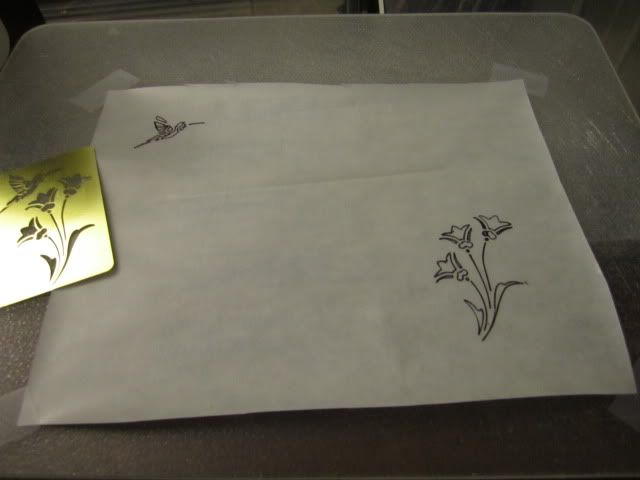
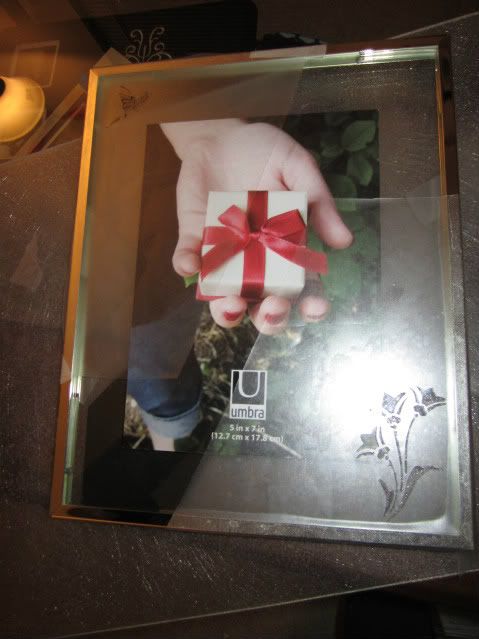
Like the first one, I taped down the contact paper on a plastic cutting board, plastic side facing up. Since I actually had a stencil to use, I simply used said stencil with a fine point Sharpie. Since I wanted the flowers to be in one corner and the bird to be in another, I stenciled each in their respective corners.

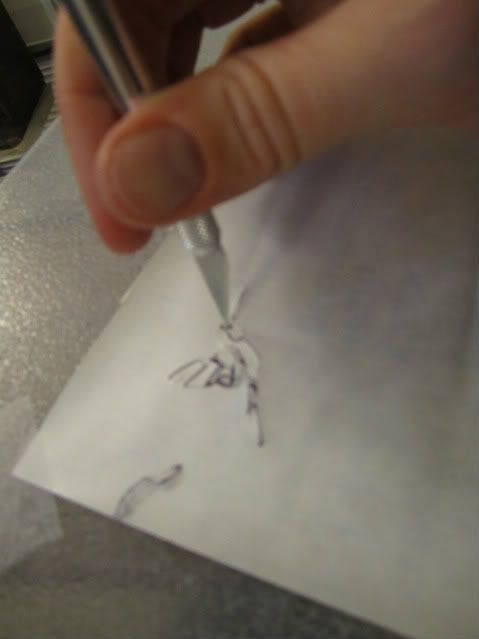
And may I say how wonderful it is to cut out the contact paper without a "paper stencil" taped on top of it? Since everything was so small and intricate, it still took a good amount of time and concentration, but it was wonderful not dealing with a shifting piece of paper taped to the top.

Like the previous frame, I diagonally cut the contact paper and placed the two pieces where I wanted them to go. Remember to give at least an inch or more of buffer between the stenciled portion and the portion of glass that isn't being etched. I also folded the contact paper over the edges of the frame, just in case there was any spillover.

Then, like the last one, I moved my operation to the bathroom.

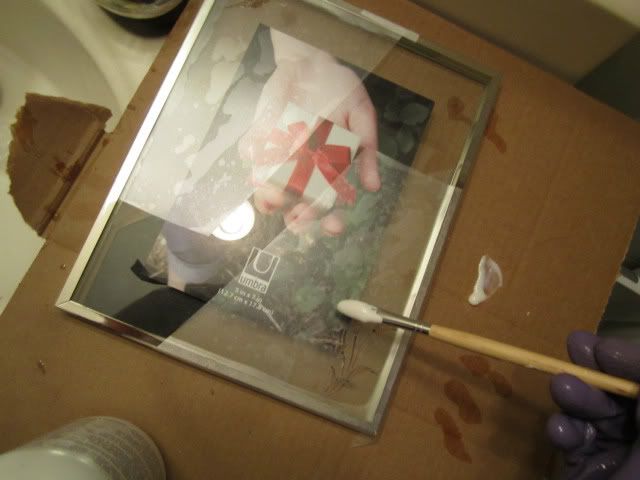
Since I wasn't covering a lot of ground with the etching crime, I switched to a smaller paint brush for more control. And still: I wore gloves, long sleeves (and, as I learned, shoes as well!) I slathered it on until I couldn't see the glass, washed the brush, gloves, my hands and my shoes (which got a nice healthy blob of etching cream) thoroughly. I closed the bathroom door, turned on the air fan, and went off to do whatever I wanted for 20 minutes. Afterward, I ventured back in, adorned the gloves one more time, washed the cream off, peeled away the contact paper, and rinsed away whatever residue was left.

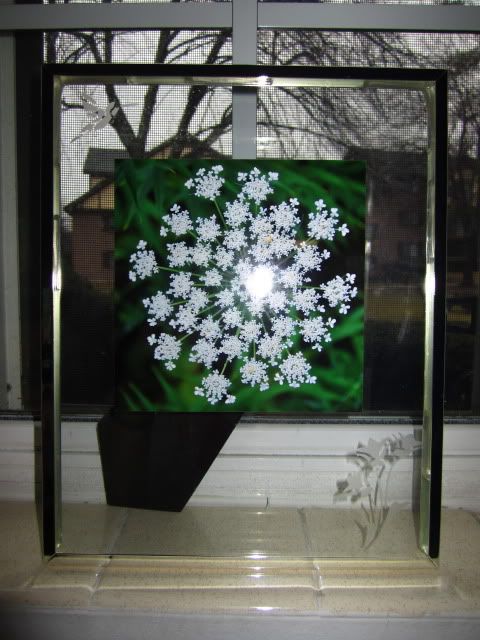
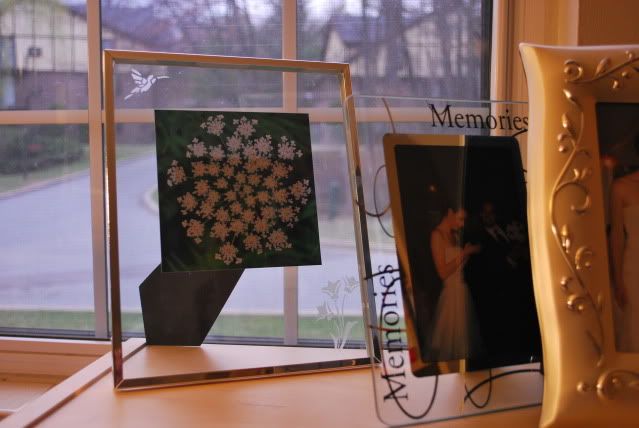
I decided to pair it with a photo I took of what I call a fern flower (because I usually find it amongst the weeds and ferns and because I don't know its actual name). Which seemed fitting: a hummingbird in one corner, tulips in the other, big-ass picture of a flower in the center. I used scrapbooking tape and taped it to the back piece of glass to keep the picture from shifting around when I put everything together.

This is where it actually resides, on another shelf packed to the brim with frames. But thankfully, this is in our guest bedroom/office, so my husband doesn't have to deal with the all-out frame assault on a daily basis.

Wednesday, January 25, 2012

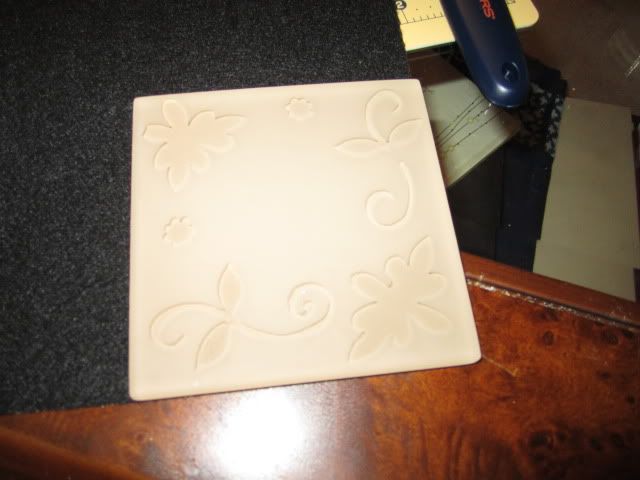
Etched Glass Coasters

Now that I've tried my hand at glass etching a frame, it was time to try making my own tile coasters.

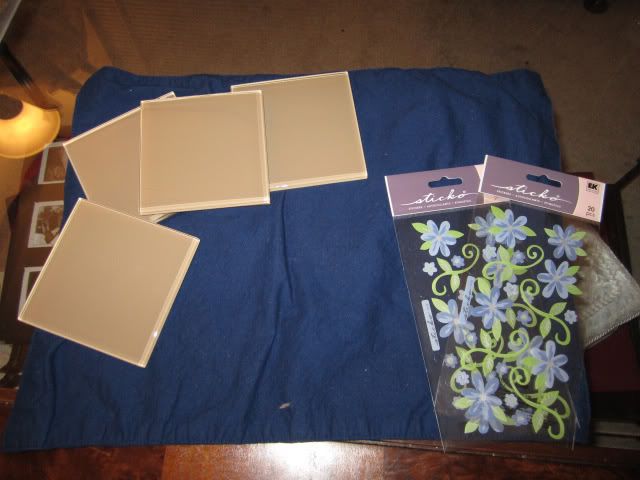
For the first part of the project, I got: 8 glass bathroom tiles (you can purchase these individually at Home Depot for about 75 cents each. The only drawback is that you're essentially stuck with glass tiles that have beige or green backing. No black backing, much to my chagrin.), flower stickers, etching cream, contact paper, a paintbrush, and an exacto knife.

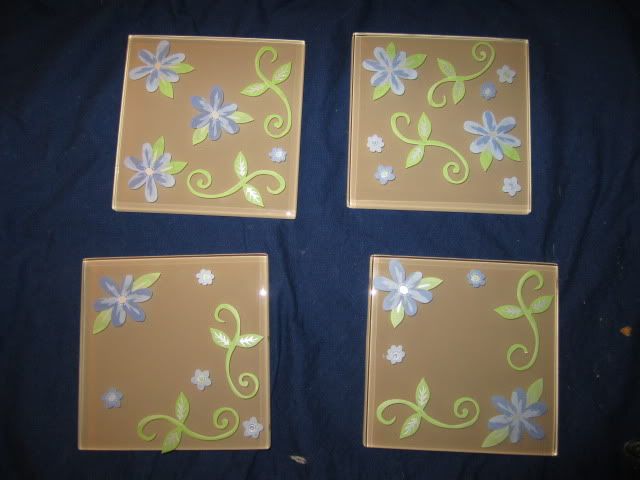
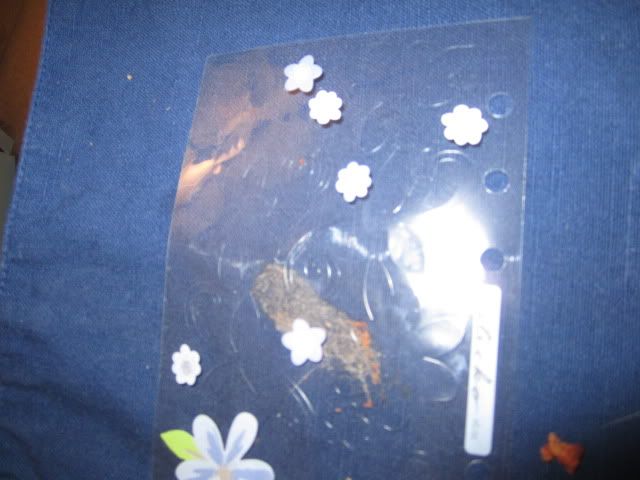
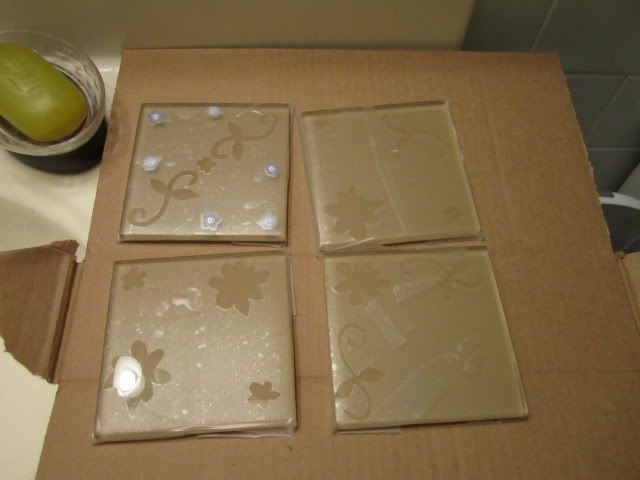
I split the tiles into two groups: tiles that would be almost entirely etched and tiles that would be minimally etched. The first group -- the entirely etched group -- was the easiest to prepare. I simply placed the stickers on the tiles. Keep in mind that where the stickers are is where the glass will not be etched. And don't worry about placement: I found that I created the best pattern when I just didn't think about it. The ones in the picture with stickers all over the place are the ones that I did first, when I thought too much about it.

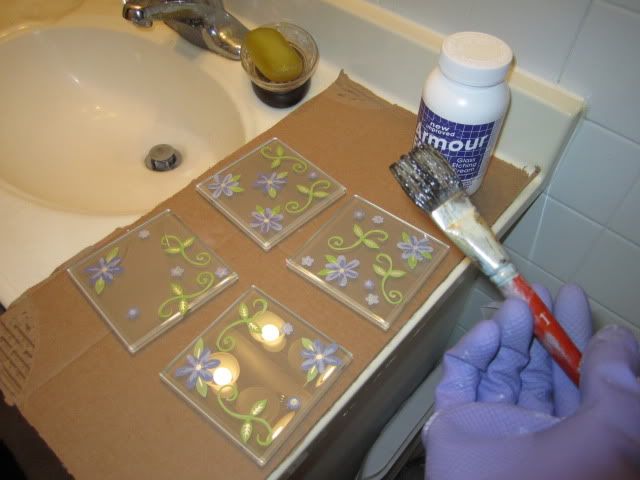
Bring the tiles into the bathroom, slap on some gloves, and slather them with etching cream. And remember: if you can see the glass, you run the risk of streaky and uneven etches.

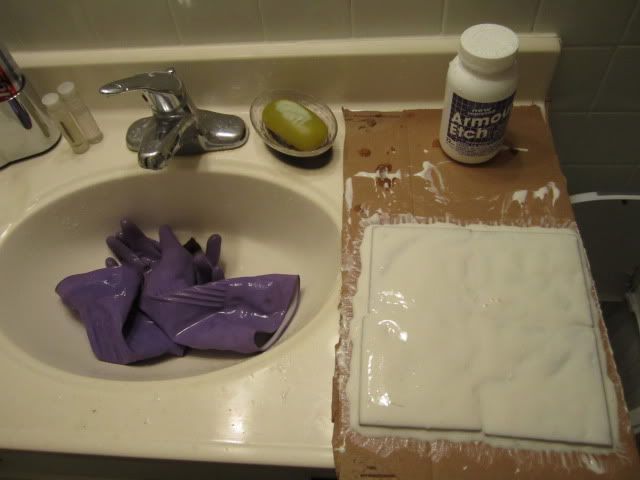
On top of slathering up the sides, to make sure the edges were etched, I slid the tiles toward each other so that they were about half a centimeter away from either other. Everything looked like a big, Taco-Bell-fart-smelling cake. Delicious.

After about 10-15 minutes, I rinsed everything off, stickers included. It was sad, using such nice stickers for etching, but I loved the design of them. Casualty of war.

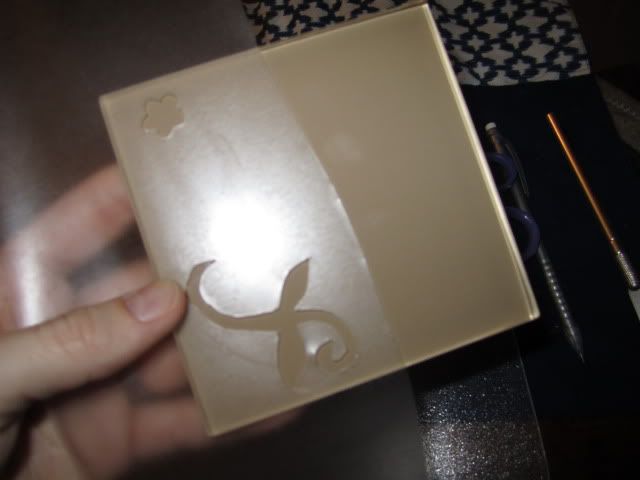
And now, the less fun group: aka the minimally-etched group. For these, I used the sheets the stickers were on as a kind of stencil, since I could see the outline of the flowers/vines.

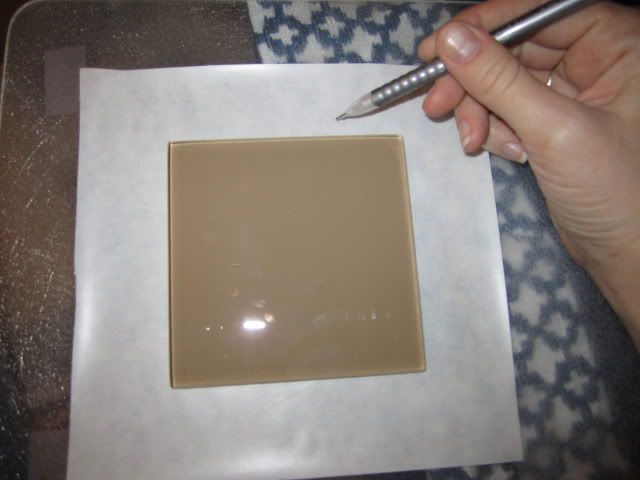
I first taped squares of contact paper onto a cutting board. To get an idea as to where I should put the "stencils", I traced the tile with a pencil (although, looking back, pencil sucks on contact paper. Better use a pen or a thin Sharpie).

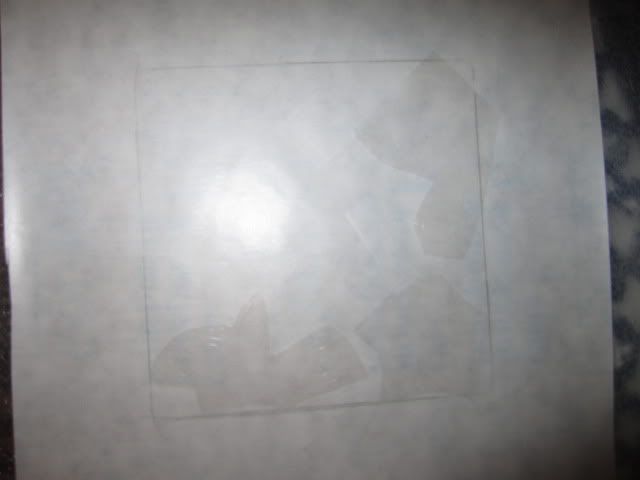
I cut around the shapes I wanted and taped them to the contact paper, then like with the glass frame, I meticulously and painstakingly cut out each shape. I almost caved and thought about using the few stickers left to make really, really etched tiles.

Like the frame, I suggest cutting the contact paper in half before placing it on the tile. Your trace is never going to be perfectly exact, so give yourself the opportunity to move things around.

Again, bring said tiles to the bathroom and lather, rinse, repeat with the etching cream. Thankfully, I needed a lot less etching cream with this batch.

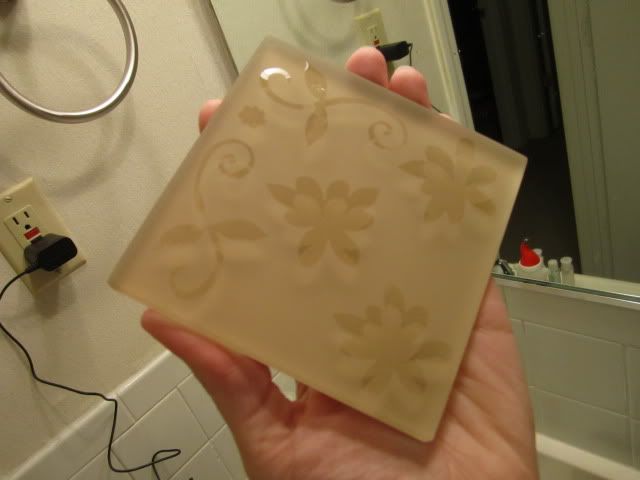
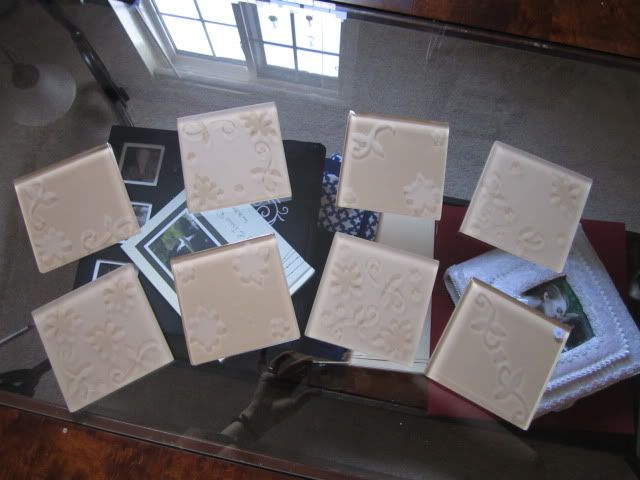
I really like how these came out. However, I recognized that, even though the backs were smooth, I was petrified that the backs of the tiles would scape up the wood or glass of our tables. Hence part two:

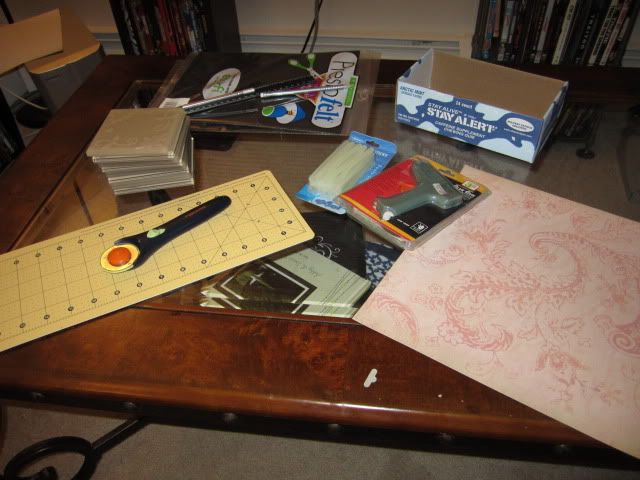
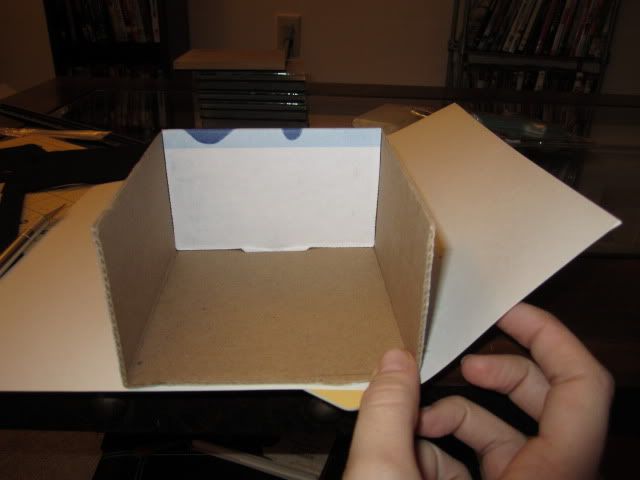
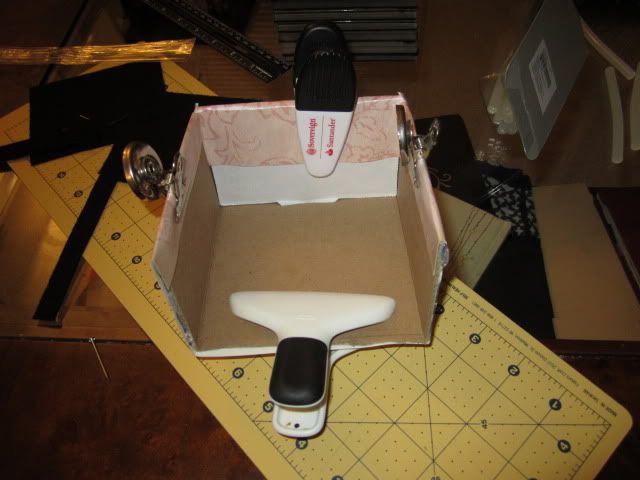
For part two, I got: 2 sheets of adhesive felt (which I got here. I recommend buying a lot and saving some for later. The 9 x 12" sheets are relatively cheap; the shipping is not.), my rotary cutter, a box that was around 4" in width and at least 4" in length, a hot glue gun, contact paper, and clips.

I cut 4" x 4" squares in the felt with my rotary cutter for the backs of the tiles. I recommend cutting primarily from the corners, as you'll already have two straight edges.

For the coaster holder, I cut a box that once housed caffeine gum at the 4 1/4" mark using my exacto knife. I turned over the card stock, placed the box on the edge in the center, and folded each side.

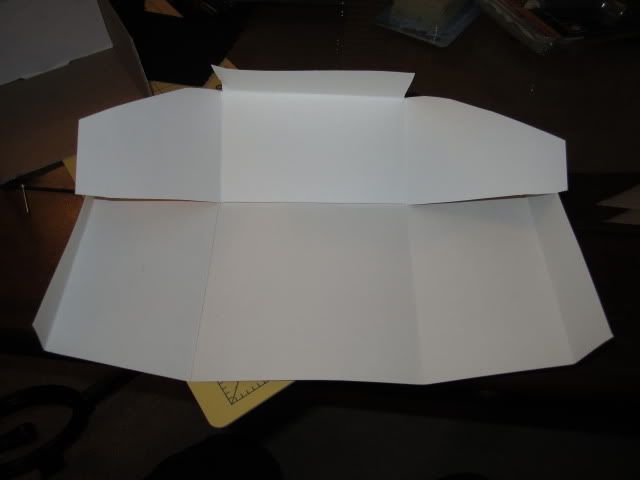
This is what the cardstock looked like after folding and cutting. I first cut along the horizontal fold until it met with the vertical folds before cutting and rounding out the corners of the two large upper flaps.

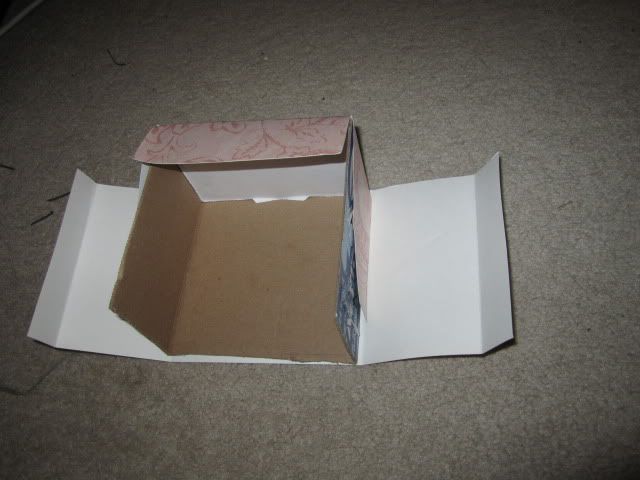
I glued the bottom and back folds first, securing them with a clip as quickly as possible. I then glued the sides and clip, paying close attention to the portions that fold over the box.

Since the entire gluing process was nothing short of Me Against the Glue Gun, I left this overnight. Hot glue is usually completely cooled within minutes, but I wasn't taking any chances.

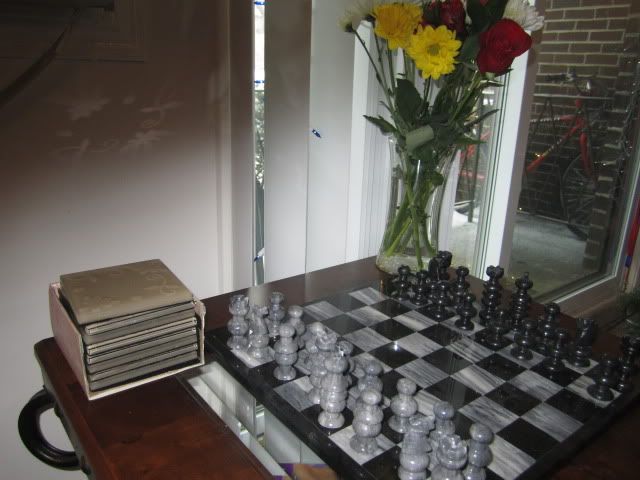
I'm extremely happy with the results. I'm also extremely happy with this picture. It was originally a flub: my index finger slipped and blocked a portion of the flash. But the reflections I captured on the wall are definitely no flub!

Friday, January 20, 2012

Etched Glass Frame

Ask any teacher who works with young kids what contact paper means to them, and you'll probably get the same answer: it is the crack pipe to our very masochistic addiction. From protecting posters from grabby hands to fake-laminating construction paper projects, we easily go through a kilometer's worth of it in a year. I was eager to do a project outside of school that involved contact paper. And that's where glass etching came in.

I used to do glass etching back when I used to go to camp. We'd design random glass bottles with whatever stencils the older kids had lying around. After camp, I kind of forgot about glass etching. But I stumbled across glass etching again and decided I needed to do glass etching again, starting first with making a spiral-etched frame.

Now, to backtrack, one aesthetic I had in my wedding was, long, flawy, ivy-like spirals. I know that's not exactly the most original aesthetic theme for a wedding, but I loved it simply because it came about organically. I just naturally picked things that had this is ivy-on-the-brick quality about them. After the wedding, I went nutty and purchased a ton of frames with spiral-painted borders (much to my husband's chagrin).

I decided that, for the sake of practicing my glass etching, I should make an etched glass frame with spirals.

Obviously, I was only doing it for the practice.
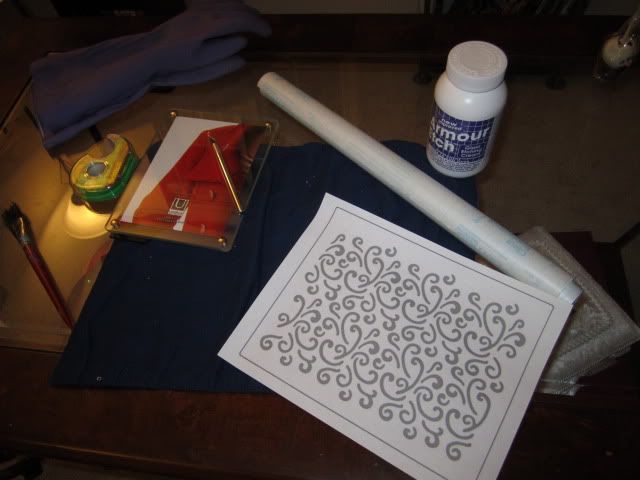
For this I got: etching cream, contact paper, scissors, a glass frame, an exacto knife, scotch tape, a paintbrush, and said spirals (I decided to just print out some spirals, after finding no stencils to my liking). Whatever can't be purchased at a crafts store can easily be bought either at a home improvement store or online.
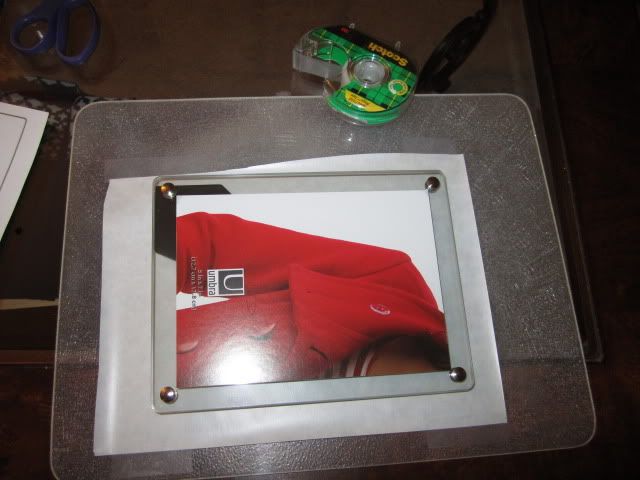
I first taped down the contact paper onto a cutting board. I made sure the piece I cut out was larger than the frame itself. Since my design was so close to the edge, I wanted to be able to protect the sides of the frame with the contact paper.

I outlined the frame on the contact paper in pencil so I could have a general idea of where things would go. I also kept the frame close by, as this particular frame had bolts at each corner, and I wasn't interested in having metal-etching as part of my design.
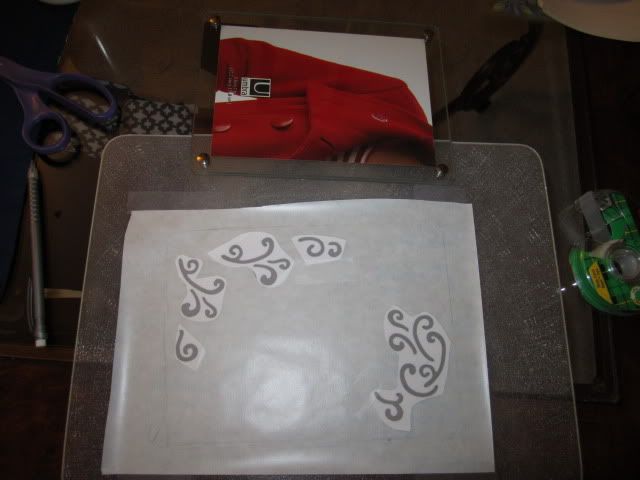
I cut out the paper spirals I wanted and taped them to the contact paper. Then, slowly (very, very slow) and methodically (very, very, methodically), I traced around each spiral with the exacto knife.

Cutting with an exacto knife isn't exactly the easiest, let alone cutting paper outlines of spirals that are only taped on with an exacto knife. By spiral 2, I was silently (and then not-so-silently) cursing myself, wondering why I couldn't have had a few basic squares as my main aesthetic.
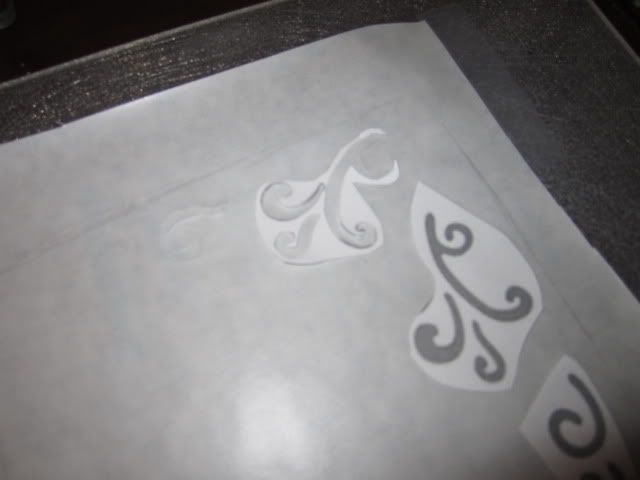
After the spirals have been cut around, I removed the "stencil" and the tape around it. Using the exacto knife as a kind of scalpel, I then removed the contact paper spirals.

As I've learned, it's okay with you can only remove the plastic adhesive. The paper underneath it stuck like mad and, after spiral 2, I realized that there really was no need to cut out the paper as well, as the paper is removed from the plastic adhesive after I am done, anyway. It was easier to see what had been cut out and which hadn't when I removed the paper as well.
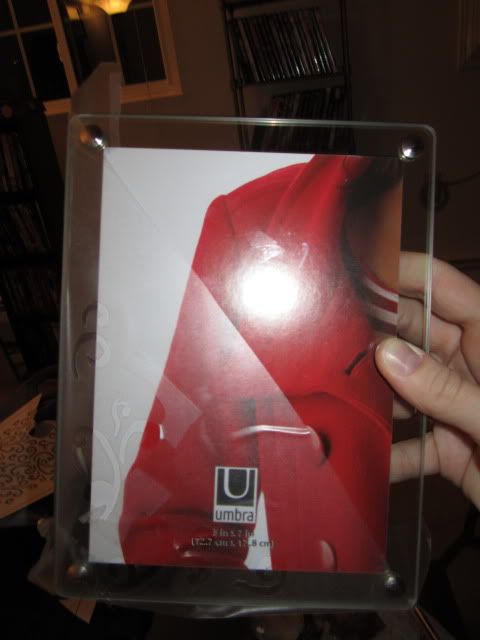
Speaking of making things easier, I sliced the contact paper diagonally and placed the sheets down accordingly. Place contact paper is a bit of a science, so trial and error is going to be your best bet. Just take it slow and focus primarily on the cut-out portions. I'm grateful that applied the contact paper in two portions: my measurements were completely off and I would've have some lopsided spirals otherwise.
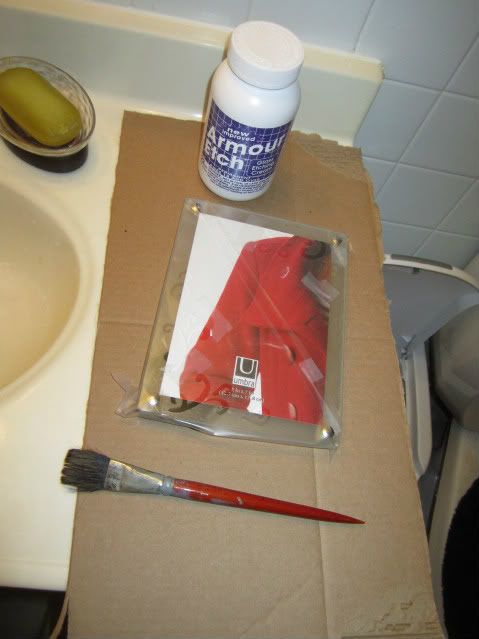
This is where I moved my operation to the bathroom, and added a long-sleeved shirt and gloves to my attire. Etching cream is NOT something you want on your skin, or on any furniture of value. Just in case, I also placed a piece of cardboard on the frame as well.

Aside from the wall-to-wall tiles and ceramic, I also used the bathroom for one big reason: its ventilation system. Etching cream smells like Taco Bell farts. It is equal parts sulfuric and plastic and it's not a smell you want emanating throughout your home.
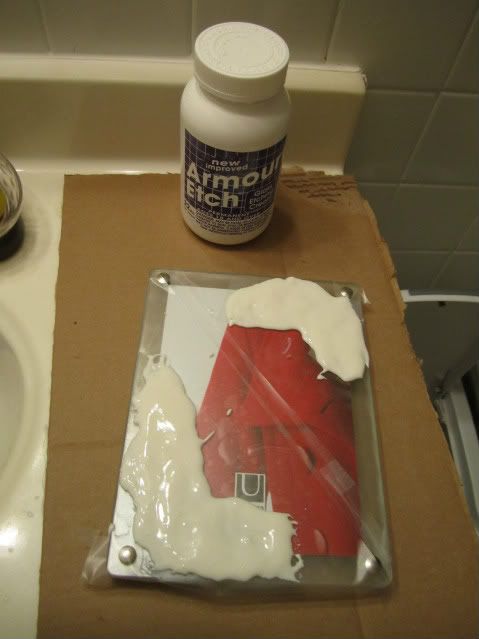
Using a regular paintbrush, I generously covered the stenciled areas with etching cream. Now, when I say "covered", I mean "lathered". The general rule of etching cream is, if you can see the glass through the cream, you run the risk of splotchy etching. You know you are done with it looks like someone spread silly putty all over your craft.

And now, you wait. For some etching cream, the wait time is 5 minutes. For others, it's as quick as 30 seconds. I actually flubbed completely and let it go as long as 10, but I thankfully didn't come into my bathroom to find disintegrated glass. From what I read up on later, leaving it on for long periods of time doesn't do any harm and might actually make the spirals more pronounced.
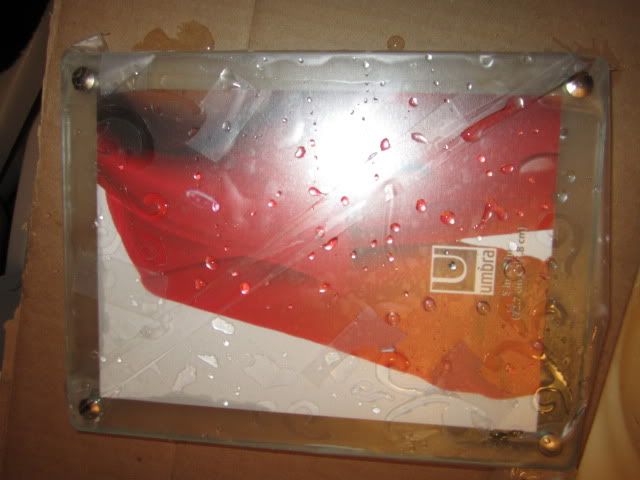
Afterwards, I put my gloves back on and rinsed all of the cream off. I removed all the contact paper and rinsed everything a second time. Then, I simply walked away. Why? Because, when wet, you can't really see the etching. And if you're neurotic like me, you'll panic and wonder what you did wrong. So I went off, enjoyed a couple pages of my book, and came back when I was sure it was dry.

The frame I purchased (which I got off of Amazon) is meant for a 5 x 7 photo. I decided that, since the spirals are better seen when there isn't a photo in the way, I would choose a 4 x 6 picture instead. I choose a picture of myself right before the garter toss. It might seem narcissistic, but it was leftover from the pictures I ordered after the wedding and I'm pretty sure my husband would downright faint if I had ordered even MORE prints -- even if it was for the sake of practicing my glass etching.
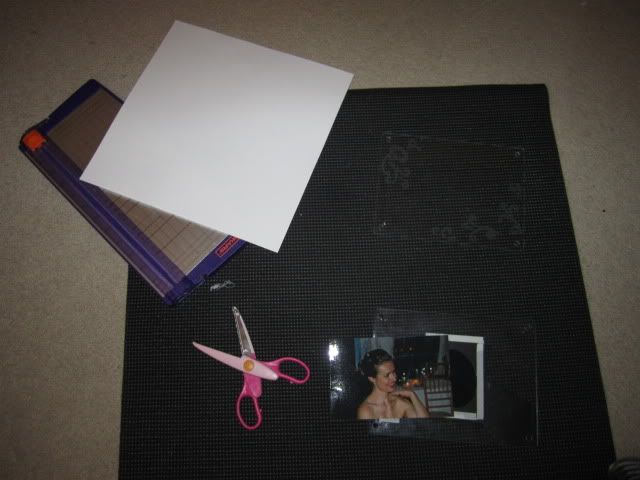
One thing I realized, however, if that the photo didn't completely cover the rectangular mount for the frame's stand. To solve this, I got out my: scrapbooking trimmer, some white card stock, a pair of decorative edge scissors, an scrapbooking tape. Everything is on a yoga mat since I had moved my operation to my crafts/yoga room, and my crafts desk is so cluttered that the only clean place to put things was on the floor where my mat was.
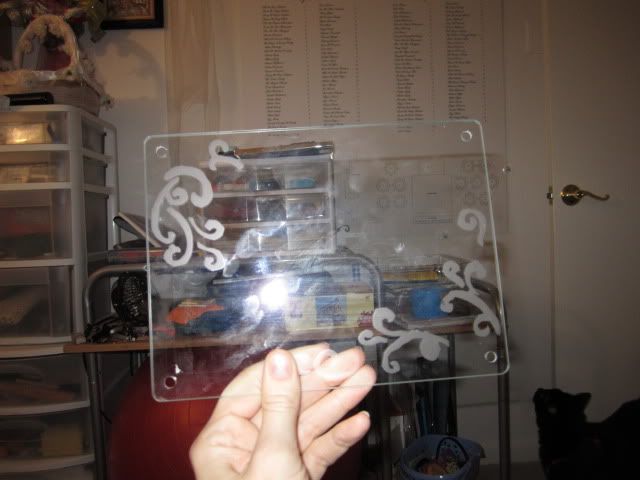
I removed the two pieces of the frame by unscrewing the four corners. I'll also take a moment to show off the spirals. And my cluttered desk.
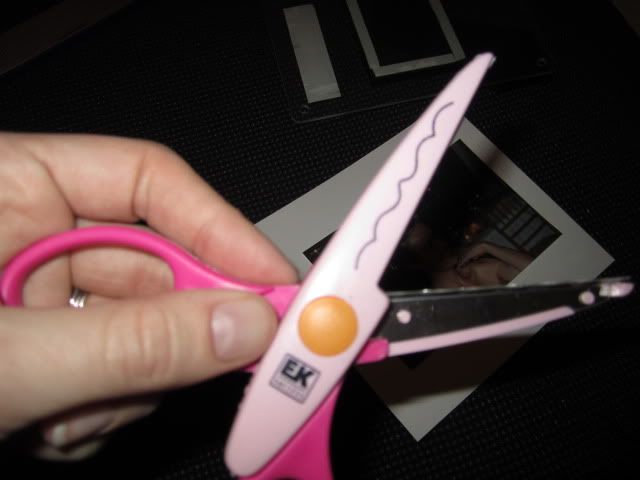
I measured and cut a 6 1/2" by 7 1/2" piece of card stock. I then glued the photo in the center (so I would know exactly how things would look as I was cutting) and trimmed right by the edge. Since the frame has no specific "photo holder", I used the scrapbooking tape to tape the photo to the back portion of the frame as well -- as it would NOT stay in place when I screwed the bolts back.
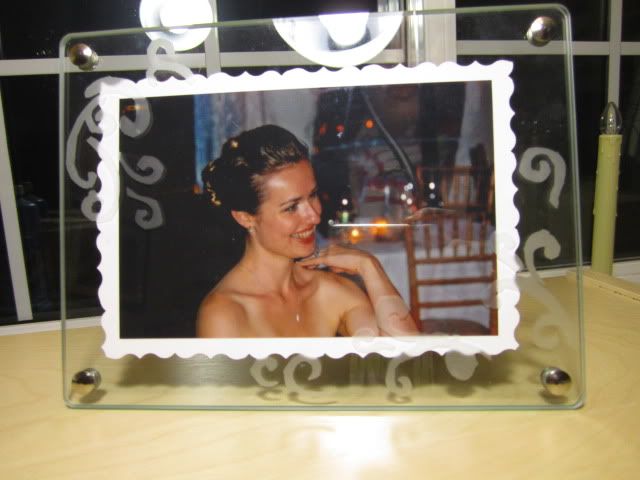
I'm really happy with how this came out. It's nothing I'd exactly try to sell, but, for someone who hasn't even picked up an exacto knife in 8+ years, this isn't half bad.
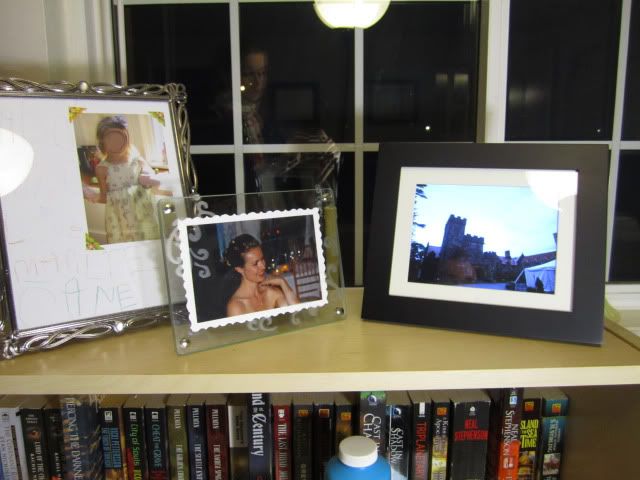
The frame with the rest of that bookshelves' frames. The picture behind the etched frame was a wedding present from a former student. Her mom purchased a frame from my registry and her daughter drew/wrote her name, my name, and my husband's name, and accompanied it with a picture. One of the most heartwarming wedding presents ever. I miss that girl a ton!
Related Posts Plugin for WordPress, Blogger...

09 10 11 12
Blogging tips