Friday, March 30, 2012

Photo Friday - Long-ish Exposures in Concord

My husband and I decided one day just to drive up to Concord, NH. That wouldn't mean much if we had been living in Nashua -- a 40 minute drive away -- at the time, but this was while we were still living in Boston. But our mini road trips through New Hampshire is what defined the first years we lived together. Dusk had fallen on our way back home, and, since I had brought my DSLR with me, I decided to try to capture the atmosphere by slowing the shutter speed down to 2 seconds (to give proper context for those who don't fiddle with cameras: "normal" shutter speeds are around 1/50th to 1/500th of a second) and absorbing the dimming light.

I think what boggles my mind the most about these photos is that these mini-long exposures were taken while balancing the camera on the window frame of a running car during red lights and stop signs. These should have been one blurry mess, and somehow they came out somewhat all right. Which made me happy, since I love long exposures of dusk.

Monday, March 26, 2012

Glass Etched Frame, Part 2

Now that I was feeling a little more comfortable with glass etching, I decided to up the ante and try something a little more intricate.

Enter: minute hummingbird stencil.
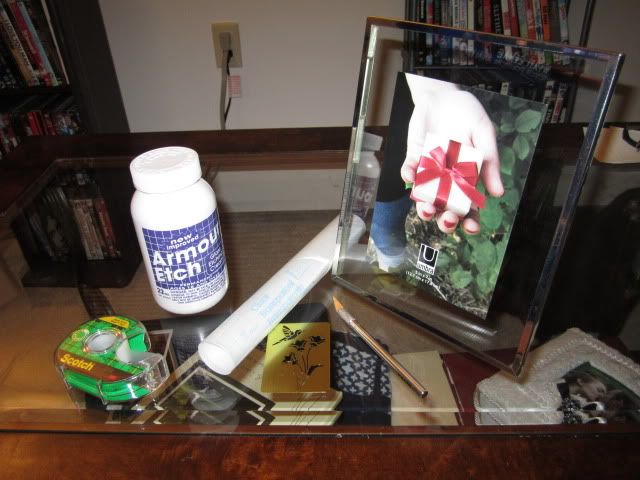
I gathered out my: exacto knife, etching cream, contact paper, tape, and said tiny hummingbird stencil.

Since there is some serious overlap between this project and the first frame, I won't repeat myself too much.
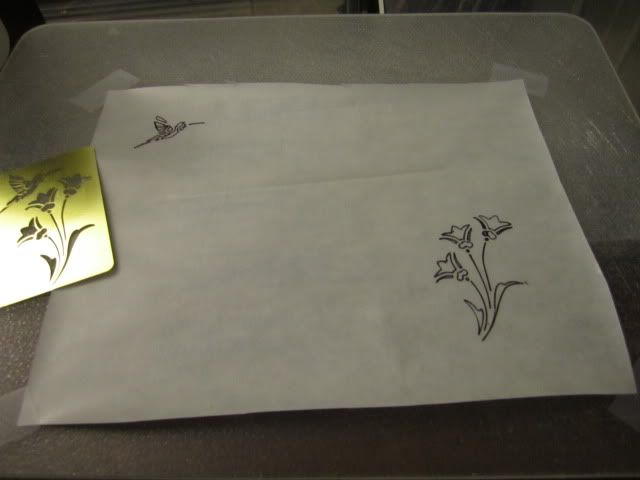
Like the first one, I taped down the contact paper on a plastic cutting board, plastic side facing up. Since I actually had a stencil to use, I simply used said stencil with a fine point Sharpie. Since I wanted the flowers to be in one corner and the bird to be in another, I stenciled each in their respective corners.
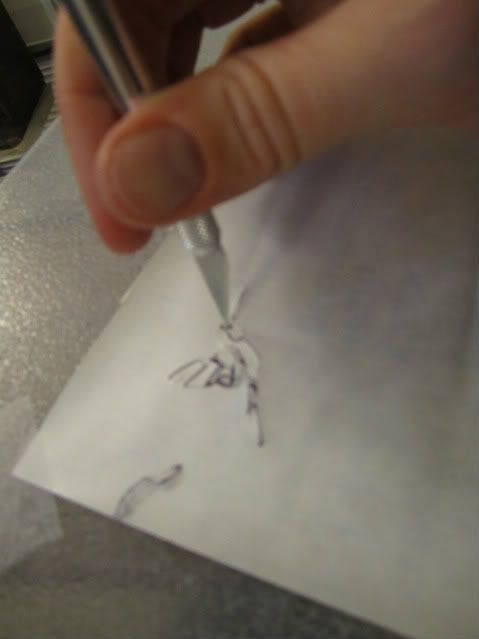
And may I say how wonderful it is to cut out the contact paper without a "paper stencil" taped on top of it? Since everything was so small and intricate, it still took a good amount of time and concentration, but it was wonderful not dealing with a shifting piece of paper taped to the top.
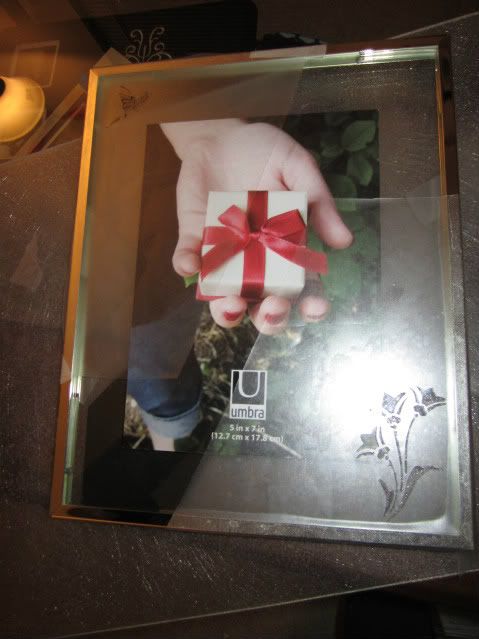
Like the previous frame, I diagonally cut the contact paper and placed the two pieces where I wanted them to go. Remember to give at least an inch or more of buffer between the stenciled portion and the portion of glass that isn't being etched. I also folded the contact paper over the edges of the frame, just in case there was any spillover.

Then, like the last one, I moved my operation to the bathroom.
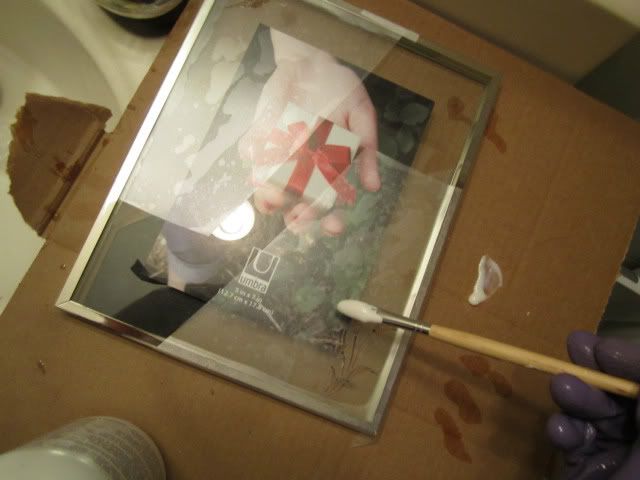
Since I wasn't covering a lot of ground with the etching crime, I switched to a smaller paint brush for more control. And still: I wore gloves, long sleeves (and, as I learned, shoes as well!) I slathered it on until I couldn't see the glass, washed the brush, gloves, my hands and my shoes (which got a nice healthy blob of etching cream) thoroughly. I closed the bathroom door, turned on the air fan, and went off to do whatever I wanted for 20 minutes. Afterward, I ventured back in, adorned the gloves one more time, washed the cream off, peeled away the contact paper, and rinsed away whatever residue was left.
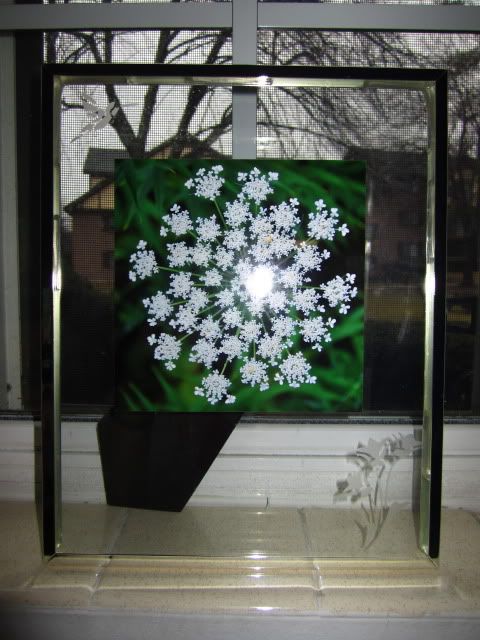
I decided to pair it with a photo I took of what I call a fern flower (because I usually find it amongst the weeds and ferns and because I don't know its actual name). Which seemed fitting: a hummingbird in one corner, tulips in the other, big-ass picture of a flower in the center. I used scrapbooking tape and taped it to the back piece of glass to keep the picture from shifting around when I put everything together.

This is where it actually resides, on another shelf packed to the brim with frames. But thankfully, this is in our guest bedroom/office, so my husband doesn't have to deal with the all-out frame assault on a daily basis.


Friday, March 23, 2012

Photo Friday / Update

My cousin's wedding in North Carolina was incredible. The weather cooperated, the bride was gorgeous, and the couple couldn't be cuter together. Getting on and off the island was an adventure, to say the least: while trying to get to the island, we missed a 10 a.m. ferry by 7 minutes. We drove an additional 5 hours, from the south coast all the way to the north, looping around the beginning of the string of the islands until we reached a second ferry (which thankfully ran every hour), because it was quicker than waiting around for the 4:30 ferry in the first location.

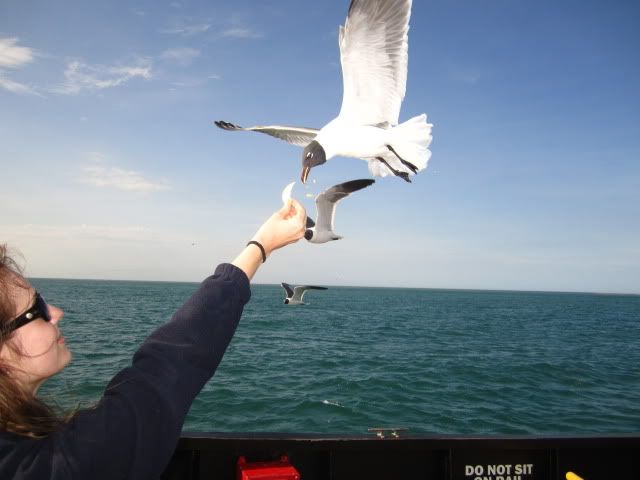
However, the trip over was incredibly fun, once we finally got on a ferry. Sea gulls and a type of black-headed bird -- the likes of which are never seen in New England -- followed the ferry along. We were able to feed the birds simply by raising hands full of chips up in the air. I was blown away by how close they came to us. Fearless doesn't even begin to describe these birds.

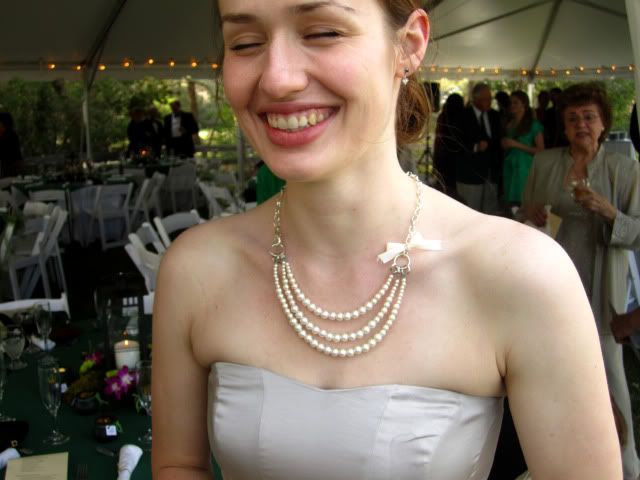
I decided on a different dress for the wedding, but kept on the same necklace. Two of my aunts-in-law noted my necklace and asked where I got it. It shocked them to learn that, not only had I made it, but the pearls were actually lustered beads. In a family full of arts-and-crafts individuals, it's nice to be complimented on something I made myself.

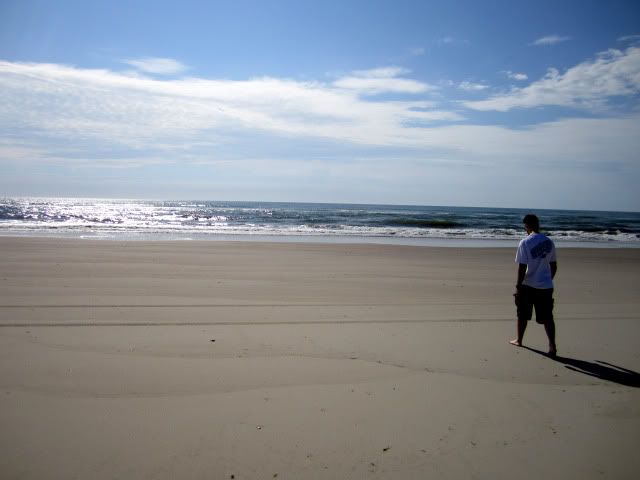
The best part of being on an island in March is that, since it was before the tourism season started, the beaches were deserted. My husband and I didn't have much free time, but we saved one morning for Tai Chi practice on the beach, followed by seashell collecting and just laying around.

That small moment of relaxation was needed, as a thick fog rolled in the morning we were supposed to leave. This meant that none of the ferries were running. We needed to be on a ferry by 12 at the latest to make our 7:30 flight in Raleigh. It was 12:45 by the time the fog lifted and we got on a ferry. Thankfully, North Carolina has lots of long stretches of highway and, with me on the lookout for speed traps, we made a 5-hour drive in under 4:30. We made to the airport in record time and, thanks to a small line at check-in and security, even had time to do some quick souvenir shopping (but more on that later).

I was hoping for a nice mini-vacation in North Carolina, and I got some interesting stories to tell instead.

I also added some glass pendants to my collection of glass pendant sun catchers and rearranged them on my window. I wised up and used jump rings for the newest ones, making the project much, much easier.

Wednesday, March 14, 2012

Strapless Dress Hangers

Here's a quick activity for those who love their strapless dresses, but hate those God-awful straps sewn into the armpits so you can hang them up.

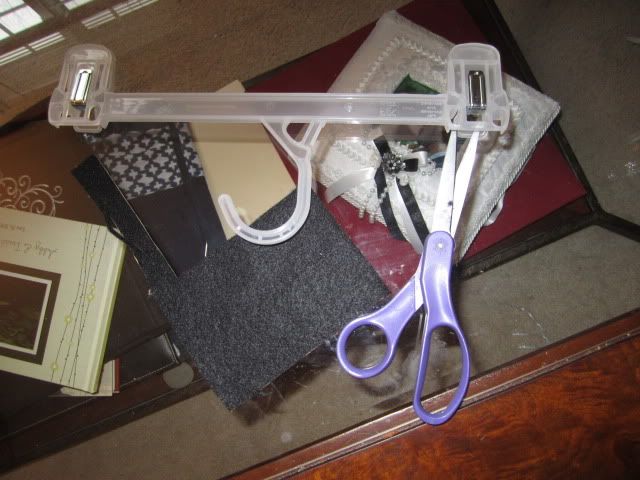
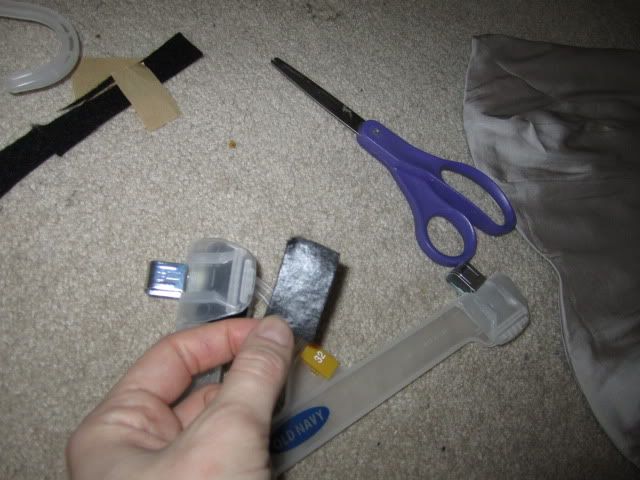
For these, you need three things: pants hangers from a department store (mind are primarily from Old Navy and Marshall's. You can either ask to keep the hangers the next time you purchase pants, or, if you're more brazen, you can ask to have a couple the next time you're in a department store), adhesive-backed felt, and scissors.

First, take those scissors and cut those stupid hanger straps. Rejoice in never having to tuck them back in as they worm their way out to the surface. Toss them in the trash and give the trash can a few kicks as a precautionary measure.

After you are done rejoicing, cut out a few rectangles in the adhesive felt (I had some leftover after making the tile coasters). Remember that you'll need about 8 rectangles per hanger.

Remove the backing and place one rectangle on the inside of each clasp. Fold the remainder of the felt over the end. Pay attention to the back rectangle: like the hanger pictured above, where the clasp slides into place, the metallic clasp tends to come down lower in the back, so cut your felt accordingly.

Viola. Now your strapless dresses have a better-suited hanger. They're less likely to misshapen from being strung up by two straps, and the felt will keep the ridges of the clasps from digging into more delicate fabrics.

Saturday, March 10, 2012

Guinea Pig Treat Bird Feeder

This is Annabelle:

Much like our boys, Annabelle is spoiled rotten. One way we spoil Annabelle is by buying her what I call treats-on-a-stick -- or, to be more precise, treats-as-a-stick. Seeds and nuts and other little treats rolled together in honey.

This past Christmas, Annabelle got very sick and we rushed her to the vet. Thankfully, with antibiotics, Annabelle bounced back with no complications. When the vet asked about her diet, we mentioned said treats. The vet told us that those are about as good for Annabelle as an entire box of Little Debbie's is for a 2-year-old. Along with the antibiotics, the doctor prescribed to us a change in her diet -- specifically, no more treats.

Instead of tossing them in the trash, or tossing them outside to see if some squirrel would like it, I decided to do a quick project with them. This would be good for anyone who has extra guinea pig treats hanging around or anyone who wants to go absolutely crazy with a hot glue gun for about 10 minutes.

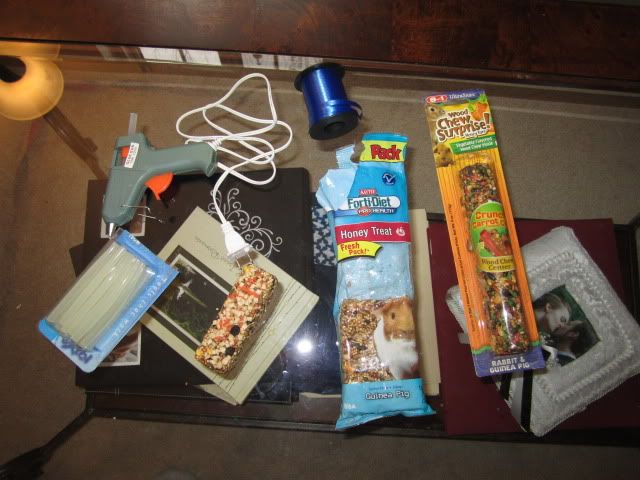
For this, I got: said guinea pig treats, ribbon, scissors, and my hot glue gun.

I first glued a loop of ribbon around the long portion of the treat. I did my best to use as little hot glue as possible, as I have no idea if birdies peck at the glue/the glue is toxic for birds. I did Google it to find out, but, interestingly enough, there are no articles on the effects of hot glue on a bird's digestive system.

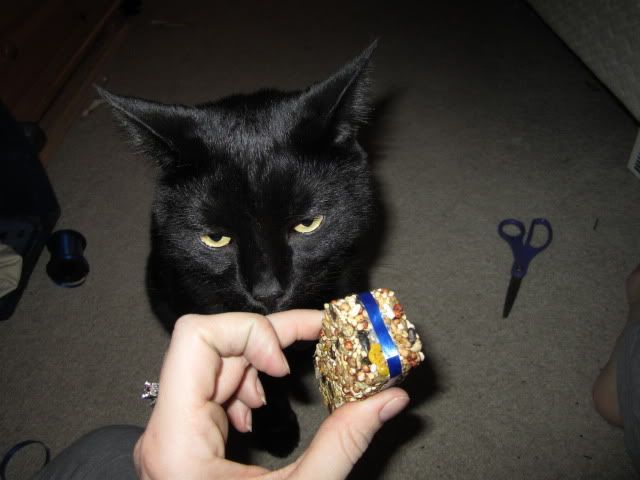
Thankfully, I have Salem here to make sure no birds will be harmed (until he is able to get at them).

To make the hanging portion, I looped another piece of ribbon under the top portion of the first ribbon and knotted the second ribbon at its ends.

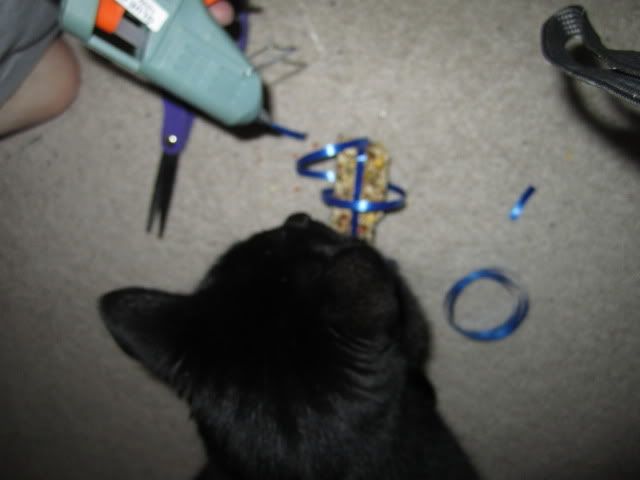
After that, it's up to you what you want to do. Since I have a couple to play with, I just did whatever. I made a bunch of bow ties for one; I made a spiral for another. Use your good judgment and glue when necessary.

Or, do whatever you can while your pets perpetually get in your way.

I waited until the weather finally warmed up a bit before hanging them from our patio. The nice thing about these feeders is that the squirrels can't jump on them like do they our regular feeder. This means that food is 100% for the birds.

And, lo and behold, just a few days (and a freak dusting of snow) later, I caught a gorgeous little finch nibbling away. Color me satisfied.

Friday, March 9, 2012

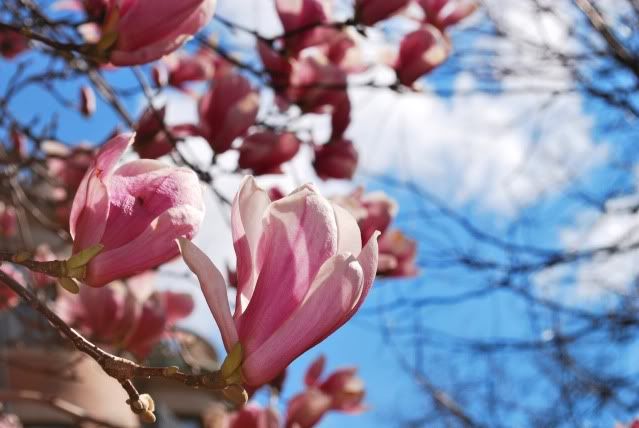
Photo Friday: Springtime in Boston

After a ridiculous blizzard, New Hampshire got a taste of spring yesterday. I spent my lunch break walking around the neighborhood breathing in the fresh air. Although it was wonderful walking around without a jacket, the smell of the air brought me back to my college days, when I would celebrate nice weather by walking obsessively around Boston (because who needs a social life). I've already been opining for the bubble world of college -- specifically the parts where I would actually have free time to waste on walking around Boston all day -- and this made it a thousand times worse.

So, in that spirit, I present a few photos I snapped during my walks around Boston. These are roughly circa 2008/2009:


Now I swear I did not edit that cloud in any way, shape, or form. It naturally was that phallic. The best part is that I didn't even realize it when I took the picture. The walker gazing at the penis cloud adds a nice touch.

Wednesday, March 7, 2012

Families Quilt

Speaking of embracing diversity, try this project with your preschool/pre-k/elementary students as part of a "families" curriculum:

First, send out a newsletter asking parents to send in a picture of their family. Send this newsletter out a good week to two weeks in advance. Point it out to parents when they pick up the newsletter and bug your parents the night before the project. As most teachers already know, sometimes parent participation is very difficult to ascertain.

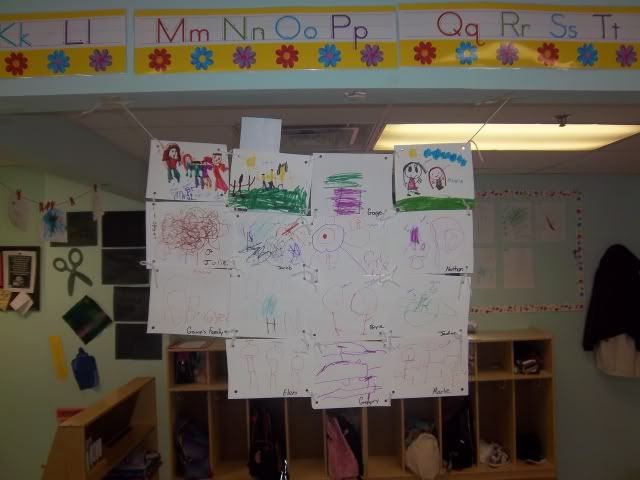
The day of the project, give each child a piece of cardstock. You can make it as large or as small as you want, rectangular or square, but I do recommend heavy-duty scrapbooking paper above construction of printer paper. Ask each child to draw a picture of their family. When each child is done, ask if you can label the child's drawing (always ask to write on a child's drawing! Some kids go nutty if anyone touches their artwork. I should know because, back in the day, I was one of those kids). Label each "person" they drew (even if they're just "scribbles").

Take what pictures the parents gave you and glue them (or have the children glue them) onto the back of the picture. Punch a hole in each corner of the cardstock. Arrange them side-by-side on a table until you have the quilt layout you like. Use string or ribbon to tie the corners together (when down correctly, it'll look like you have a string-square at every intersection). Tie two long pieces of yarn to the top corners and find a good spot on the ceiling to hang it.


*
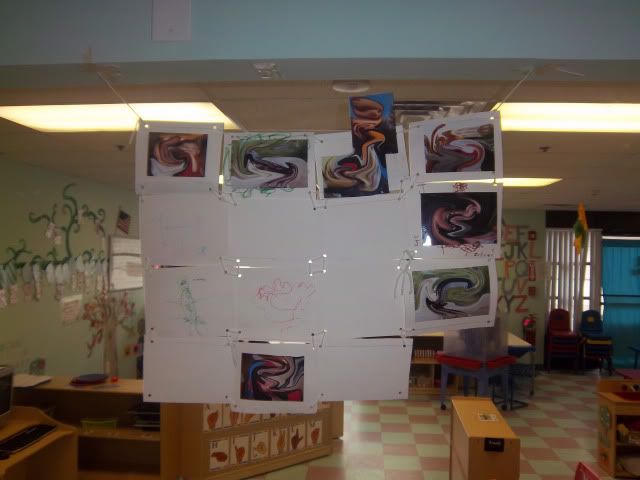
As you can see, parent participation was around 50%. It was actually even lower at first (with only 2 parents bringing in pictures), but a few parents finally participated after the quilt was hung up. As luck would have it, the parents who didn't participate were also the parents of the kids who colored on both sides. With situations like that, what else can I say but live and learn (and up the nagging).

*Don't mind the psychedelic spirals. I figured it was less of an eyesore than black circles.

Sunday, March 4, 2012

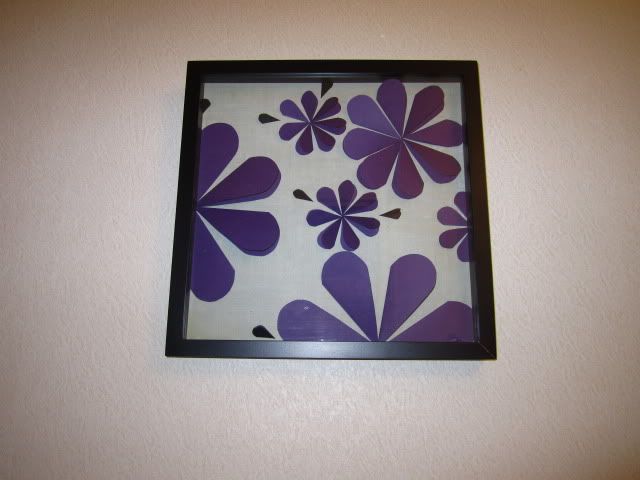
3D Heart-Flower Shadow Box

My husband noted that I tend to cover every wall our of place with frames and other decorations. He then joked that there were still a few walls that I hadn't covered just yet. And, thanks to this website, I found a way to decorate one more wall.

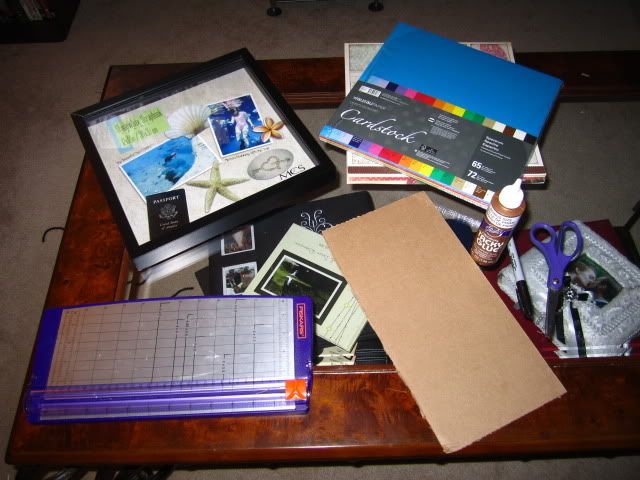
For this, I got out my: cardstock (specifically the kind that is colored on both sides. This is common with solid-colored cardstock), cardboard, scissors, my scrapbook paper trimmer, scrapbooking tape and my Sharpie. I bought a relatively cheap 12 x 12 shadow box (they sell them for $10 at Target).

I know I have craft glue out but -- to be honest? -- I hate glue. I like crazy glue and hot glue and that's about it. White glue can jump off a large cliff and hit every rock on the way down. And, after a disastrous trial run with this project, I quickly abandoned the glue for scrapbooking tape.

I first tried glueing a 12 x 12 piece of cardstock to the background portion of the shadowbox. The result was terrible. White glue and I are just not friends. We gossip about the other to our mutual friends and we give each other the stink-eye at parties. We just don't get along. So, after scraping all of the cardstock and glue off the background, I used scrapbooking tape instead.

Now, I used a very simple cardstock background for my shadow box. I have patterned cardstock of all varieties, and it was tempting to use some of my more ornate patterns, but I decided on the most subdued pattern in my stack: a gray "textile" pattern (which I didn't take a picture of because I was too busy sending nasty emails about white glue). But the steps are quite simple: tape up the back of the cardstock background and press it onto the background portion of the shadowbox, making sure to line up each corner with the corner of the background.

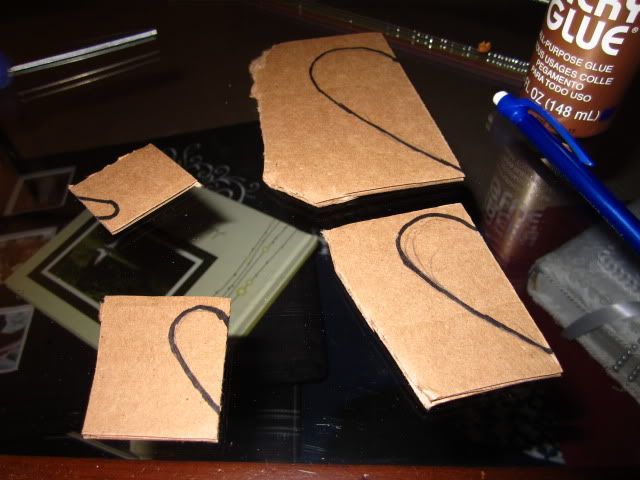
I then created the stencils out of the cardboard. I made four sizes (although I abandoned the smallest stencil pretty quickly). Remember that these petals will be heart shaped, so create your "half heart" accordingly. Whenever I make those "folded hearts", I always cut it in a way so that the dip at the center of the heart is never "dippy" enough (creating more of a chipped spear than a heart), so creating the right half-heart took a bit of trial and error.

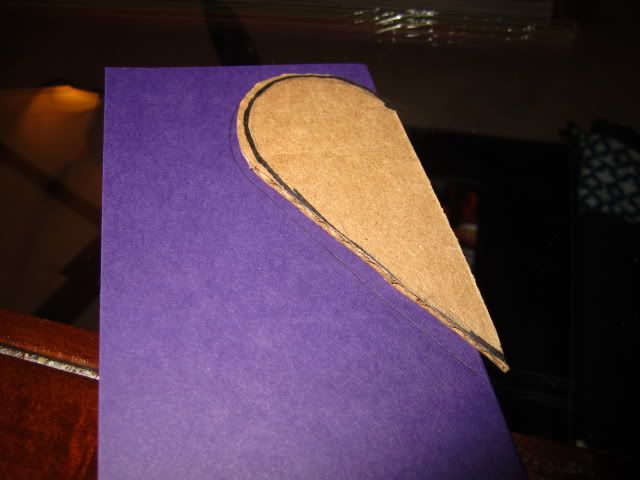
And then, I traced! And I traced, and I traced, and I traced. Using my trimmer, I cut strips of the double-sided cardstock to a little over twice the width of the stencil. I then folded the paper in half, lined the flat portion of the stencil against the fold, and traced. Each flower needs 7 or 8 "hearts". So, even just a few flowers required a lot of tracing.

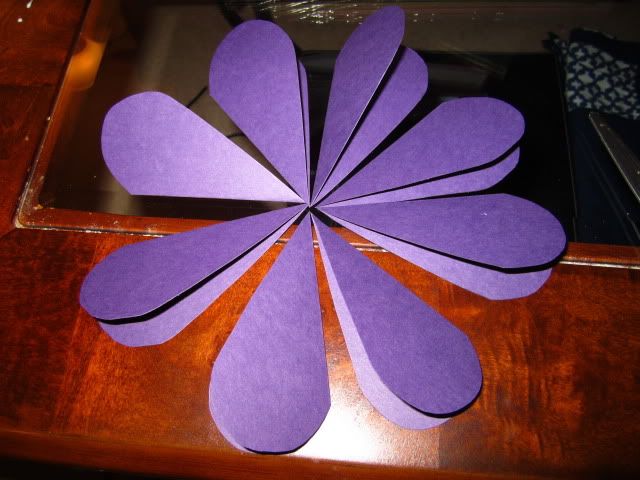
To figure out what pattern I wanted, I arranged the flowers on the table, every petal facing the same direction.

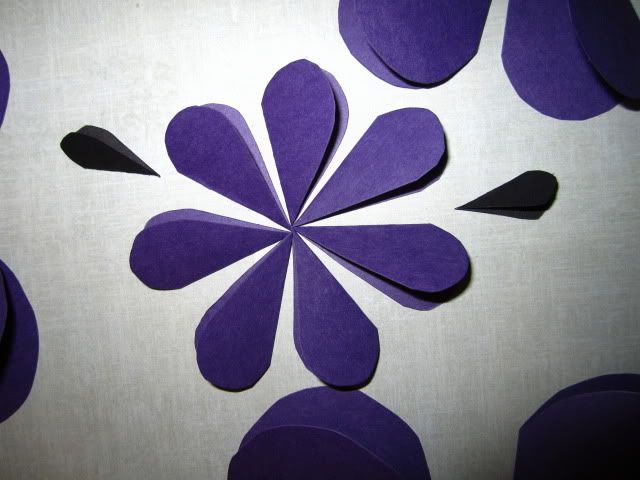
After that, it was simply a matter of taping the bottom side and sticking them to the cardstock background. I cut out some black hearts as petals. Honestly, the possibilities are endless. These "folded hearts" can be arranged in any pattern, from raindrops to patterned spirals. The website I got this from has some amazing ideas for designs. It's all about what your aesthetic is. And I'm truly of the belief that, if you don't think about it, anyone can create the aesthetic that is perfect for them and their environment. You'll be amazed what you can create when you just don't think.

The next day, I hung it up on one of our few bare walls. I think my husband is officially done pointing out the few bare walls we have left.

Friday, March 2, 2012

Photo Friday: Leap Day Snow

To be honest, most of us in New England thought we were given a break this winter. With the exception of the freak Halloween storm, we had been given very little -- almost no -- snow. Our hubris got the best of us and we started making plans for the spring. I even made plans to start up riding my bike to work again (a free bit of exercise/gas saving that I had to give up once Halloween hit).

And then it snowed like a mother for 48 straight hours.

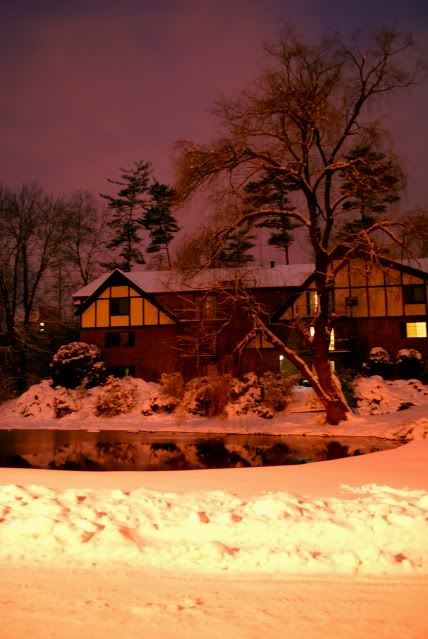
Now it's the beginning of March and we have a fresh layer of snow on the ground. I ran outside after work with my tripod to capture some long exposures of the snow while it was still pretty, before it started becoming dirty and slushy and iced over in the way all New England snow does. These pictures were also a lesson in color balance. I foolishly though I could counteract on my camera all the orange from the street lamps with blue. But thankfully, that is what trial and error in Photoshop (and in the warm comforts of my apartment) is for. Although I couldn't fix the color situation entirely, what I got was a somewhat eerie representation of a very serene night.


My favorite is of the willow by one of the estate's ponds. This is the same willow where I had set up the same tripod and snapped what would be our engagement shot of my husband and I. It certainly did not have such a daunting presence back last year.
Related Posts Plugin for WordPress, Blogger...

09 10 11 12
Blogging tips