One of my favorite jewelry making projects has been the multi-strand necklace. And my favorite kind of multi-strand necklace projects to read about have been the ones that are joined together by one chain. These kind of multi-strand necklaces tend to be a hodgepodge of chains, beads, and rhinestones. Since I'm not bold enough to pull that look off, I decided to pull out my big bin-o-beads and make a fake-pearl multi-strand necklace instead.
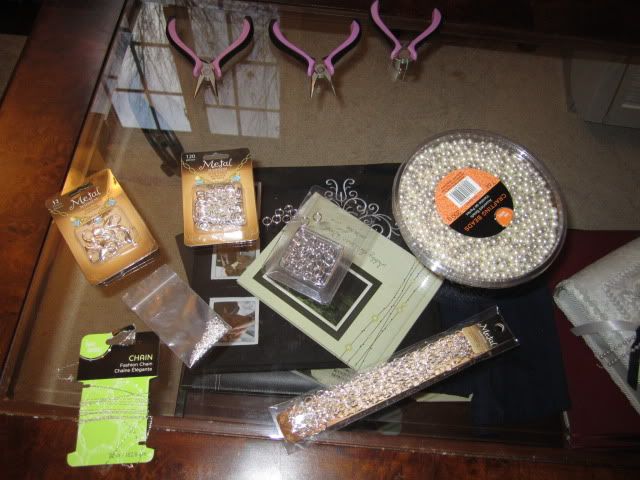
For this I got: a large-link chain, lobster clasps (because
I hate tiny clasps on necklaces), large jump rings, small jump rings, split rings, fake pearl beads, wire cutters, bent-nose pliers, needle-nose pliers, beading wire (not pictured).
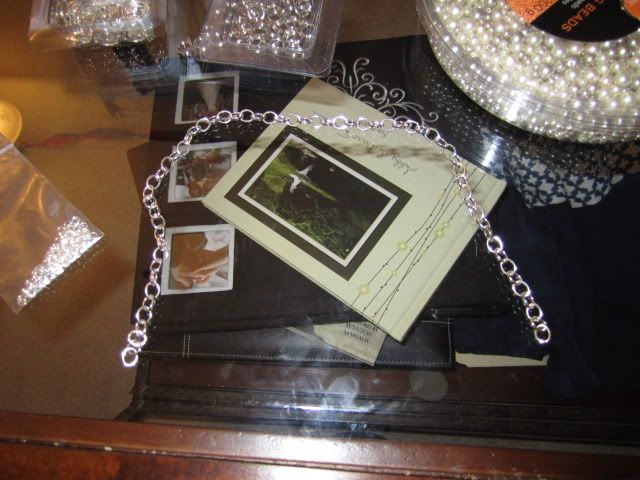
First, I measured the large-link chain around my neck to see how long I would want it to be and clipped accordingly. For a more choker look, the large-link chain will be roughly 2/3 the circumference of my neck. For a longer look, the chain ends will meet the tops of my clavicle.
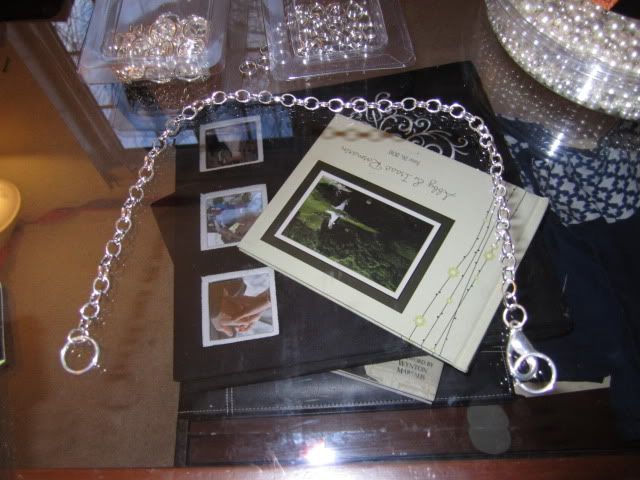
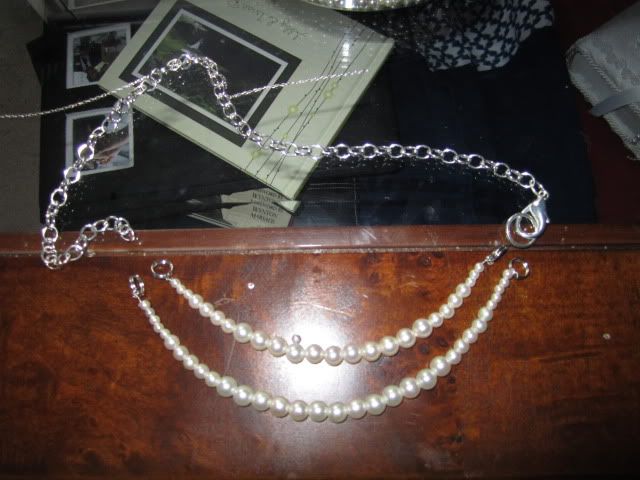
Using a medium-sized jump ring, I attached a large lobster clasp to one end of the chain. I then adorned both ends with large jump rings. These jump rings will house the strands of pearls, so I suggest keeping them open.
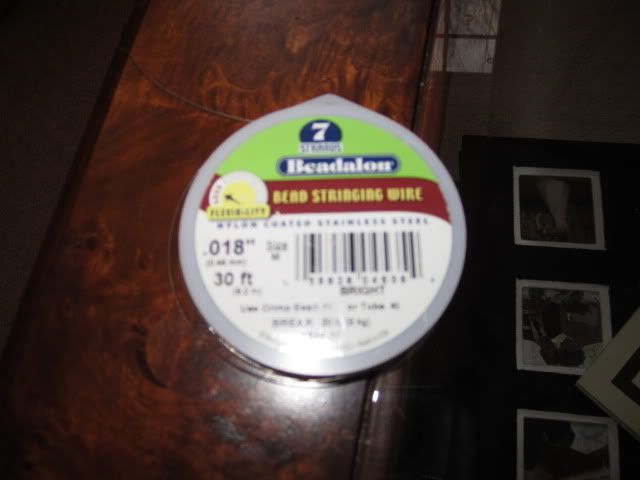
Now, I originally wanted to use a very thin chain for this project. This blew up in my face before I could even measure the first strand. Luckily, I bought beading wire way back when I was nutty about making seashell jewelry and was able to scrounge that out from my crafts table.
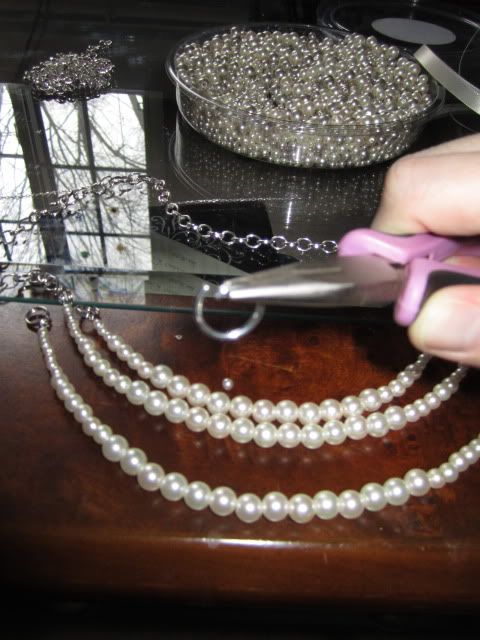
I started with the shortest strand and worked my way out. I measured how long I would like the wire to be and clipped accordingly, understanding that at least 1"+ on each end will be used to twist the wire into place. Using pliers, I twisted the bead wire onto one of the split rings. I found that, after the first twist, if I thread the wire through the split ring and twist the wire a second time, I'd get a much more secure twist.
And then, I beaded. For my necklace, I started the shortest necklace with: 3 tiny beads, 4 medium-sized beads, a lot of regular-sized beads -- and then 4 medium and 3 tiny beads to finish it off. It was all trial and error to figure out exactly how many beads to use. The only thing to keep in mind was that I needed at least an inch of wire at the end to twist it to a split ring.
Once I finished, I placed the split rings onto the large jump ring, starting with the rings connected to the largest chain. I kept close attention to how the bead strands hung -- were they clanging together, bunching together, etc? When they seemed to coexist nicely, I slipped the other side of the strands on the second large jump ring (again, starting with the largest).
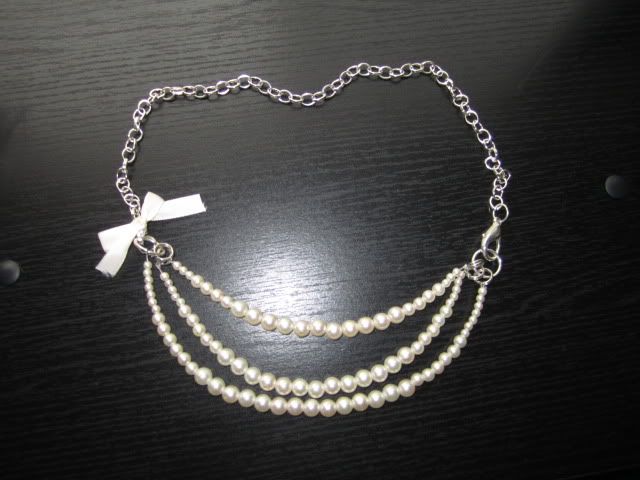
To add a little flare, I decided to tie a little bow on the end opposite of the lobster clasp. To keep the bow from falling apart, I sewed a quick loop through the knot.
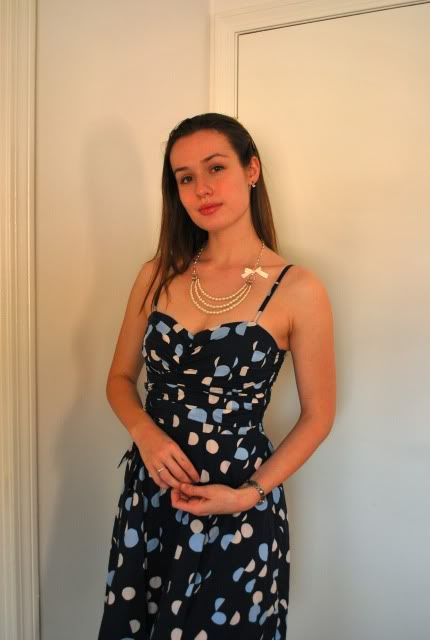
My cousin is getting married in North Carolina in March. This necklace seemed to be the perfect accessory for an outdoor island wedding. Like a true girl, I fashioned my outfit around the accessory, and found a fitting sundress. Now, if only I had the right shoes...

For a more choker look, the large-link chain will be roughly 2/3 the circumference of my neck. For a longer look, the chain ends will meet the tops of my clavicle.
ReplyDeleteWhat a pretty
ReplyDeletepearl necklaces! Fall in love with them in the first sight! Thank you so much for your sharing!