I'm a sentimental person (if that isn't obvious enough yet). I hold onto everything, to the point that it could be considered hoarding. I've learned to channel it into scrapbook/upcycling these items, lest I start renting out storage space to keep everything.

I have an entire bureau at my parents' home filled with clothes that I can't bear to give away. This includes favorite shirts from middle school, outfits that I wore during important times in my life, and purely items that I've had since forever and therefore cannot part with.
During one of my trips home, I filled up two garbage bags with said clothing and brought them home, determined to make them useful. Some of these items turned into
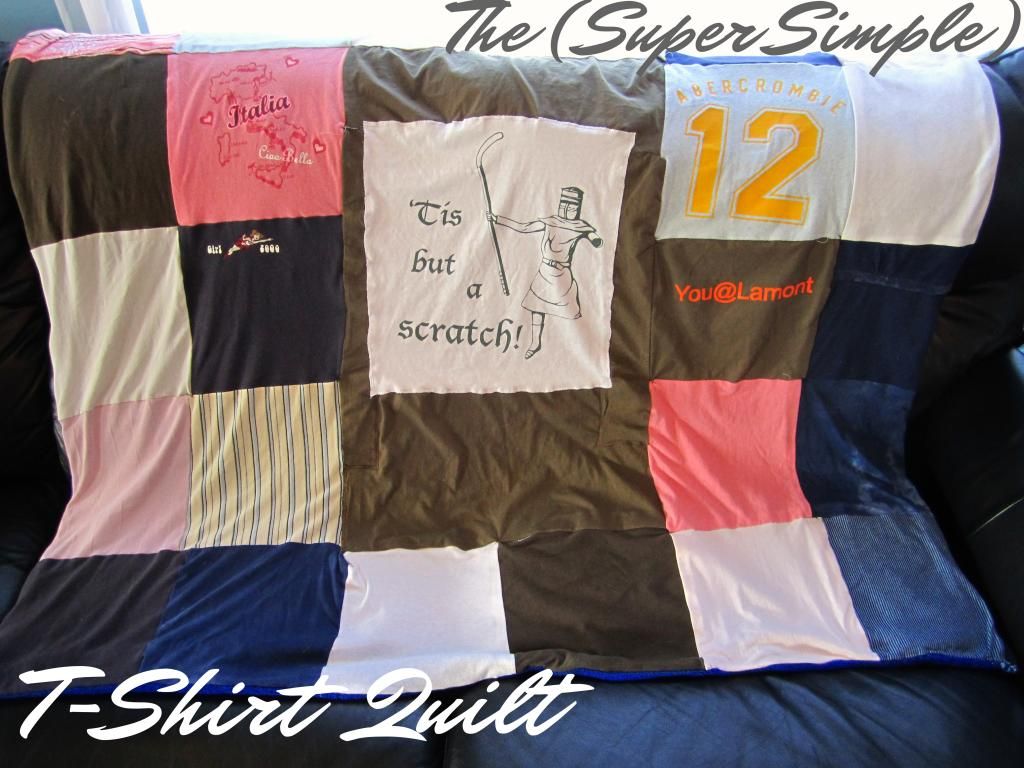
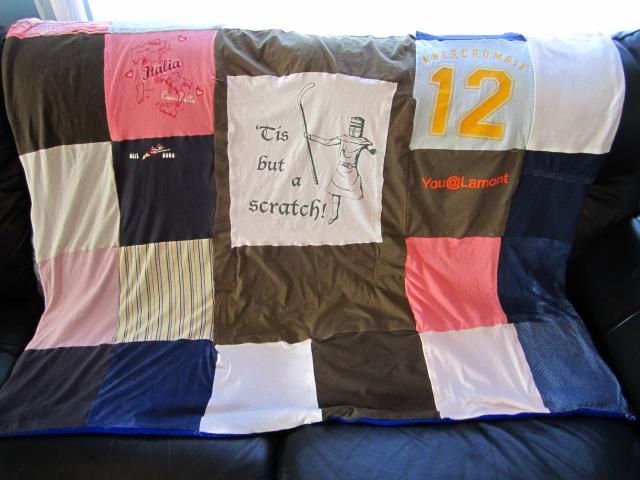
tank tops. The ones that held the most sentimental value were turned into a quilt. (Bear with me; this was done when we still lived in our apartment and the lighting/overall decorum of the place is not the most blog-picture-friendly).

This is an absurdly simple quilt. You need no quilting experience necessary (which is good, since I had none). All you need is some t-shirts and a blanket. And a rotary cutter. And an iron. And sewing equipment.

First cut 12 x 12 squares out of your shirts. I used a piece of scrapbooking paper for reference, tracing around it with a damp piece of chalk before cutting.

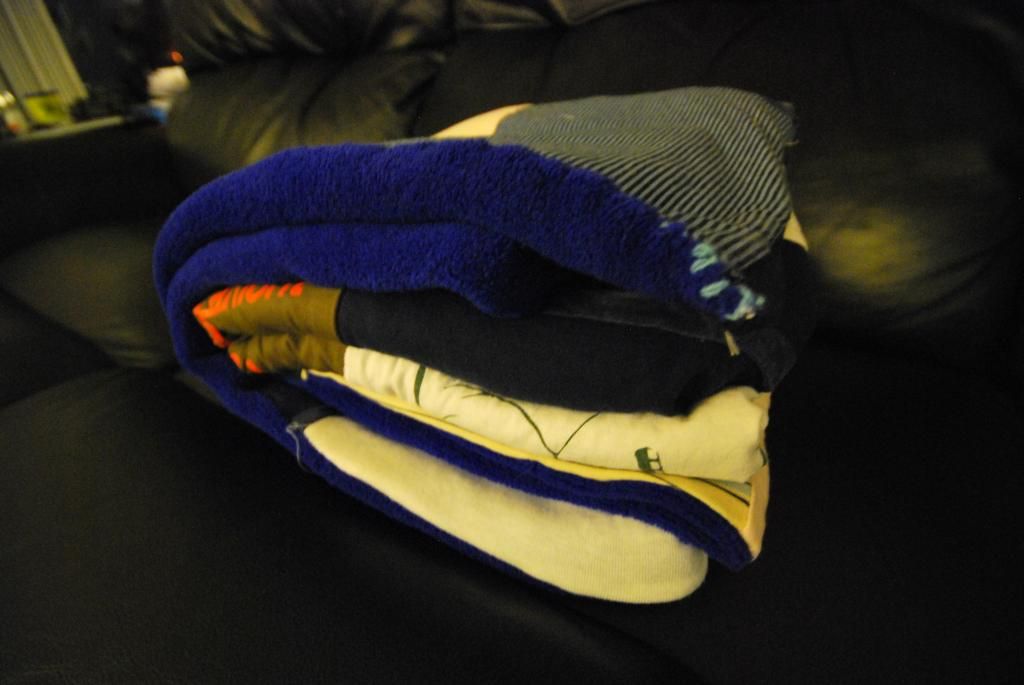
Once everything was cut out, I arranged the fabric on the floor until I got the pattern I desired. My backing blanket is a standard felt throw blanket that you can get at places like Five Below and TJ Maxx for dirt cheap. A 5 x 5 pattern of t-shirt squares will do nicely, although I had to make things difficult and create a semi-intricate center portion.

To sew the pieces together, simply place two of the squares together, with the "right" sides facing together (think of a closed book. You want to open said "book" and see the good stuff inside. PITS (Pin it to sh_t) and sew accordingly. It doesn't matter what your seam allowance/how far from the edge you sew, so long as that measurement stays consistent. Iron the seam down when finished.

Return the two pieces to their spot and add on another square. The process stays the same: place the new square right down side onto the newly-emerging quilt. Pin along the edge and sew.

I cannot stress enough the importance of ironing the seams down when you finish a stitch. This will create a straight, crisp line between pieces.

Do this process horizontally until you reach the end. Then, like a typewriter (dear God, please remember typewriters), begin again on the next row. Work your way across, and repeat the process. Sewing the rows together is a lot like sewing the squares together, only now you place an entire row on top of the row below it, the "right" sides facing down. Again, imagine a book. Down be afraid to "open" the book after pinning everything in place to make sure things are looking the way they should look.

Once everything is sewn in place, lay out your blanket and place the front part of your quilt face down on the blanket. Being careful not to stretch the blanket fabric, pin everything into place -- leaving about 6" of unpinned space in the center part of one of the edges.

Sew around the blanket, starting at one edge of the 6" gap and ending at the other. Use that gap to turn the blanket right-side-out. You'll have to hand-sew the gap, as no machine as really mastered this next part.

Thread your needle through the underbelly of one side, loop it over to the other, and thread it through the other side's underbelly. You'll be creating figure 8s between the two pieces of fabric. Continue this process until you reach the end of the quilt and tie a small knot.

Flatten the quilt and iron out the edges. Starting in one corner and working your way out, pin everything into place with safety pins. Again, avoid stretching blanket fabric, as felt/plush tends to have more give in it than poly/cotton blends.

Using that needle and thread (or a darning needle and yarn; both can work in this situation), create little ties in every corner where all four squares meet. This is as simple as threading the needle down and back up, roughly 1/4 of a centimeter from the original spot, and tying a knot. This doesn't need to be too fancy; it's simple there to keep everything in place.

And
víola. It took a little finagling to get my Monty Python centerpiece to work, but the work was worth it. Now my t-shirts that were just collecting dust are going to good use.

The best part is that the blanket is super soft, so I'm comforted not only by the memories tied by the shirt, but by the wonderful fabric of the blanket.


No comments:
Post a Comment