
I have a tendency to impulse buy ribbons -- which isn't exactly hard to do, as there are always stacks upon stacks of pretty ribbons on clearance. For the most part, they just collect space (with the occasional high-end-ish gift wrapping). So I decided to do something about it.
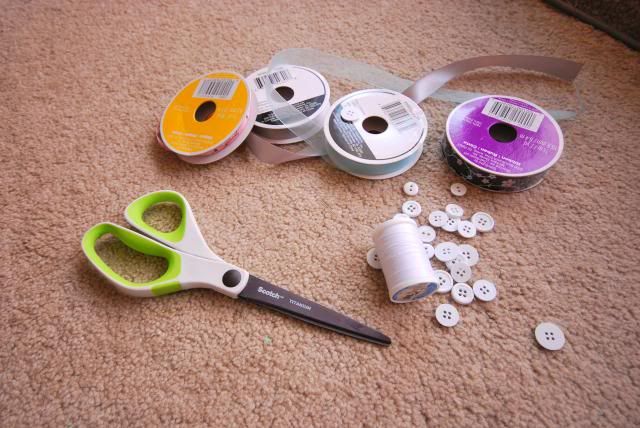
For this, all I needed was:
- ribbon
- needle and thread
- buttons
- scissors
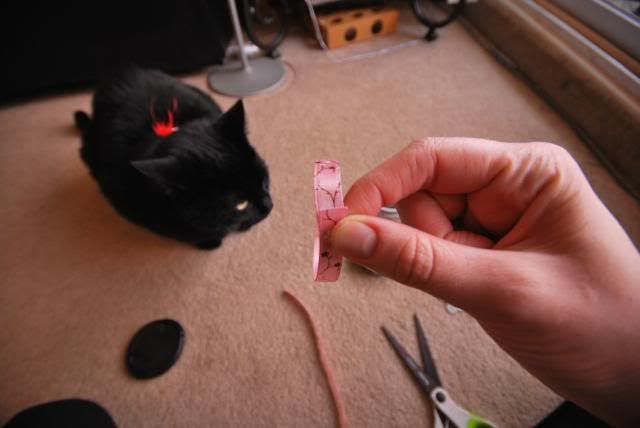
First, cut about 3-4" of ribbon and loop it loosely.
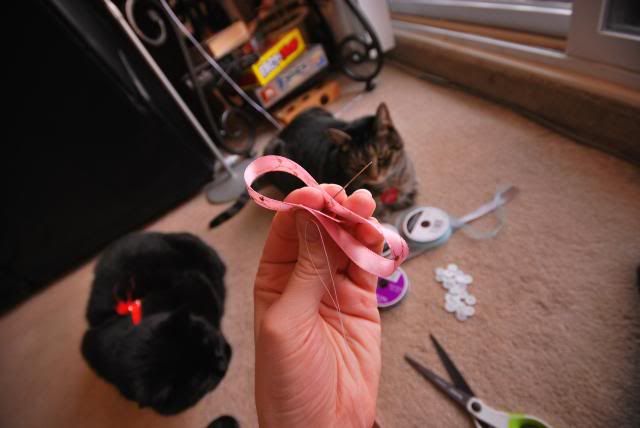
Next, push a threaded needled through the center portion.
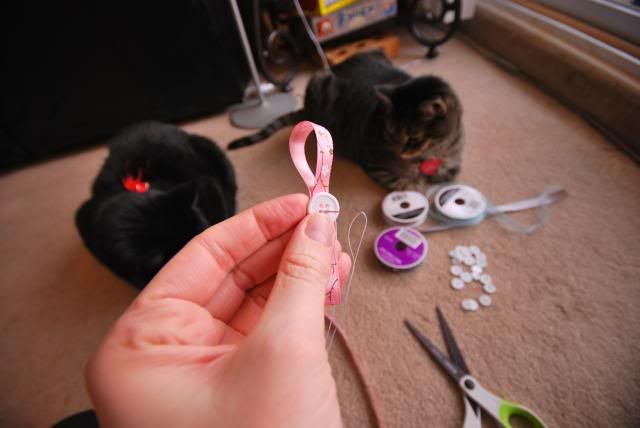
Push the needle back through and repeat the process. When you feel the ribbon is fairly sewn together, cut another 3-4" length of ribbon and repeat the process, this time pushing needle through both the looped ribbon and the finished "pedal" of the flower. At some point: sew in the button to the center. You can do this right away, or you can wait until your flower is done (which is usually after 3-5 loops).
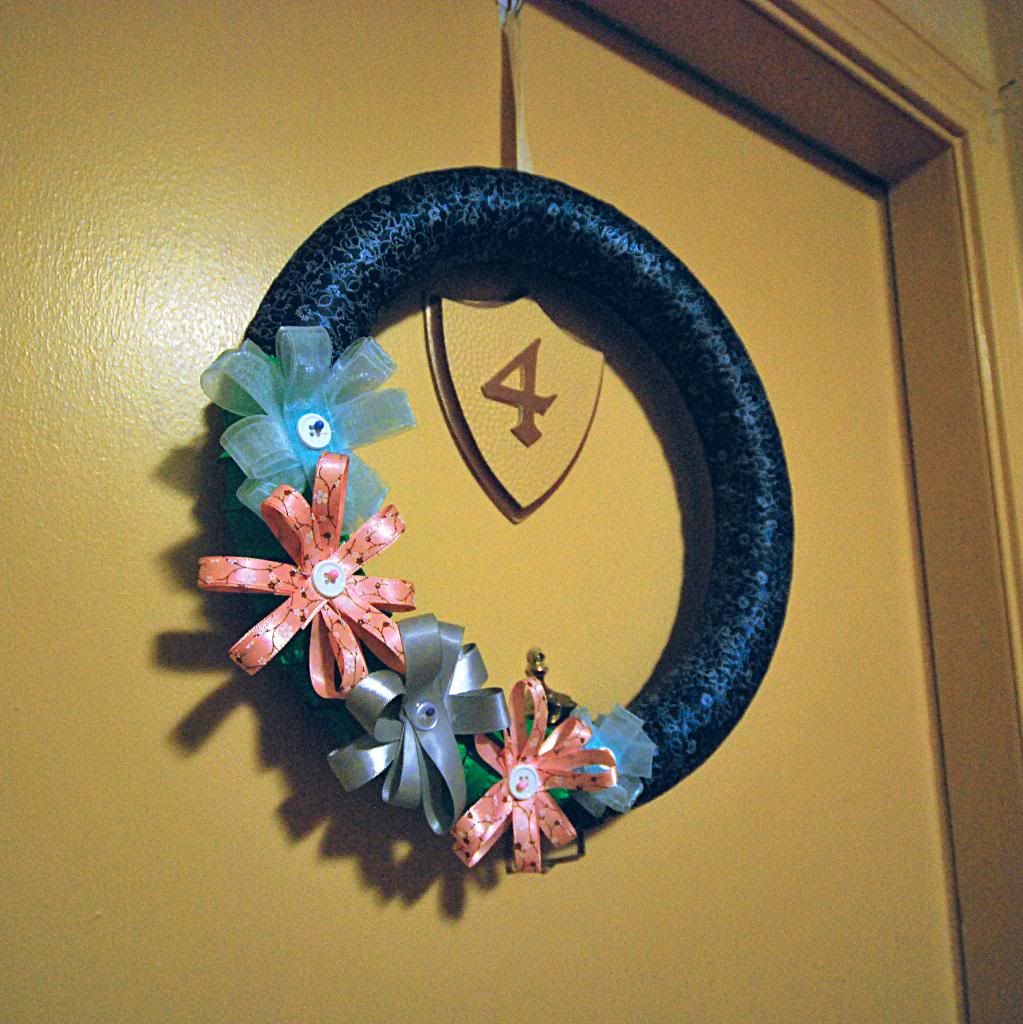
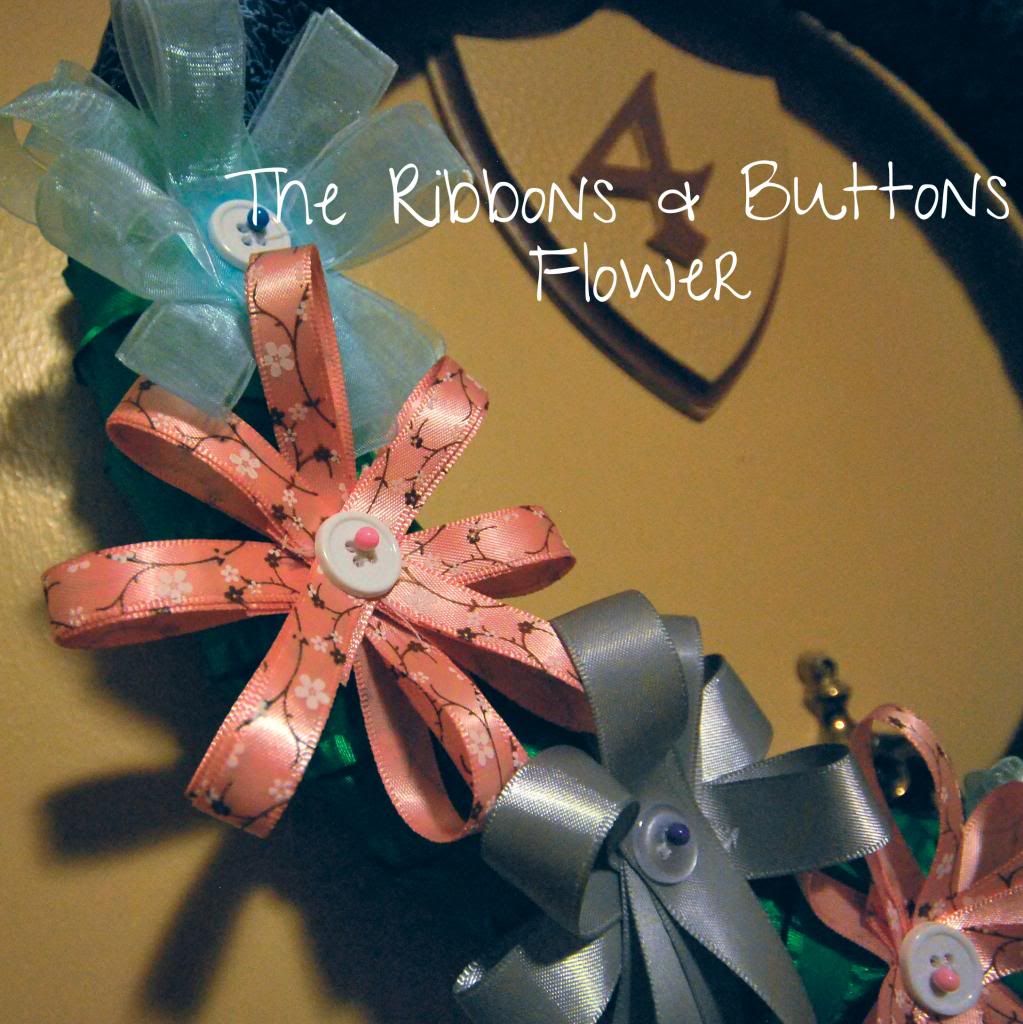
I decided to pin these ribbons (and wrap additional ribbon) around a styrofoam circle for a nice spring wreath. Like I mentioned with my Christmas Wreath, it's hard to liven up a dark and dank apartment hallway, but it can't hurt to try.
No comments:
Post a Comment