So I mentioned in passing about the
wedding present I made for my brother- and sister-in-law's wedding. And what was that present, you ask?
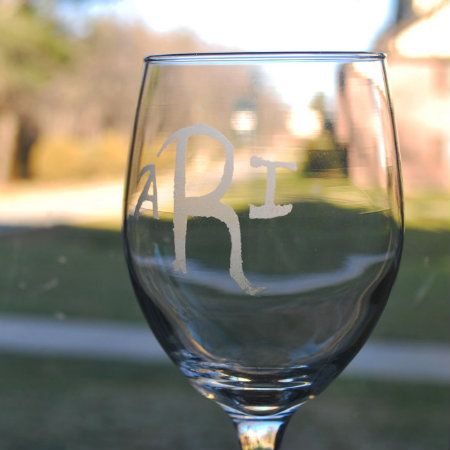
Wine glasses!
But not just any wine glasses: etched wine glasses.
I am nuts about glass etching, from
multiple picture frames, to the
coasters, to the
baby jars. I also love anything monogramed, so I figured a nice minor present (to accompany the actual present -- I'm not nearly arrogant enough to think something I make would be good enough to be a stand alone present) would be wine glasses with their new set of initials etched onto the side.
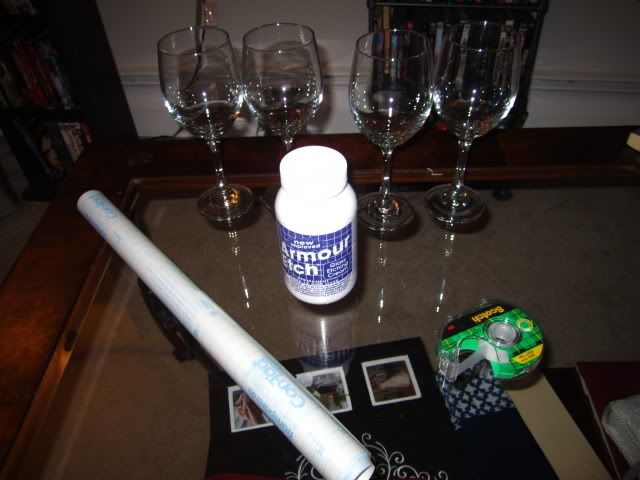
Like my other etching projects, I whipped out my:
contact paper,
cutting board,
Scotch tape,
exacto knife, and
etching cream.
I also purchased 4 wine glasses: two to practice on; two to make as the gift.
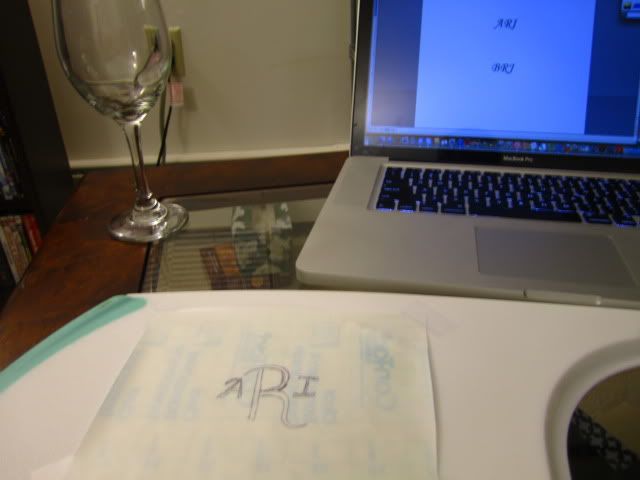
First, the practice glasses. After cutting up a small rectangle of contact paper and taping it contact-paper-side up onto the cutting board, I sketched out (since, as we've already established, am not too keen on stencils) my first initial. Even though I hate stencils, I still needed some guidance. So I opened up Word and found a found I loved and used that as my inspiration.
The cutting portion was the most stressful. The weaving was fairly ornate, especially compared to the other designs I've cut from contact paper. On top of it, I had to save the center portions of the letters A (my first initial) and R (my second initial) -- which meant I couldn't mess up on cutting out the triangle that makes the center portion of A and the half-oval that makes the letter R.
Thank God my husband's name starts with the letter I.
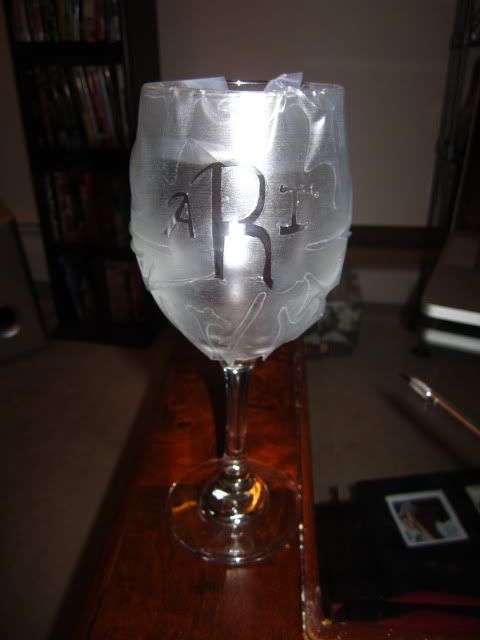
Pasting the contact paper on was also stressful. Everything needed to be centered and straight. And I had to put the triangle/half-oval back in place (without those, I'd just have etched blocks that resemble letters). I found that the easiest way to get contact paper onto wine glasses is to start in the middle and work my way out. That meant I pressed down on the "R" portion of the contact paper and smoothed outwards, pressing down the contact paper so that no bubbles or ripples formed. And, once I got this done, I got to do it all over again with the second practice wine glass.
After the most stress-inducing part was done, I covered the rest of the wine glasses in contact paper. With all that work, the last thing I wanted to do was ruin the glasses by having the etching cream slide onto the back of the glass. On top of that, I sealed the border between the two pieces of contact paper with tape. I covered the base with contact paper as well, just to be safe.
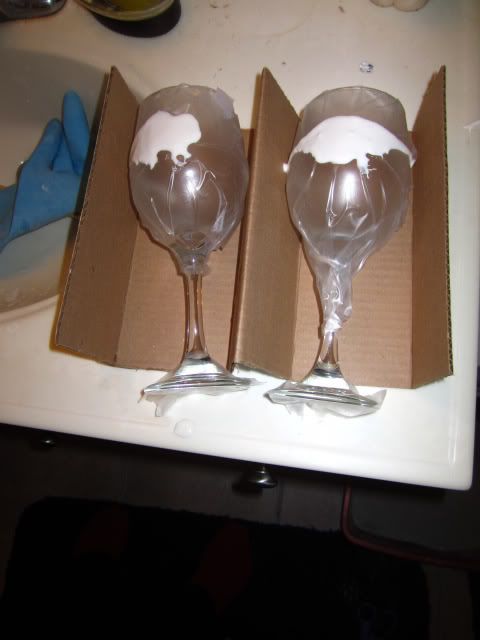
I saved the partition that the wine glasses came with to hold the glasses in place while I slathered on the etching cream. By the time I finished the second glass, the cream from the first glass was already sliding downward, so I'm very happy I protected the entire glass.
I let those puppies stay in the bathroom for a good 30 minutes. Then an additional 5 minutes just to be sure. Afterward, I thoroughly cleaned off all the etching cream, peeled off the contact paper and tape, and ran the wine glasses through the dishwasher.
Now that I knew what I was doing, I felt secure making the wedding present now. I also knew how big I should make the letters and how far apart I should space them.
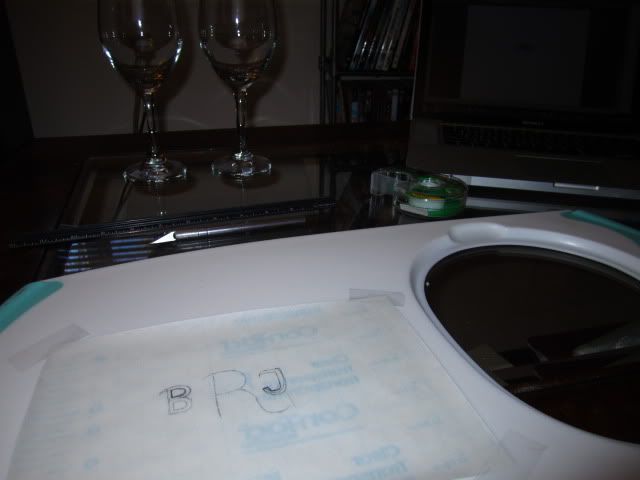
So, again, I typed out their initials in Word and sketched them out on contact paper.

Now, joy upon joys, my sister-in-law-in-law's first initial is B. That meant saving two half-ovals on top of the half-oval in R. Again: joy upon joys.
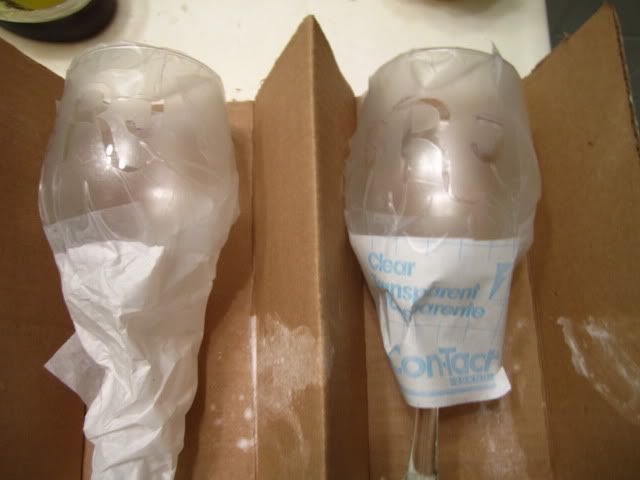
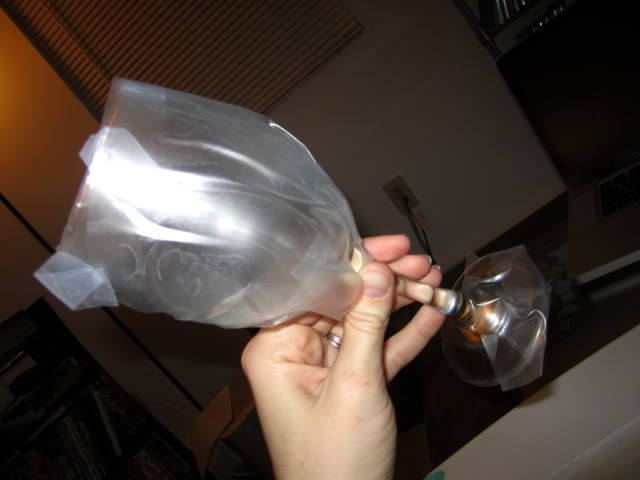
Somehow, I didn't mess up the cutting portion and was ready to etch. As an extra-precautionary measure, I wrapped tissue paper and contact wrapper around the stem.
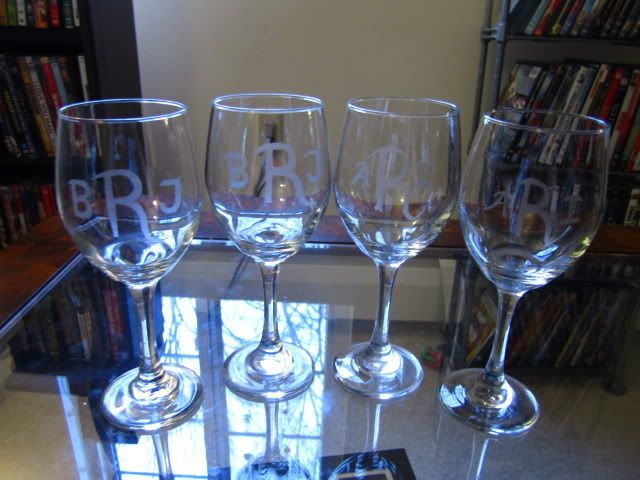
I'm psyched with how they turned out. I was expecting the practice glasses to fail horribly, the actual glasses to fail almost as horribly, and me to admit defeat. I had been wanting to do a project like this since I got my etching cream, but felt too inept to do it.
And somehow I pulled it off. I think.
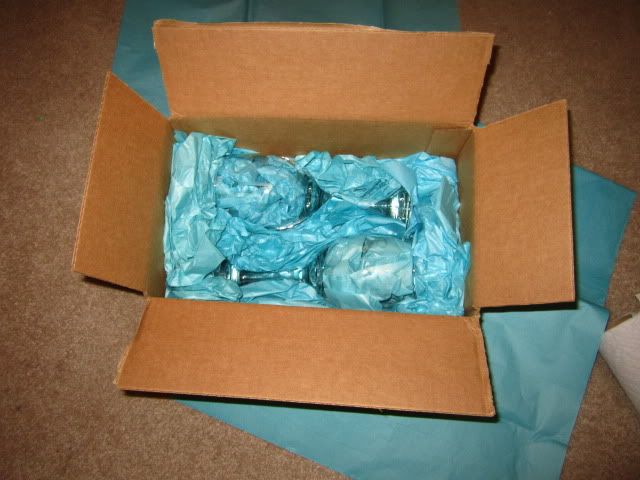
And since my sister-in-law loves Tiffany & Co, guess what color tissue paper I got.
By some beautiful miracle, this made it to Florida in one piece. It helped that I had it in my carry-on luggage and treated the luggage like it could detonate at any moment. One bit of information I very much kept to myself going through TSA.

I love them! Thank you! You are getting so good with that etching stuff. Makes me think of your etsy store :)
ReplyDeleteWow great that I found this blog keep writing on this page about etched glass.
ReplyDelete