Now that I was feeling a little more comfortable with glass etching, I decided to up the ante and try something a little more intricate.
Enter: minute hummingbird stencil.
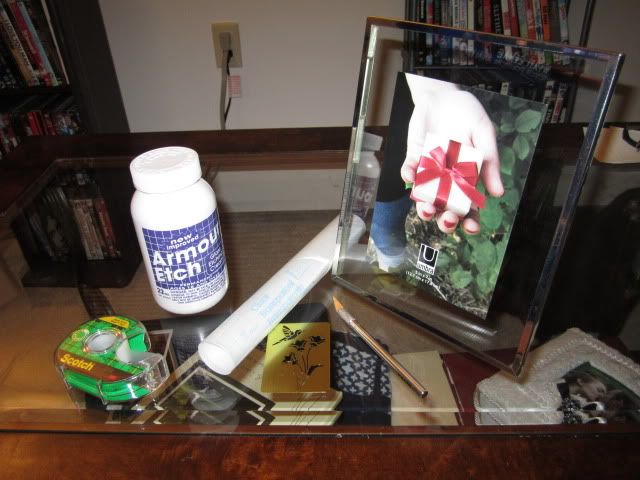
I gathered out my: exacto knife, etching cream, contact paper, tape, and said tiny hummingbird stencil.
Since there is some serious overlap between this project and
the first frame, I won't repeat myself too much.
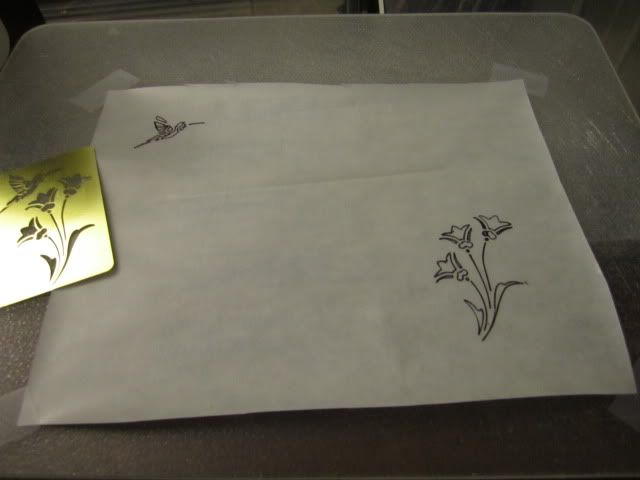
Like the first one, I taped down the contact paper on a plastic cutting board, plastic side facing up. Since I actually had a stencil to use, I simply used said stencil with a fine point Sharpie. Since I wanted the flowers to be in one corner and the bird to be in another, I stenciled each in their respective corners.
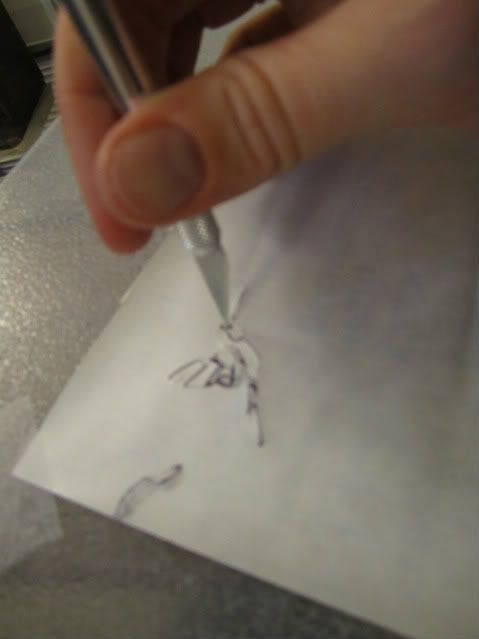
And may I say how wonderful it is to cut out the contact paper without a "paper stencil" taped on top of it? Since everything was so small and intricate, it still took a good amount of time and concentration, but it was wonderful not dealing with a shifting piece of paper taped to the top.
Like the previous frame, I diagonally cut the contact paper and placed the two pieces where I wanted them to go. Remember to give at least an inch or more of buffer between the stenciled portion and the portion of glass that isn't being etched. I also folded the contact paper over the edges of the frame, just in case there was any spillover.
Then, like the last one, I moved my operation to the bathroom.
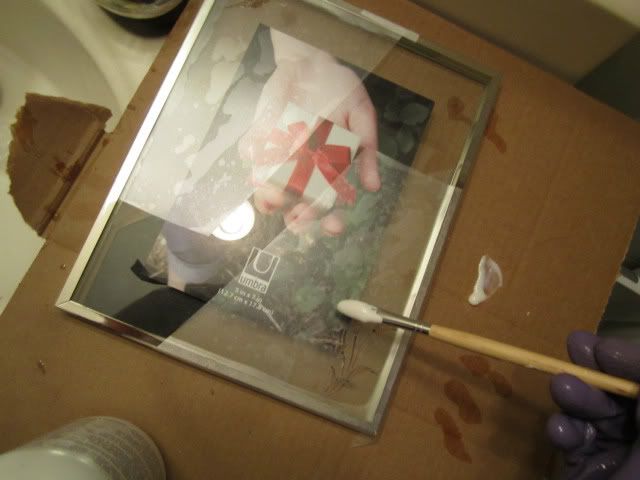
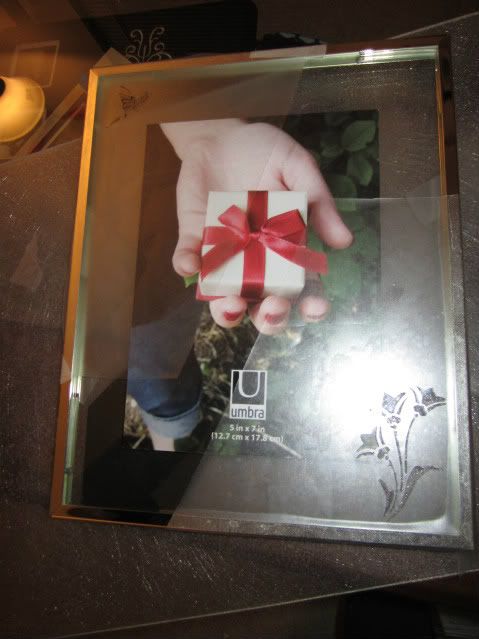
Since I wasn't covering a lot of ground with the etching crime, I switched to a smaller paint brush for more control. And still: I wore gloves, long sleeves (and, as I learned, shoes as well!) I slathered it on until I couldn't see the glass, washed the brush, gloves, my hands
and my shoes (which got a nice healthy blob of etching cream) thoroughly. I closed the bathroom door, turned on the air fan, and went off to do whatever I wanted for 20 minutes. Afterward, I ventured back in, adorned the gloves one more time, washed the cream off, peeled away the contact paper, and rinsed away whatever residue was left.
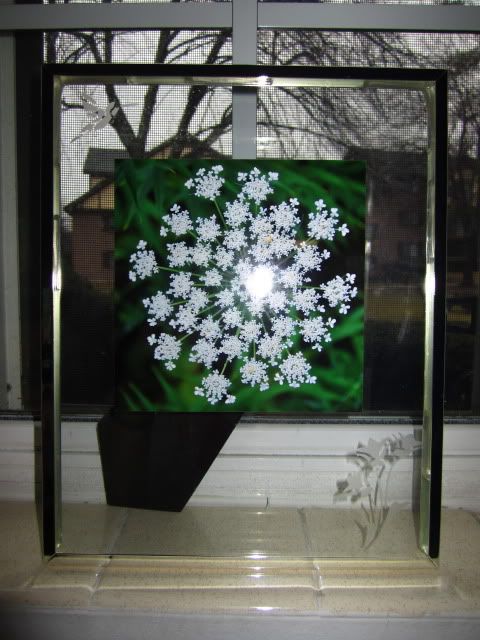
I decided to pair it with a photo I took of what I call a fern flower (because I usually find it amongst the weeds and ferns and because I don't know its actual name). Which seemed fitting: a hummingbird in one corner, tulips in the other, big-ass picture of a flower in the center. I used scrapbooking tape and taped it to the back piece of glass to keep the picture from shifting around when I put everything together.
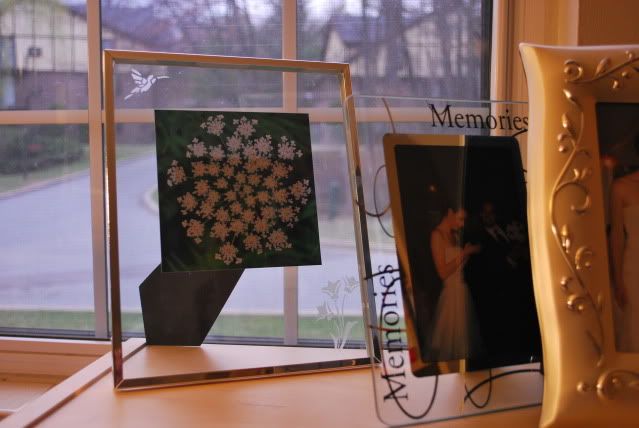
This is where it actually resides, on another shelf packed to the brim with frames. But thankfully, this is in our guest bedroom/office, so my husband doesn't have to deal with the all-out frame assault on a daily basis.

The trial and error part 2! I read the part 1 so I tried to read it also this one, like the previous blog still it talks about etched glass and I find it fun and interesting.
ReplyDelete