Much like
sewing, I've been obsessed with jewelry making. I'm constantly trying to find new challenges, so much that I'll go to a store, see an intricate necklace, and go, "Y'know what? Try to make that instead." I was comfortable with jump rings, clasps, chains and pendants -- but was I ready for eyelets?
Eyelets turned out to be not as scary as they appear. The only drawback was that I didn't have the right pliers, making it more difficult than it needed to be.
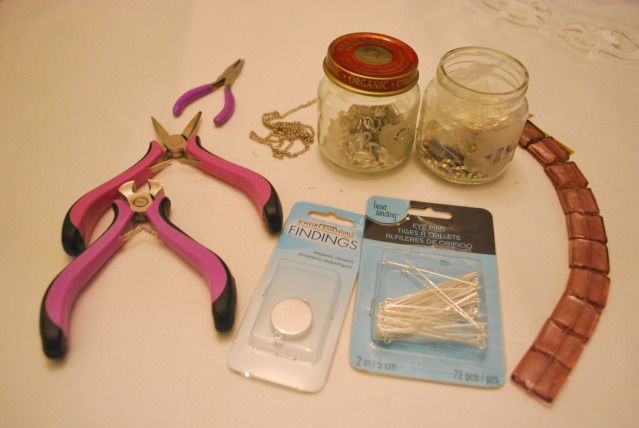
For this necklace, I got out: chain, jump rings, tile beads, magnetic clasp, pliers of all shapes and sizes (the wrong shapes and sizes), wire cutters, and eyelets.
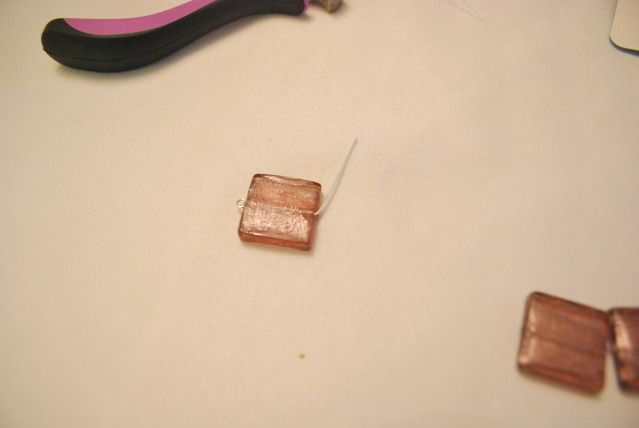
First, slide a bead onto the eyelet. Once the bead is firmly in place, bend the other end of the eyelet 45 degrees.
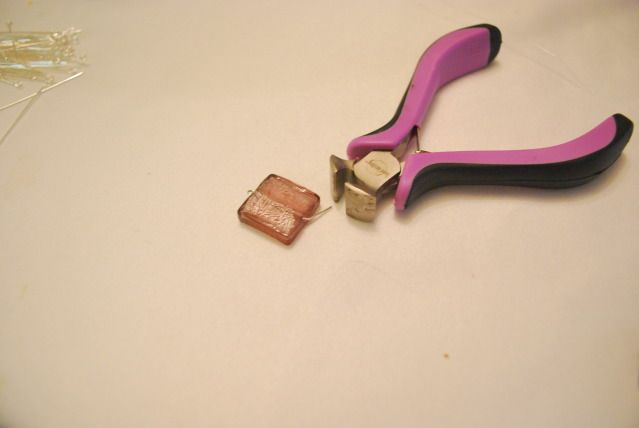
Using wire cutters, trim the flat end until it is roughly 1/2 a centimeter from the bead. Err on the side of length, however. You can always trim more; you can never add back wire.

For these, you truly need needle-nosed pliers. Round-nosed pliers will work in a pinch, but they're frustrating and -- no matter how hard you try -- you'll end up with a weird pointy shape instead of a nice circle. However, if you have needle-nosed pliers, it gets a lot easier: pinch the wire at its end and roll it in the direction opposite of the fold. Tada!
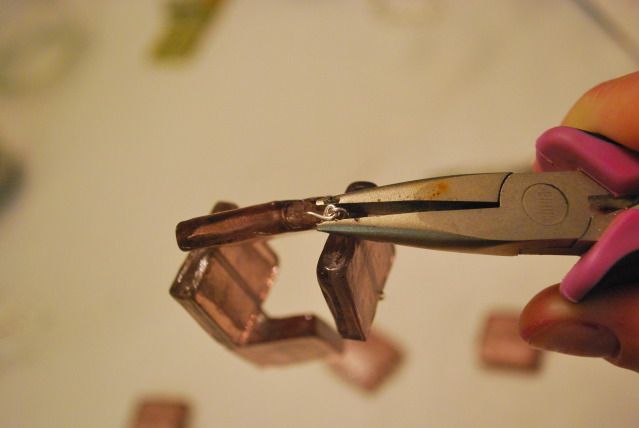
Now, it's a matter of lather, rinse, repeat. The only difference is that now, before you make your loop complete, link it with one of the eyelet loops of the previous bead. You can close them by using your needle-nosed pliers to bend the last bit or, in my case, use your round-nosed pliers to squish it shut.

Using two sets of pliers, open two large jump rings. The easiest way is to grasp the jump ring at opposite ends of its opening. Have your right hand twist in a clockwise fashion, while your left hand twists in a counter-clockwise, leaving you with a semi-spiral. Link one at each end of the bead sequence. Likewise, link a length of chain to each of the jump rings as well before closing them (which is as simple as reversing the hand direction with your pliers).
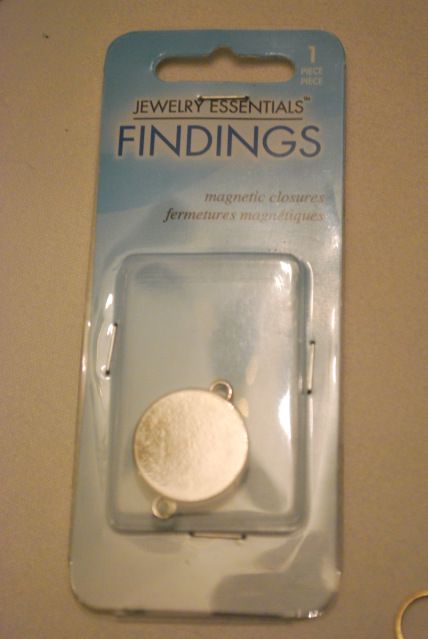
Magnet clasps are my new favorite thing. They're simple, they're easy, they stay on -- honestly, why do I ever bother breaking my thumbnails over the standard spring clasps?
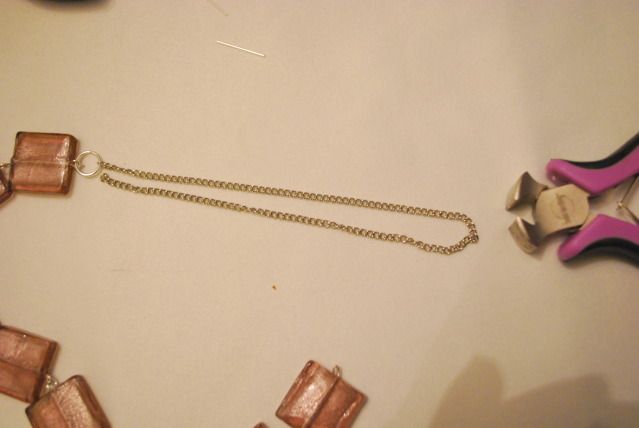
Measure out how long you want your necklace and clip accordingly.
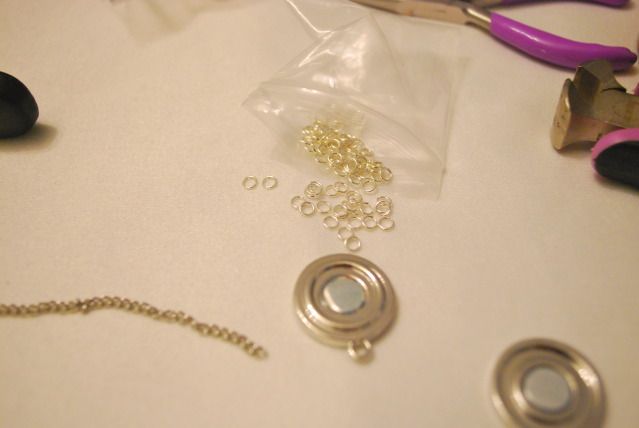
Using much smaller jump rings, connect one side of the clasp with each end of chain.

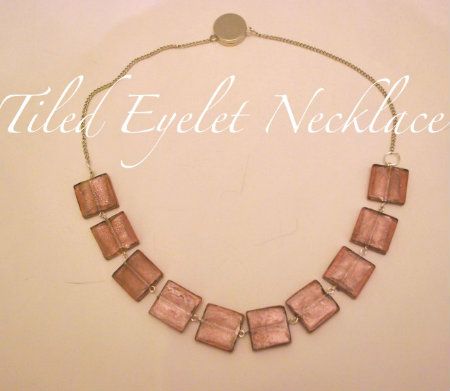
The look is somewhat Wilma Flinstone-ish, but I love it. Statement necklaces are incredible, especially against a solid-colored dress (or usually-drab office wear).

No comments:
Post a Comment