Thursday, May 31, 2012

DIY Charm Bracelet

In midst of the craze of the great Pandora bracelet, I must admit: I don't really care for bead charm bracelets. I can see why others do, but I've always been a trinket type of girl myself. At least, I assume so, since I never really owned a charm bracelet. They tend to be a bit pricey (and I tend to buy costume jewelry). Honestly, it's only because of my husband that I have any jewelry with real gems in them at all.

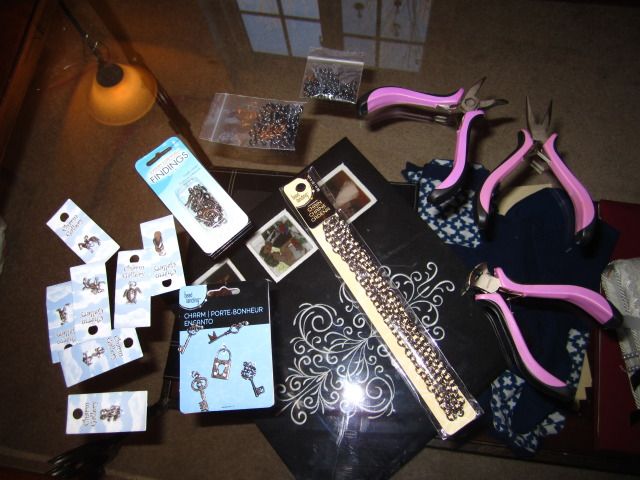
So, on my latest trip to Michael's, I decided on whim to pick up the needed supplies to make my own charm bracelet.

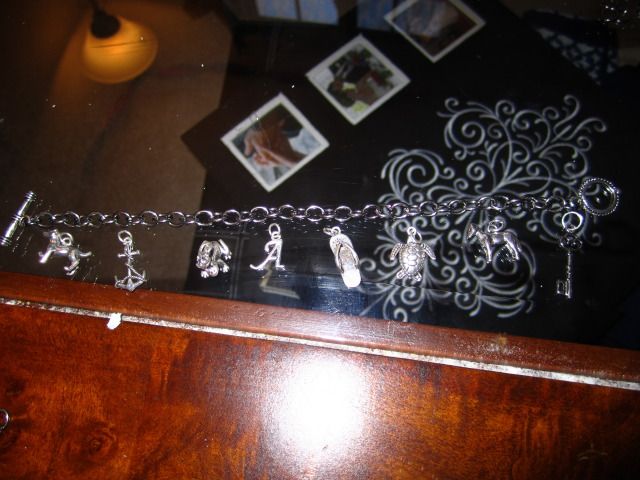
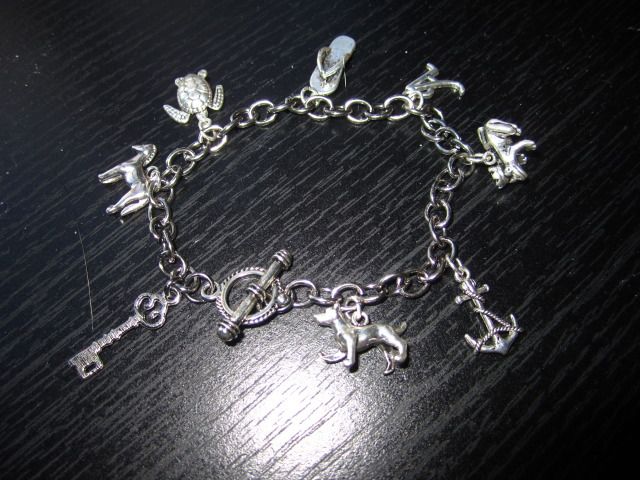
For this, I got the essentials: a chain, a toggle/loop combo, jump rings, and charms. Lots, and lots of charms. Charms that signified various important things/events in my life.

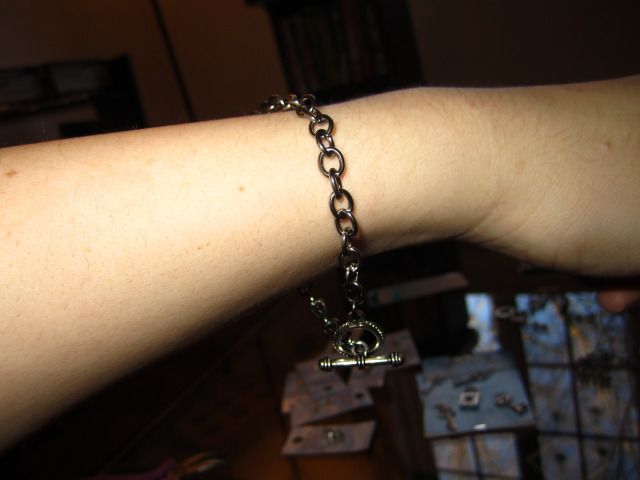
I measured the chain around my wrist and clipped accordingly with my wire cutters. I attached the toggle on one end and the loop on the other with jump rings and I tried it on immediately after. Remember that there's a bit of slack in charm bracelets. And this is the time to make adjustments to the chain. It's a lot easier to clip and put another jump ring on a bracelet than it is to move around 8+ charms.

And then, I simply arranged the charms along the chain. It's not an exact science, but I felt my way along and held up the chain after each charm was attached to see how it hanged. There's a phallic joke in there somewhere; I'm just not sure where…

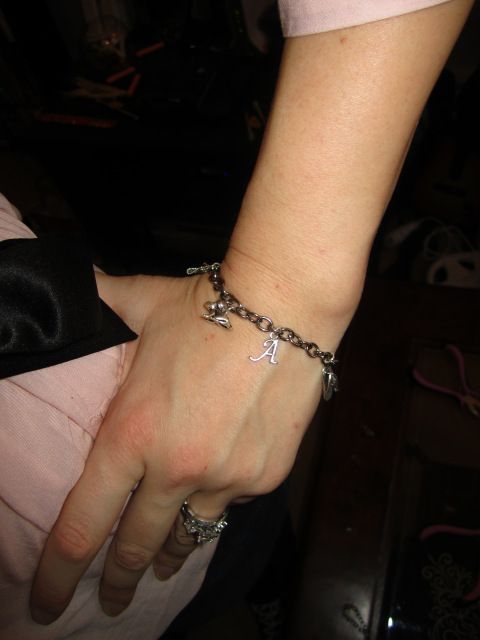
I'm very happy with the result. I love how it feels on my wrist, how it jangles when I move and rest my arms on the table.

In case you were wondering (which I know you were): some of the charms include an anchor (for my best friend/maid of honor; she has an exquisite anchor tattoo on her forearm), a frog prince (for my husband), and a baby turtle (for my first trip to Ft. Lauderdale, which was right before the sea turtles hatched and the beach was covered in nesting areas). Each charm was about $2 each. The chain was $4. The toggle/loop was probably $1, since it came in a package of 6. So there you go: a charm bracelet for a smidgen over $20. A lot cheaper than the full-priced alternative.

Monday, May 28, 2012

Sun Tea

Before I met my husband, I wasn't aware of how much of a Yank I was. Not that there is anything wrong with being a Yank (Yankee's fan? Yes. Yank? No.), but it wasn't until I became involved with my husband, who was raised in Tennessee and Ohio, that I realized how Northern my life was, completely sheltered from anything that involved the Midwest or South. One of those ways was shown through my complete ignorance of sun tea.

My husband knows how much I love tea, especially iced teas. One morning, he suggested I make sun tea. "Sun tea" was met with a complete blank stare. I asked him what sun tea was, and he looked at me in a way that I had only seen when I had uttered such gems as, "What's Skyline Chili?", or "What's Cedar Point -- is it like Six Flags?" My husband took me out to buy a sun tea jar and promptly called his mother for her sun tea recipe.

Since my immune system is pathetic, I always have green tea on hand. So I decided that my first sun tea would be made from green tea.

For this, I got out my:
Sun Tea Jar (This one I got at Target, although, really, any glass jug will do)
5 Packets of Tea per gallon
1 Cup of Sugar per gallon
1/4 Cup of Lemon (which later got upped to 1/3) per gallon

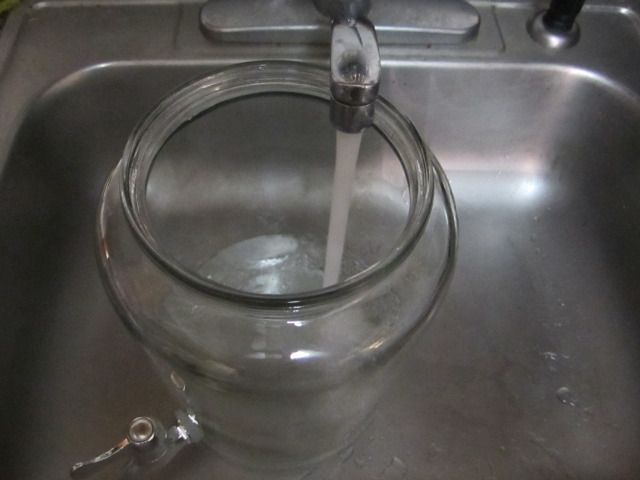
As you can see, this jug is easily two gallons, so everything ended up doubled.

Before I went off to work, I filled up my jug with cold water.

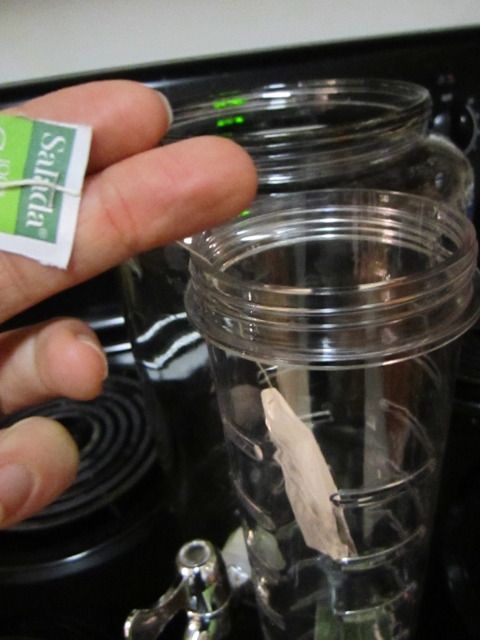
The beauty of this jar was that I could use the center console for my tea bags. Not like it mattered; I couldn't figure out how the "infuser" worked until long after my first round of sun tea. It's as simple as wrapping the string around the vents, but I had no idea what I was doing, which meant that all my tea bags just floated to the top.

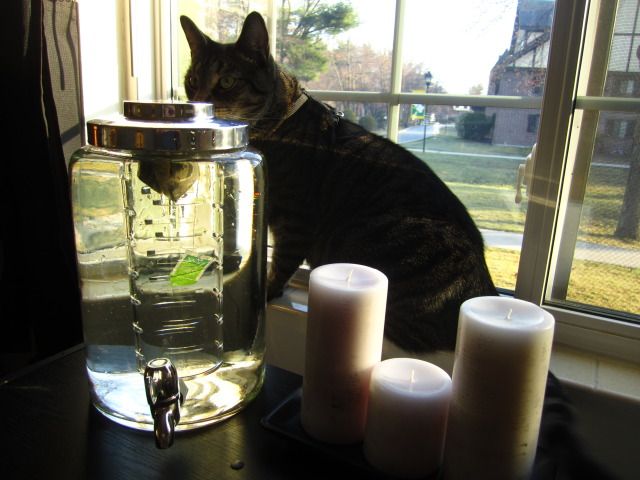
The proper way to make sun tea is to just leave it outside on your patio or in your back yard, but our patio is completely shaded and I think my apartment neighbors would complain if I just left a jug of water in the middle of our lawn, so it got placed by a window that got eastern exposure.

And then, I went to work. I came back on my lunch break to move the jug to a window that got southern exposure (ideally, I'd have a window that had western exposure, but that's not how apartment layouts work. Honestly, I should just be lucky that I get windows on two sides of my apartment).

Once the sun set, I brought my jug back to the kitchen and mixed in the sugar and lemon. Since I love my tea extra lemony, I decided to up the lemon juice dosage.

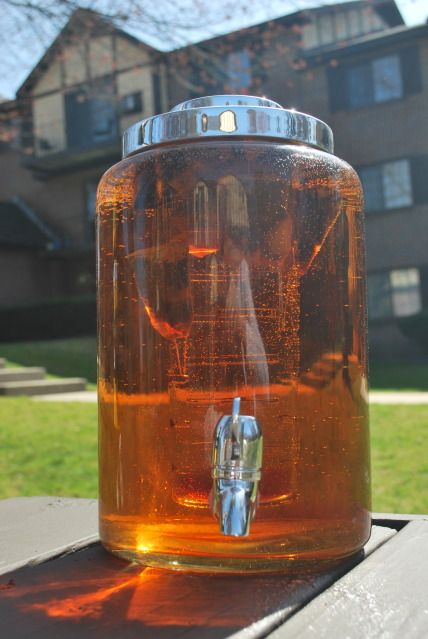
I am definitely impressed by sun tea. The flavor is deep, but delicate. It tastes a bit like Arizona Diet Green Tea, but cheaper (if that's possible).

For Memorial Day weekend, we decided to make another jug (since we'd be at home and could just place the jug on our picnic table). This one was simple, regular tea, and it came out wonderfully. Hope everyone had a happy and safe Memorial Day weekend!

Thursday, May 24, 2012

First Song Wedding Frame

(Or "Result Of Looking Back on my Wedding, Part 2")


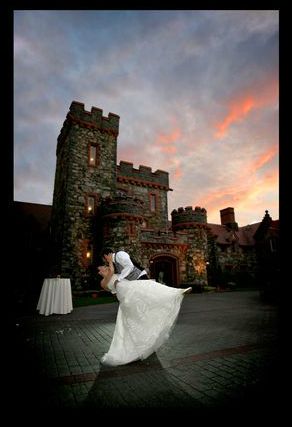
Now, I must admit: I was not exactly artsy-craftsy with my wedding. Granted, I don't think I would've had the time to be artsy-craftsy. Given the utter chaos of everything, the fact that everything somehow came together in the end still amazes me. But, now, with my first anniversary fast approaching, I figured some more crafts (at least ones that don't involve me melting down like a soap opera primadonna) commemorating aspects of my wedding were due.

I have been reassigning old knick-knacks to various functions. I have been making bangles out of extra ribbon. But this one was completely from scratch. The idea came from the same place as all good ideas in 2012 come from: Pinterest. However, I could only find the idea. No instructions could be found. So I decided to raid Michael's and just wing it.

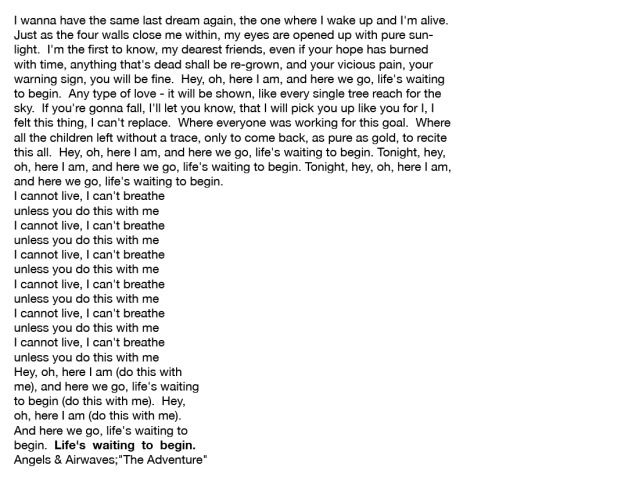
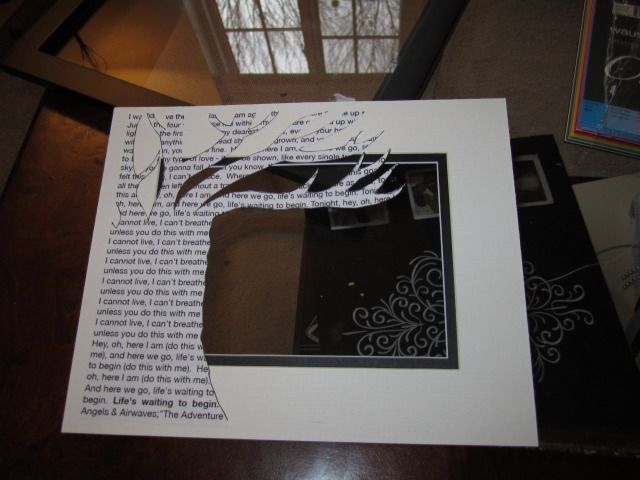
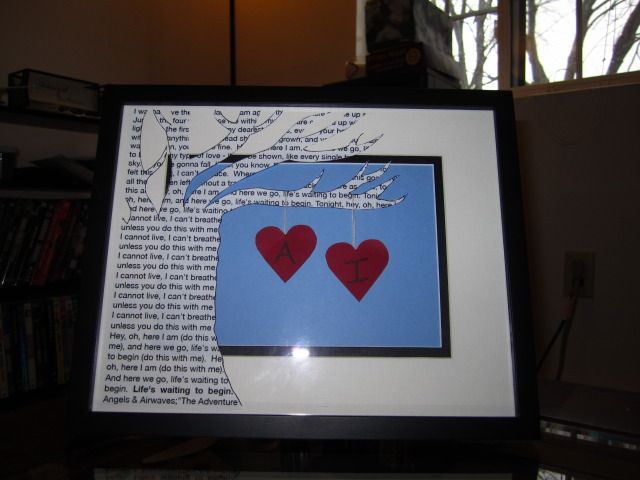
The first thing needed was the lyrics to our first song -- which was "The Adventure" by Angels & Airwaves. It's not exactly Elvis's "Fools Rush In" on the "Orthodox First Songs" scale, but the song had a long and sentimental history with us. I had also put my English degree to use and found deep meaning and connection in every single line of every single lyric (With the love and the hope and the adventure and -- see that line about trees reaching for the sky? It's like it was meant to be made in a tree craft! Oh my, I'm getting the vapors again…) Because that's about as much use as an English degree gives you.

I googled up the lyrics, opened up Photoshop and pasted them in. After a little finagling, I arranged the words into roughly the shape of the side of a tree.

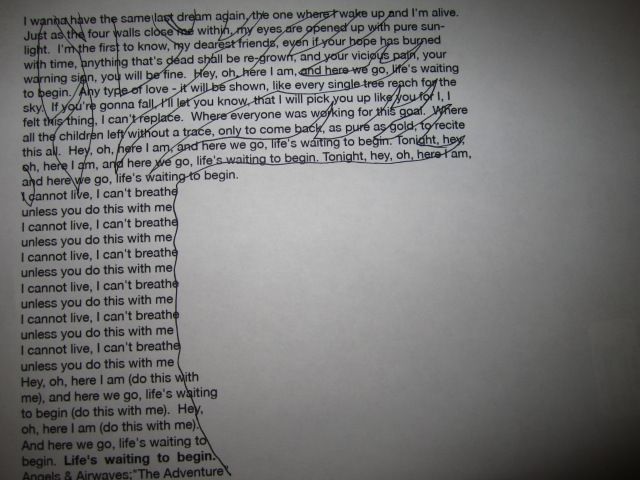
I printed out about 5 copies and, after some trial and error, I drew out the tree. My abilities to sketch a bare tree don't exactly rival Tim Burton's creative team's, but I'm happy with how much of the lyrics I was able to keep -- and how the bridge of the song makes up the trunk. Once I was happy with the design, I went over it with a thin sharpie and carefully cut it out.

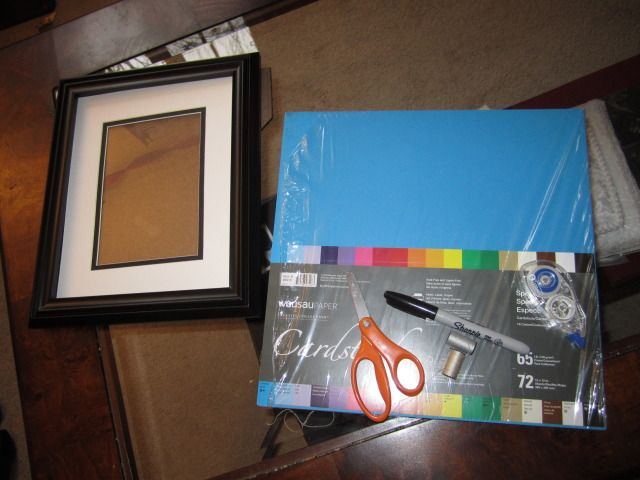
Now it was time to get out the craft supplies, which were simple enough: a 8 x 10 frame with a 5 x 7 matte, plain-colored cardstock, scissors, scrapbooking tape, and two colors of thread (gold and silver).

I first used my scrappbooking tape to attach the tree to the matte. I did my best to eyeball where the scrapbooking tape should go on the back of the tree, but I wasn't too worried: whatever wasn't sticking to the matte would stick to the cardstock.

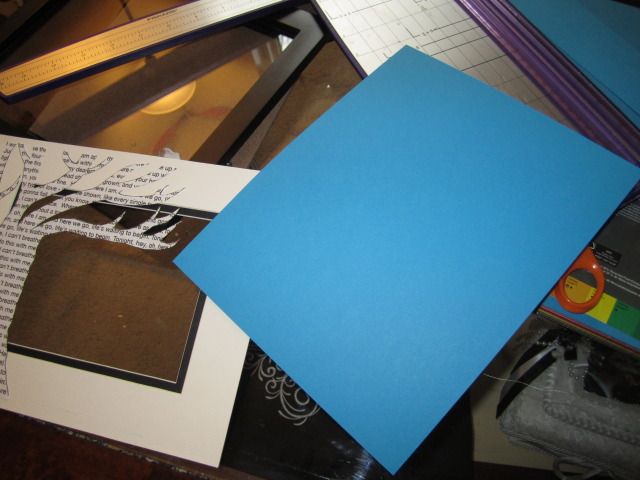
For the center portion, I cut out roughly a 7" x 9" rectangle of blue cardstock. I taped up the edges of the cardstock and placed the tape to the backside of the matte.

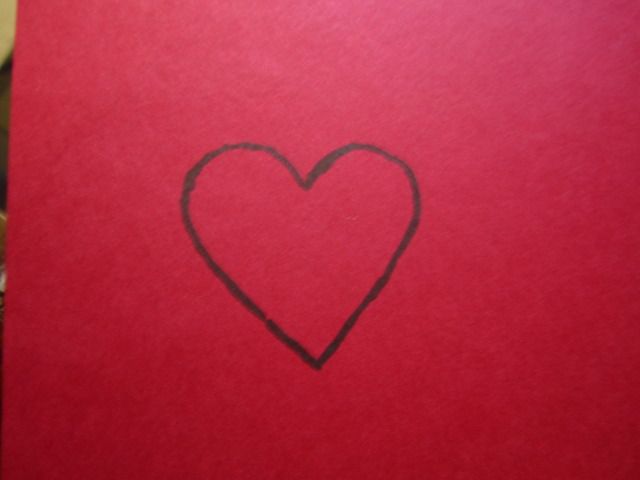
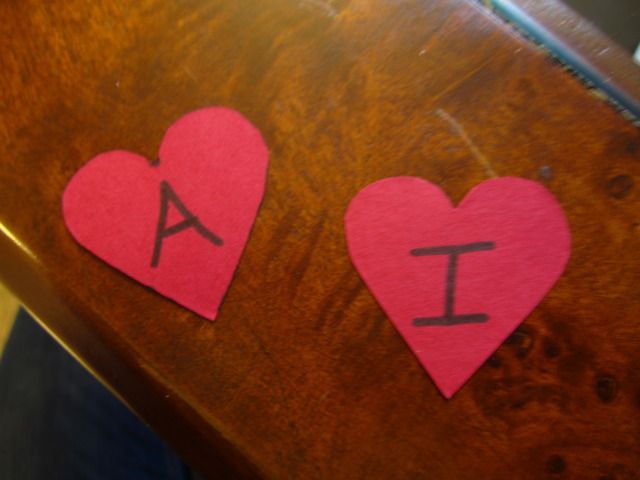
Afterward, I carefully drew a heart on red cardstock. If you have a stencil or shape punch, I suggest using that at this time, as making a symmetrical heart from scratch sucks. To keep both hearts identical, I cut out this heart and (carefully) used it as a stencil to create the second heart.

After cutting out the second heart, I wrote our first initials on the hearts: A for Abby, I for Isaac.

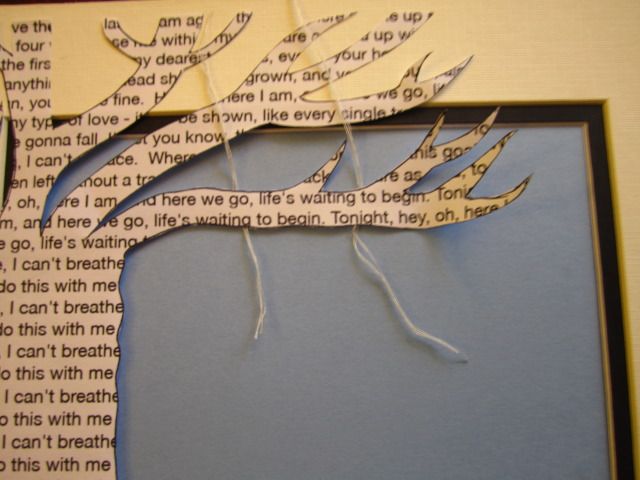
Now it was time to hang up the hearts. I first cut up the gold and silver thread so that I had 3 strands that were roughly 2" in length (1 gold strand, 2 silver strands), and 3 strands that were roughly 3" in length. Starting with the cluster of 2" strands, I twisted the threads together and fed it under the low branch until the top edge of the tree hit the middle. This meant you could see more of the top portion of the thread than the bottom. I folded the thread over the branch and repositioned the threads until both ends met and placed a swatch of scrapbooking tape over them. I then pressed my "heart" on top of the scrapbooking tape.

Then, lather, rinse, repeat for the second heart/longer cluster of strands. Remember to try out the second heart's position and make sure it coexists nicely with the first heart (good advice for getting married as well, might I add).

I should also add that, while making this project, I spent a copious amount of time listening to Angel & Airwaves's "The Adventure" and perpetually being on the verge of smile-crying. Much like getting married (and making the paper flowers), this project was emotionally consuming but very worth it in the end.

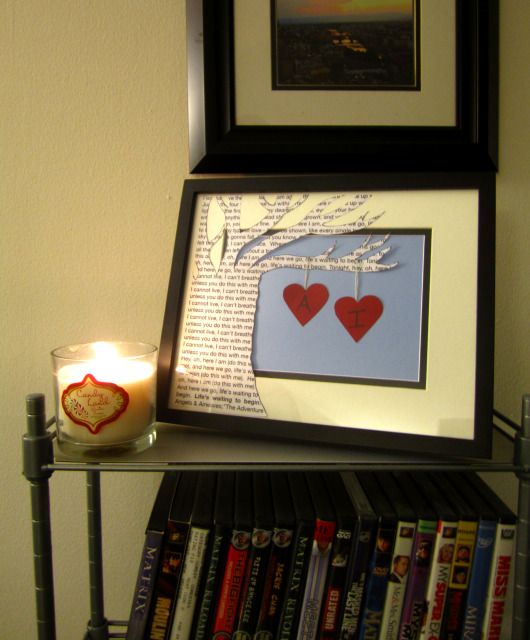
Here is its proper spot in our home, above one of our DVD racks and accented by an out-of-season Christmas candle (and right below pictures of our honeymoon).

Tuesday, May 22, 2012

The "Peg Game" (and all its wonderful benefits)

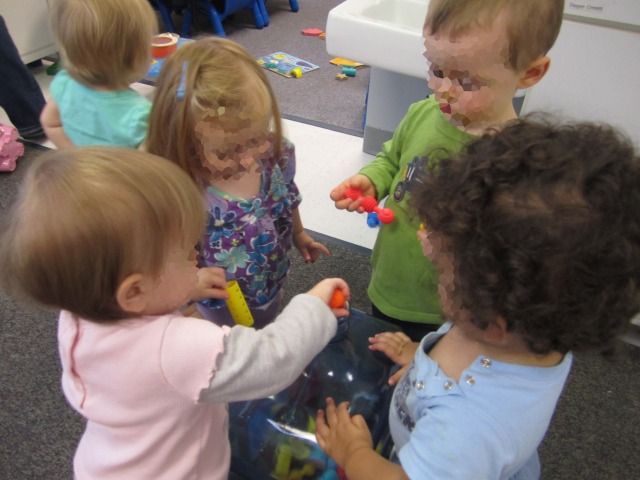
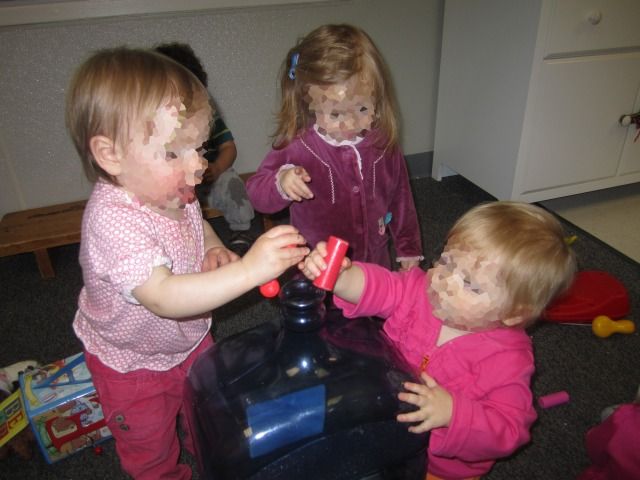
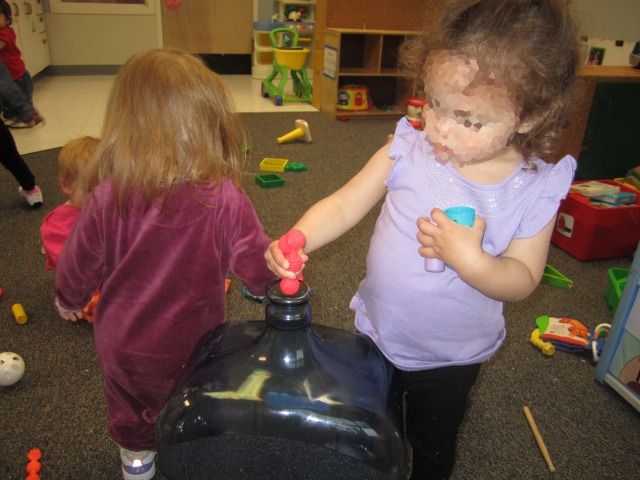
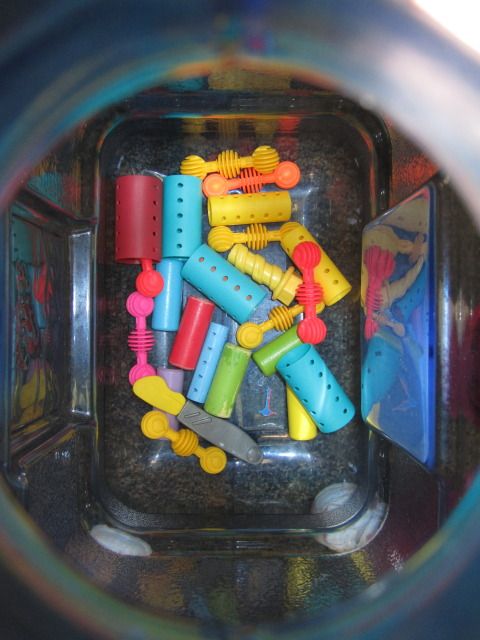
One thing I love about working with one-year-olds is that everything can be a multi-level learning experience.  One of my favorite activities to do with my students involves an empty Poland Spring jug -- and whatever can fit into the opening of said Poland Spring jug.  The rules are simple: find things that fit into the jug and put them into the jug.  Then stand back when teachers turn the jug over to empty its contents. 

I love this game for a multitude of reasons:
1) It's the best redirection when the kids are going insane, if only because they are immediately attracted to the sound of falling pegs.
2) This is a game made out of recycled and miscellaneous items. Nothing needed to be purchased. And we all know how much administration loves it when you find ways to not spend money
3) While every activity involves learning on many levels, this activity is a smugisboard of learning and development.
 
This is the write-up I have up on my wall in my classroom, along with the (non-blurred) pictures:


The Peg Game


In “The Peg Game”, children find various items that would fit into the opening of an upside down Poland Spring jug (wooden pegs, hair rollers, plastic building pegs) and drop them into the jug.  When all of the items are dropped into the jug, the teacher turns the jug over and empties it out.  This game helps further our students’ development in a multitude of areas.  While playing the game, the children’s fine motor skills and hand-eye coordination are developed as they pick up the toys and drop them into the narrow opening.  Children also learn turn-taking and sharing, as only one child can put a peg into the bucket at a time (and the bucket is to be used by every child).  While children are playing, they are also practicing their clean-up skills as the students have to find toys on the floor, pick them up, and “put them away” into the jug.  Children are also exposed shape recognition, as well as size differences, as certain objects will or will not fit into the jug based on their size, shape, or both.  Children are also gaining pre-mathematical and problem solving skills as they learn which objects will fit into the jug, and which ones won’t.  Children also gain problem solving skills when the jug is filled with pegs: the children cannot reach down to grab the pegs out of the jug.  The jug must instead be turned over for the pegs to fall out.

Saturday, May 19, 2012

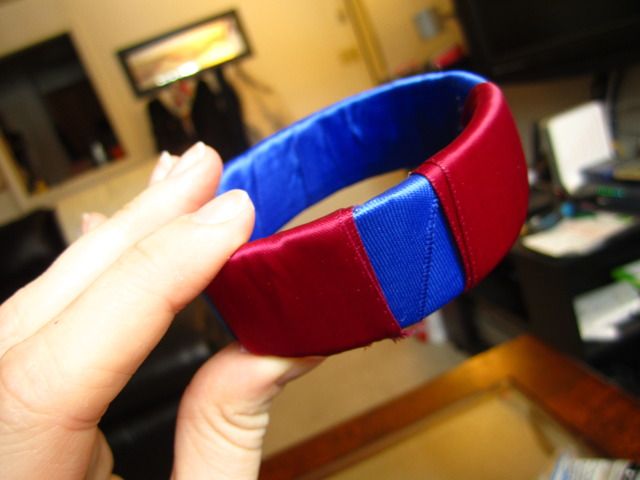
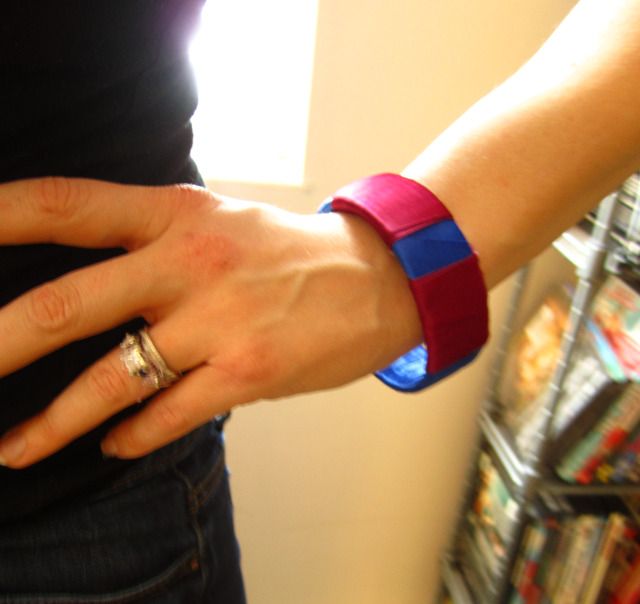
Painter's Tape Tube and Ribbon Bangle

The school I teach at uses painter's tape to hang up pictures. The school loves it because it's cheap and it doesn't harm the paint on the walls. Teachers find it frustrating because the adhesive isn't strong enough for anything other than thin computer paper. However, one really nice thing is that, when you hit the end of the roll, you are given a nice, clean cardboard tube. Instead of throwing the most recent tube out, I decided to use some of my ribbon left over from my wedding (remember that part where I said I'd leave all that stuff alone? Yeah, I lied.) and make a bangle.

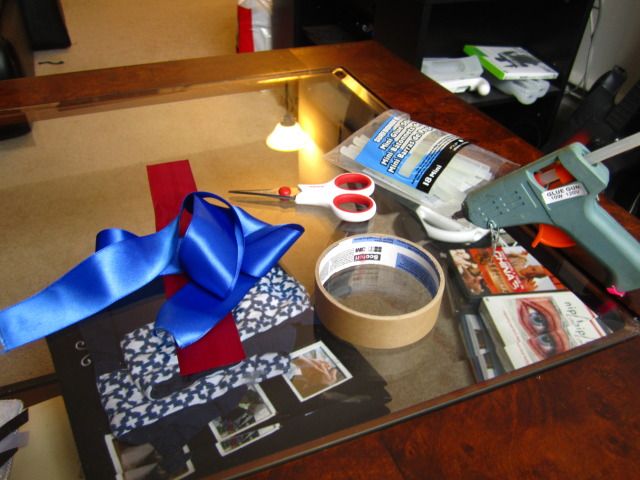
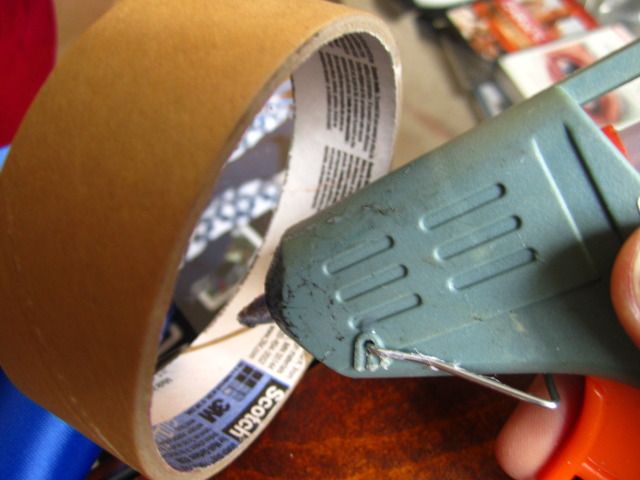
The supplies are simple enough: an empty tape tube, ribbon, and a hot glue gun.

I started with a healthy dab of hot glue on the inside of the tube. Never mind the shoddy state of my hot glue gun. The soot never came off from a botched melted spoon rose, but that's for another time.

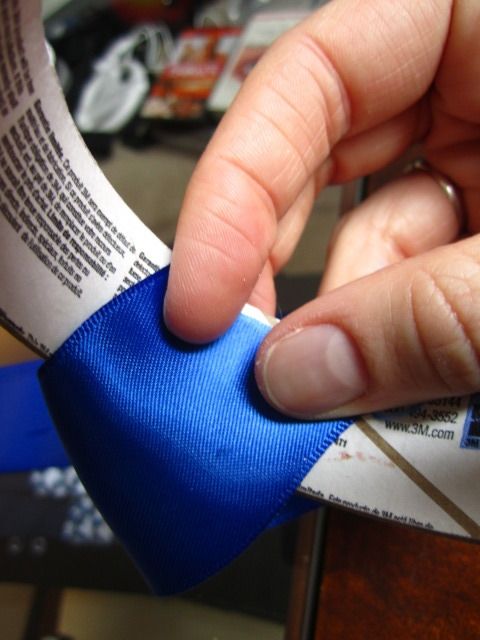
Given that I wanted my ribbon to wrap diagonally, I glued the ribbon on at a angle, careful to keep everything contained within the inner edges of the tube.

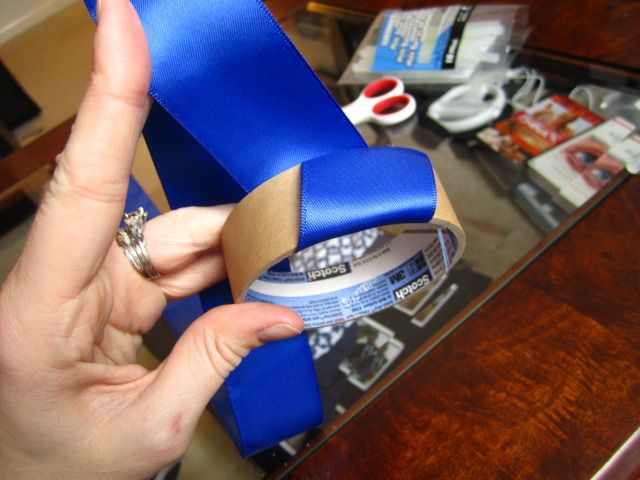
I wrapped around the tube, careful to keep the slack very tight. I would glue the ribbon into place each time it went around the inner section of the tube.

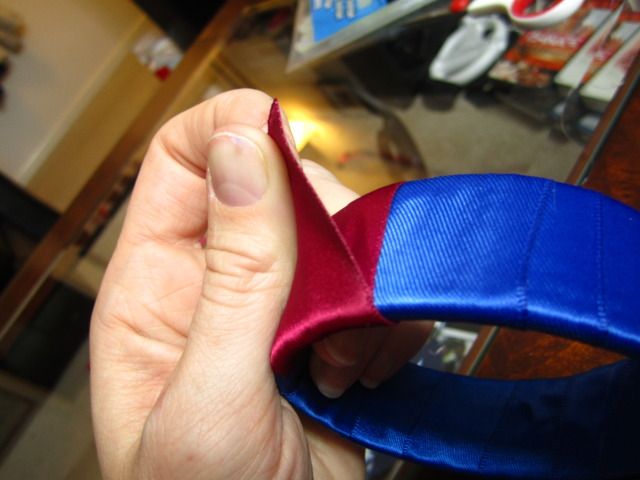
After I wrapped the tube completely in blue ribbon, I decided to accent it with ruby red ribbon. I thought of making two red lines on opposite ends, but made a last-minute decision and placed the red lines side by side instead. Like the blue ribbon, I keep the slack incredibly tight and glued each layer with a dab of hot glue on the inside of the tube.


I feel like this would be a good Girl Scout's craft to do. Definitely something I would never be able to do with my Pre-K students -- and definitely not now, with my toddler students. At least not with hot glue.

Friday, May 18, 2012

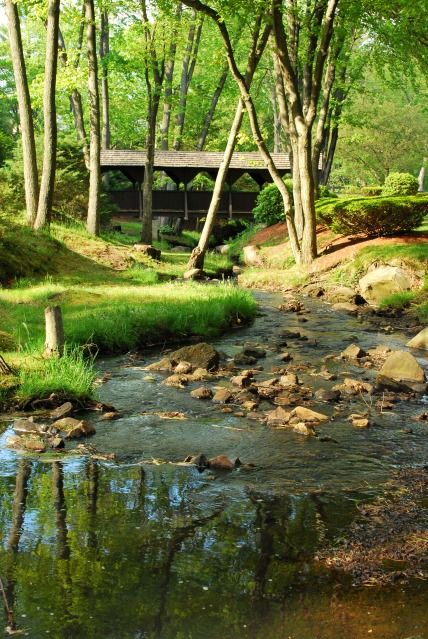
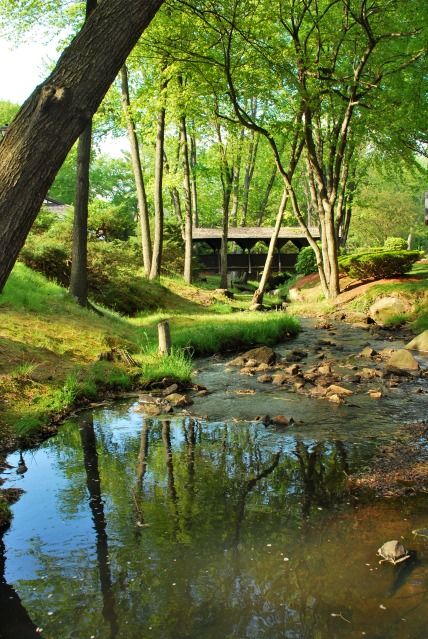
Photo Friday: Springtime in Nashua (Finally)

Fun fact about New England: when spring arrives, the weather from Original England comes over and spends about 2 1/2 months hanging out with us. This means we're lucky if we get about 2 weeks of nice weather total before summer kicks in.

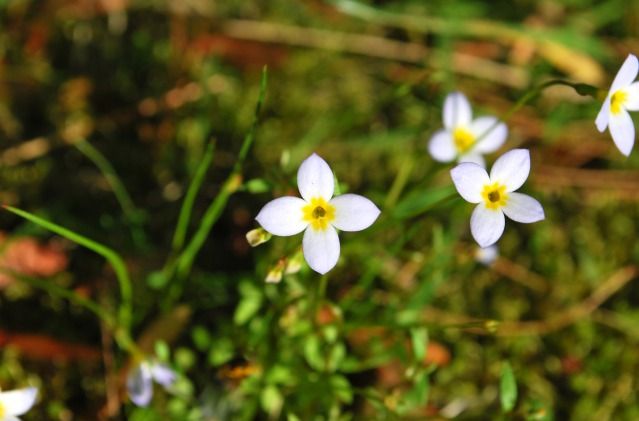
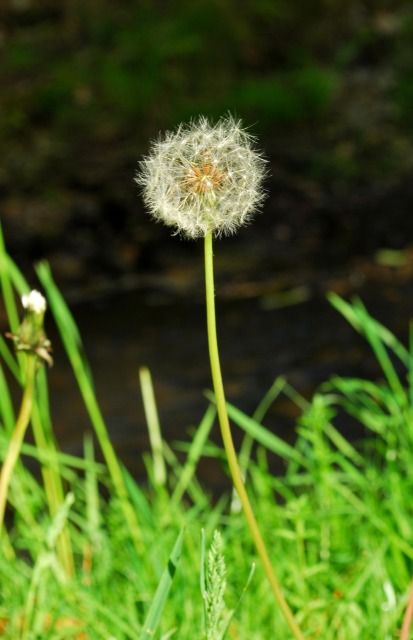
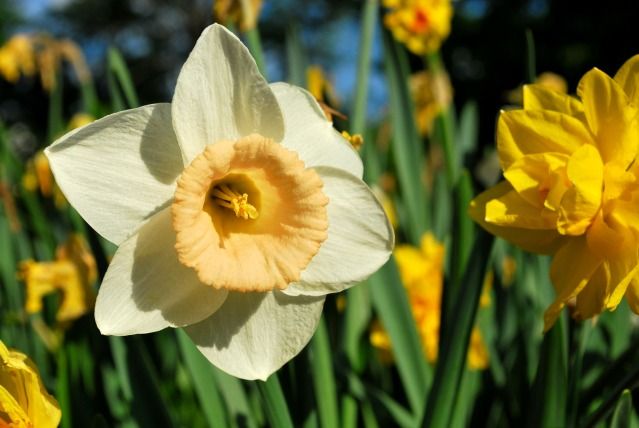
We lucked out last weekend and had positively perfect weather. I decided it was time to dust off my DSLR and take a few shots around the neighborhood.


Monday, May 14, 2012

Try it Tuesday: Sit-Ups as a Hairdryer


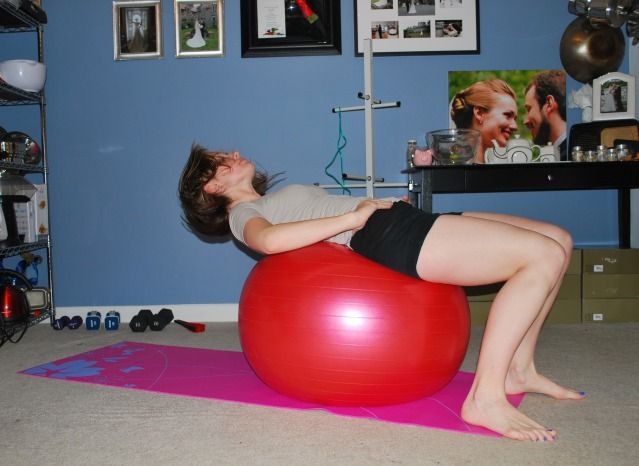
My work-out area is also my living room area. Also, where every possible wedding frame/picture is located.

It takes a tremendous about of willpower to go to the gym. And I have to admit: I have to cheat my mind into exercising. From biking to work to using weights while watching my favorite trash TV (which makes watching trash TV perfectly okay, then), everything is downright snuck in.

This works for anyone whose hair can dry naturally without disastrous results. Every time I wash my hair, I do 75 sit-ups on my pilates ball before (or instead of) using a hairdryer. I do all the usual stuff that I would do prior to a hairdryer: I brush out any snarls, perhaps rub in some mousse. And then, like Willow Smith, I whip my hair back and forth, I whip my hair back and forth.

This won't make my hair completely dry, but it does dry it enough and it's a wonderful excuse to get a little bit of a workout in.

And, in my defense, the giant canvas painting was a gift!

Sunday, May 13, 2012

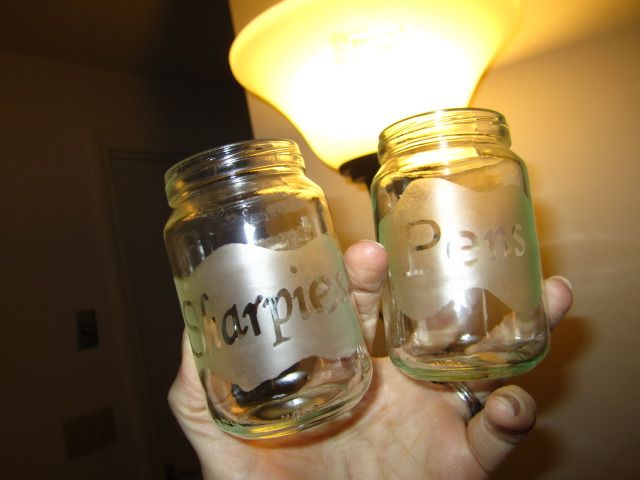
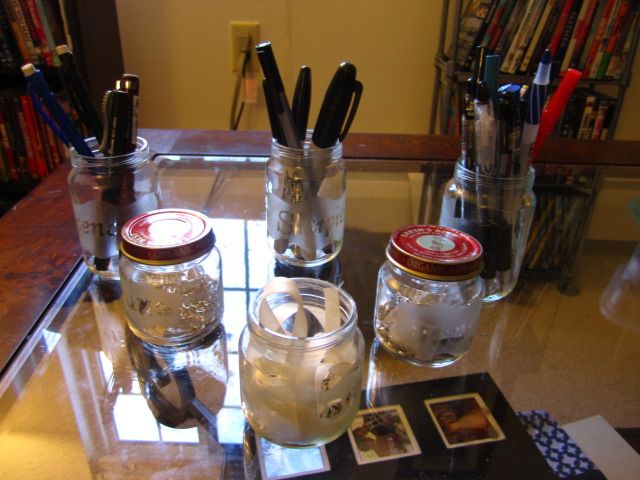
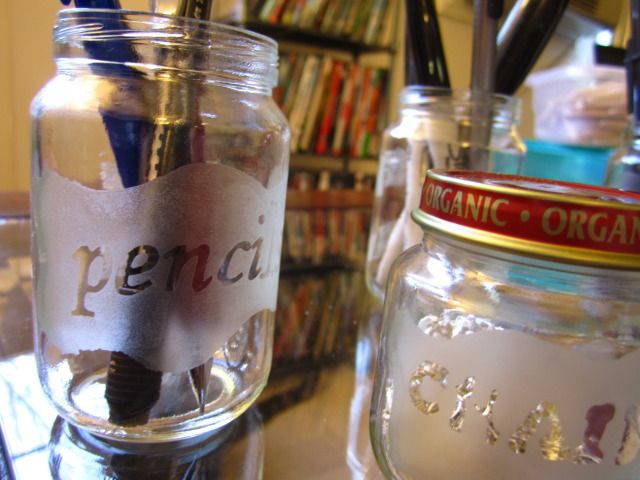
Glass Etched Baby Jar Organizers

This is what happens when you get a surplus of baby food jars and you're itching to do some etching.

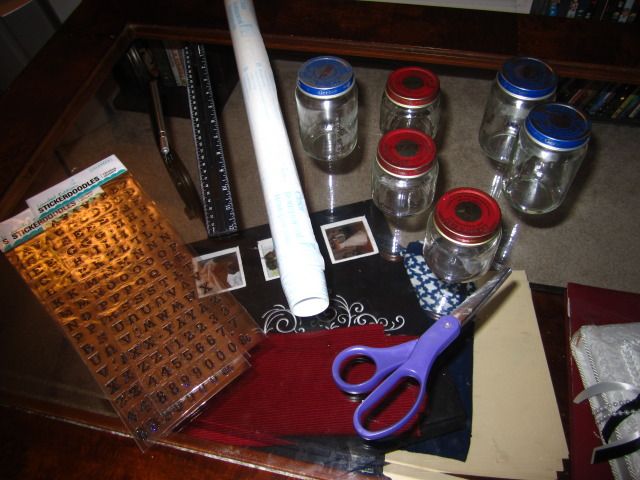
For this project, I got: baby food jars, contact paper, exacto knife, and (border-free) letter stickers.

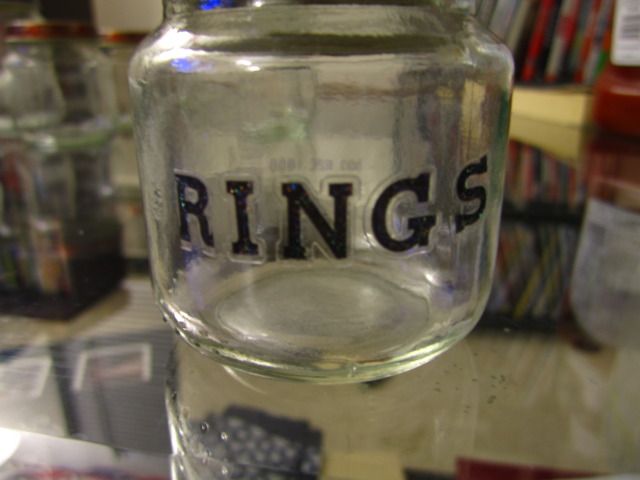
First, I spelled out the various things each jar would be for with the stickers. The only drawback to this was that I didn't have the foresight to check the stickers for borders. This meant I spent an hour cutting around the clear borders. And even then, I would have to settle for blocky letters. Eh, live and learn (and check stickers for clear borders).

Much like my coasters, I taped a 6" x 6" piece of contact paper onto my cutting board. Then, for lack of better phrasing, I drew a splotch on contact paper. I kept the jars nearby so I'd know how big to make my splotch.

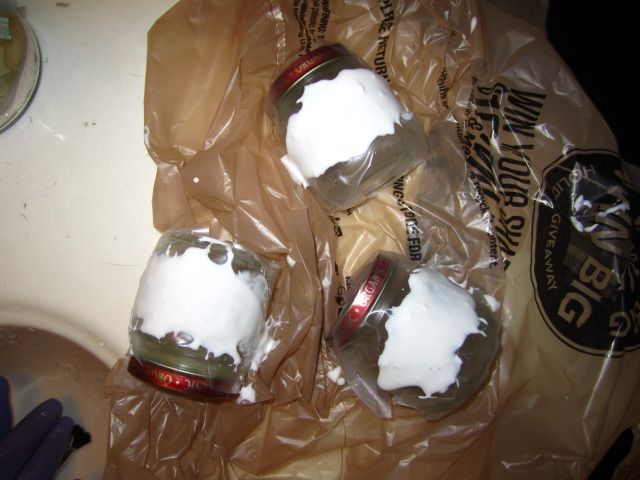
And then -- I etched! I used a plastic bag to keep the jars still as I slabbed on the etching creme.

While the etching cream was etching, I worked on the second set. Thankfully, with these jars, I found stickers that had no clear boundaries.


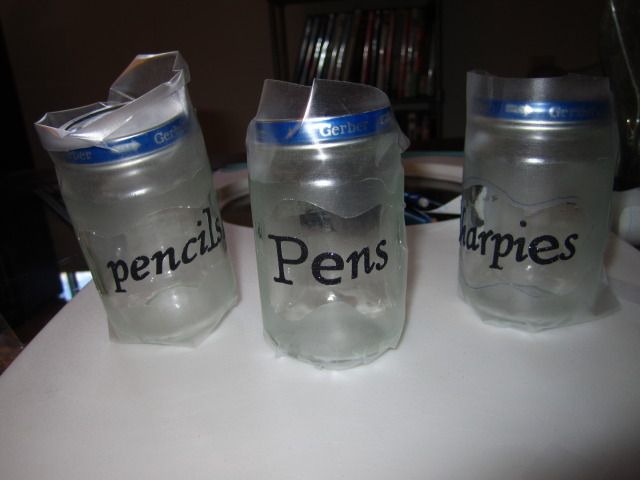
I'm in love with these jars. They're compact, they keep everything organized, and they were a lovely excuse to pull out my etching cream again. Now -- what else can I etch?

Thursday, May 10, 2012

RSVP Paper Rose Wall Decoration

Now, this project is not for the weak of heart, the stingy of hot glue, or the newlyweds who are still manic about every wedding-related item. You have been forewarned.

With my one-year anniversary fast approaching, I find myself thinking more and more about my wedding. This inevitably lead to me going through some of the extra wedding items. The things that didn't turn into utensil holders and sun catchers got stashed in boxes and placed in our second bedroom/crafts room/library.

One of the boxes holds all the extra invites and RSVP cards, while another holds all the returned RSVP cards. And they just kind of hang out there -- and have been for almost a year. I decided that, instead of letting them be shelved away in a box, collecting dust, I'd do something with them.

This project can easily be done with regular paper, cardstock, or pages from a book (some of my favorite "paper flowers" projects call for book pages). I decided, for a slew of reasons to use old RSVP cards.
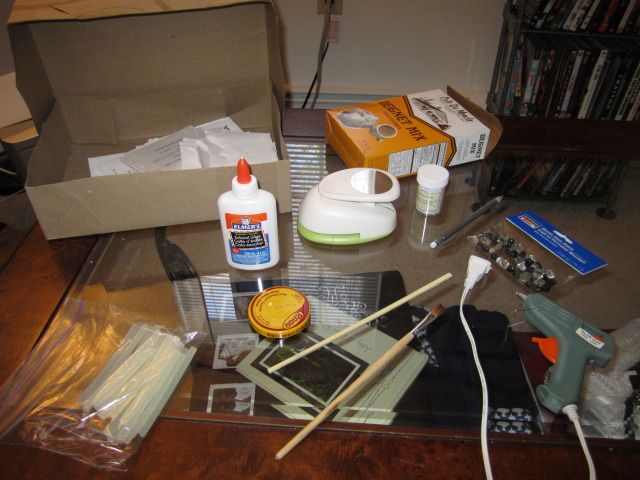
For this project, I got out: the big box of RSVP cards, cardboard, a jar lid, a large circle puncher, glue gun, "swizzle stick" (technically an unused wooden chopstick), glass marbles, yarn, push pins, rose beads.
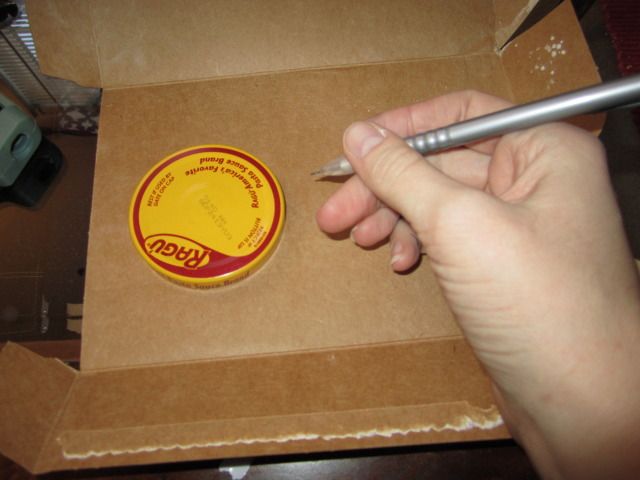
First, I traced 18 circles in the cardboard to serve as the bases of the flowers. Yes, 18 circles. You can do however many you want. Maybe you just want to do one flower. In fact, one or two flowers would look adorable. I know I wish I only did one by about, say, flower #12.
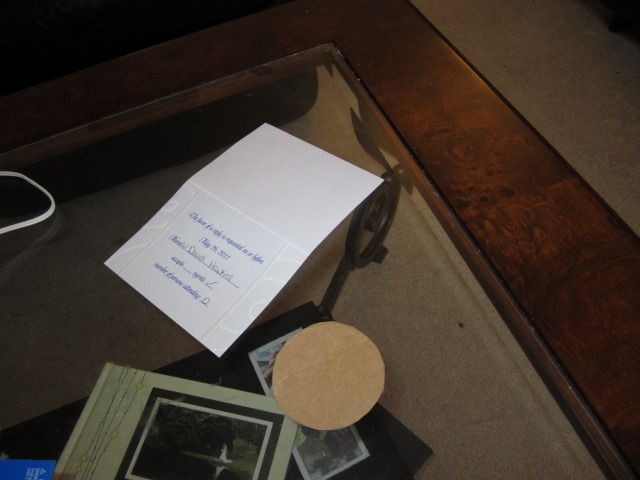
I then used my circular puncher and punched out the circles. Lots, and lots, and lots of circles. Since my RSVP cards had this really nice border on the edge, I paid close attention to said edges to make sure I got them when punching out my circles.
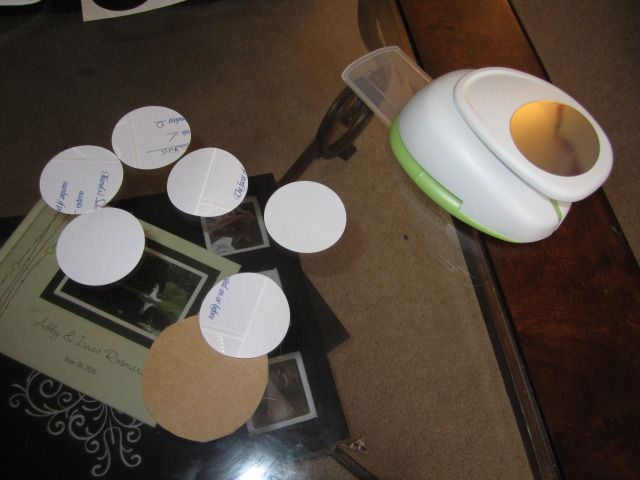
To give you an idea as to how many circles you'll punch out: each flower uses about 13-15 circles. 18 x 15 = 270. This is why I recommend a circle punch instead of manually tracing and cutting out circles. You will drive yourself mad.

Now, to my newly-married, if you're ready, I want you to repeat this mantra: not every detail of the wedding needs to be inshrined. Again: not every detail of the wedding needs to be inshrined. I say this because my husband saw my project and noted that he'd never thought he'd see the day where I would willingly cut up RSVP cards.

And like the calm, rational woman that I am, I reacted by doubting everything I was doing and bursting into tears.

After I calmed down, I immediately remembered why I'm so glad I'm good and married and done with the wedding planning process: wedding plans can take all types of girls, even girls like me -- girls who never really "envisioned" their wedding, or really even had "get married" as a goal in life -- and turns them into overly-emotional wrecks who need to be coddled like a nineteenth century woman suffering from hysteria.

Something to remember when I find myself waxing poetic about the joys of venue hunting.
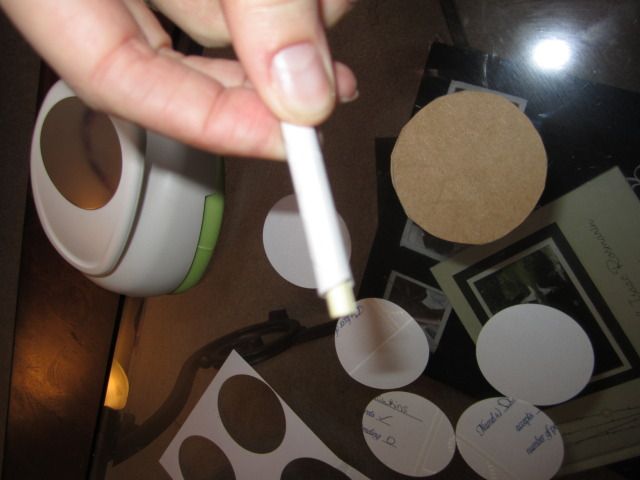
Next I tightly wrapped each circle around the unused chopstick that I relabeled swizzle stick. I slid the circle off and placed to the side.
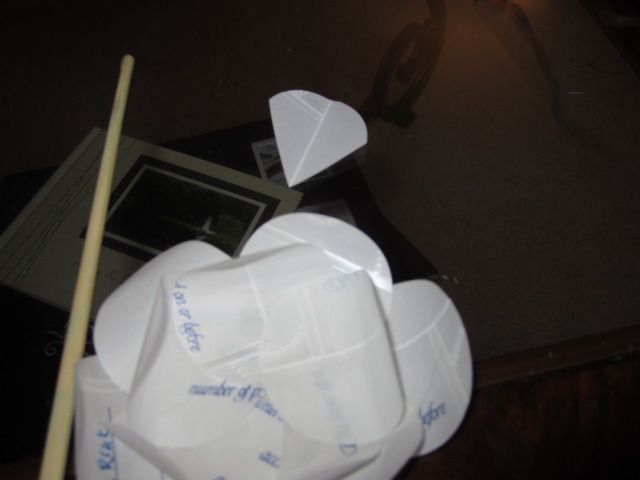
Either flower will need about 3 or 4 "center" circles. These circles will need to be cut in order to fit in the center. I simply cut two sides into an un-swizzled circle so that it looks a bit like an ice cream cone. Then, I swizzled away.

Starting with the outer layer of the cardboard circle, I hot glued 5 or 6 of the swizzled circles. Once the glue has cooled, I glued roughly 4 or 5 circles in the inner layer, and 3 or 4 ice cream cones/"center circles".

Place a solid dollop of hot glue in the center and place your glass marble. I went for the jagged glass rocks, partly because they didn't have any flat, clear marbles at Michael's, and partly because I liked the idea of having the center be multi-colored (and by "multi-colored", I mean a duo of the two non-colors: black and white).

If you are like me, after you made your 18 flowers: just hang out. Watch some TV. Go running. I spent about 2 hours making these flowers. Granted, it was on the weekend after an exceptionally stressful week (although, sometimes it feels like every week is an exceptionally stressful week), and I needed that monotonous behavior to reset my weary brain. But that didn't change the fact that I was seeing stars by the end.

The next day, I went at the next portion: the hanging portion! This is where the yarn, push pins, and rose beads came in.

I got these amazing black rose beads from Natalia's Beads & Crafts. I only needed five and they came in a set of six. Since I'm always making jewelry, I decided to save the sixth one for a future project.

I first arranged the flowers how I would want them hanging out, only face-down. I wanted five rows, with alternating four flowers, three flowers in each. Make sure the flowers are the right distances away from their row companions.

Next, I cut five very long strands of black yarn and placed them on top of the flowers. To hot glue them in place, I moved the string to the side, placed a healthy dollop of hot glue in the center, and, holding the string taught, I gently pushed the string down on the dollop, twisting it just enough to that the glue covered the entire string.
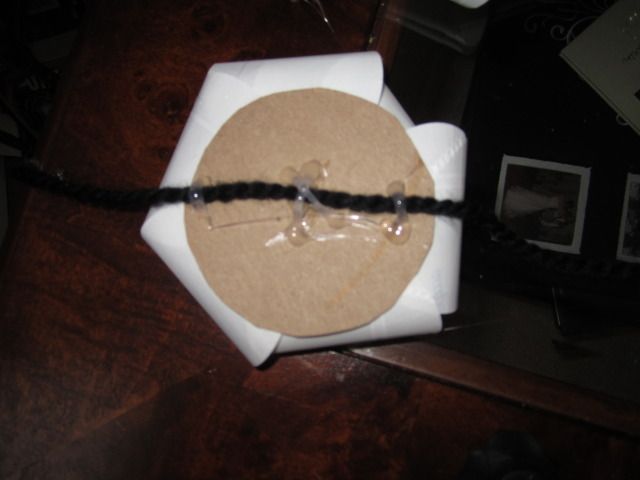
Afterward, I decided one dollop wasn't enough. I then made a criss-cross over the string, as well as a loop on either end of the flower.

After every flower was glued onto the string, I hot glued the beads onto the tops of the push pins. I lucked out in that the beads had flat bottoms (heh, flat bottoms) and I could place the beads face down. This made the gluing immensely easy. I placed a dollop of glue on the bottoms of the beads and simultaneously pressed and twisted the tops of the push pins into the glue.
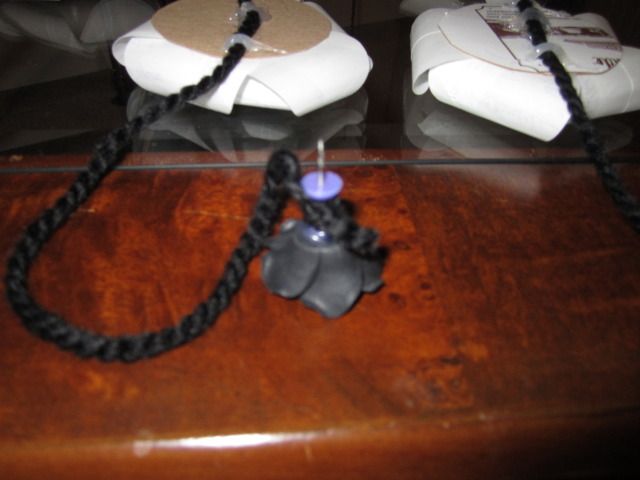
When everything cooled, I evened out the yarn lengths and tied the ends of the yarn to the body of the push pin. I suggest multiple wrappings and knottings, so that you cannot see the color of the push pin.

Then, I simply pressed the push pins into the wall roughly 6 inches from each other and twisted around the yarn to that every rose is facing out (they won't naturally want to this).
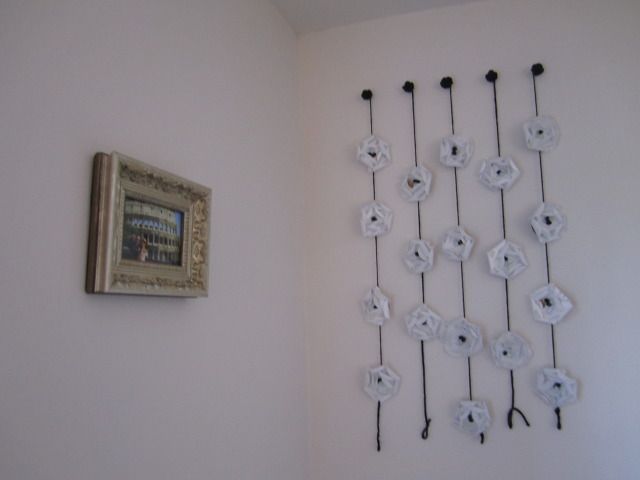
This was a long, arduous journey, but I'm happy with the result. However, I think I'm going to let the rest of my excess wedding paraphernalia hang out in said boxes. It's not worth awakening the beast that is the overly-sensitive bride-to-be!
Related Posts Plugin for WordPress, Blogger...

09 10 11 12
Blogging tips