
Last September, my husband came up with the cutest idea: collect leaves that had fallen from the tree and seal them in wax paper, commemorating our first autumn together.
It was sweet, it was sentimental, it made me swoon and remind me why I hysterically repeated, "Yes!" before he could finish his proposal speech.
One thing I wasn't planning on? The utter cheapness of our wax paper. We tried and we tried. Iron for a little bit; iron for a lot. Essentially seer the edges. NOTHING worked. The wax paper kept falling apart. Although dejected, I told my husband how much I adored, at the very least, leaves from our first autumn, and placed the failed wax paper experiment on a shelf in my crafts room.
And then, around the same time I bought Mod Podge for the
Save the
Date Flower Pot, I came up with my own cutest idea:
Why not use the decoupage glue and frame a few of those leaves?
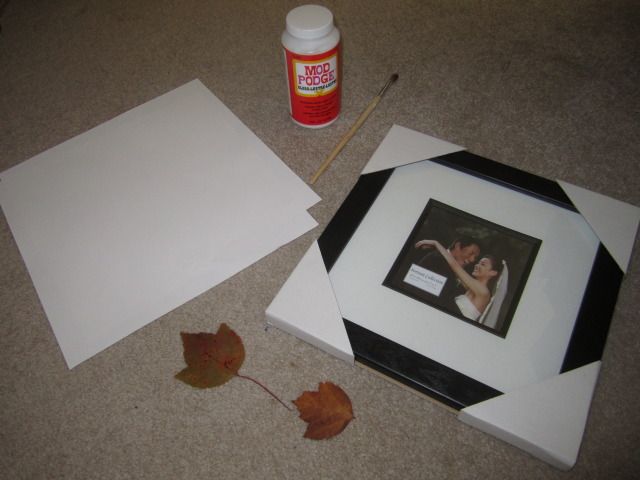
For this, I needed: a 12 x 12 frame with an 8 x 8 matte, white cardstock, Mod Podge, a paintbrush, a sharpie or paint marker, and, of course, the leaves.
First, collect leaves with your new husband-to-be. Press/dry the leaves with wax paper with the "slick" side facing out (or, just buy really, really cheap wax paper). If you are doing this
sans failed wax paper, I suggest pressing the leaves. The simplest way is to simply slip them under a large stack of books and leave them alone for a few days. At least, that's the simplest way for pressing flower petals. Let me know if that doesn't work for leaves.
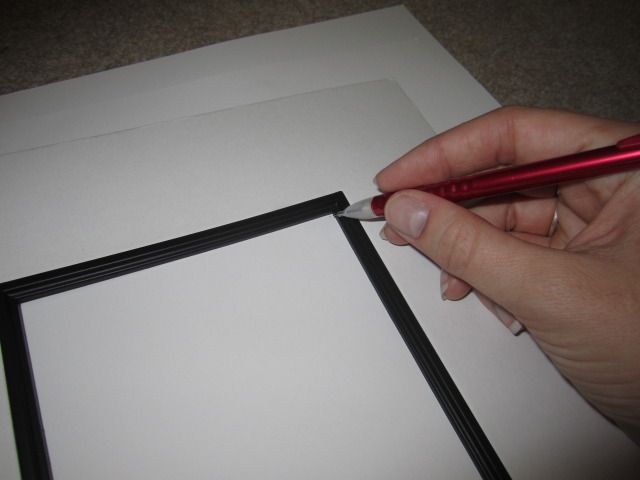
I marked the inside corners of the matte on the cardstock, so I would know where to put the leaves. Just to double check, I would (gently!) place the matte over the leaves after arranging them on the cardstock.
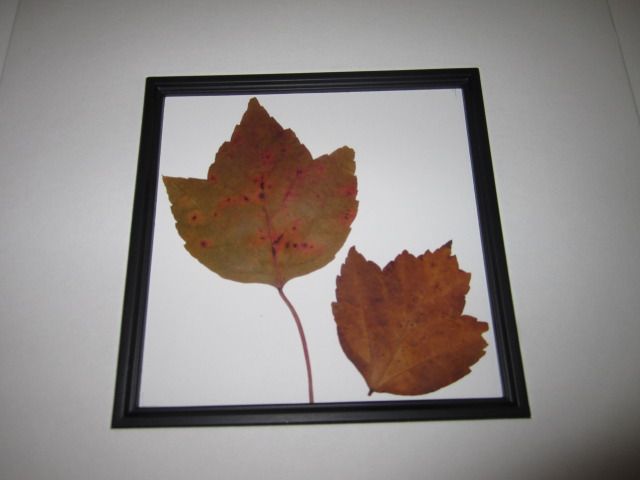
Again, I reiterate: GENTLY! Remember that you are working with dried up leaves. Move them at your own risk.
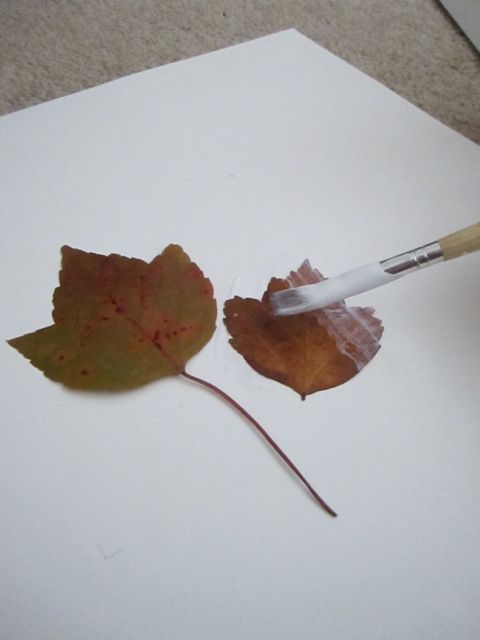
Once everything was in place, I went to town with my Mod Podge. I put a solid layer of the glue on the cardstock, placed the leaves into place, and covered them with two layers of Mod Podge. The leaves were a bit temperamental, so I kept them in place that (gently!) pressing the paintbrush into the leaf until the glue started to dry, keeping the leaf in place.
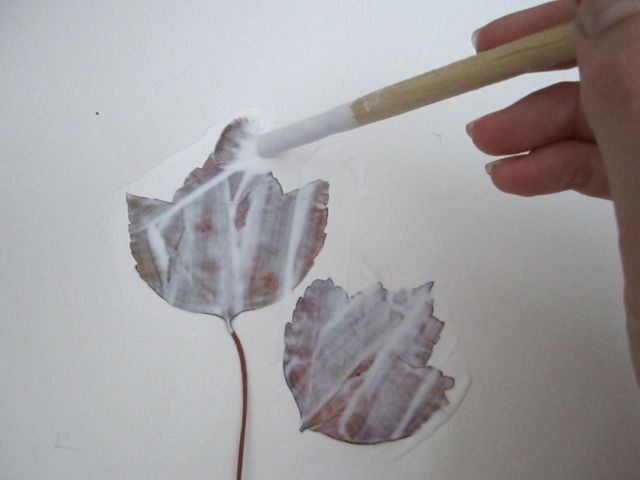
I know I've talked about this before, but, honestly, where was decoupage glue when I was a Girl Scout? I would get berated for neurotically gluing my crafts, using way too much and smearing a solid layer of Elmer's glue on top of everything just to insure that everything would stay in place.
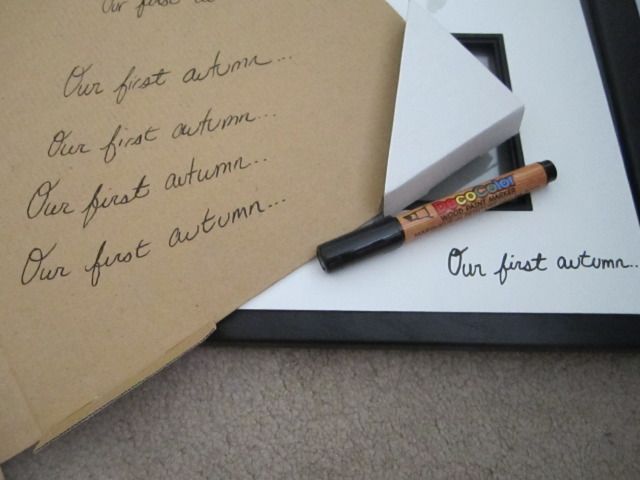
While the glue dried, I wrote "Our First Autumn…" on the matte with my paint marker(but, really, a Sharpie will do great as well) -- but not until I did a few trial runs of the phrase.
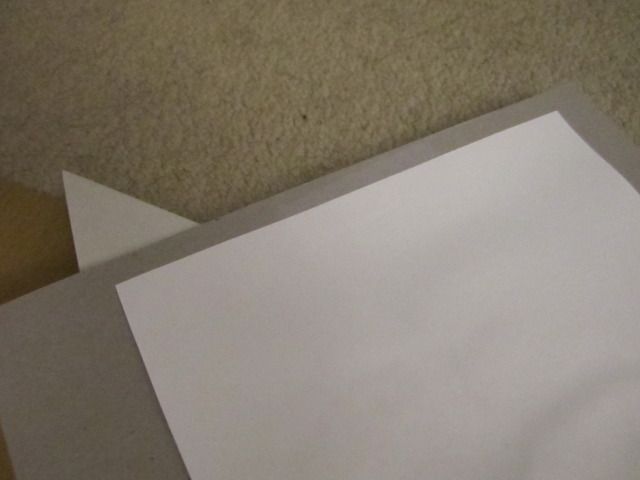
After everything was dried, it was all a matter of taping the cardstock to the back of the matte, and putting all the pieces of the frame together, and finding a place to hang it up.

My husband saw my project and immediately replied, "Another frame craft? Abby, this is an intervention." And, like the mature, educated woman I am, I replied with, "Well, you started it!"
That's what he gets for being sappy!


No comments:
Post a Comment