The Snuggie could only thrive in a culture like ours. Originally a tacky, unnecessary invention that should've gone the way of many infomercial laughtasters (that's "laughter" and "disaster" combined). People first bought it ironically -- either for themselves or as gag gifts to other people á la the Chia Pet. However, the gag was on the buyer, as those who got Snuggies realized how comfortable they were and actually started enjoying them.
And the Snuggie corporation wasted no time getting in on the joke. Gone was the genuine black and white footage of people struggling with sleeveless blankets and, in its place, people sang the Macarana while trying the leopard print Snuggie on for size.
I could never bring myself to buy one, even as my sister-in-law touted its comfiness. However, on my latest trip to Jo Anne Fabrics, I came across the comfiest blue cloth and decided to use the endeavor as an excuse to:
A) Continue working on my sewing skills, and
B) Practice making sleeves.
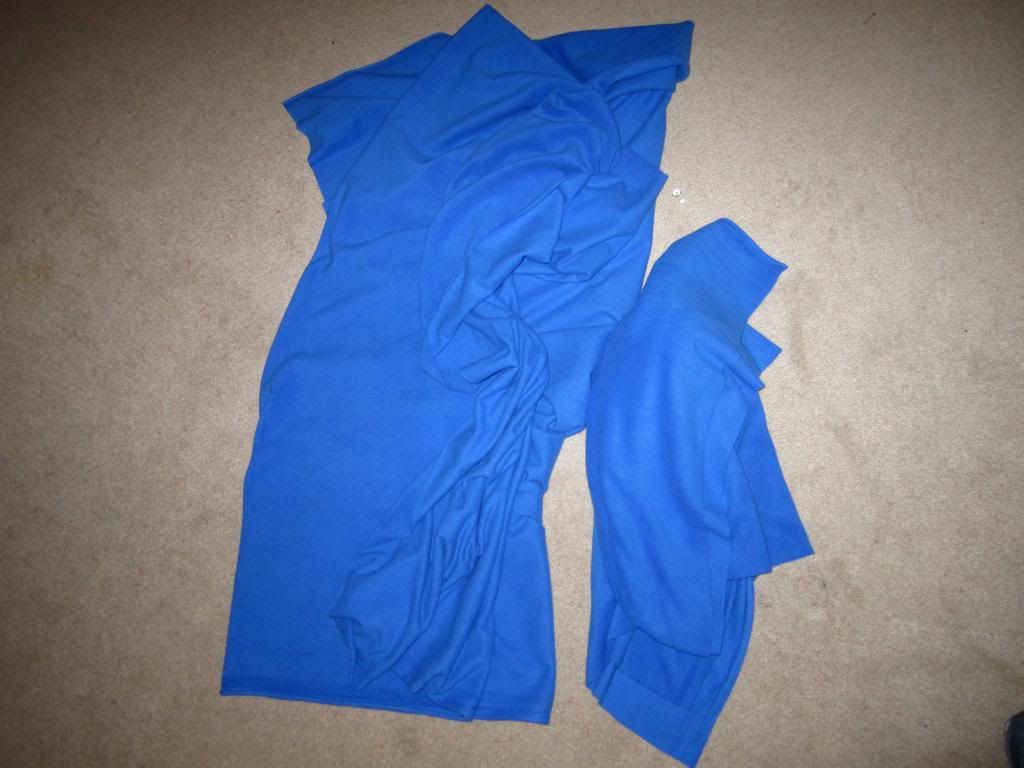
The Snuggie is actually absurdly simple to make. What you first need are two sets of the blanket fabric: one that is one yard long and one that is three yards long (if you are under 5'6", I suggest saving money and only buying two). The best part about fabric stores is that you can ask them to do that cutting for you right at the store. The only caveat is that you can't return it once your order has been diced up.
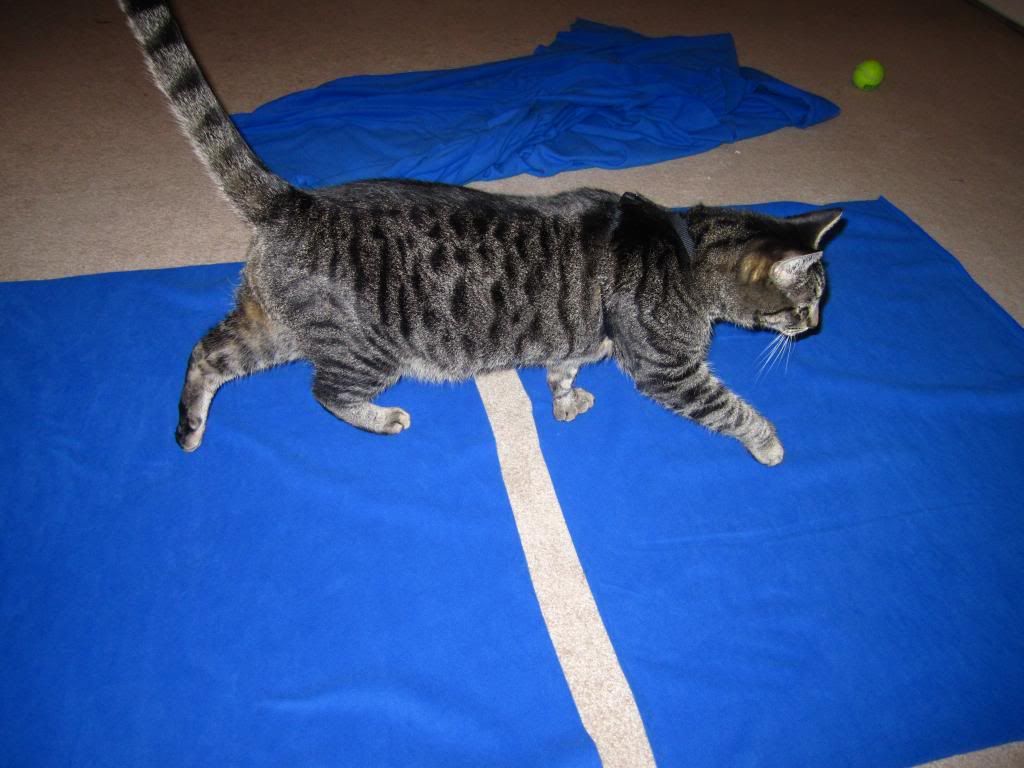
Lay out the one-yard cloth horizontally and cut it in half. Or at least as half as you can, barring nosy cats.
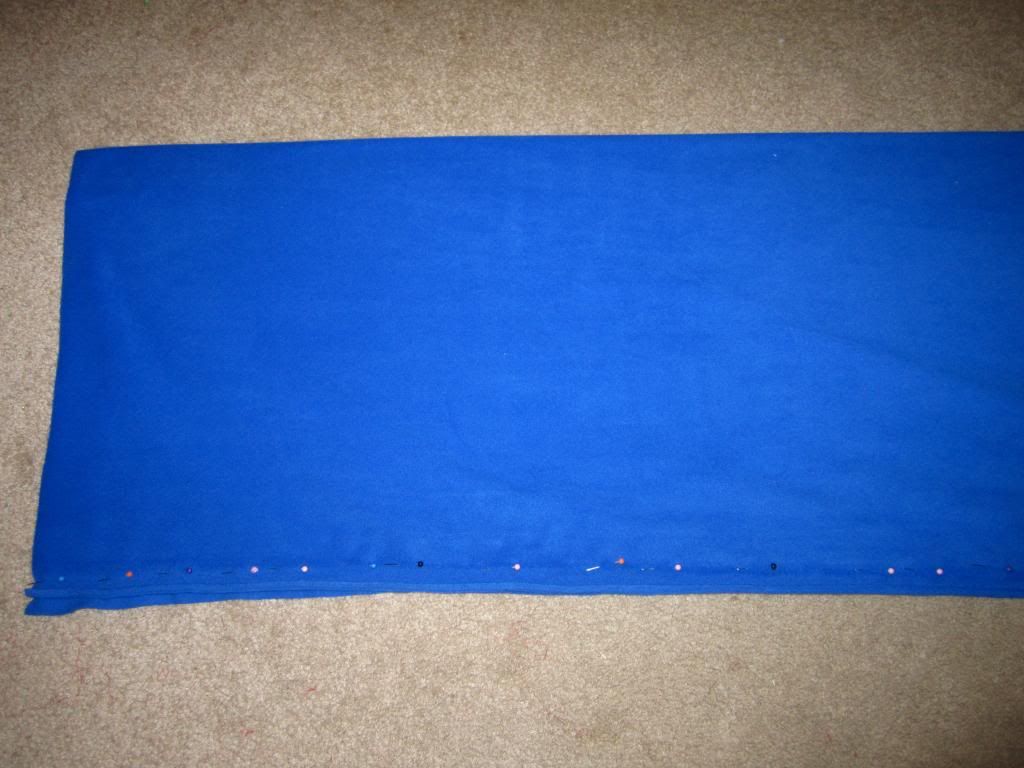
Fold each newly-cut cloth in half the long way, creating two long rectangles. Pin the edges into place. Sew the folded parts together and turn each sleeve right-side out (I cannot stress this enough: remember to
turn them right-side out once you are done sewing them. Forgetting to do this will result in inside-out sleeves and it is a pain in the ass to redo everything to fix that).
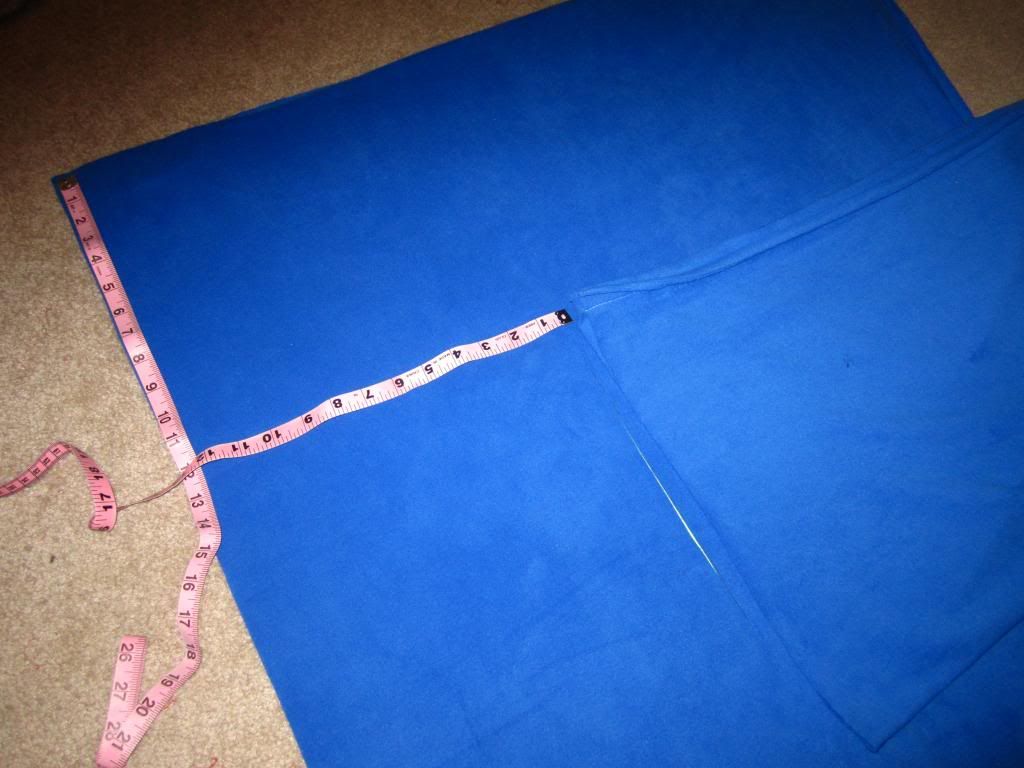
Next, fold the three-yard cloth in half the long way as well, creating a 9 feet x ~3 feet rectangle. Measure the distance from the halfway point of your chest out to your shoulders. Round up if necessary. For me, this came to around 12 inches (11 2/3" before rounding up). I then measured from my ear to my collarbone, which also came out to around 12 inches (this should give you some perspective, in case you were wondering just how tall I am).
Using these numbers, I measured 12 inches down, 12 inches across on the cloth. Using my rotary cutter, I made a small mark, just to know where I was. I then lined up one of the sleeves to the hole and added onto the initial cut until I had a line that was roughly 3/4 the length of the sleeve's edge.
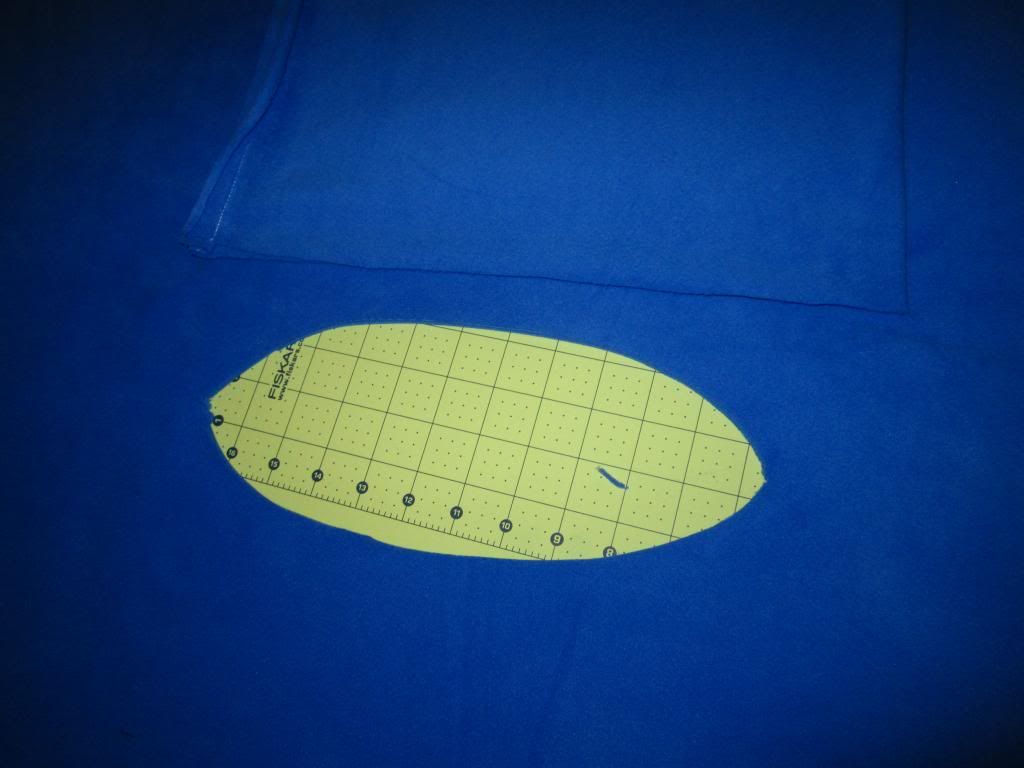
I'm sure there is a wonderful and simple mathematical equation and game plan for this next part, but, for me, this part was purely trial and error. Using my rotary cutter, I made incrementally bigger ovals, making sure both layers of fabric were getting cut. Before each new cut, I would slide a sleeve into the oval. The hole should fit the sleeve perfectly, but it is okay if the hole ends up a smidgen bigger. It's easier to fold some of the fabric at the bottom of the oval than it is to try to fold the sleeves.
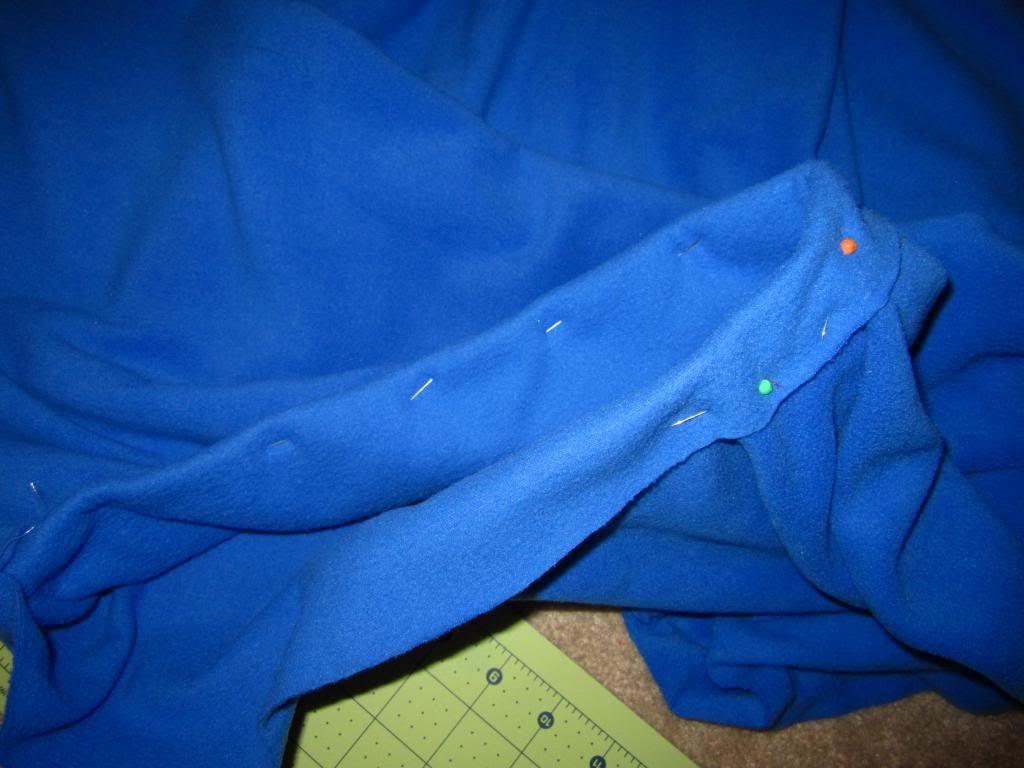
The next part is probably the trickiest. I unfolded the cloth and, one sleeve at a time, slid a sleeve in about two or so inches. I then folded the cloth over the hole and pinned all three layers -- the sleeve, the base cloth, and the folded-over section -- in place.
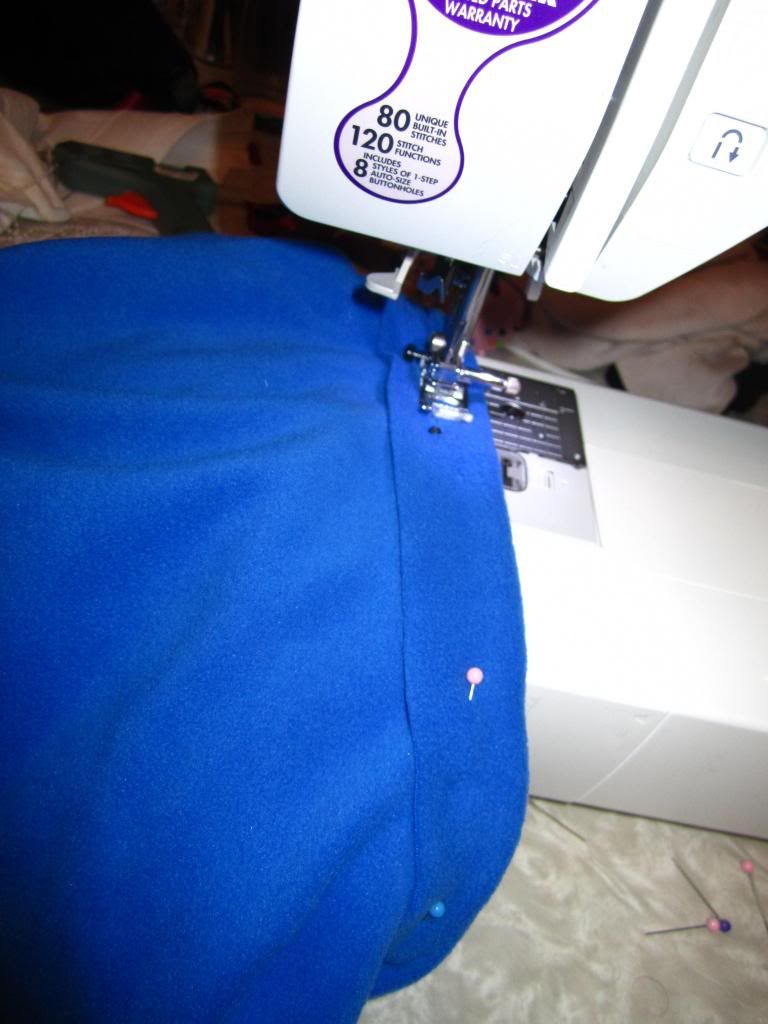
Sewing it into place was a slow process, especially since I had never sewed on sleeves before. I had to routinely check to make sure all three layers were being sewed into place.
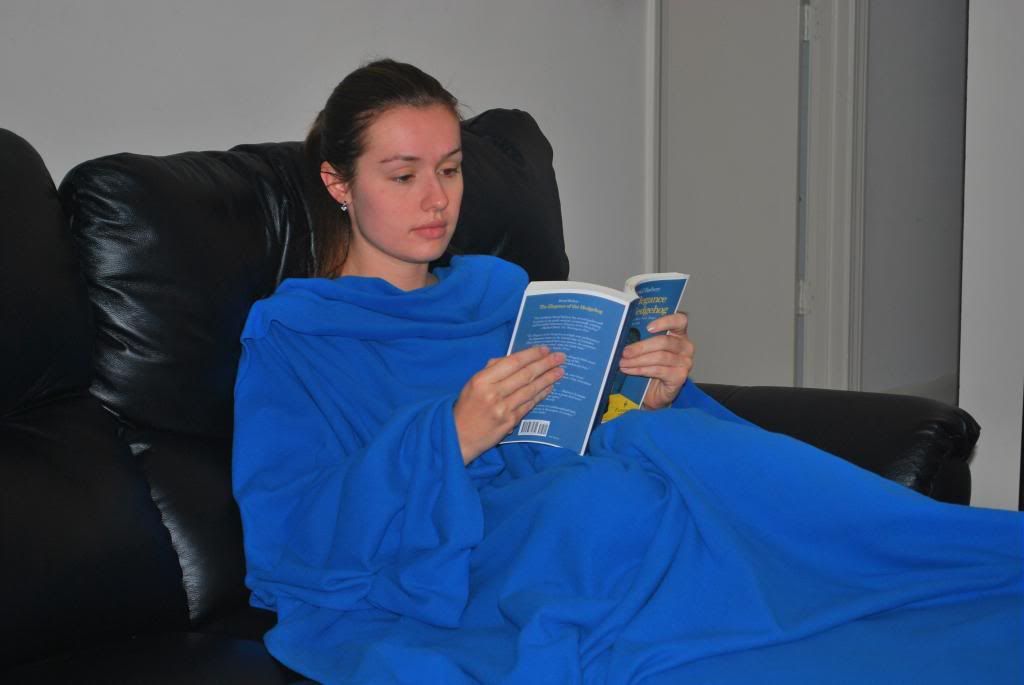
And then, you are done! You have your very own Blanket With Sleeves. You probably saved no money making one yourself, since blanket fabric isn't cheap, but at least you contributed money to a crafts store instead of the Snuggie corporation.

No comments:
Post a Comment