My husband noted that I tend to cover every wall our of place with frames and other decorations. He then joked that there were still a few walls that I hadn't covered just yet. And, thanks to
this website, I found a way to decorate one more wall.
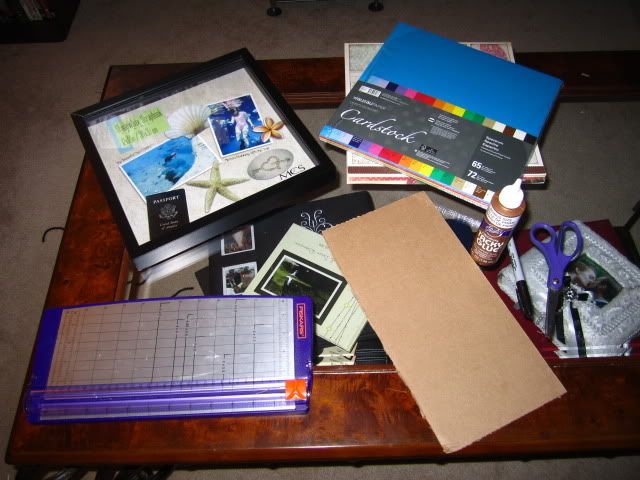
For this, I got out my: cardstock (specifically the kind that is colored on both sides. This is common with solid-colored cardstock), cardboard, scissors, my scrapbook paper trimmer, scrapbooking tape and my Sharpie. I bought a relatively cheap 12 x 12 shadow box (they sell them for $10 at Target).
I know I have craft glue out but -- to be honest? -- I hate glue. I like crazy glue and hot glue and that's about it. White glue can jump off a large cliff and hit every rock on the way down. And, after a disastrous trial run with this project, I quickly abandoned the glue for scrapbooking tape.
I first tried glueing a 12 x 12 piece of cardstock to the background portion of the shadowbox. The result was terrible. White glue and I are just not friends. We gossip about the other to our mutual friends and we give each other the stink-eye at parties. We just don't get along. So, after scraping all of the cardstock and glue off the background, I used scrapbooking tape instead.
Now, I used a very simple cardstock background for my shadow box. I have patterned cardstock of all varieties, and it was tempting to use some of my more ornate patterns, but I decided on the most subdued pattern in my stack: a gray "textile" pattern (which I didn't take a picture of because I was too busy sending nasty emails about white glue). But the steps are quite simple: tape up the back of the cardstock background and press it onto the background portion of the shadowbox, making sure to line up each corner with the corner of the background.
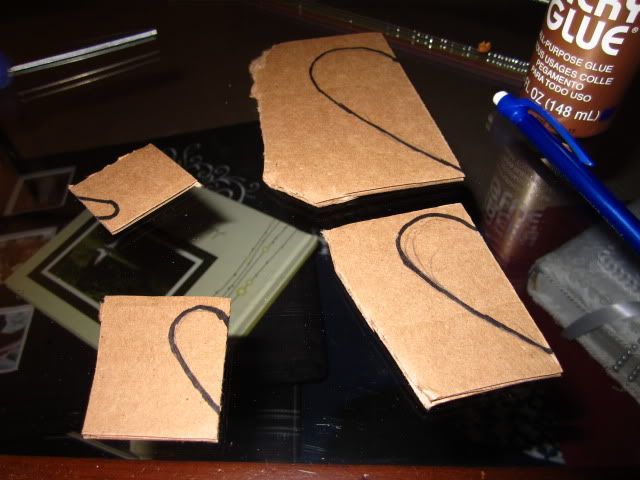
I then created the stencils out of the cardboard. I made four sizes (although I abandoned the smallest stencil pretty quickly). Remember that these petals will be heart shaped, so create your "half heart" accordingly. Whenever I make those "folded hearts", I always cut it in a way so that the dip at the center of the heart is never "dippy" enough (creating more of a chipped spear than a heart), so creating the right half-heart took a bit of trial and error.
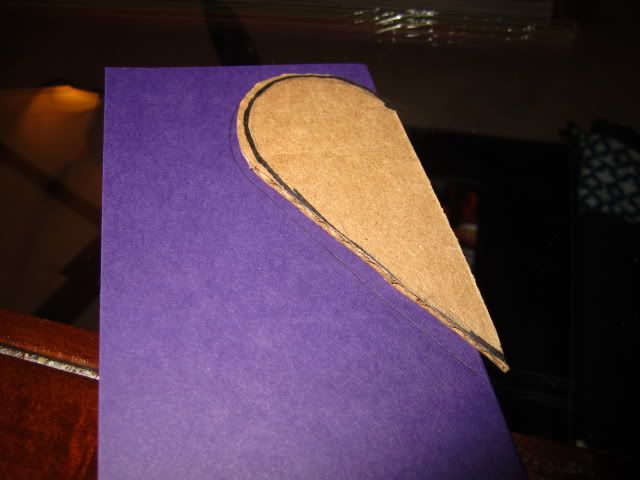
And then, I traced! And I traced, and I traced, and I traced. Using my trimmer, I cut strips of the double-sided cardstock to a little over twice the width of the stencil. I then folded the paper in half, lined the flat portion of the stencil against the fold, and traced. Each flower needs 7 or 8 "hearts". So, even just a few flowers required a lot of tracing.
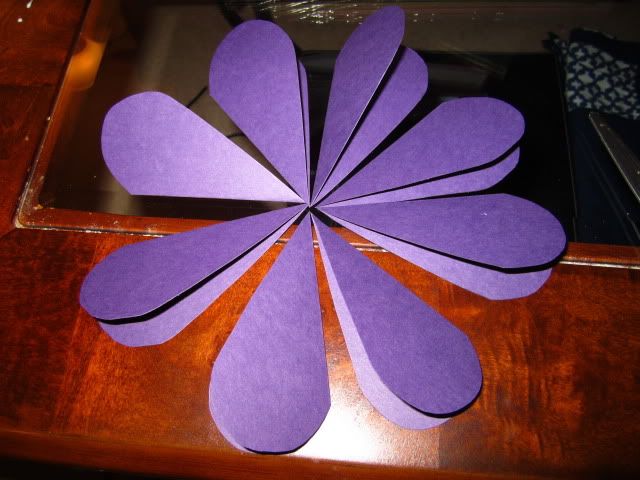
To figure out what pattern I wanted, I arranged the flowers on the table, every petal facing the same direction.
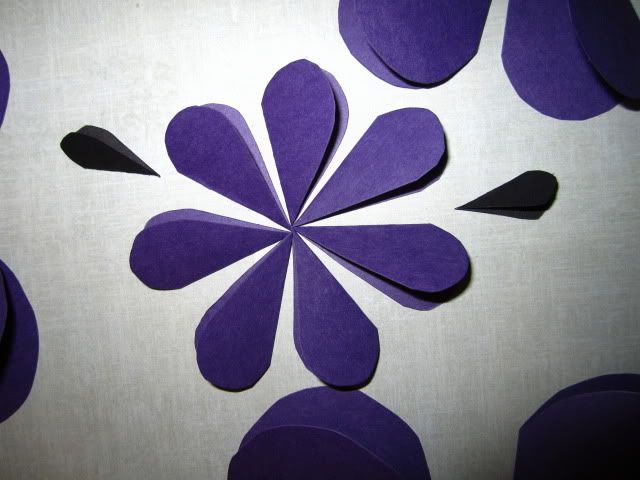
After that, it was simply a matter of taping the bottom side and sticking them to the cardstock background. I cut out some black hearts as petals. Honestly, the possibilities are endless. These "folded hearts" can be arranged in any pattern, from raindrops to patterned spirals. The website I got this from has some amazing ideas for designs. It's all about what your aesthetic is. And I'm truly of the belief that, if you don't think about it, anyone can create the aesthetic that is perfect for them and their environment. You'll be amazed what you can create when you just don't
think.
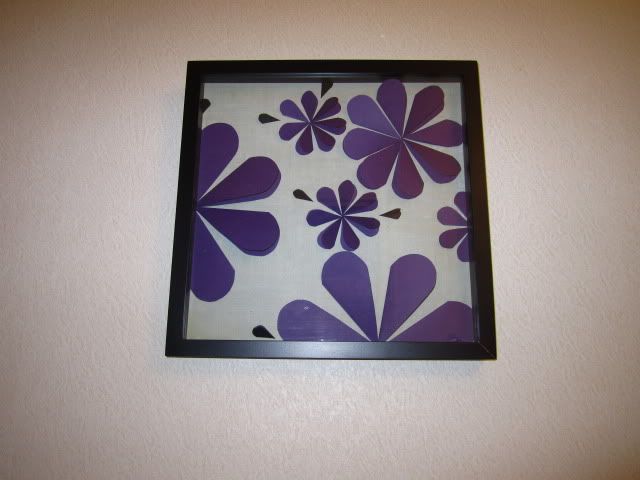
The next day, I hung it up on one of our few bare walls. I think my husband is officially done pointing out the few bare walls we have left.

No comments:
Post a Comment