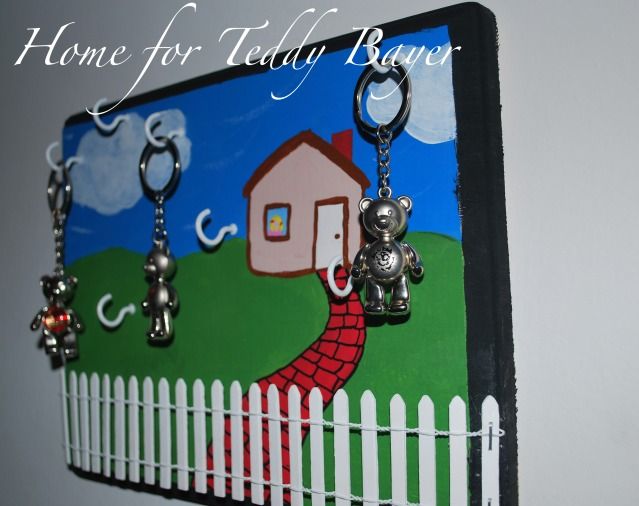
Once upon a time, I went to Ft. Lauderdale on a quasi-family vacation with the man who would later become my husband (and his brother and sister, who would become my in-laws). I bought a teddy bear keychain from a tourist trap, named him Teddy Bayer (because I'm a smartass), and spent the rest of the trip photographing him at the various places we went to. For some reason, I got a huge kick out of posing him at restaurant tables, pretending to hold a fork.
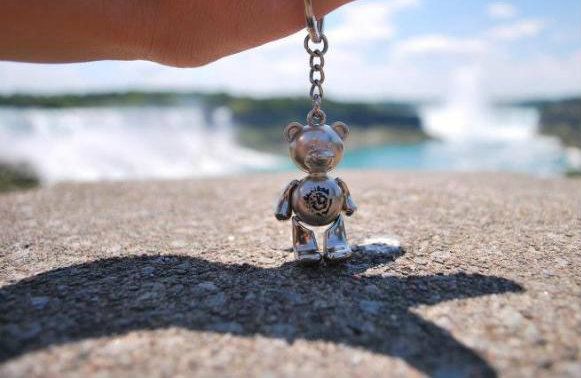
He quickly became my travel buddy, getting his picture taken wherever I went. Then, on my honeymoon, I found the Rome version (and named him Roma Bayer, because I'm not only a smartass, I'm also unoriginal). On my trip to North Carolina for my
cousin's wedding, I picked up the Raleigh version (named -- you got it -- Raleigh Bayer). I realized they needed a better home than the confines of my carry-on. So, like usual, I raided Michael's and made my version of a key holder.

I got the following: a wooden panel, acrylic paints, paintbrush, miniature fencing, and metal screw-in hooks.

I first measured how much fence I would need, since I decided that my "home" for these keychains would be a literal home, with a white-picket fence and everything.

After using my wire cutters to trim the fence, I bent the last picket on each side, so that the edges would rest on the side of the board.

I then sketched out what I would want as my "home" scene. I decided that, on top of making a literal home, I wanted to make the only type of home suited for three bears: cottage with a Goldilocks inside. This was going to be interesting, since I have no real painting skills.

I started with all the major painting portions/background, first with the sky, then the grass, then the broadside of the house.
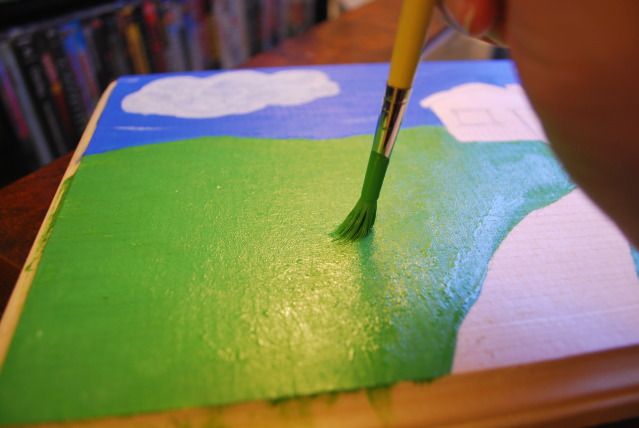
I create some texture to the "grass", I dotted my paintbrush against the first layer of grass.

After the majority of the painting was completed, I used my wood paint marker to create "bricks" in the walkway and outline the home.

This is "Don't Do What I Did", part 1. DON'T use something as thin as a receipt to edge your border. The paint bleeds through and you'll end up repainting a section. Cardboard or painter's tape is forever your friend in this situation.

After everything was dried, I arranged my "bears" to figure out where the hooks should go. I'd place a dot near the top of the inner edge of each keychain's loop, let the dot dry, and then reposition one or two of the bears to figure out where additional hooks should go.
The next part I let my husband do, since carpentry is not one of my strengths: my husband drilled small holes where I had marked and screwed the metal hooks into place.

This is part 2 of "Don't Do What I Did". Now, I tried using carpenter's glue to put the fence in place. This was a horrific failure. Thankfully, a few staples from a staple gun along the wire portions of the fence (NOT the middle, as that will shatter the fence, causing you to cut out another length of fence. Part 3 of "Don't Do What I Did") did the trick.
I then purchased Sawtooth Hangers from Home Depot.

Again, this was something I let my husband do. He drew a straight line about 1" from the top, and screwed two sets of sawtooth hangers at the 1/3 and 2/3 mark.
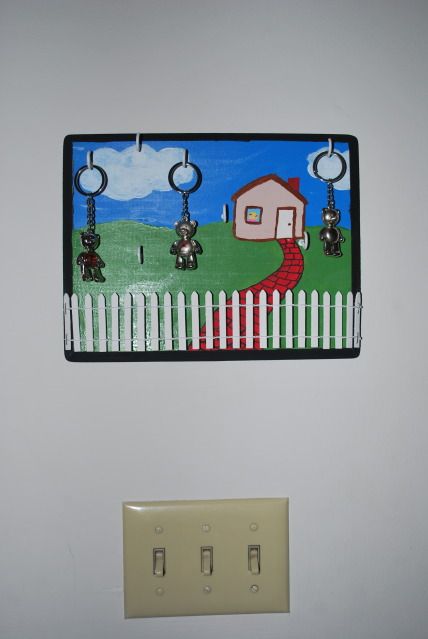
The Goldilocks isn't as obviously-Goldilocks as I'd liked her to be, but I love the result.
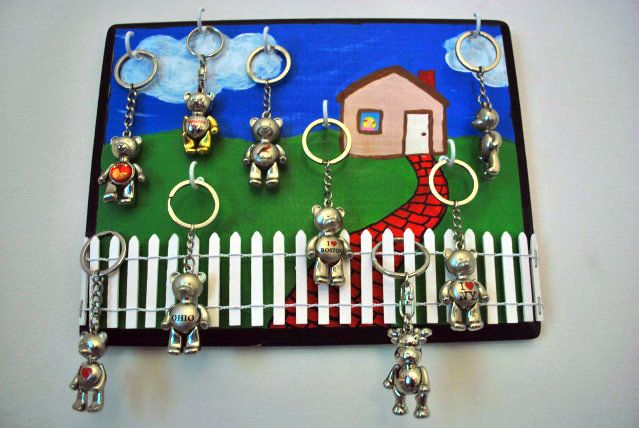
Now, I wrote this up about 3 months ago. The irony is that the original last line was, "Now I need to fill up the other hooks!" Be careful what you wish for. My husband and I ended up traveling to a handful of other places (all of which had those teddy bear souvenir keychains for cheap). So now, as you can see, not only do I have all the hooks filled, but I have a few hanging out by the fence, literally. Time to make another!


No comments:
Post a Comment