Now that I've tried my hand at
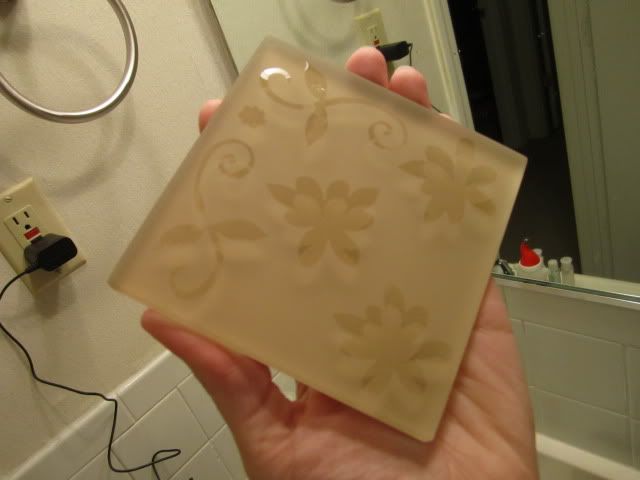
glass etching a frame, it was time to try making my own tile coasters.
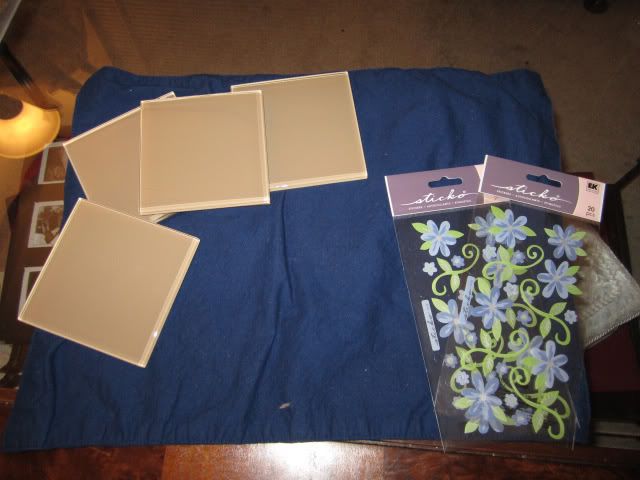
For the first part of the project, I got: 8 glass bathroom tiles (you can purchase these individually at Home Depot for about 75 cents each. The only drawback is that you're essentially stuck with glass tiles that have beige or green backing. No black backing, much to my chagrin.), flower stickers, etching cream, contact paper, a paintbrush, and an exacto knife.
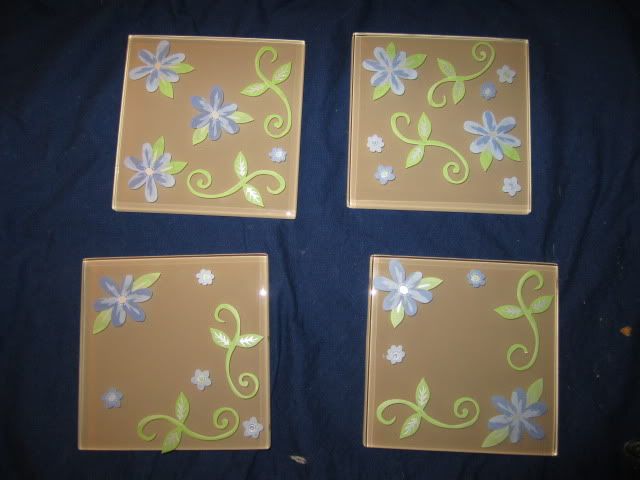
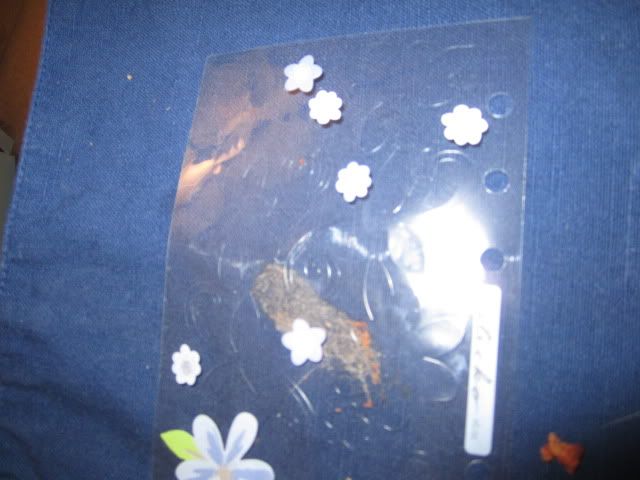
I split the tiles into two groups: tiles that would be almost entirely etched and tiles that would be minimally etched. The first group -- the entirely etched group -- was the easiest to prepare. I simply placed the stickers on the tiles. Keep in mind that where the stickers are is where the glass will
not be etched. And don't worry about placement: I found that I created the best pattern when I just didn't think about it. The ones in the picture with stickers all over the place are the ones that I did first, when I thought too much about it.
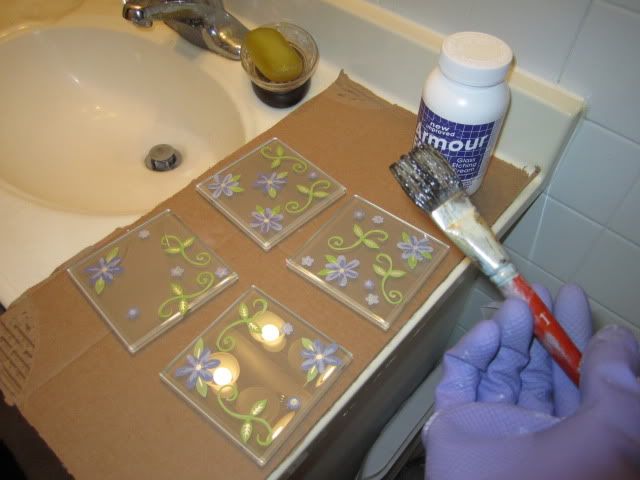
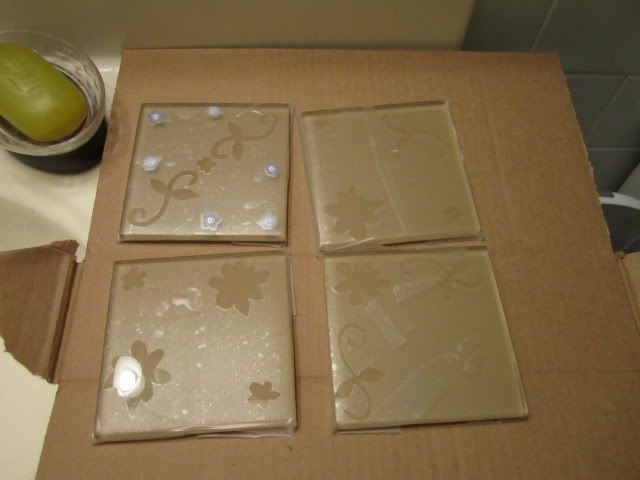
Bring the tiles into the bathroom, slap on some gloves, and slather them with etching cream. And remember: if you can see the glass, you run the risk of streaky and uneven etches.
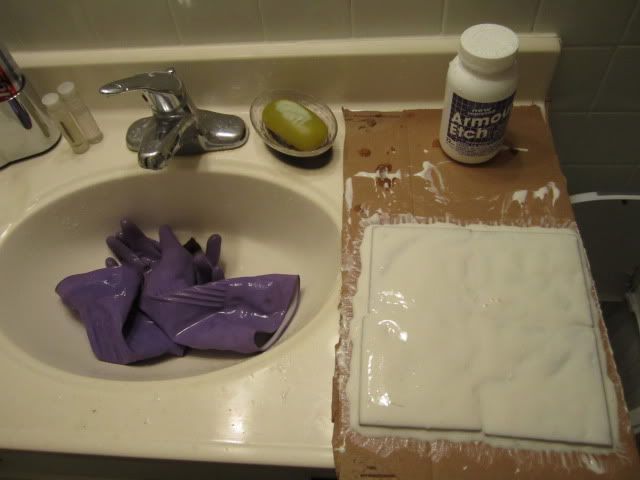
On top of slathering up the sides, to make sure the edges were etched, I slid the tiles toward each other so that they were about half a centimeter away from either other. Everything looked like a big, Taco-Bell-fart-smelling cake. Delicious.
After about 10-15 minutes, I rinsed everything off, stickers included. It was sad, using such nice stickers for etching, but I loved the design of them. Casualty of war.
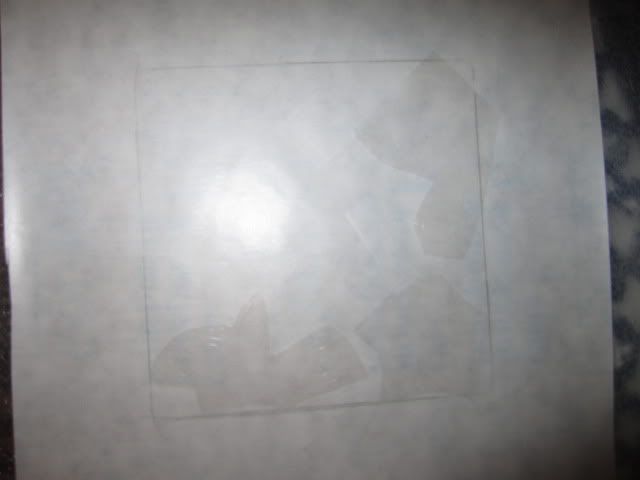
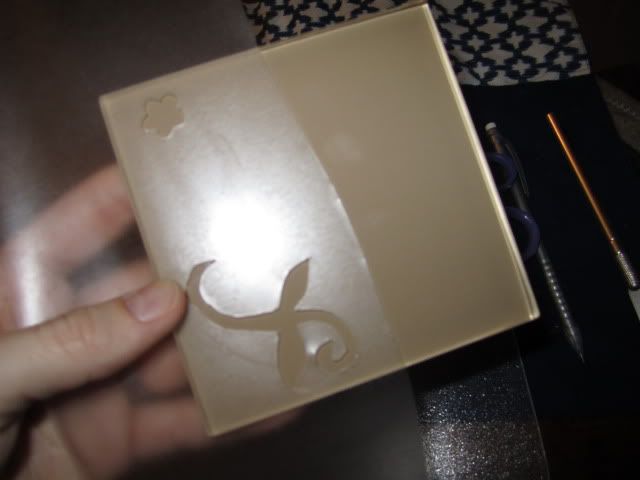
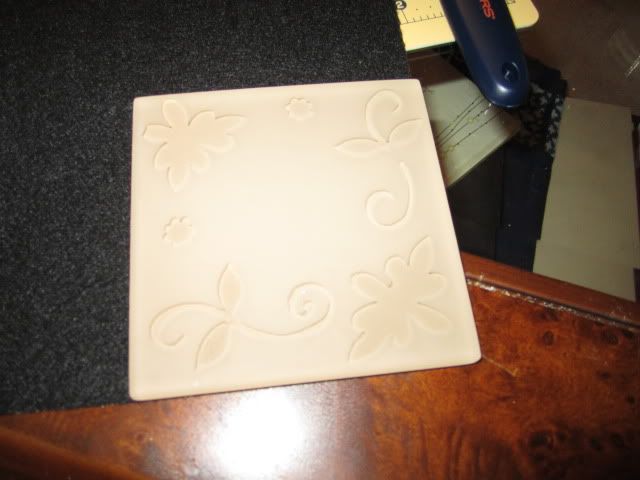
And now, the less fun group: aka the minimally-etched group. For these, I used the sheets the stickers were on as a kind of stencil, since I could see the outline of the flowers/vines.
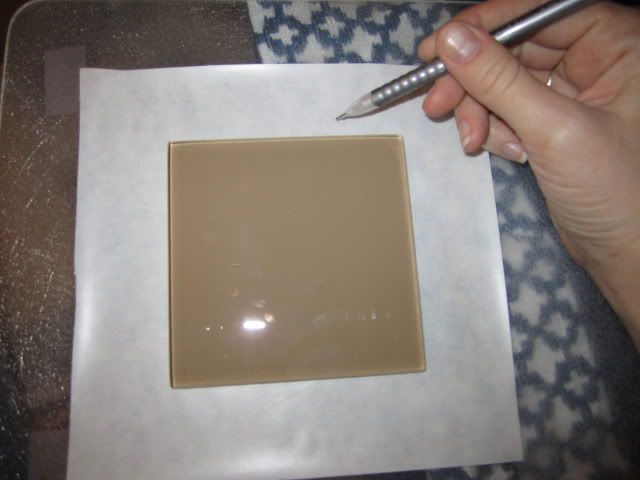
I first taped squares of contact paper onto a cutting board. To get an idea as to where I should put the "stencils", I traced the tile with a pencil (although, looking back, pencil sucks on contact paper. Better use a pen or a thin Sharpie).
I cut around the shapes I wanted and taped them to the contact paper, then like with the glass frame, I meticulously and painstakingly cut out each shape. I almost caved and thought about using the few stickers left to make really, really etched tiles.
Like the frame, I suggest cutting the contact paper in half before placing it on the tile. Your trace is never going to be perfectly exact, so give yourself the opportunity to move things around.
Again, bring said tiles to the bathroom and lather, rinse, repeat with the etching cream. Thankfully, I needed a lot less etching cream with this batch.
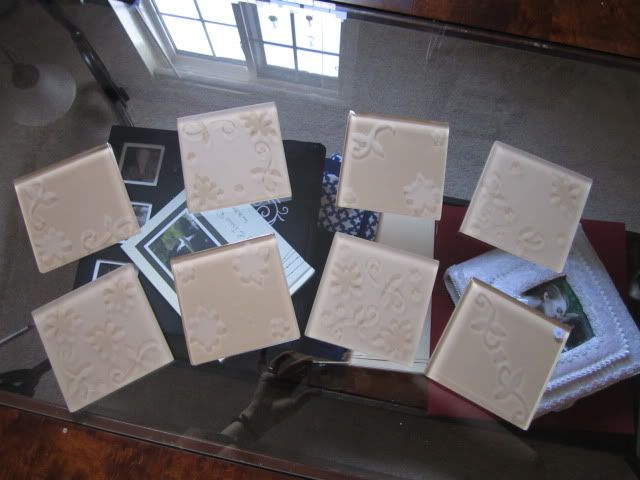
I really like how these came out. However, I recognized that, even though the backs were smooth, I was petrified that the backs of the tiles would scape up the wood or glass of our tables. Hence part two:
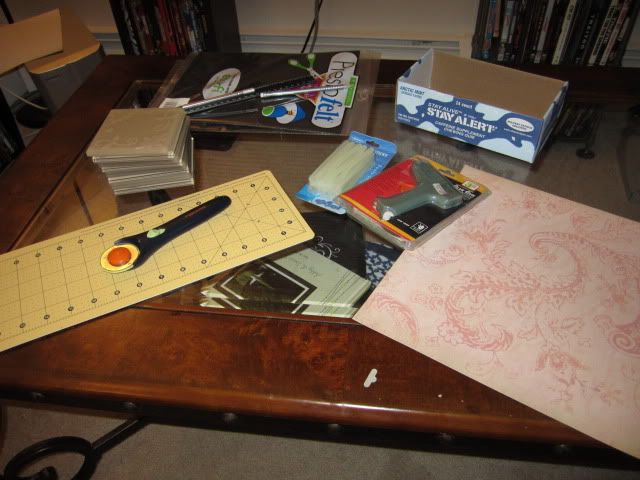
For part two, I got: 2 sheets of adhesive felt (which I got
here. I recommend buying a lot and saving some for later. The 9 x 12" sheets are relatively cheap; the shipping is not.), my rotary cutter, a box that was around 4" in width and at least 4" in length, a hot glue gun, contact paper, and clips.
I cut 4" x 4" squares in the felt with my rotary cutter for the backs of the tiles. I recommend cutting primarily from the corners, as you'll already have two straight edges.
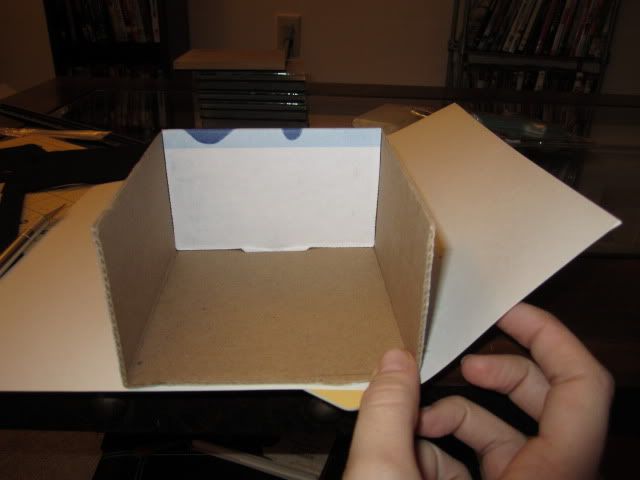
For the coaster holder, I cut a box that once housed caffeine gum at the 4 1/4" mark using my exacto knife. I turned over the card stock, placed the box on the edge in the center, and folded each side.
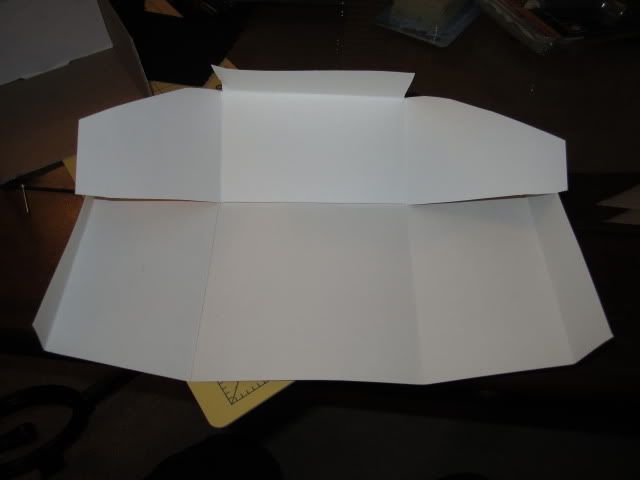
This is what the cardstock looked like after folding and cutting. I first cut along the horizontal fold until it met with the vertical folds before cutting and rounding out the corners of the two large upper flaps.
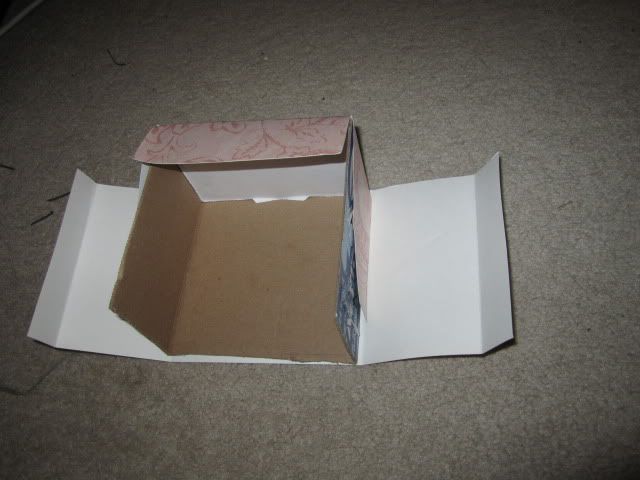
I glued the bottom and back folds first, securing them with a clip as quickly as possible. I then glued the sides and clip, paying close attention to the portions that fold over the box.

Since the entire gluing process was nothing short of Me Against the Glue Gun, I left this overnight. Hot glue is usually completely cooled within minutes, but I wasn't taking any chances.
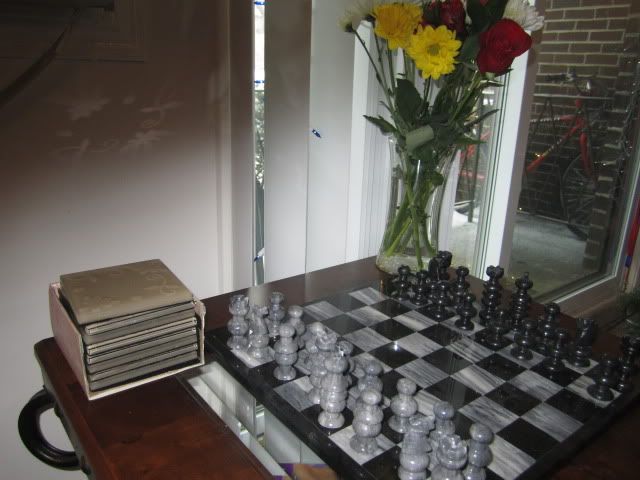
I'm extremely happy with the results. I'm also extremely happy with this picture. It was originally a flub: my index finger slipped and blocked a portion of the flash. But the reflections I captured on the wall are definitely no flub!

Thanks that I found this valuable blogsite that talks about etched glass, so for those who want to try etching glass art work its easy to do it if they read this blog first.
ReplyDeleteWhen you start making an etched glass coasters, of course you need time and effort to get good result. But with these glass coasters, you will now have a cute decorations inside your house and a gifts for any special occasions.
ReplyDelete