Apparently,
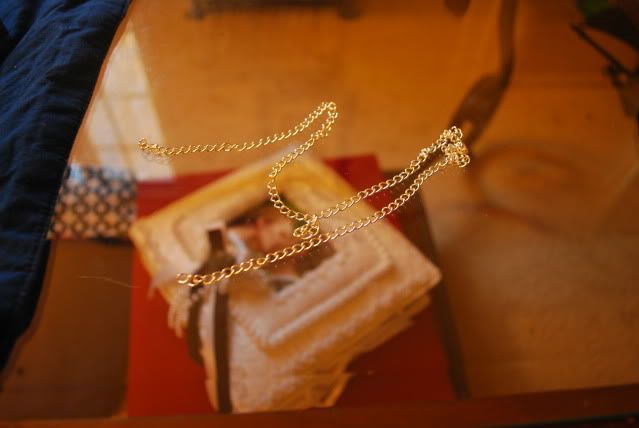
one belly chain isn't enough for me. This is what we call Spent-Too-Much-Time-in-Michael's-itis: when I find myself wandering down the jewelry aisle and finding a pendant that catches my eye, so I devise some type of craft to incorporate it. This belly chain is significantly simpler and quicker to make.

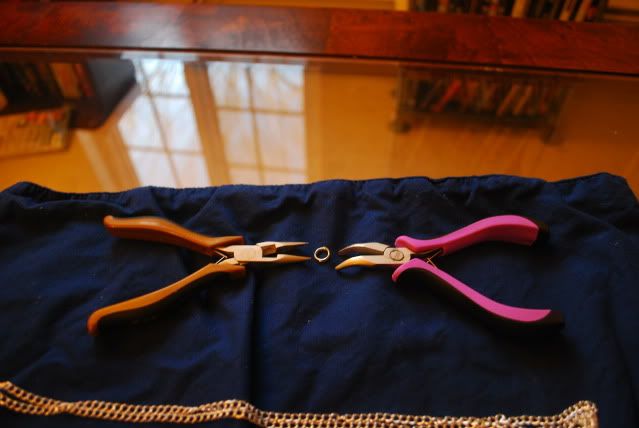
For this, I used: a 96" chain, a cute pendant, needle-nosed and bent-nose pliers, a wire cutter, and split rings. I'm only using split rings because I bought them before I knew what work it was to open them and now I'm trying to use them up. So if you want to get jump rings instead, I recommend it.
First, I measured how long I wanted my chain to me. To do this, I folded the chain in half and measured my waist with it (make sure not to measure your waste with it). Now, keep in mind that the pendant will hang on the ends, so measure how far down you want the chain to go. Use the wire cutters to clip accordingly.
I moved the chain around so that I only had to clip once. What was left was a chain that was perfect necklace length. I'm saving it for a necklace project that I have in mind.
Using my the two sets of pliers, pry the split ring open. I did this by holding the ring in place with the left-hand pliers and slowly pulling the top section towards me with the right-hand pliers. Thankfully, this pendant has a thin loop and I didn't need to open it much.
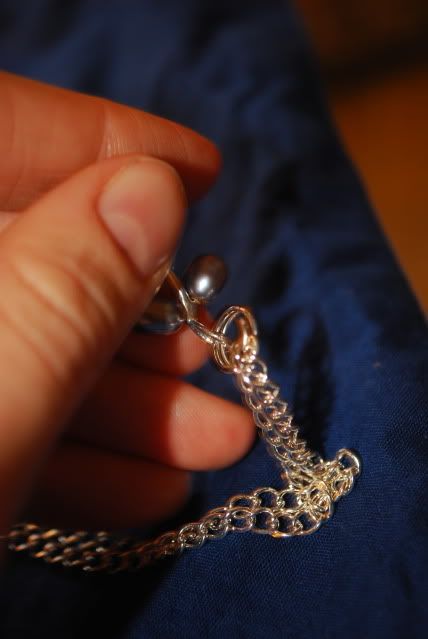
First, slide the pendant on the split ring. Then, take the two ends of the chain and slide it onto the loop as well. Close the loop with one of your pliers.
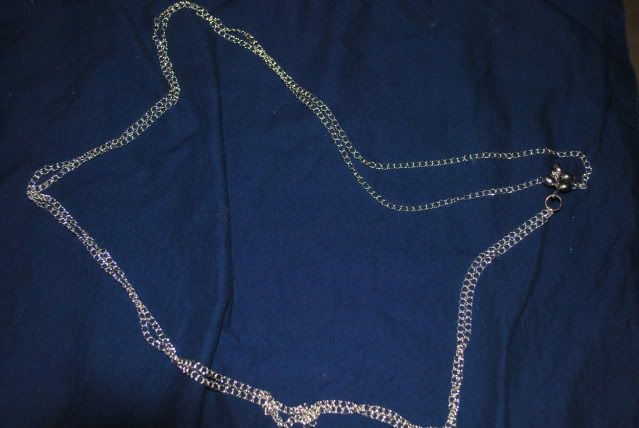
Instead of using a latch or toggle, fasten the chain to your waist (not your waste) by feeding the pendant through the loop.

Like I said: much, much simpler.

Informative! Great thanks for sharing the tutorial for making belly chain. I will try to make this at home.
ReplyDelete