Tuesday, February 26, 2013

Try it Tuesday: Panoramas in Your Hallway

If it's not apparent yet, I have an obsession with decorating my apartment. My friends joke that I'm in the "pre-nesting phase" -- that, before I know it, I'll be getting baby fever (music to my in-laws' ears, let me tell you!). However, with this obsession comes a need for a change.


My micro-hallway originally adorned a few random photographs that I had taken over the years. I was slowly but surely printing out shots and purchasing frames. The goal was to have a 3 frame x 3 frame grid, but I lost steam for this project and gave up after frame #4.


I have an obsession with panoramas, and I've been lucky to get a few panoramas to come out fairly well with my point-n-shoot and smart phone. But I never thought to get them printed out. I always imagined it would be an expensive endeavor -- both to get them printed and to get them framed.


I learned pretty quickly that a printed, framed panorama shot can be as cheap as $25!


I was able to get these 11.75 x 36 poster frames on sale at Michael's. And -- what a coincidence -- panorama shots are routinely printed at 12 x 36!


After some research, I decided to get my panorama prints done at Big Photo Help. Their interface is stuck in 1995, but you can't beat the price! I opted for margins instead of cropping, as I couldn't bare chopping off even a portion of the actual picture. Plus, I was going to have to trim the top and bottom anyway -- why not trim a white or black bar?


The trim itself is super easy to do -- all I needed what a ruler, a pencil, and some scissors. I took roughly .15" off the top and bottom.


The best part about these panoramas is that they help elongate my micro-hallway. Which is needed, because both my husband and I feel like we are outgrowing our apartment at an alarming rate. So anything to make the apartment feel bigger is welcomed!


Also, the panoramas that I chose have such sentimental value, so it's great seeing them on such a regular basis. The top picture is from our anniversary trip to Niagara. The bottom is from atop the Piazza de Michaelangelo in Florence, Italy, on quite easily the best night of my honeymoon (if not my entire life).

Saturday, February 23, 2013

Pinterest Fail: The Simple Stitch Dress

Or: How to Scramble After Completely Messing Up a Dress

Now, this should've been a simple dress. A simple, simple, simple dress. A simple, simple, simple pattern for a simple, simple, simple dress.


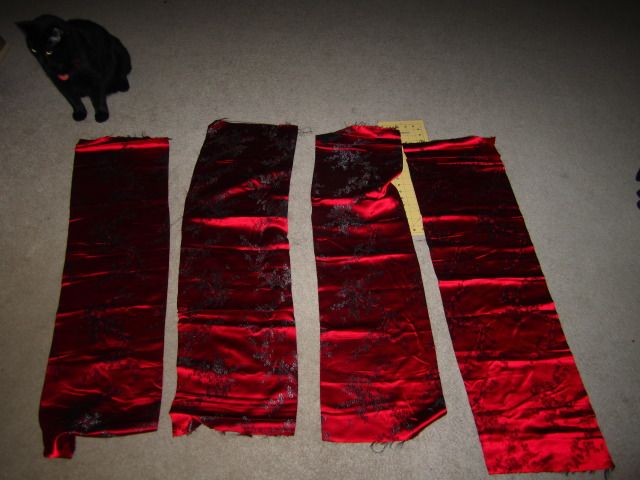
And it was: Take a yard of fabric, cut it into 4 long rectangles, sew it all together (save for arms and head), sew in some elastic. Viola.


So -- how do you completely mess up something so easy? Get the wrong f*cking fabric.


I found it online and I was enamored. Of course, anyone worth their weight in sewing equipment will tell you that you need to feel the fabric before you buy it. But I wasn't thinking about that. All I thought was cherry blossoms -- pretty, pretty!


I think this is Milo protesting what would become a very frustrating endeavor.


So, I did what I was supposed to do: I cut it into long rectangles.


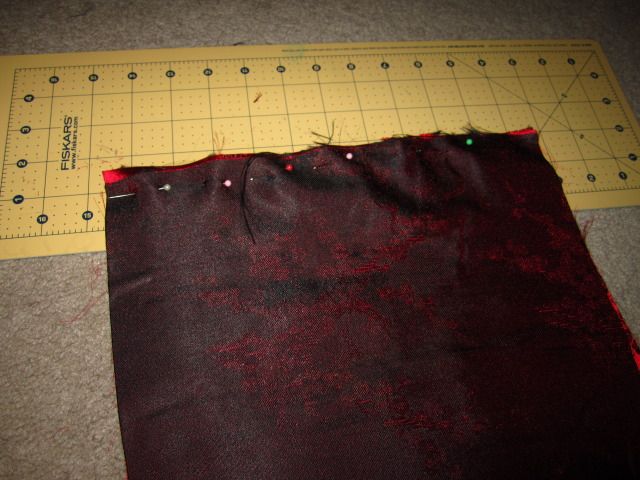
I sewed the top portions together for the shoulders. I sewed up the sides.


I should've known how insane this project would be after I realized I accidentally sewed the sleeves up.


So, this is the dress before doing any elastic-sewing in. Pretty in its own right, right? Wrong. I tried it on and the fabric had no give to it. I looked silly, to be quite frank.


So, I clipped, I hemmed the straps, I tried on again.
Terrible.
Lathered, rinsed, repeated -- still terrible, only with thinner straps.


So I tried one.more.time. And I made them thinner than I ever thought they were going to be. The upshot is that I got to trim the straps inwards toward the neck, a European style for dresses that I love but can never seem find in stores.


And then, I pinned, I hemmed, and it didn't matter how bad it looked. I was done with those straps. I didn't care if I looked like a homeless person mugged a transvestite. I was done.


Since I wasn't exactly ready to add the frustration of adding elastic to the mix, I put on my dress inside out and pinned to folds under the bust. I also pinned up the straps (I guess I wasn't that done with the straps).


This was the first dress I ever made and, to be honest, it's not all that bad. For all its frustration, it could've been way worse.


It doesn't fit perfectly, but that's what a belt is for.


Not what I was imagining when I started out, but, eh, live and learn (and learn your fabrics).

Sunday, February 17, 2013

Life is Like a Box of Chocolates: There's Always a Chance to Upcycle!

Ever wondered what to do with that box of chocolates after you're done with the chocolates?


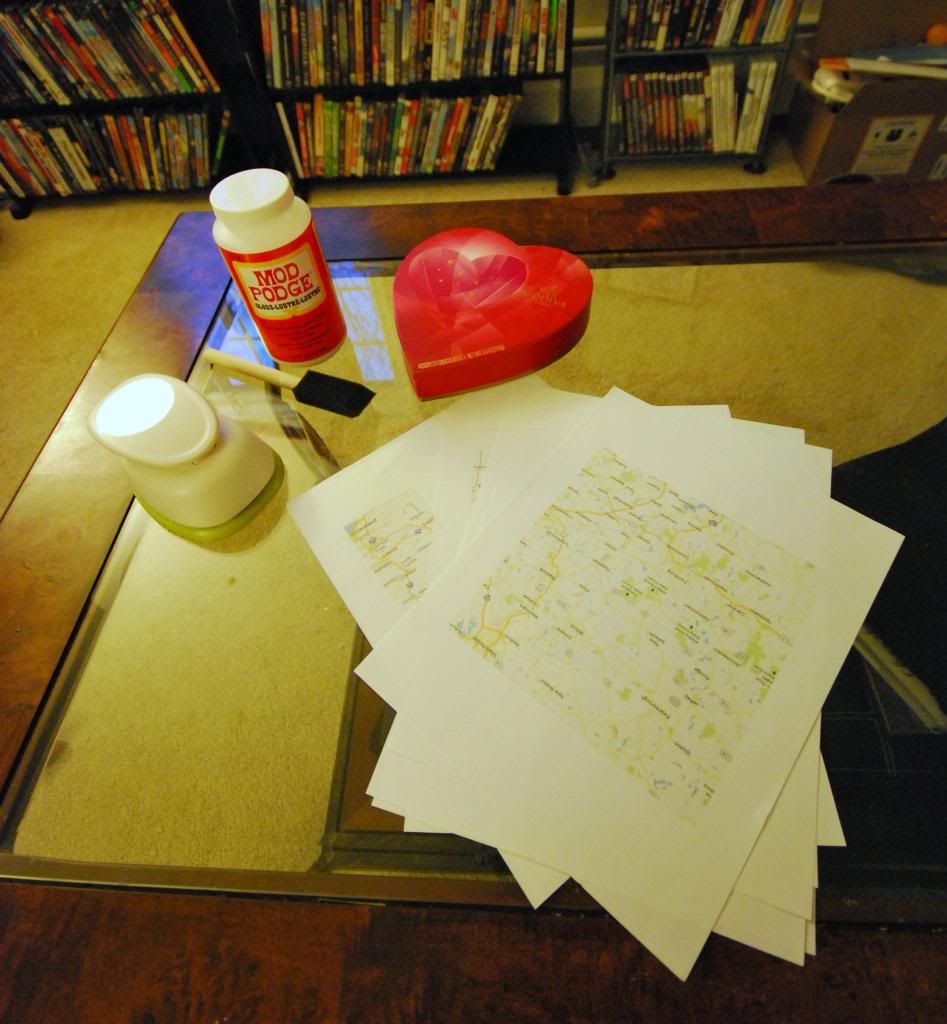
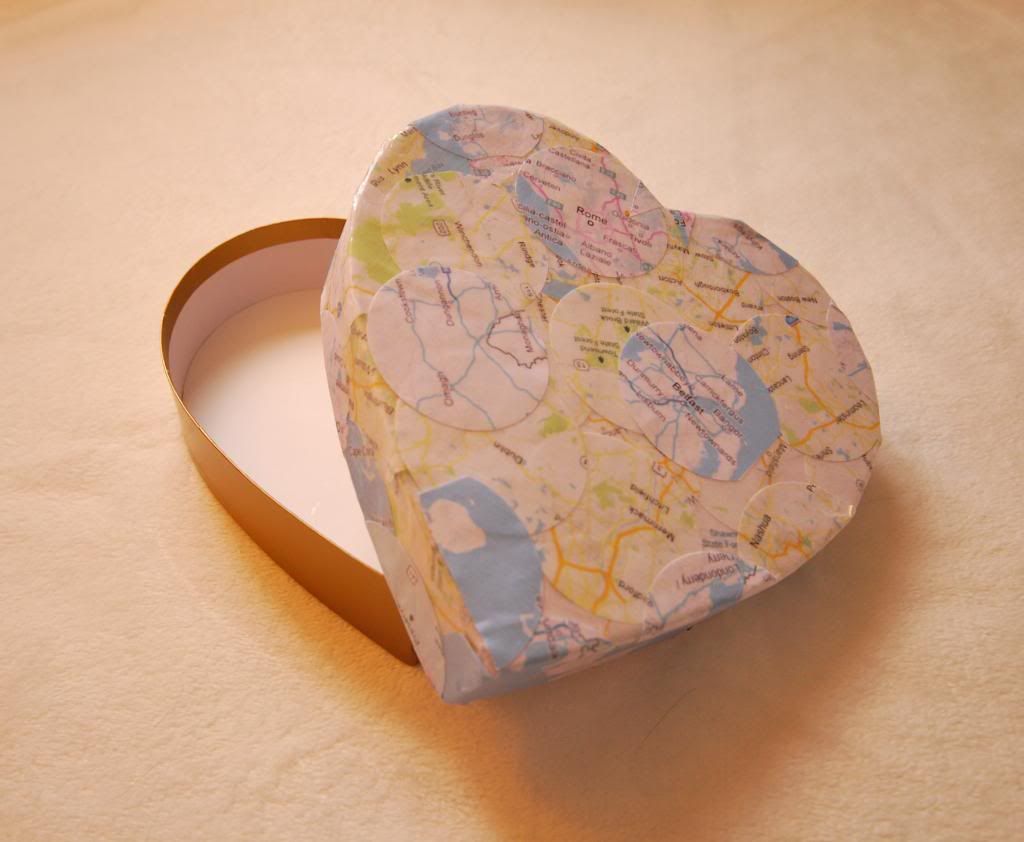
I didn't have the - er - heart to throw out my empty box of chocolates, so I decided to upcycle it into a lovely box of various and sundry things.


For this, all you need is:
- an empty heart box
- Mod Podge
- an applicator of any nature (I used a sponge brush, but a paintbrush, or even just your fingers, works as well)
- maps. You can use anything, from road maps, souvenir maps … I decided to print up maps of areas that mean a lot to me (since I seem to already have a knack for that.)
- optional: circle punch. You can simply cut out the pieces of map, but I wanted something a little more crisp.


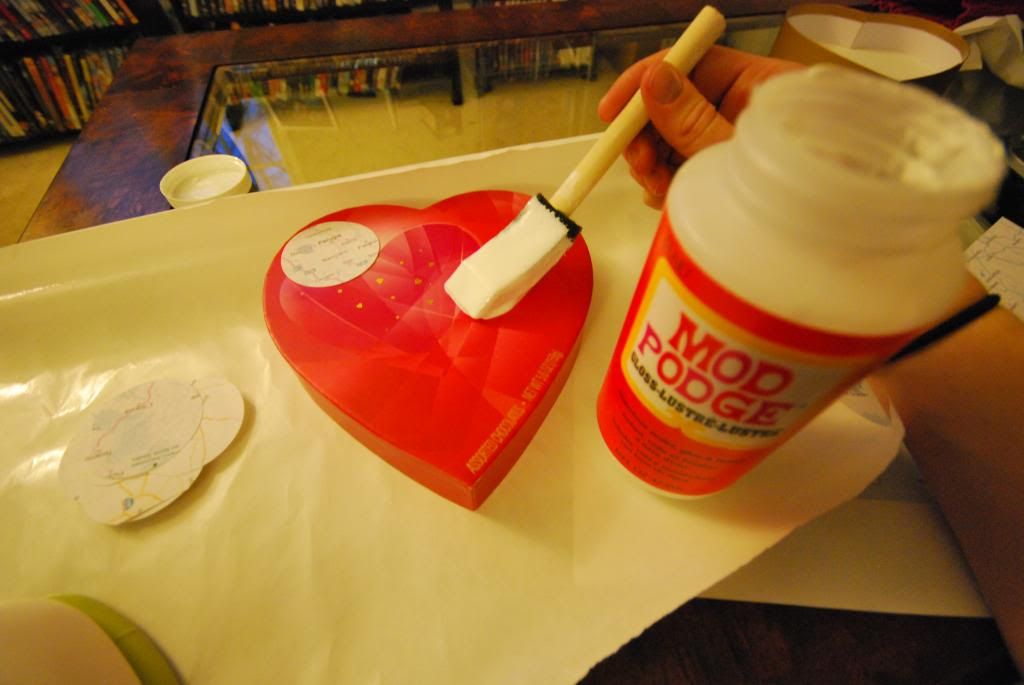
As I've mentioned before Mod Podge is the answer to every girl who got scolded by her art teacher in elementary school for using too much Elmer's. Apply a nice layer of Mod Podge on the box, place cut-up (or circle-punched) pieces of the map to the box, and brush a layer of Mod Podge on top. Wait a few minutes for the glue to dry and continue on. You'll need to make a few layers, especially if your box is a bold color like, say, red, so make sure to print out a good number of maps!


Now the question is: what will this box hold? Items to be scrapbooked? Buttons? Our passports?


Oooh! Our passports…how fitting =)

Friday, February 15, 2013

Photo Friday: February Blizzard & [Insert "Finding Nemo" Joke Here]

The worst part about New England weather isn't the cold, but the inconsistency. After a week of 50* weather, New England was hit with a mega blizzard ("Winter Storm Nemo"). Areas along the coast were blanketed with as much as 3' of snow. And on the 35th anniversary of the Blizzard of '78, no less!


So, dreams of springtime have to be put on hold for a little while longer, but that won't stop me from enjoying the winter wonderland.


This jackal nearly got into a car accident because he decided he didn't need to shovel off his car!


Monday, February 11, 2013

Valentine's Day Idea: Chalkboard Vases


This is a tale of two paints.


This project is simple enough: all you need is a glass container and chalkboard paint.


Now, the question is -- what kind?


This was originally an accident. I went to a small crafts store originally, and all they had was Martha Stewart's green chalkboard acrylic paint (when I was looking for black chalkboard spraypaint).


So, first things first: Green chalkboard paint.


The green chalkboard paint took a long while. I did a layer of paint with regular paintbrush before realizing how easy it was to use a sponge. The sponge was also very helpful with all the nooks and crannies that this glass container had. I would do a coat of paint, let it dry for an hour, and repeat the process at least 3 or 4 times before flipping it over and getting all the parts on the bottom that I missed.


After everything dried, I decided to accent the rim with paint.


I then stopped by my local Michael's and got black chalkboard paint.


By FAR, this is the easiest. The jar, nooks and crannies and everything, was completely covered within 30 seconds. I repeated the process about 2 or 3 times. I never had to worry about flipping it over. Definitely much easier. The only drawback is that this is definitely an outside project. And while I could wash off the acrylic paint, the spray paint (even the tiniest little filaments that would float with the wind onto my skin) stayed. I had to rely on it fading away after multiple scrubbings.


I love how these come out. The best part is that these are non-toxic, so I wasn't worried about sticking flowers in them.


Easiest, the winner is the black spraypaint. Acrylic paint is less messy, but it's way more work.


Okay guys. Listen up. Here is the express version of this craft: take a glass soda (or beer) bottle, coat it with chalkboard paint, place a few picked flowers it, write her a sweet message, and leave it where she will find it (assuming she likes flowers). Turn her heart into glitter in two seconds flat.

Saturday, February 9, 2013

Make Your Own Snuggie - er - BlanketWithSleeves

The Snuggie could only thrive in a culture like ours. Originally a tacky, unnecessary invention that should've gone the way of many infomercial laughtasters (that's "laughter" and "disaster" combined). People first bought it ironically -- either for themselves or as gag gifts to other people รก la the Chia Pet. However, the gag was on the buyer, as those who got Snuggies realized how comfortable they were and actually started enjoying them.


And the Snuggie corporation wasted no time getting in on the joke. Gone was the genuine black and white footage of people struggling with sleeveless blankets and, in its place, people sang the Macarana while trying the leopard print Snuggie on for size.


I could never bring myself to buy one, even as my sister-in-law touted its comfiness. However, on my latest trip to Jo Anne Fabrics, I came across the comfiest blue cloth and decided to use the endeavor as an excuse to:
A) Continue working on my sewing skills, and
B) Practice making sleeves.


The Snuggie is actually absurdly simple to make. What you first need are two sets of the blanket fabric: one that is one yard long and one that is three yards long (if you are under 5'6", I suggest saving money and only buying two). The best part about fabric stores is that you can ask them to do that cutting for you right at the store. The only caveat is that you can't return it once your order has been diced up.

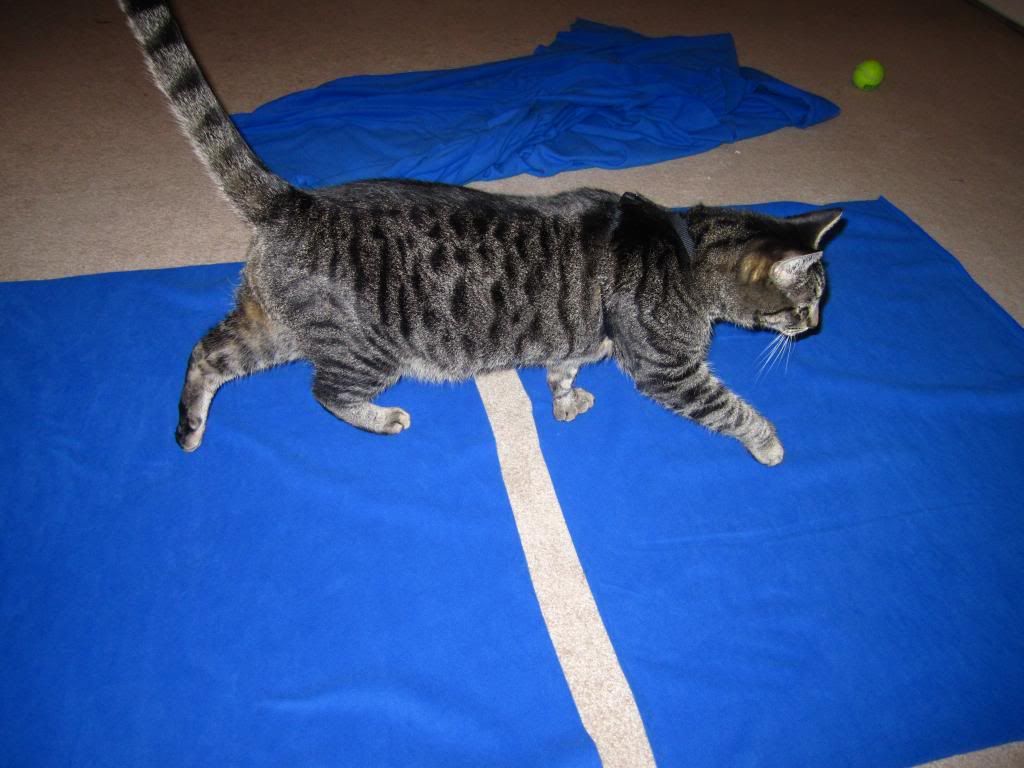
Lay out the one-yard cloth horizontally and cut it in half. Or at least as half as you can, barring nosy cats.


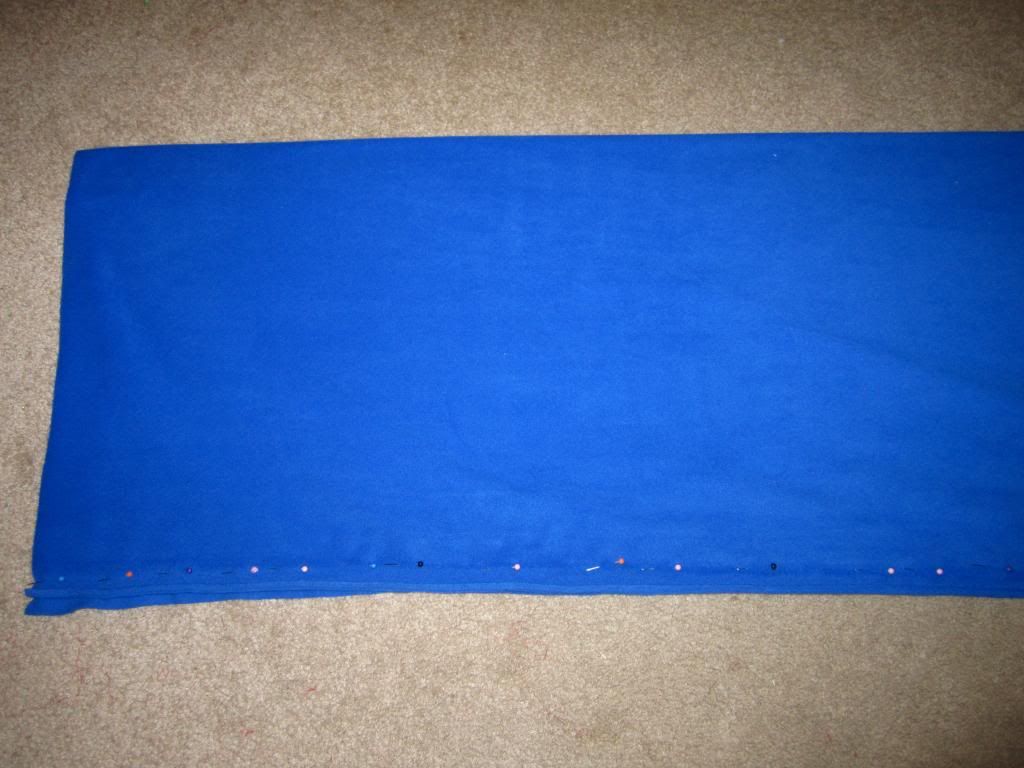
Fold each newly-cut cloth in half the long way, creating two long rectangles. Pin the edges into place. Sew the folded parts together and turn each sleeve right-side out (I cannot stress this enough: remember to turn them right-side out once you are done sewing them. Forgetting to do this will result in inside-out sleeves and it is a pain in the ass to redo everything to fix that).


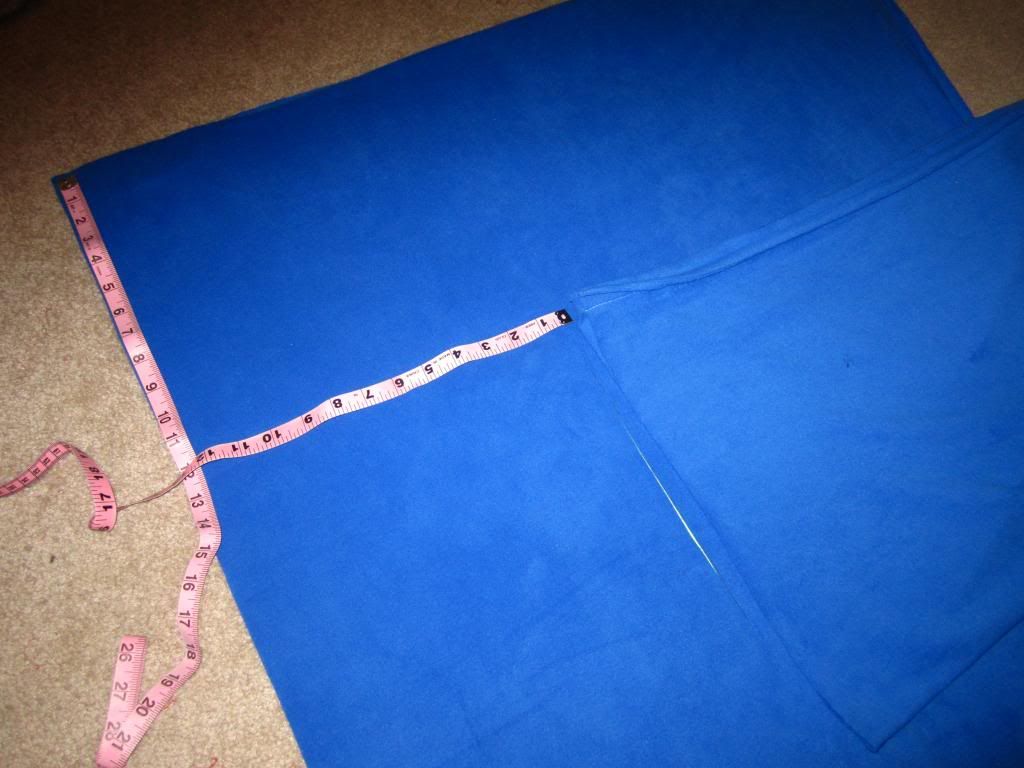
Next, fold the three-yard cloth in half the long way as well, creating a 9 feet x ~3 feet rectangle. Measure the distance from the halfway point of your chest out to your shoulders. Round up if necessary. For me, this came to around 12 inches (11 2/3" before rounding up). I then measured from my ear to my collarbone, which also came out to around 12 inches (this should give you some perspective, in case you were wondering just how tall I am).


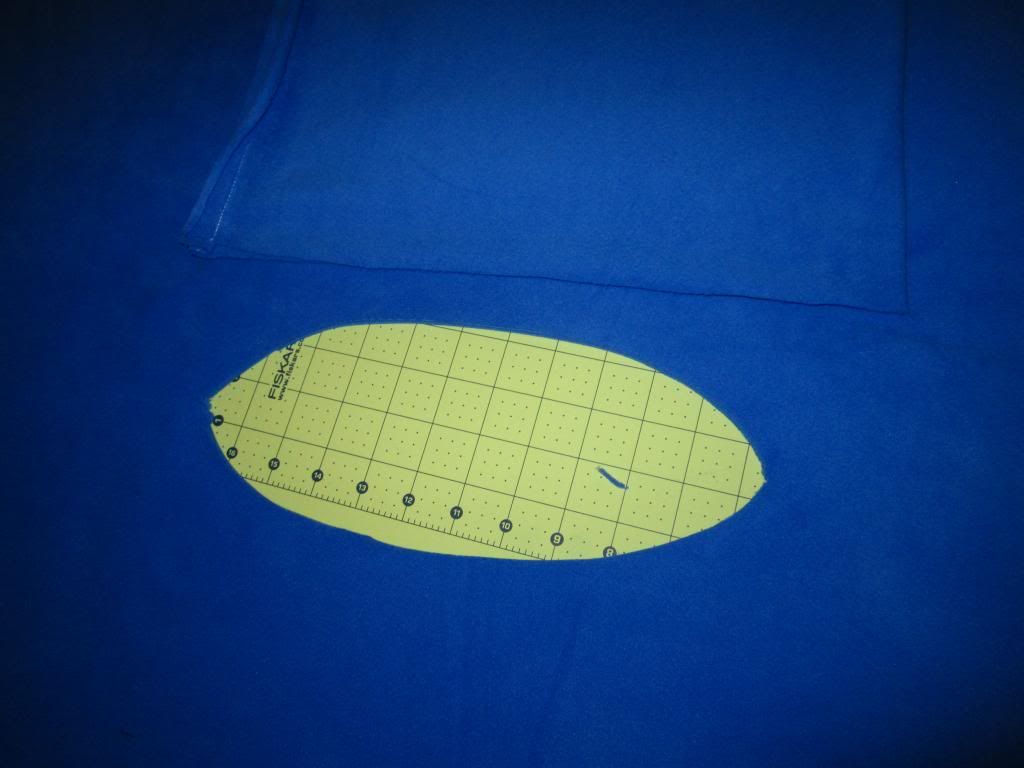
Using these numbers, I measured 12 inches down, 12 inches across on the cloth. Using my rotary cutter, I made a small mark, just to know where I was. I then lined up one of the sleeves to the hole and added onto the initial cut until I had a line that was roughly 3/4 the length of the sleeve's edge.


I'm sure there is a wonderful and simple mathematical equation and game plan for this next part, but, for me, this part was purely trial and error. Using my rotary cutter, I made incrementally bigger ovals, making sure both layers of fabric were getting cut. Before each new cut, I would slide a sleeve into the oval. The hole should fit the sleeve perfectly, but it is okay if the hole ends up a smidgen bigger. It's easier to fold some of the fabric at the bottom of the oval than it is to try to fold the sleeves.


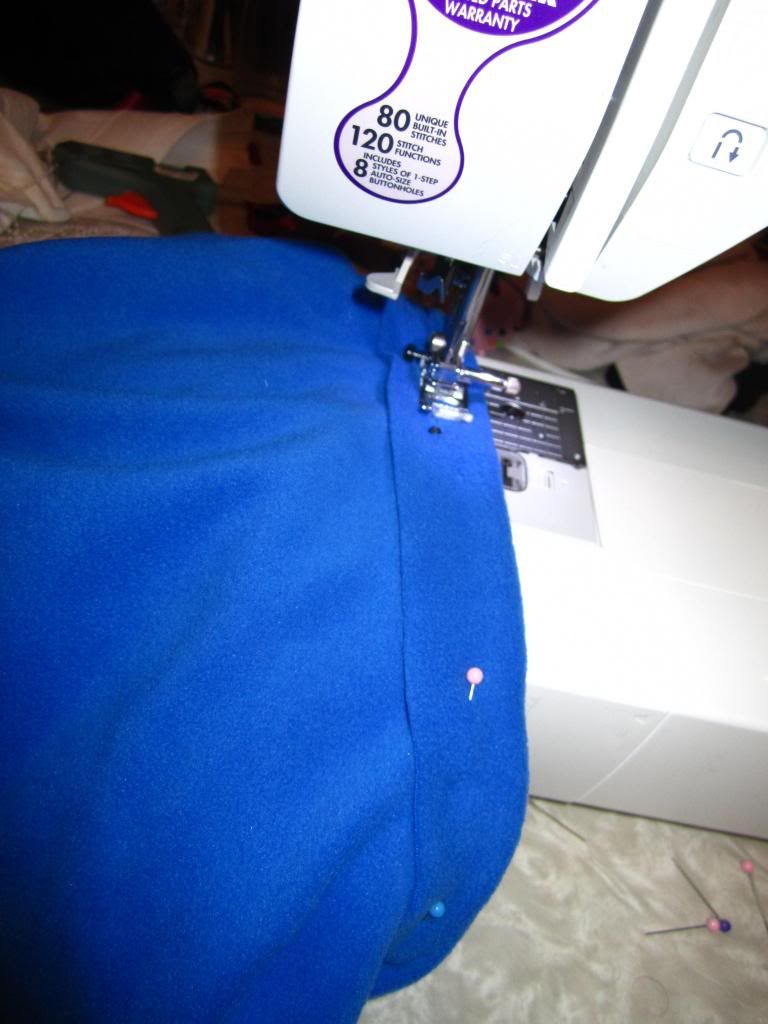
The next part is probably the trickiest. I unfolded the cloth and, one sleeve at a time, slid a sleeve in about two or so inches. I then folded the cloth over the hole and pinned all three layers -- the sleeve, the base cloth, and the folded-over section -- in place.


Sewing it into place was a slow process, especially since I had never sewed on sleeves before. I had to routinely check to make sure all three layers were being sewed into place.


And then, you are done! You have your very own Blanket With Sleeves. You probably saved no money making one yourself, since blanket fabric isn't cheap, but at least you contributed money to a crafts store instead of the Snuggie corporation.

Wednesday, February 6, 2013

The 5 Things Bosses Should Be Doing (That Preschool Teachers Already Do)


picture source

I read this article recently, about the 10 things that bosses steal from third grade teachers. While it disintegrates pretty quickly (one minute they're talking about positive reinforcements; the next they're talking about silly ties), the article does point out the fact that there is a lot of overlap between classroom management and office management. Below are the 5 realistic things bosses should be doing that teachers already do.


1. "I need you to" versus "You need to."

Kids are sensitive. Tell a child they need to do something and they'll find a way to contradict it. They don't need to do anything. But semantics is a beautiful thing. Tell them that you need them to do something, and the likelihood that they'll do it usually increases. The same with adults: there is nothing more off-putting than people telling you that "you need" to do something. Tell an employee, "YOU NEED TO DO THIS," and they'll be thinking, "No, what I NEED to do is find a new job."

It really can be as simple as, "I need you to..." Because, at the end of the day, that's the reality of the situation: they don't need to estimate a project's budget -- but you, in fact, need an estimated budget for the project.


2. Model the behavior you want.

You can't expect your students to gently put toys away, stay in their seat, say only nice things, etc, if you are tossing books onto the shelves, constantly fidgeting, and gossiping with the other teachers. The same goes for employees. Back in the day, I used to have a boss who would sit in her office and play on her phone. All day. Just her, in her office, cell phone "hidden" under her desk, checking Facebook. She'd then have the audacity to turn to her employees and expect the world of them, wanting to hear no excuses as to why a certain task couldn't get accomplished. A lot of us (myself included) resented that she wanted us to put in 110% while she put in the minimal effort. As a result, our productivity began to mirror that of our boss's, which was the minimal acceptable amount.

If you want your employees to work hard: work hard. If you want your employees to respect each other: respect them, as well as your own colleagues. The world does not operate by, "Do as I say, not as I do."


3. Consistency is key for respect.

I can't stand it when teachers use empty threats to get children to follow the rules. The most common I hear are, "We'll leave you behind!" (when obviously they won't, since that would result in getting fired) and "I'm counting to three and then [consequence that pertains to the matter at hand] … one, two… two and a half … c'mon just do it!"

The only thing this does is teach the kids that your words carry no weight. This is the same for anyone in a leadership position. The best way to undermine your own authority is to say that a certain protocol is in effect, only to inconsistently carry it out. Promise one thing, but deliver another. Say that one thing will definitely not happen, only to have it happen anyway. All you are doing is proving that your words have no weight, which will only result in employees who don't respect your authority.


4. Everyone needs a break.

A semi-recent study found that people are actually more productive when they have more opportunities to have fun and take some time off. Kids start acting out if they're stuck all day at their desk or in circle time, constantly working and learning. Kids tend to be better behaved when they are given a chance to get out of the building, run around, play, and just in general take a break.

Likewise, employees lose their focus, their drive, their energy, when they feel like they are being driven into the ground without any break or opportunity for time off. There's a reason why some of the most successful and innovative companies in the world allow their employees to take naps or get unlimited vacation time.


5. Understand the Big Picture.

The most important -- and hardest -- thing to do as a teacher is to recognize that disruptive behavior is usually the result of external forces. A kid might be acting up because home life has been stressful, or because too much is happening at once and they have no real way to process all of the stimuli.

While, at the end of the day, everyone is accountable for their actions, regardless of the catalyst, it's important to remember that we're not cogs in a machine. We're all human, complex and emotional, and sometimes we need those in charge to recognize that. And while bosses can't exactly approach their employees in question and give them a hug the way teachers can, the ability to understand and act accordingly is vital.

--

So, there we go. Nothing about silly hats or whatever other nonsense the first article delved into. Just some actual similarities between being a proper boss/manager and being a preschool teacher.

Tuesday, February 5, 2013

Try it Tuesday: The Year in Review Jar

Last year really was an exciting, incredible year for me. It was a lot of work and stress (from exceedingly difficult students to an unexpected drop in the summer program enrollment (meaning my job was on the line), I had my hands full at school!) but it was also a lot of fun. I was able to go on so many different adventures, from Niagara Falls to my cousin's Wedding on Ocracoke Island; from New York City to my brother-in-law's wedding in Florida. I got to go to my first Red Sox game at Fenway and I got to hang glide for my birthday. I was able to advance my modeling career even in my "old age" and I wrote essentially a whole novel in barely two months.


I fully recognize how blessed I was in 2012. And while 2013 is shaping up to be just as much work and stress (I swear the kiddos get tougher and tougher with each year), it's also shaping up to be just as exciting. And while journaling (and yes, I still journal, even at 26) helps document everything, I decided to do something extra for 2013.


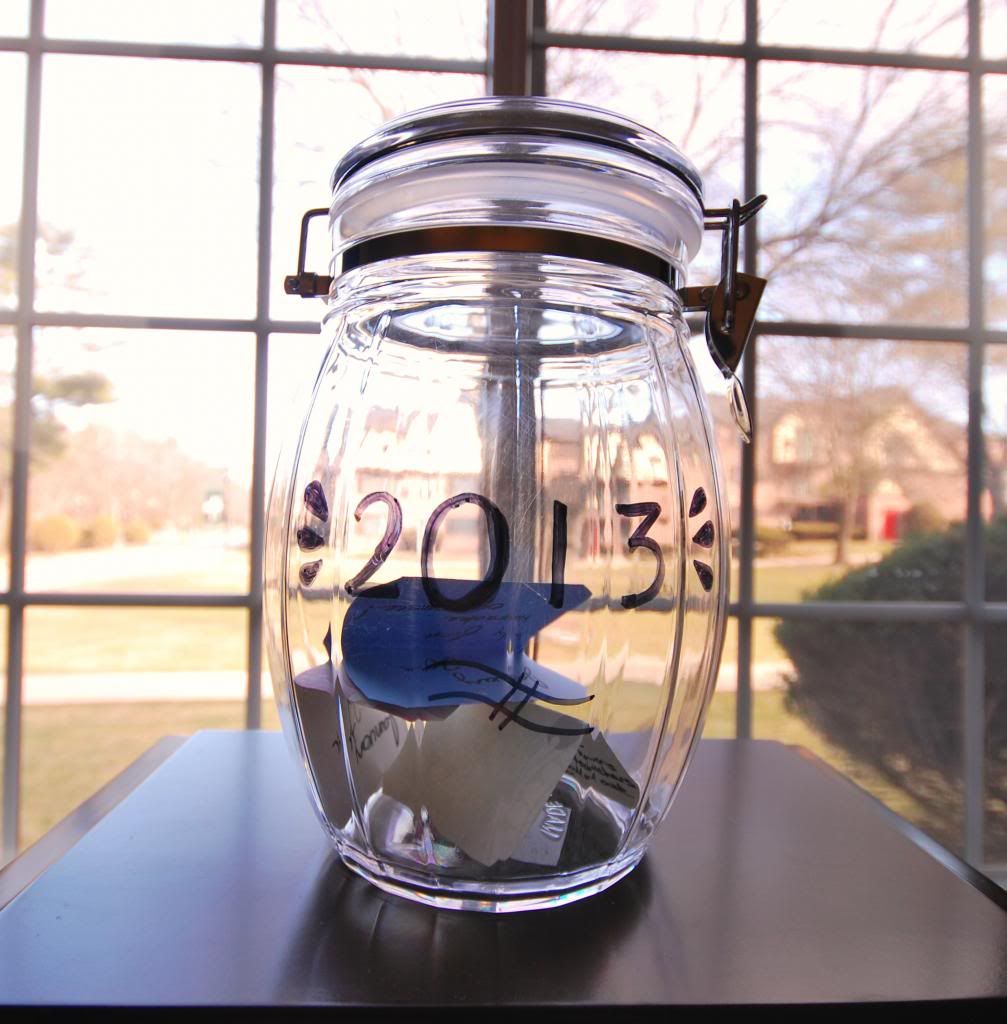
For this, all I needed was a Sharpie, a plastic mason jar (since plastic holds Sharpie ink better than glass, not to mention porcelain), and some card stock.


The concept is incredibly simple: whenever something amazing, or fun, or just all-around awesome happens, I write the date and the event, fold it in half, and place it in the jar.


As you can imagine, since I started this project just now, I had to backtrack and remember what I had done in January.


This is also great if you're are having a rough week and need something to pick you up. Remember, it doesn't just have to be huge, momentous occasions: little things, like a great night out with friends or a really relaxing drive around town, are perfect for this project.
Related Posts Plugin for WordPress, Blogger...

09 10 11 12
Blogging tips