Aka My First Try with a Dress Pattern
It's no secret that I've been trying to up the ante with my sewing skills. I've been
turning tank tops into dresses and
t-shirts into tank tops. Sometimes I walk into Joanne Fabrics and pick out a fabric that strikes my fancy, hoping that I'll get the inspiration to make something.
My mom was an avid sewer when she was younger, and loved making dresses from patterns. I tend to view patterns as a relic of yesteryear. However, I haven't been able to make anything all that intricate, so I decided, "Hey, why not?"
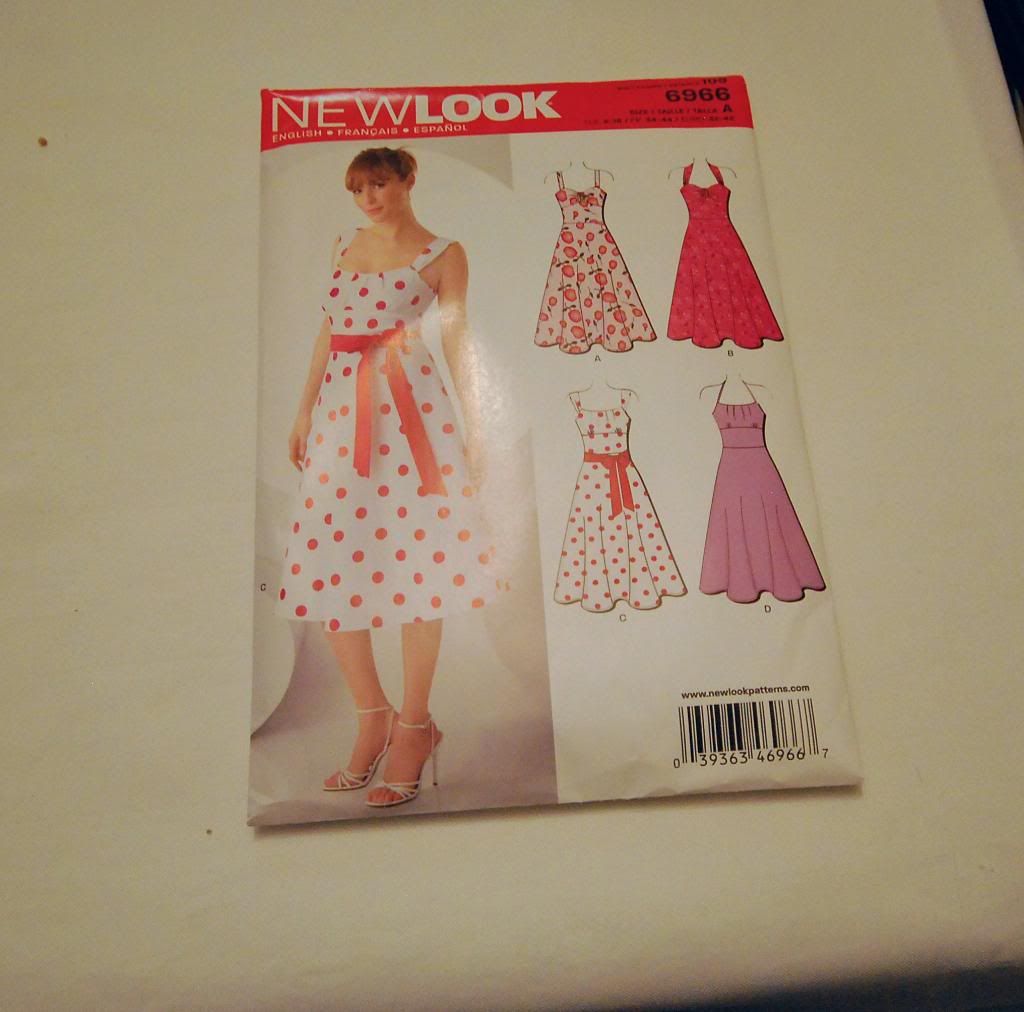
This particular gem was only $6 on the Simplicity website, so I figured I had nothing to lose. I decided to try the third pattern (
sans sash and polka dots).
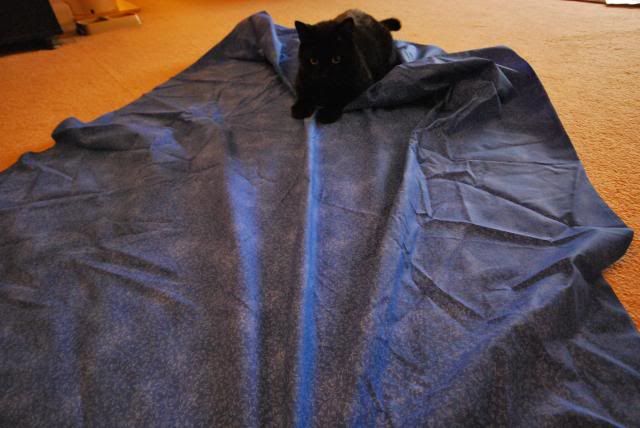
Incidentally enough, I was able to use fabric that I had previous bought on whim (and Salem was able to pounce the ever-loving shit out of the fabric).
Patterns are fairly cut-and-dry. Cut out the pattern pieces in according to your size. Each shape has a particular dotted line for cutting. The key here, however, is measuring each major horizontal section of your body (bust, waist, hips) and see how it matches up. Anyone who is has a more *erm* extreme body type knows how this is. For example: according to the size chart, I'm a size 6 waist, size 8 hips, and size 10 chest.
(So that's why clothing never fits me right).
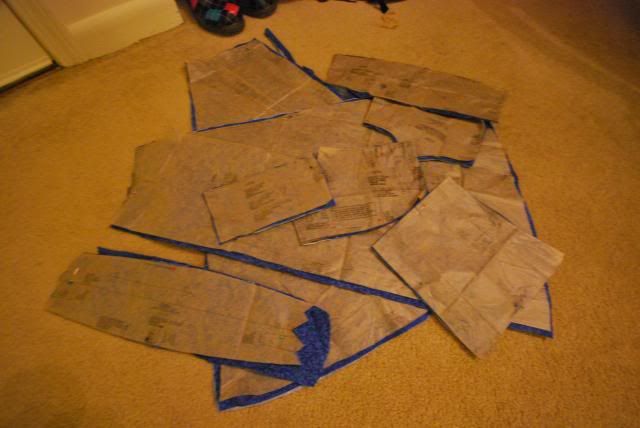
After cutting the pieces out, pin the paper to the fabric and cut around the fabric.
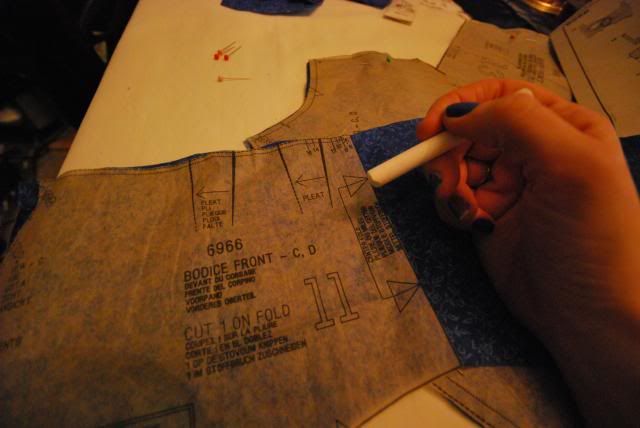
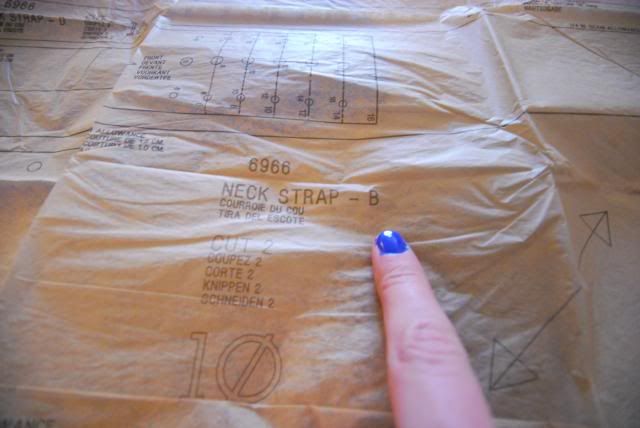
This part is tedious, but necessarily. See all those notches, lines, etc, on your pattern paper? Copy all that down onto the fabric. These notches, circles, etc, will let you know where to sew certain items or how to fold a part of the fabric.
You don't have to do this all at once: simply copy the marks on the pieces as you are sewing them together. Like I've mentioned
ad nauseum, I have no fancy "seamstress chalk", so I just used damp chalkboard chalk.
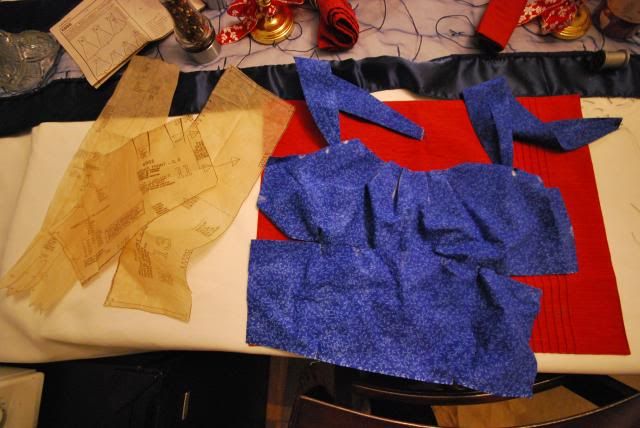
Nothing made me happier than finally seeing the pieces come together. It was hard, trusting the pattern completely, but I'm glad I did. I never would've created something like this by ear.
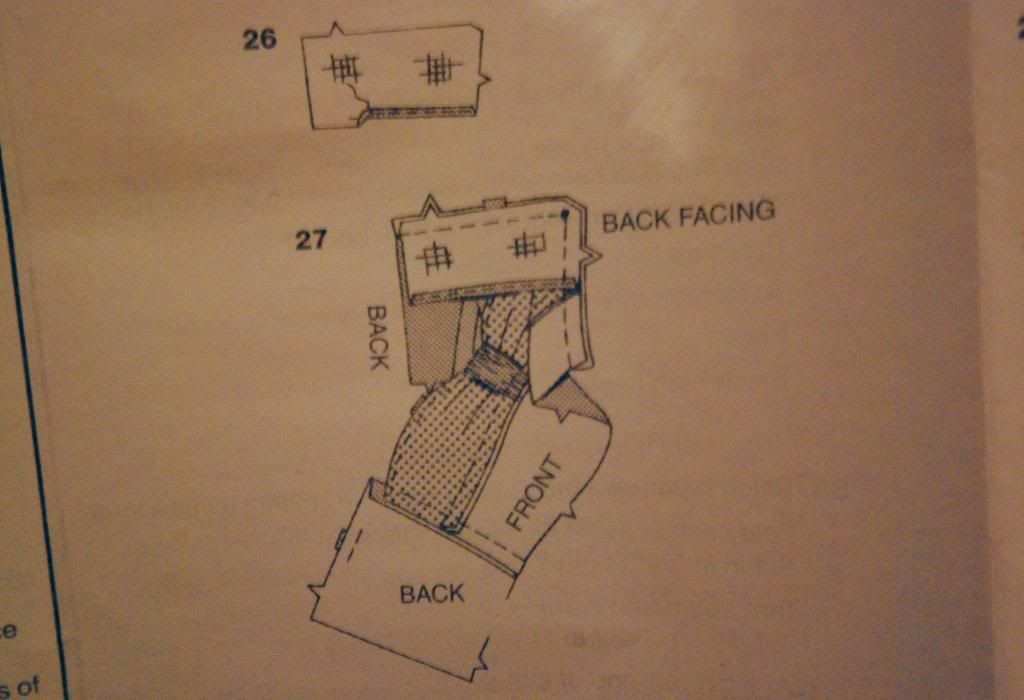
It took me an hour to figure out what this part of the pictorial instructions was trying to tell me. Hey, sewing pattern instruction? Bugger off.

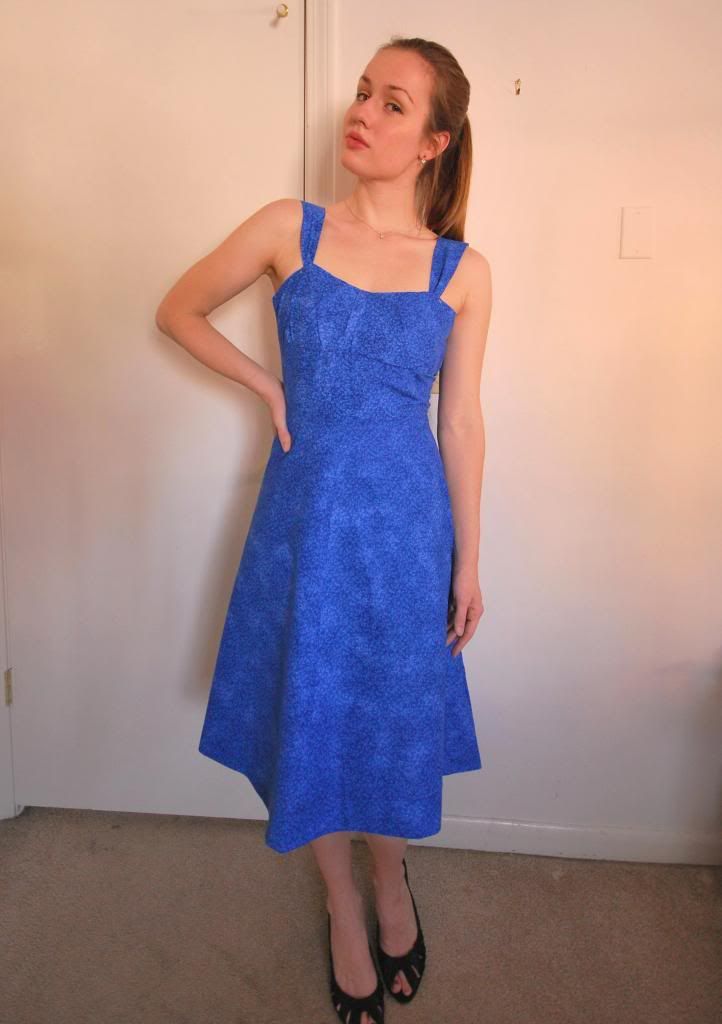
I'm really happy I decided to do this. I learned a lot about what goes into making a dress. I also learned a few tricks, like how to make straps (and how to sew them onto a dress). My hemming still needs some work, but, eh, details.
It's good to know that, if I get kidnapped and transported to the Amish community, I'll at least be able to make my own clothes!

No comments:
Post a Comment